This year has been a wild ride! It has been full of fun ideas, big changes, and most of all, DIY magic. Since we are heading into a new year that is guaranteed to be FULL of new and exciting things, I thought it would be fun to review my top 5 DIY projects from 2022.
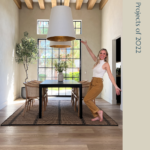
#1 Dining Room
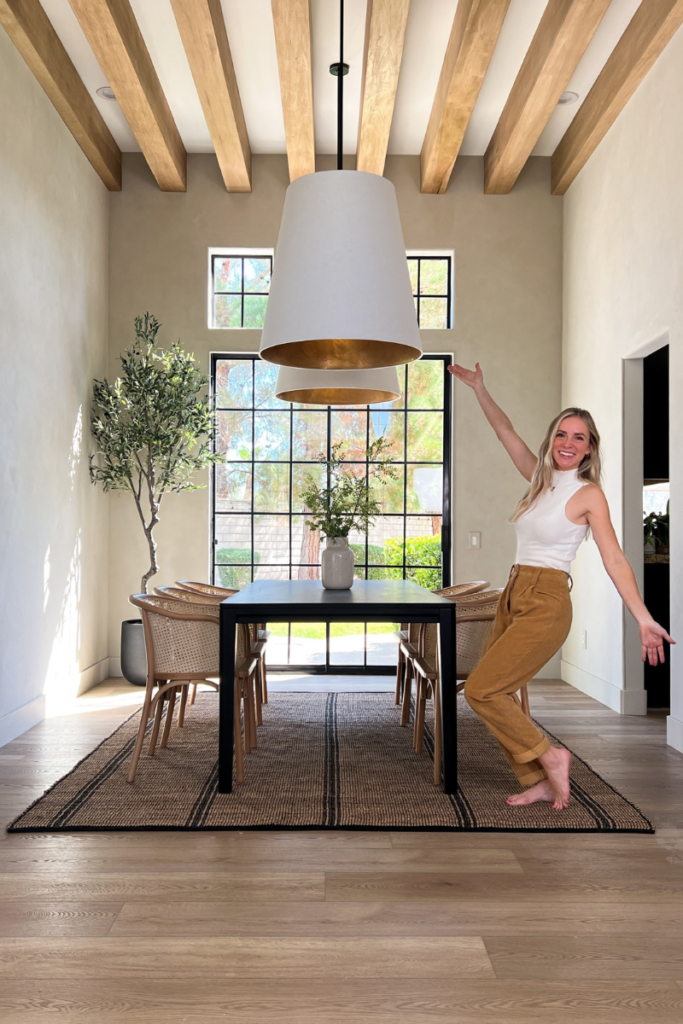
My top project from 2022 has got to be the dining room project we tackled as the first DIY in the new Angela Rose Home. This room was full of smaller mini-projects that came together to make a dreamy space.
We started by modernizing the windows and doors because I wasn’t in love with the look when I moved in. With DIY you can change it if you don’t like it, right? You guys were split in the Instagram polls when I asked for opinions about adding window pane grids to my sliding glass door. I went with my gut and I am in LOVE with how the window pane grid turned out!
Next, it was time to start working on the walls. Were you hanging out with me on Instagram while I was working on them? I did my research and figured out the best way to achieve a cement look was to use Roman Clay by Portola Paints. The process took some time, but I love the finish on my walls Check out my full tutorial here.

Then we tackled the BIGGEST project of the room and quite possibly the biggest project I have ever done! We created 13-foot-long faux beams. Everyone told me, “Don’t do it” or “It’s going to be too hard.” But I knew I had to have the beams. So, in true Angela fashion, I had to go for it!
The last feature that needed to be installed in this room were the light fixtures. The Calor pendant lights by Alora lighting spoke to me, but the color wasn’t meshing with the overall vibe of the space. To tone down the insides of the pendants, I added some Rub ‘n Buff in Antique Gold. Once I applied the antique gold color, the pendants looked earthy, distressed, and lived in. The perfect way to round out the space.
Design Features in the Room
Once all the features that needed to be installed were in, I had to find the most important feature of a dining room: having a table set up where you can gather and spend time with your loved ones. I was deciding between a bunch of modern dining chairs to choose from. But ultimately, I decided to go with the Summer Dining Chair by Lulu and Georgia. They have very traditional elements, while also retaining a modern look that will give any dining room a relaxed, but sophisticated modern feel. Lulu and Georgia also had the perfect table to keep the sophisticated and modern vibe going in the dining room. The Reese Table became the ultimate centerpiece for my dining room.
Finally, the reason I decided to tackle this room as my first project in the newest Angela Rose Home… the announcement of my collaboration with Loloi rugs. I still need someone to pinch me! I worked with Loloi for a year and a half to design my collections so I feel like every item from each collection is like one of my children. When it came time to pick a rug for under the dining room table it was so hard! Ultimately I decided to go with the Natural Black rug from the Colton Collection.
This room is the centerpiece of our new home. Each project in the room brought so much happiness and growth. Thinking back on my top 5 projects, this room is definitely my top pick!
Breakdown of the Dining Room Project
- Project 1: Black Windows and Doors
- Project 2: Sleek Cement-looking Walls
- Project 3: Faux Beams
- Project 4: Light Features
- Project 5: Finding the Perfect Dining Room Table and Chairs
- Project 6: Picking the Right Area Rug and Announcing my Loloi Collection
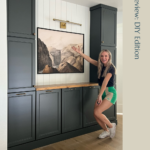
#2 Storage Wall
Another one of my top projects of the year was building out a storage wall in our hallway. The goal was to give an unused space in our hallway purpose and to give our family more storage. You can never have enough storage, right?
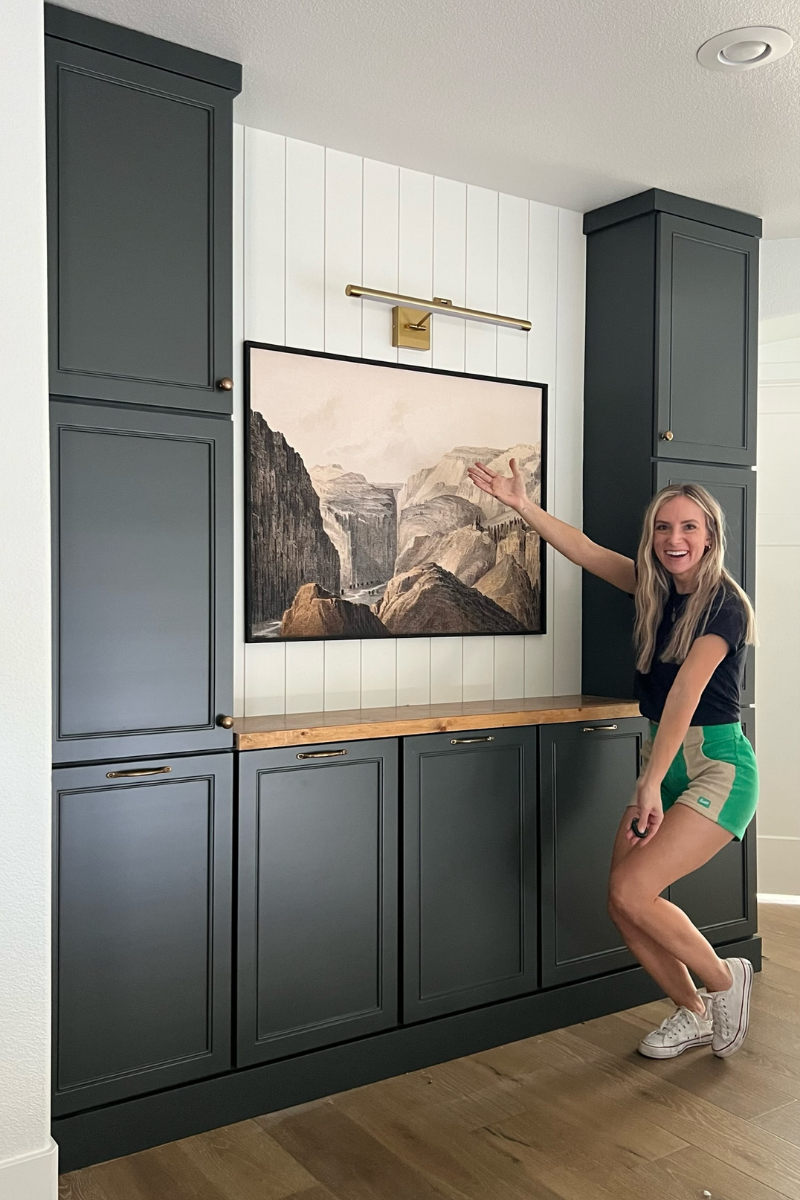
This project all started with figuring out an affordable way to create cabinets that looked like they were built in. The problem is that built-ins can be really expensive and I needed to get this project done without breaking the bank. So I decided to do it myself with the help of unfinished Home Depot cabinet boxes and my dad. Check out my tutorial on how to create your own built-in storage.
Once the cabinets were in, we added the finishing touches. First, we added some beautiful backer board in between the cabinets. Then, I decided to add some art, from my friend @juniperprintshop. The only problem was, that I couldn’t find a frame that I loved, and framing large art is expensive. So, in true Angela Rose form, I built my own LARGE frame. The space was missing something, so I decided to hang a picture light above the dreamy large wall print. Think beauty over function because I didn’t actually wire it in. But, it looks awesome so it was totally worth it!
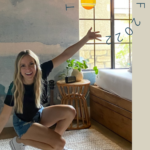
#3 Blake’s Room
At the start of 2022, Blake’s room was just a vision in my head and it was an amazing experience making it come to life. DIYing has helped me grow as a person and become more and more confident in who I am and what I can accomplish. If you’re wanting to start your own DIY projects, do it! It will change your life! Beginning with a project like DIYing each piece in a bedroom is a great place to start.
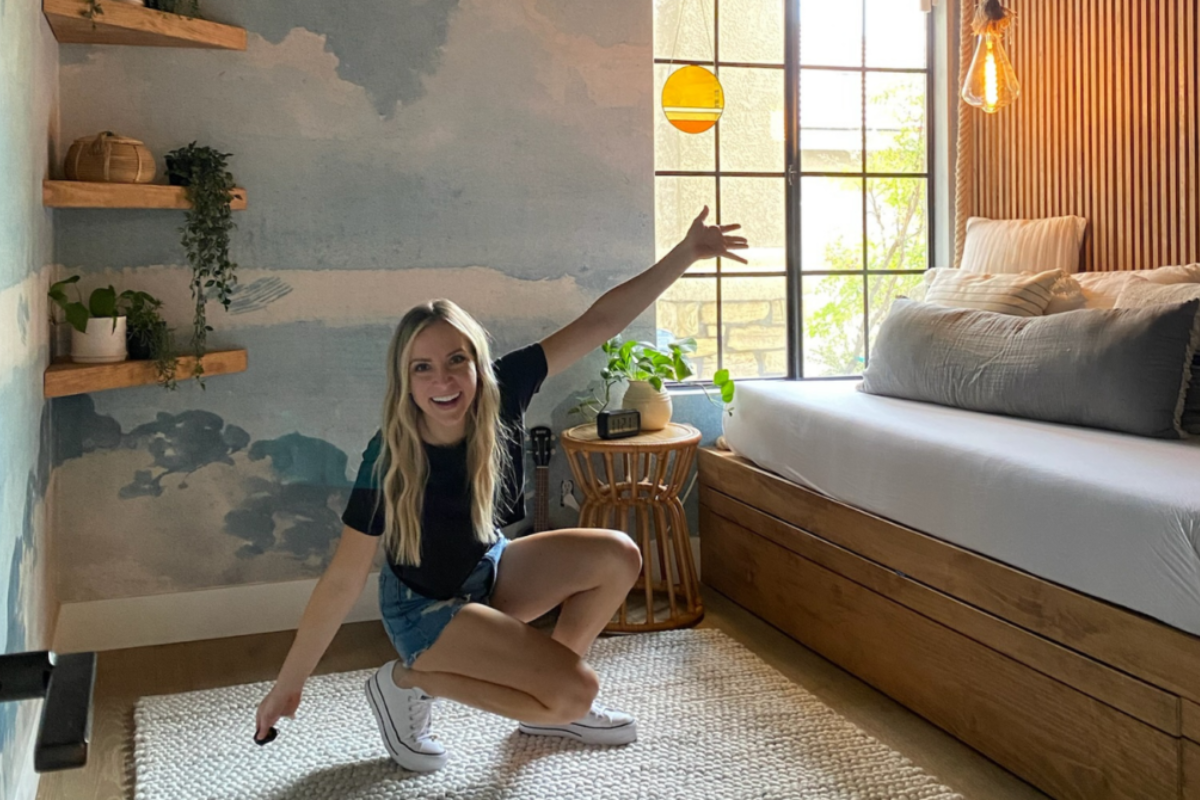
It’s always good to start a DIY project with a fresh coat of paint, or in this case of this room, wallpaper! When I found this cloud-like wallpaper from AnewalI I knew it was too perfect not to use. If you need wallpapering tips, check out this blog post.
And as if cloud-ocean walls weren’t enough, I also decided to install a statement slat wall. It brought a beautiful natural texture and neutral color into the room. And it was so fun to build! You can see exactly how I did it in this blog post. It was inspired by my solo trip in Joshua Tree.
Once the walls were looking pretty, I painted the window frames black but decided that the ceiling needed some TLC too. If there’s one area of the room that’s often overlooked during a remodel, it’s the ceiling. I decided to build a DIY shiplap ceiling with faux beams because I knew this added touch would really give the oasis feeling I was going for. Doing this shiplap and cross beam ceiling really made the room come alive.
Featured Details
Next, I moved on to adding a couple of fun fixtures to the room; corner shelves and a hanging rope light. Creating these features myself was so much fun! Sometimes it’s the small details that really bring a space together.
A bedroom overhaul isn’t complete without a really cool bed. For Blakes’s room I decided to DIY a trundle bed instead of going out and buy a bed frame. I mean, anyone can do that, but DIYing your own trundle bed is way more fun! To start, I bought the Vitval trundle base from Ikea and then built everything around it. Check out my full tutorial here.
Overall, this project took me 4 months to finish and I was able to take my time with each part of the room and really get creative.
Breakdown of the Blake’s Cloud-Inspired Bedroom
- Project 1: Wallpaper mural
- Project 2: Slat Feature Wall
- Project 3: Update Window
- Project 4: Shiplap Ceiling
- Project 5: DIY Features: Corner Shelves and Hanging Rope Light
- Project 6: DIY Trundle Bed
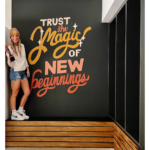
#4 Garage Wall
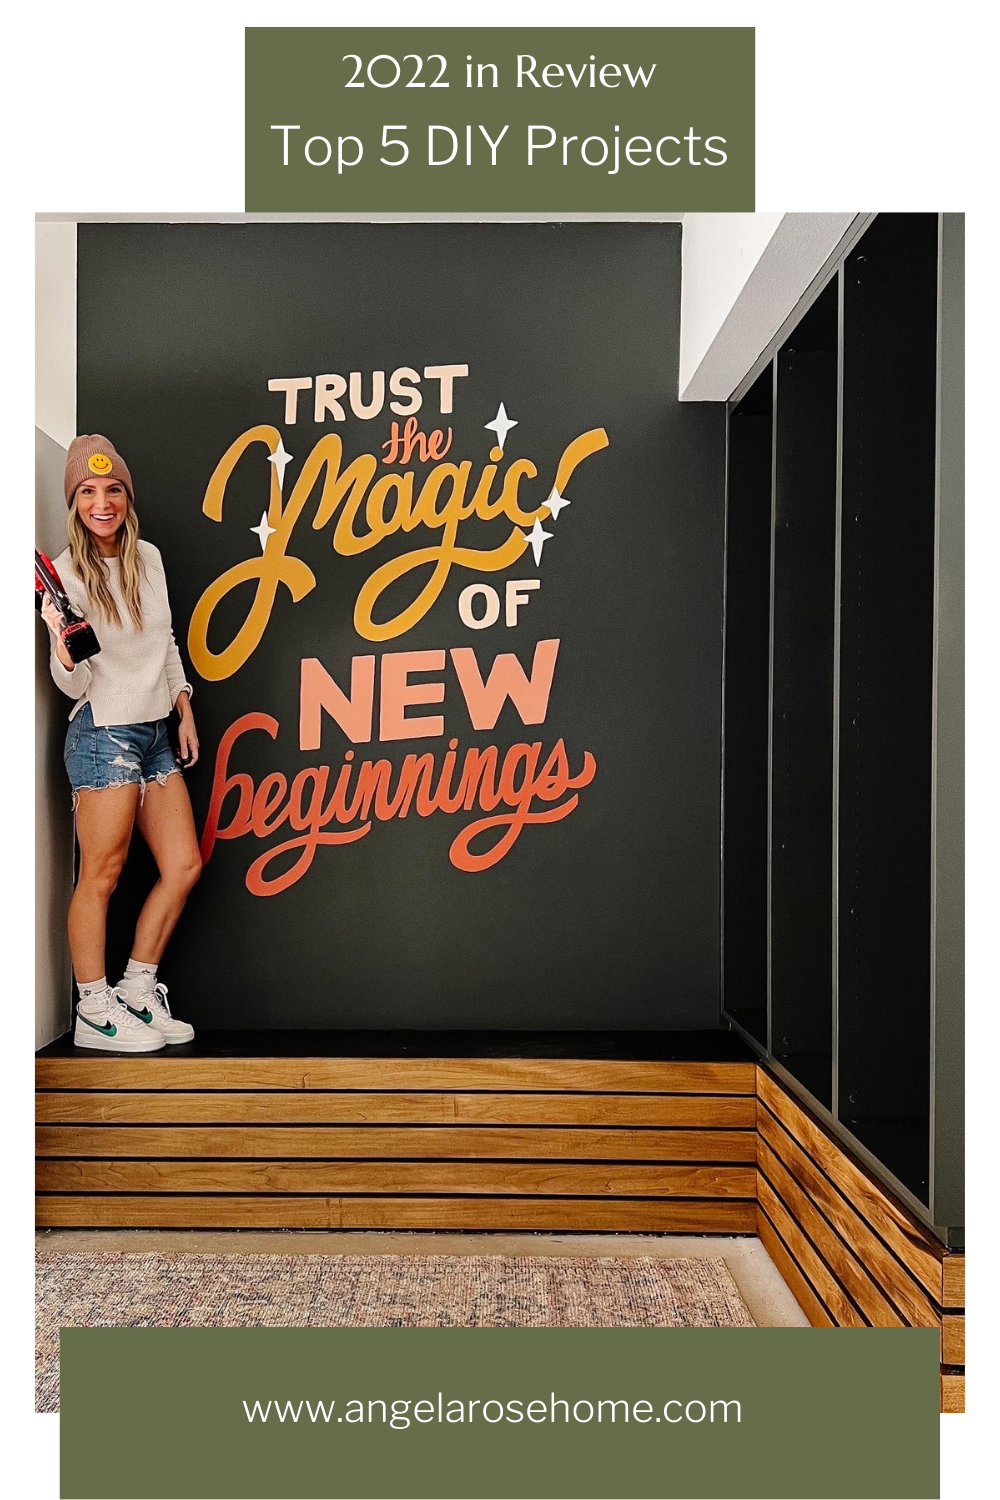
In 2022, my family had a lot of change. In the original Angela Rose Home, I loved having an inspirational quote on the wall of our garage as a reminder for my entire family that it’s not until we actually take that leap (and potentially fall) that we realize we can fly. With a new garage, it was time for a new inspirational quote!
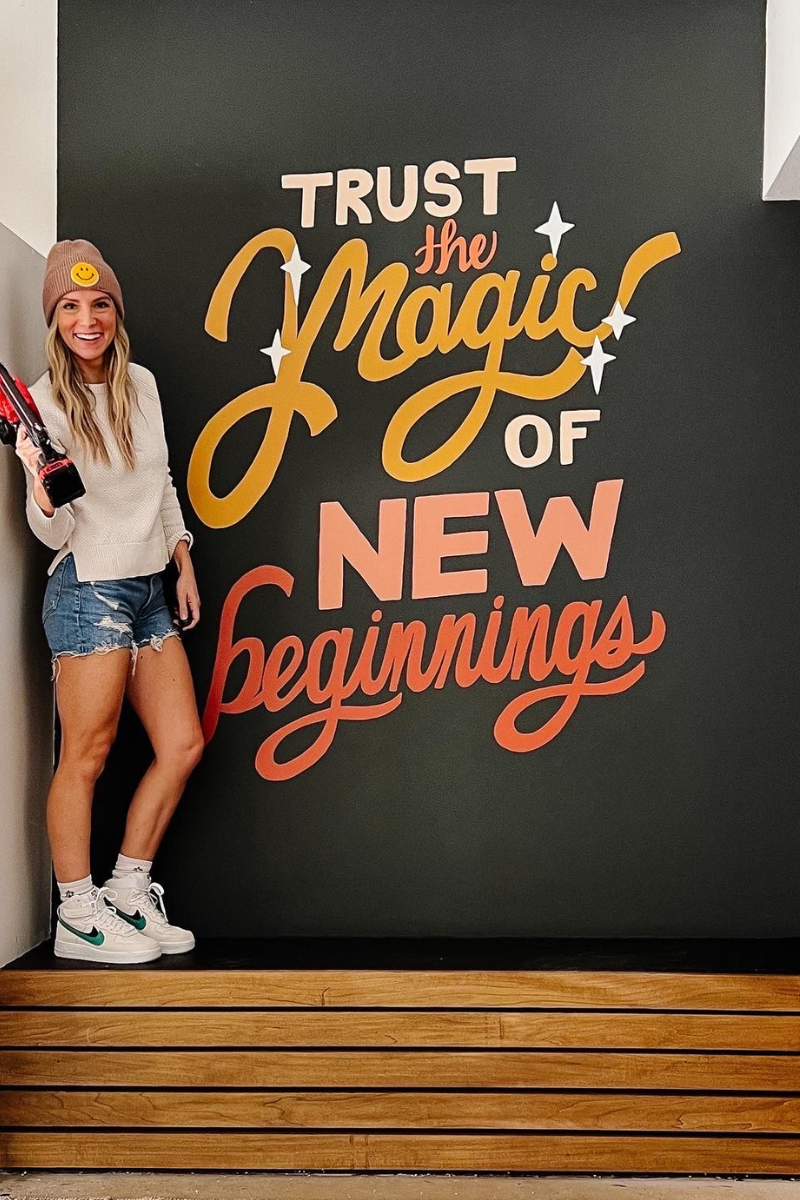
The quote, “Trust the magic of new beginnings,” means so much to me! Each word has its own meaning as well as the overall message of hope which is what I want my family to be reminded of in our new home. To bring the quote to life we needed to create the perfect canvas. To create a background for the quote I painted the wall Rock Bottom by Sherwin Williams. It was one of my favorite colors from the old house so it makes the space feel a bit more at home while also feeling new. Just like the quote itself.
My insanely talented cousin Jamie Hill transformed our quote into a beautiful piece of art. To get it on the wall I used a projector to display the image on the wall from my phone. It was so easy and the image was so crisp! Then I used a white pencil and traced the words that were projected.
Once the words were traced on the wall, all that I had left was to hand-paint the wall art. This step is easy, but it is tedious. I loved this step of the process. Just me. Music blasting. Wrapped up in a project. That’s my perfect place.
Making the Garage a Vibe
To finish off the space in the garage I decided to update the cubbies right next to the quote wall. It totally made this part of the garage its own unique space. I painted the base black and trimmed it out with stained wood planks. Then, to tie everything together, I painted the space Rock Bottom by Sherwin Williams to match the quote wall. The space came together so well! It literally gave me chills! Check out the reveal here.
#5 DIY Closet
Blake’s room is already part of my top 5 DIY projects from 2022, but the closet in his room needed its own minute of glory. So I’m officially naming his DIY closet makeover as #5 to round out my list of top 5 projects.
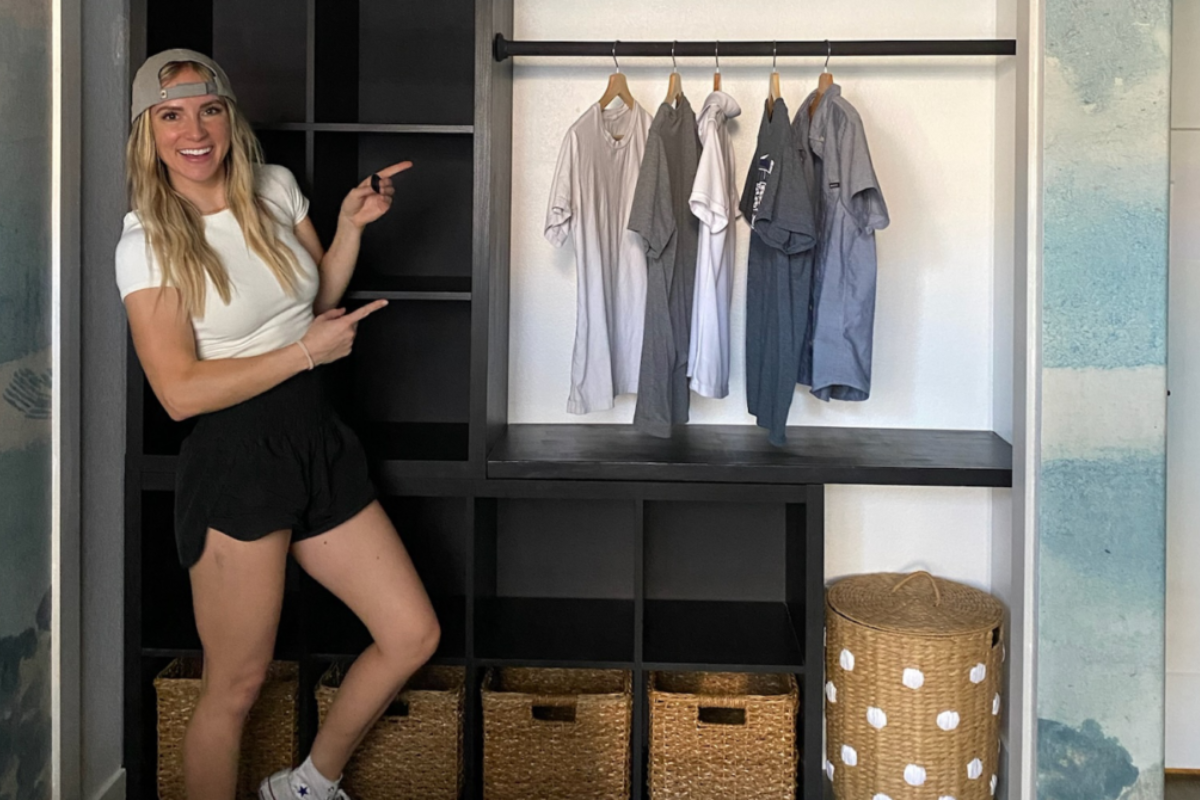
For this closet transformation, I was determined to make sure every item had a place. Which meant adding a lot of storage. But, I also wanted it to look amazing and not break the budget! And guess what? I nailed all three with this $200 closet makeover!
First, I removed the shelving and baseboards, but there were a couple of places where old caulk was still sticking onto the wall. To clean things up, I took a putty knife and smoothed it all over. Then I took a joint compound putty and filled in all of the nail and screw holes in the wall.
With a little DIY magic I added 2 Kallax shelves from IKEA and a closet rod to completely transform the closet into an organized space. I fully furnished it with baskets and even created a space for a built-in desk. Check out this blog post to see all the details so you can re-create it yourself.
Top 5 DIY Projects from 2022
These are my top 5 DIY projects from 2022. What were your favorites? If you weren’t hanging out with me during 2022, make sure you are following me on Instagram and TikTok for the projects coming in 2023. As we close out the year, remember…Stop Pinning. Start Doing.
Disclosure: I only recommend products I would use myself and all opinions expressed here are my own. This post may contain affiliate links that at no additional cost to you, I may earn a small commission. Read the full privacy policy here.