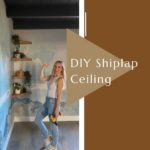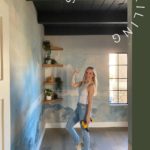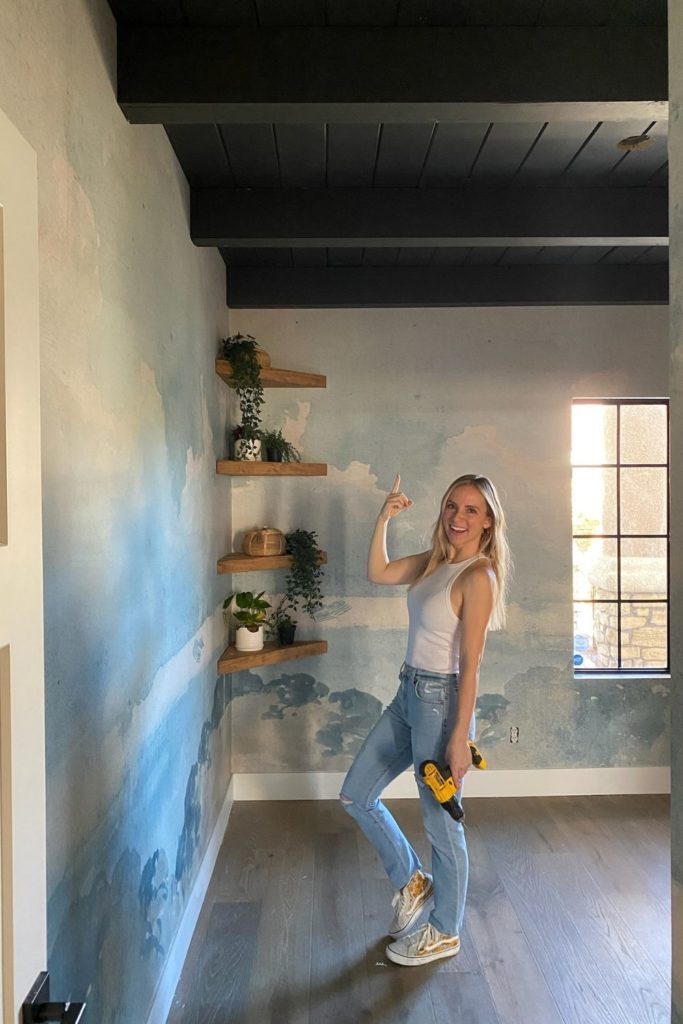
DIY Shiplap Ceiling With Faux Beams
If there’s one area of the room that’s often overlooked during a remodel, it’s the ceiling. Usually, you can just add a fun light fixture and be done. Though sometimes the room needs a little more to pull it all together. For my son’s room I remodeled, I decided to build a DIY shiplap ceiling with faux beams. I knew that added touch would really give the oasis feel I was going for. Let me share some behind-the-scenes of this project so you can repeat it in your space!

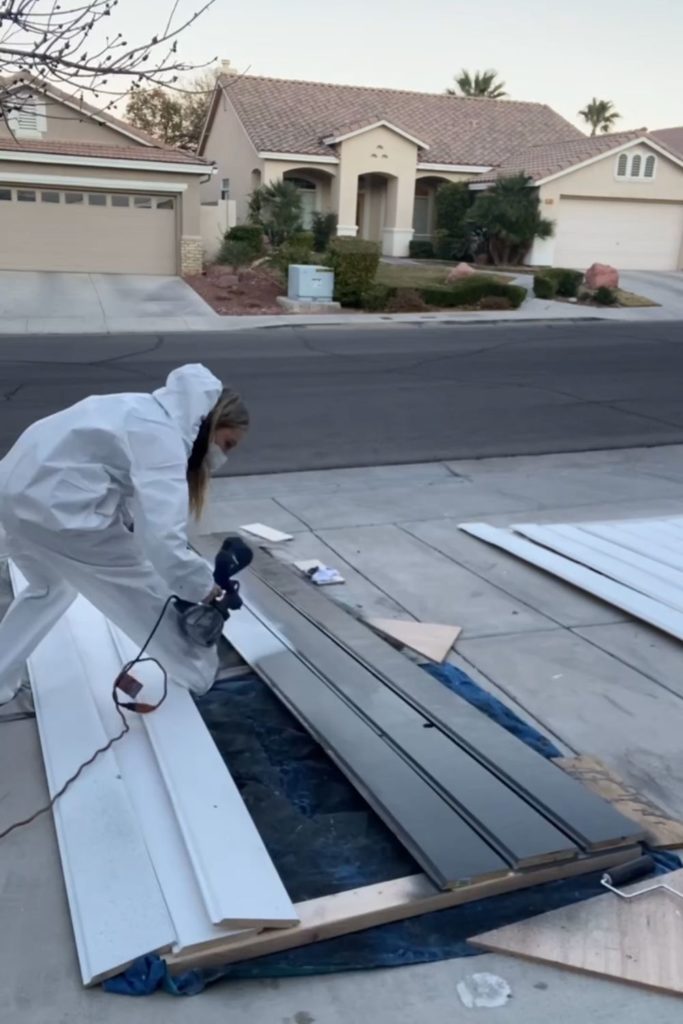
Ceiling Step #1 Paint The Boards
For this room, I decided I wanted the shiplap and beams to be black. Now I know what you’re thinking, but just trust me on this one. To get started I first needed to choose the perfect black paint. “But Angela, isn’t all black paint basically the same?” No! In fact, they can look very different when they dry. So I can’t stress this enough, always test paint colors before you commit. The paint color I ended up choosing for this project was Iron Ore by Sherwin Williams. To paint the shiplap and planks, I used my paint sprayer. You can of course paint by hand too, though a paint sprayer will give you a nice professional finish. If you do use a paint sprayer don’t forget to thin the paint with water.
I painted everything on a drop cloth on my driveway. My neighbors were a little suspicious of what I was doing and drove by really slowly during this. I don’t blame them though, I was wearing a full-body paint suit!
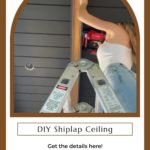
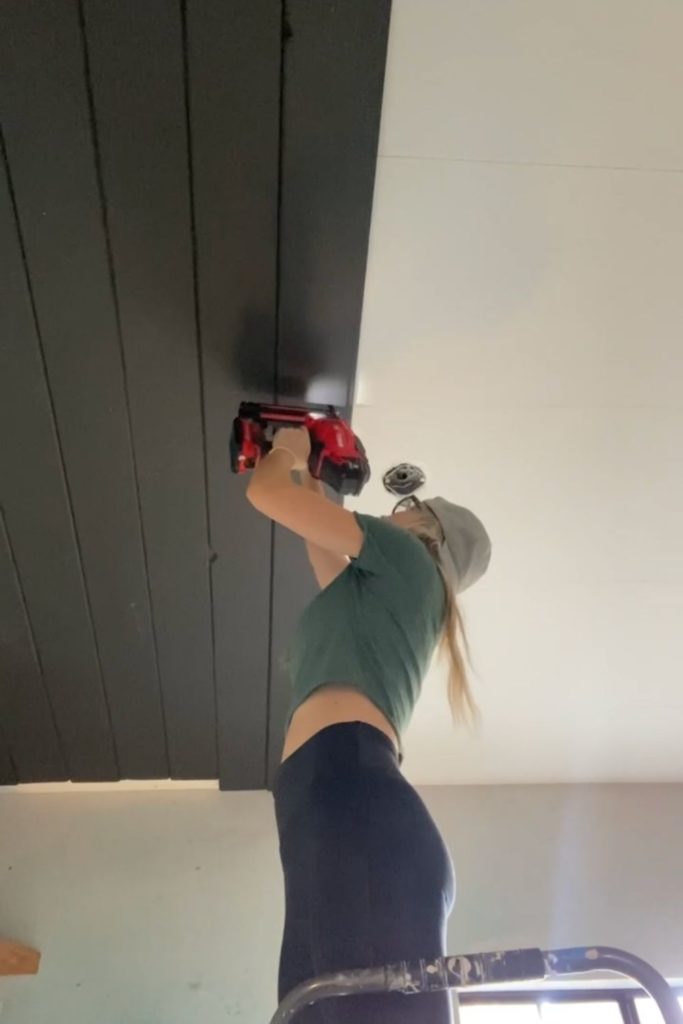
Ceiling Step #2 Add The Shiplap
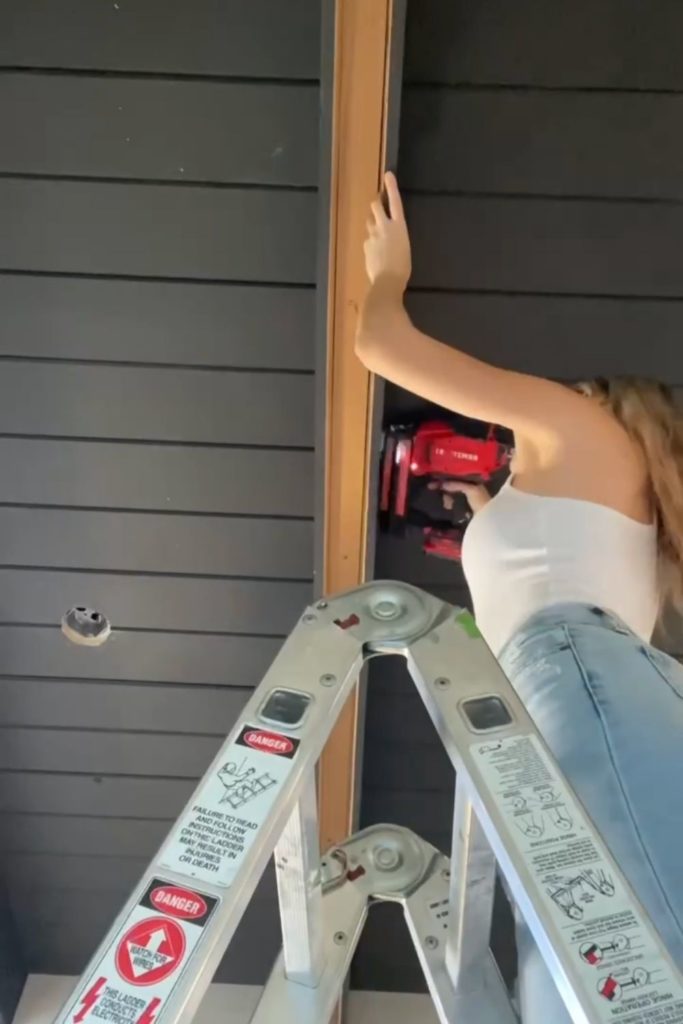
After the paint was dry, I changed out of my paint suit and got ready to start shiplapping the ceiling. The first step was to cut all the MDF boards to the right length using my miter saw. Then I carried them into the room one by one. Here’s a tip: Before you start attaching the shiplap, mark the studs in the ceiling with a pencil so you know where to nail. For most of this part of the project, I was doing it by myself. Which can be tricky, but here’s what you can do. Lift the board up in the middle, carefully grab your nail gun, and shoot a nail into the middle stud. Then nail the rest of the board in on either side. It’s like you have an extra set of hands!
I should also mention that for this project the MDF boards I got already had pre-spaced gaps which made this so much easier. There are a million other ways to shiplap though, so use the method that works for you and your budget. Also, don’t forget to plan ahead and make cuts in the shiplap for outlets and vents. You can measure, or you can be a rebel and do what I did. Which was nailing the board to the ceiling with two nails, marking where I needed to cut, taking down the board, and making the cut.
Ceiling Step #3 Make The Beams
Now that the shiplap was done, it was time to get started on the beams. It’s nice to visualize this part first. I used blue painter’s tape to show where the beams could go and how big they could be. I jumped between doing four or five beams but ultimately decided on four. Now, these beams were not going to be solid wood. Instead, I was going to build them. Step one was to screw a board to the ceiling to be the inside of the beam and the supporting piece. Here are two tips for doing this. First, screw partway into the board before screwing into the ceiling. It will be a lot easier that way. Second, you can use a scrap piece of wood to measure even spacing between each beam.
Once the inside boards were secure, it was time to attach the side pieces. One at a time, I nailed each into the ceiling board. To attach the last piece, I first used a small screw to get the board lined up just right. Then I nailed it all in place.
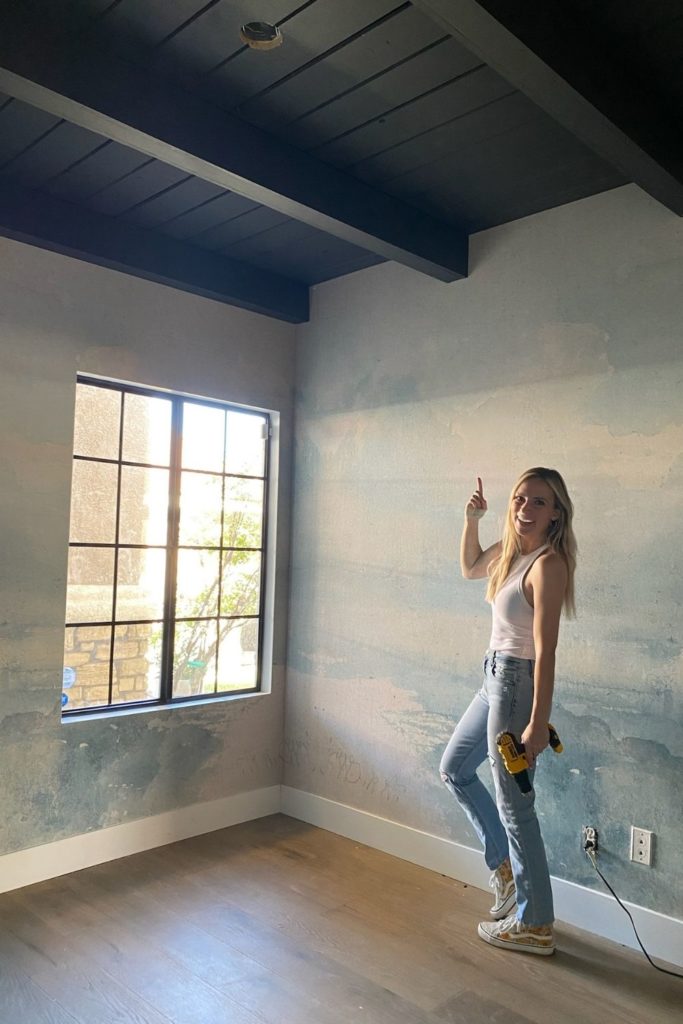
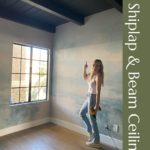
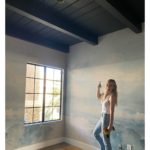
DIY Shiplap Ceiling With Faux Beams Reveal
Here is the finished look! What do you think of this DIY shiplap ceiling? I don’t think it could have turned out any better! Want to do something like this in your space but are worried about high ceilings? You can still totally do it, mine is nine feet tall! Check out this post where I did something similar for more inspiration. To see more details on my son’s room remodel, check out this blog post.
For more DIY fun, make sure to follow me on Instagram and TikTok!