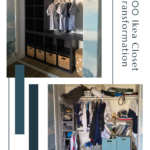
DIY Ikea Closet Update
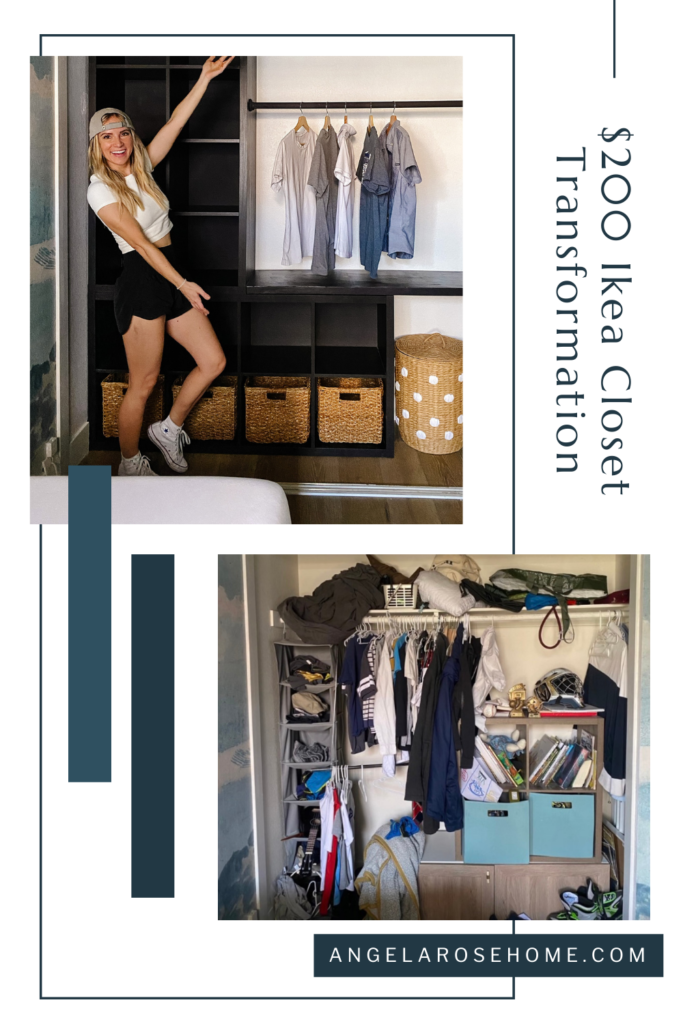
Do your kids throw everything in their closets when it’s time to clean their room? Or is that just mine? Well, today we’re bringing order to that cluttered closet with a DIY Ikea closet update! For this closet transformation, I was determined to make sure every item had a place. Which meant adding a lot of storage. But, I also wanted it to look amazing and not break the budget! And guess what? I nailed all three with this $200 closet makeover! Check out my hacks below.
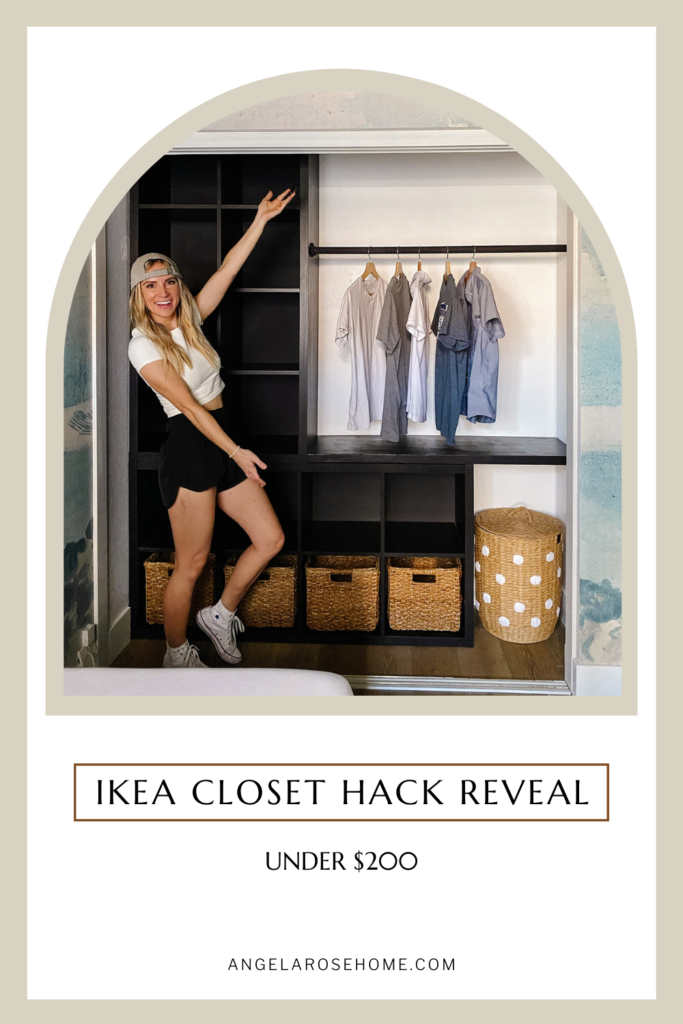
$200 DIY Ikea Closet Hack Transformation
What you’ll need:
- 2 Ikea Kallax Shelves
- Joint Compound
- Sherwin Williams Paint (color black magic)
- Closet Pole
- Rod Holders
- Sheet of Plywood
- 4 Checkered Weave or Aseana Baskets
- Wood Hangers
- Woven Laundry Basket
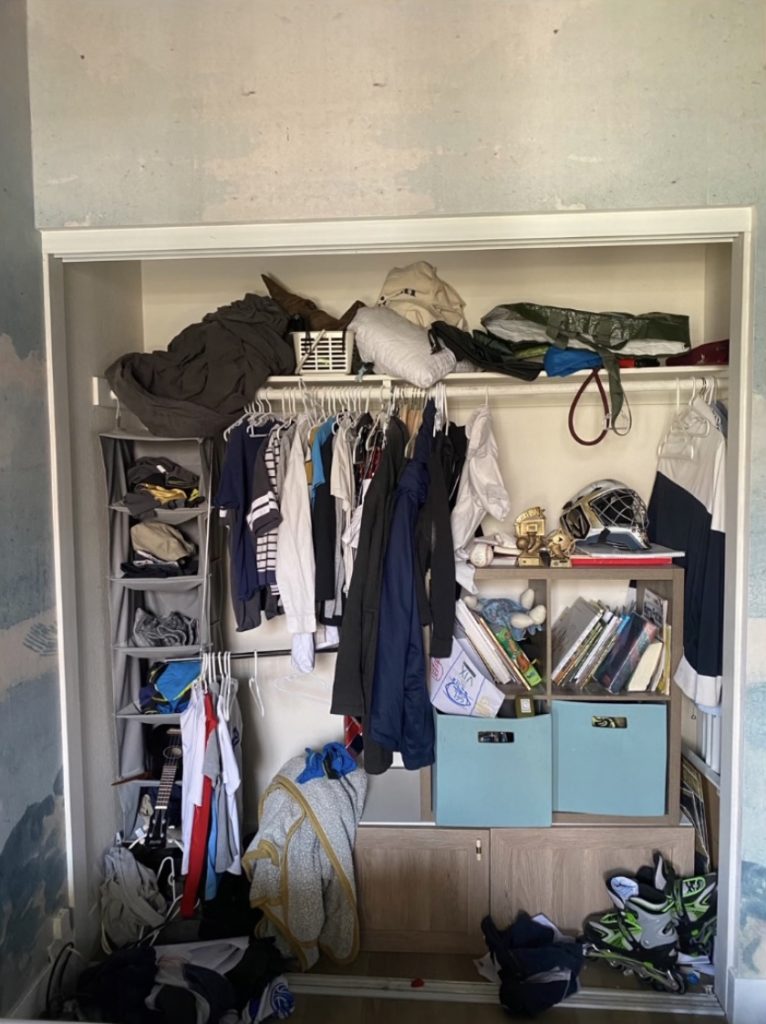
Cleaning Out The Closet
Before I could start beautifying the inside of the closet I had to first clean everything out. There is nothing I love more than a completely empty closet. If having an empty closet was a love language, it would for sure be mine! So first, I put all the clothes and random things inside the closet into laundry baskets. That eliminated all of the clutter, but there were still a few things about the closet that just weren’t feeling right. So what did I do? Ripped everything out! Yep, I ended up taking out everything from the shelves to the trim boards. Sometimes you just need a fresh start.
Removing Built-In Closet Fixtures
To remove some of the built-in closet fixtures I had to use a blade and crowbar. If you also run into a built-in board or rack you want to remove, don’t be scared! Trust yourself to know what you like. Here are the steps I took to remove a built-in shelf from the closet:
- Score the caulk attached to the wall with a blade
- Use a hammer and crowbar/putty knife
- Pry from one end and work your way across
After removing all the shelving and baseboards there were a couple of places where old caulk was still sticking onto the wall. So I took a putty knife and smoothed it all over. Then I took a joint compound putty and filled in all of the nail and screw holes in the wall. After those dried, I sanded them down so they were flush with the wall and got ready to paint!

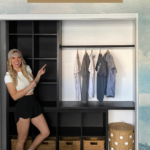
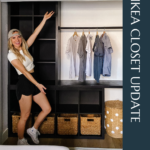
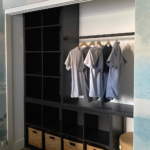
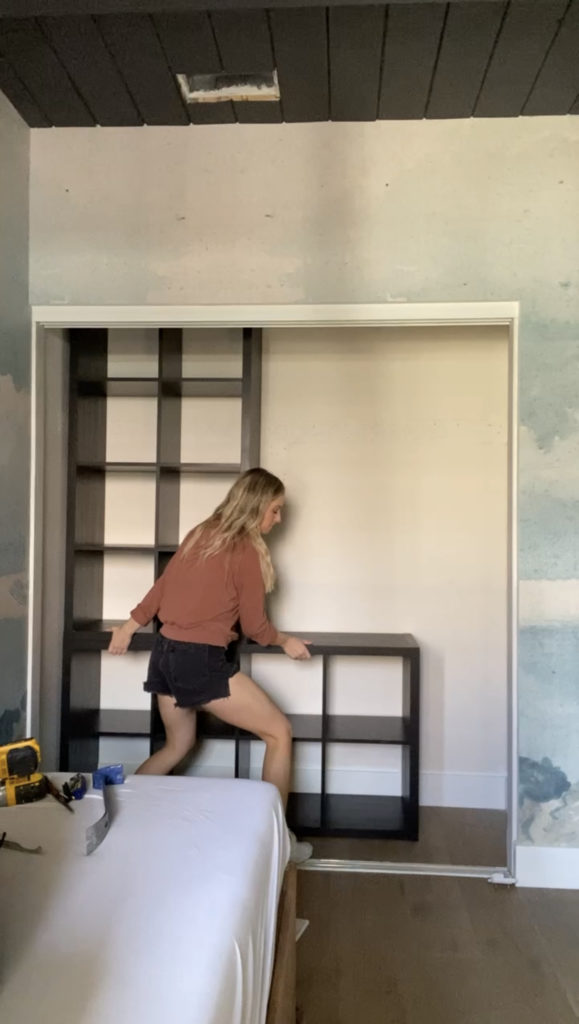
Adding Ikea Kallax Shelves to the Closet
After cleaning the closet out, I picked up 2 black Kallax shelves from Ikea for $80 each. I decided to assemble these before painting so I could plan where they would fit best in the closet and take their measurements. I ended up stacking them in the closet one lying horizontally on the floor and the second laying vertically on top of the other to make an L shape. You can play around with how they fit best in your space and decide what you like! Side note: you’ll want to secure the shelves to the wall using the brackets they come with, but not until after you’ve painted the walls.
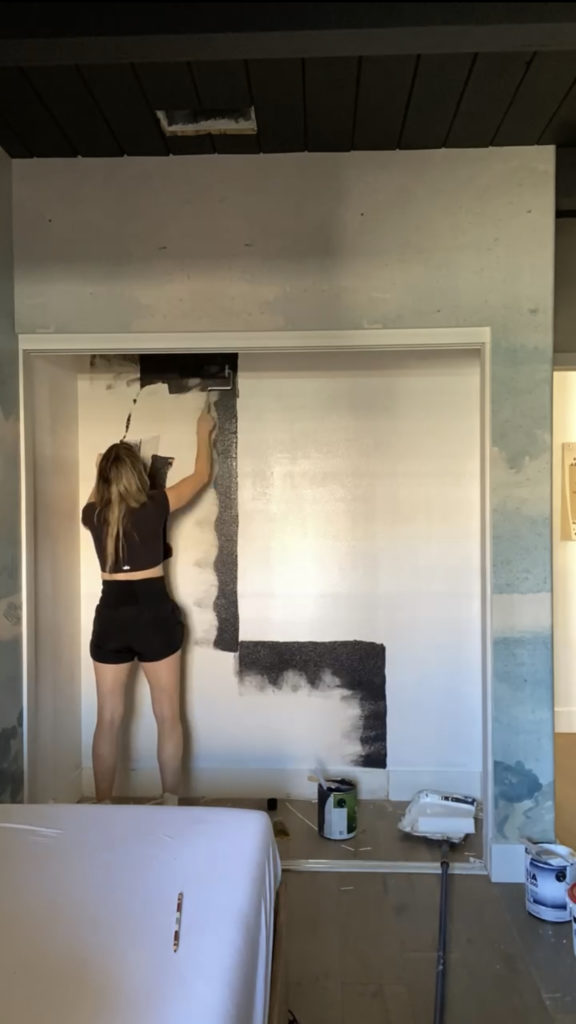
Updating the Closet Paint
We all know how much paint can change the look of a space, but I can not believe what it did for the closet in this project. I ended up using two paint colors, black and white. First, I painted the entire closet white to cover the holes I had filled and freshen everything up. Then, behind where I planned to put the Ikea shelves, I painted the wall black (the same color as the shelves). I cannot believe how much this elevated the look of the Ikea shelves. They look custom and way more than $160! If you’re going to be adding the Ikea Kallax shelves to your closet I highly recommend doing this. All you have to do is measure the shelves, tape off the outline of them on the wall, and paint!
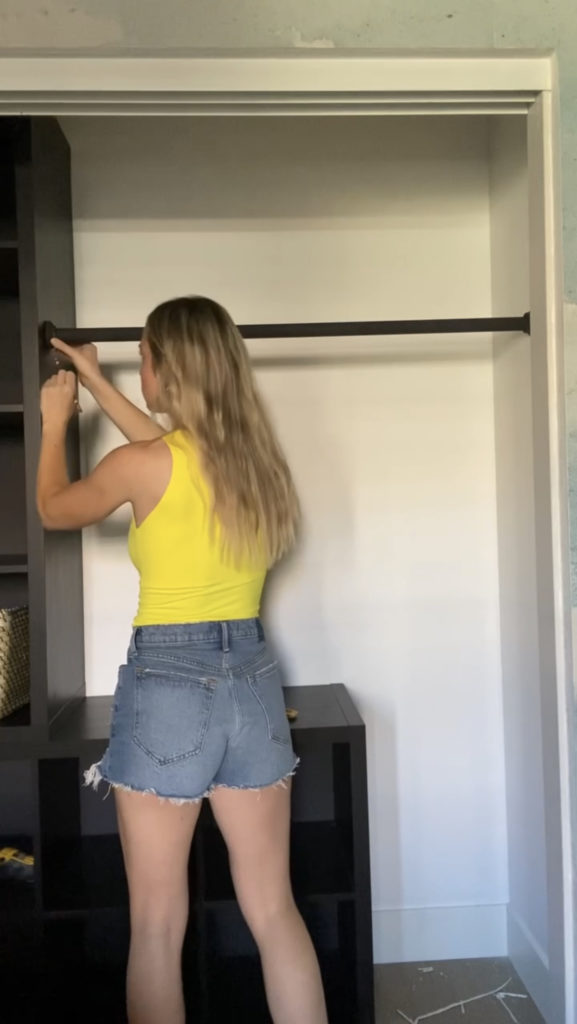
Adding a DIY Closet Rod to Hang Clothes
When the paint has dried and you’ve secured the Kallax shelves to the wall, it’s time to add a closet rod. First, you’ll need to order a closet pole and rod holders. You can get them both on Amazon for under $40. When they arrived I decided to paint them the same color as the black on the walls. To install them all you need is a drill to screw one end into the wall and one end into the Ikea shelves. Be sure to measure and make sure the bar goes on level!
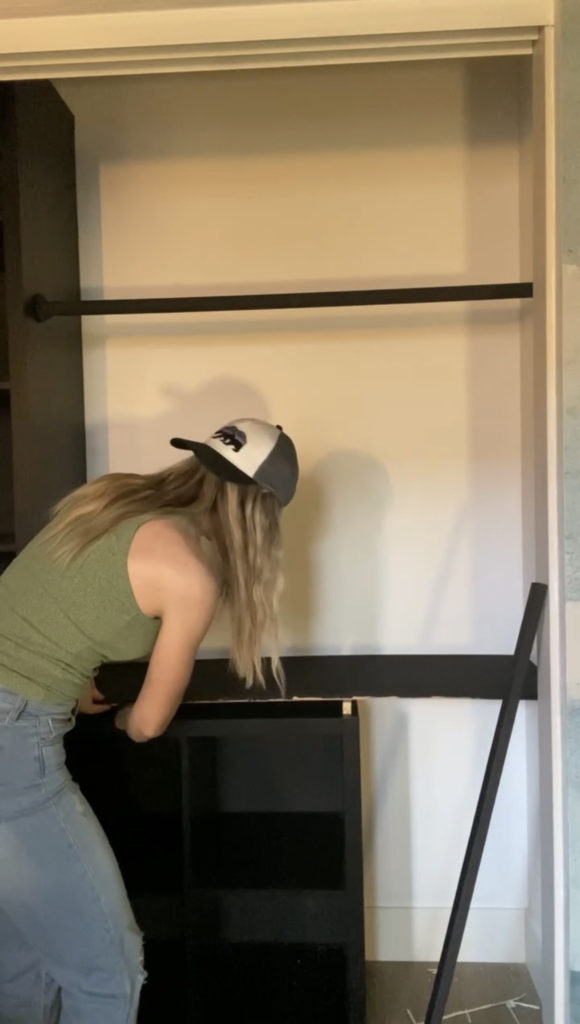
Updating the Ikea Shelving with a DIY Built-In Desk
For this next part, I decided to add a little desktop to the shelving. If you have a little extra space in your closet like I did this is an awesome way to make the most of it! You’ll need screws, a measuring tape, a piece of plywood, and something to cut it with. Wondering why I recommend using plywood for this desk project? Check out my blog post all about the different types of wood here.
First, I measured the width of the shelves and the length of leftover open space in the closet and cut out the perfect piece of wood.
IMPORTANT NOTE: If you want to add a piece to trim out the front of the desk, you’ll want to cut all of your wood a little bit shorter than the width of the shelves.
Next, I cut out 3 skinny wood pieces, the same width as the desktop, that will be used as supports for the desktop (approximately 15 3/8” X 1”). I also cut out a skinny piece of wood the same length as the desktop to trim it out. After everything was cut, I painted all of it black to match the rest of the space. To install the desktop, I first screwed one of the desktop supports to the wall. Then I screwed the second piece to the top edge of the shelves and the third in the corner of the shelves. I was then able to set the desktop on those three pieces of wood. Next, I took the trim piece and drilled it to the front edge of the desk. And that’s it!
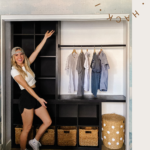
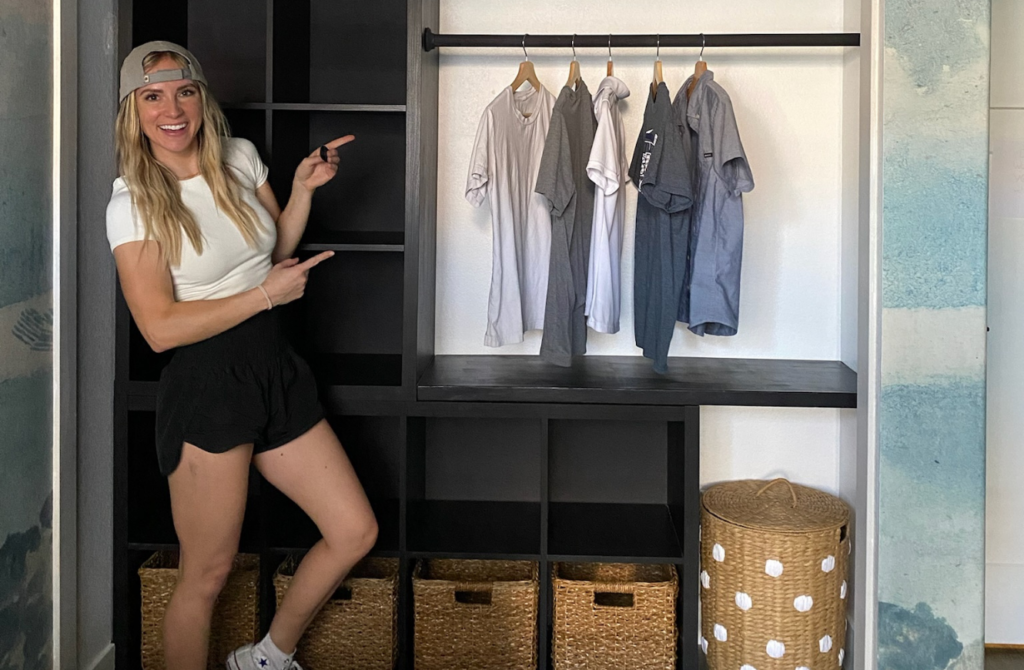
Baskets, Hangers, and More Baskets
Things are looking really good now! But, the final magic is adding baskets to hide all of the not-so-pretty items that are bound to end up back in the closet. I ended up buying 4 different basket options to try out in the cubbies. Sometimes you just have to see things in a space to choose the right option! This checkered weave basket and woven aseana basket were both great options and I ended up choosing the aseana basket. I also bought these wood hangers and a beautiful woven laundry basket to help elevate the space.
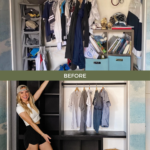
DIY Ikea Closet Update
This DIY Ikea closet update was so fun and there will be no more hiding clutter in this closet. And I know I said empty closets are my favorite, but I actually maybe love this one even more now! I cannot wait to see what you guys will do with these hacks in your own closets. Will you tag me on Instagram and TikTok @angelarosehome so I can see? I’m always so impressed at what we all can do when we stop pinning and start doing, so let’s get to it!