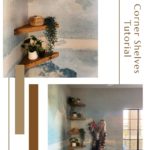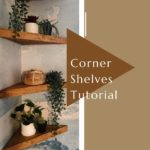
DIY Floating Corner Shelves Tutorial
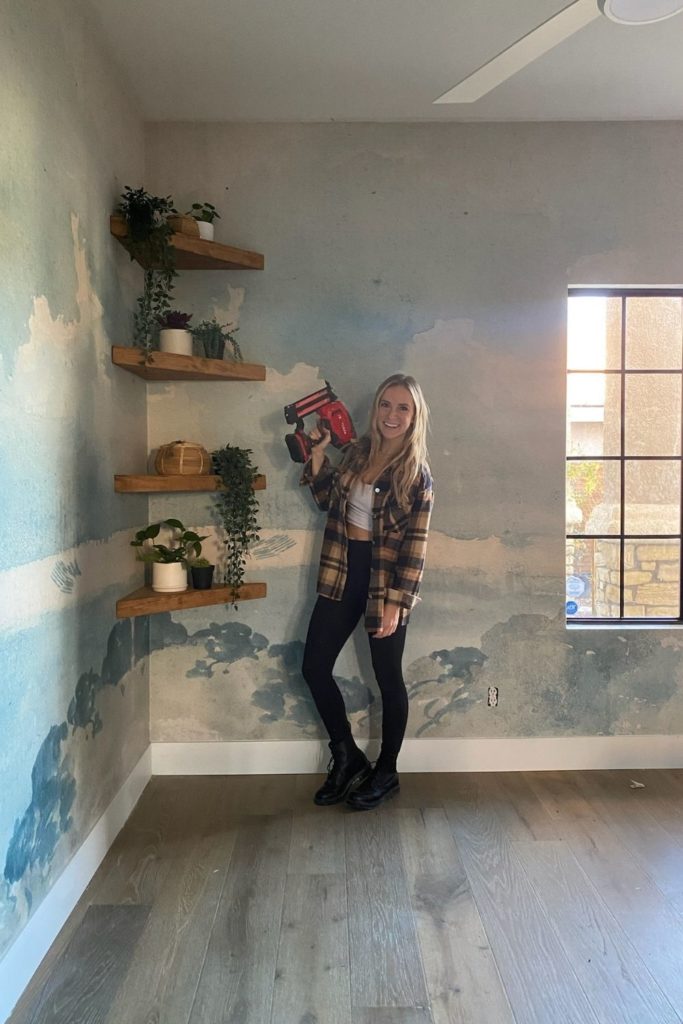
Recently I made some DIY floating corner shelves for my son’s room. They turned out looking so cute that now I’m searching the other areas of my house for an excuse to build more! If you’re looking for a fun way to upgrade a small space, this might be just the thing you’re looking for. To help you get started, I’ve put together a quick tutorial on how I made these floating corner shelves so you can build them too.

Corner Shelves Step #1 Frame
When you think about building corner shelves, think of it like building a triangle-shaped box. Because that’s basically what you’re doing. But before you can build the box, you need to build the frame that will keep it all attached to the wall. To do that, first grab a stud finder and mark the studs you want to drill into. Make sure you don’t skip this step! Drilling into studs will keep the shelves in place. I didn’t want to leave marks on my wallpaper, so when I did this I used small pieces of blue painter’s tape to mark the studs.
Once that was done, I cut two thin pieces of wood to the length I wanted the sides of the shelves to be. Then I brought the pieces inside and drilled them into the wall where I had previously marked. Don’t forget to use a level for this part!

Corner Shelves Step #2 Measure & Cut
Now that I had a good foundation for my shelves, it was time to get the rest of the pieces in place. I wanted to put up four corner shelves in total. So once I had measurements for one, I could repeat the same cuts for the rest. When making corner shelves you’ll need a top and bottom triangle piece, and a front edge piece. For the triangle pieces, I grabbed some precut 2×4 sheets of plywood from the hardware store. Pro tip: when choosing plywood, make sure the undertones match up with whatever other wood you’re using. That way it will all look the same after it’s stained.
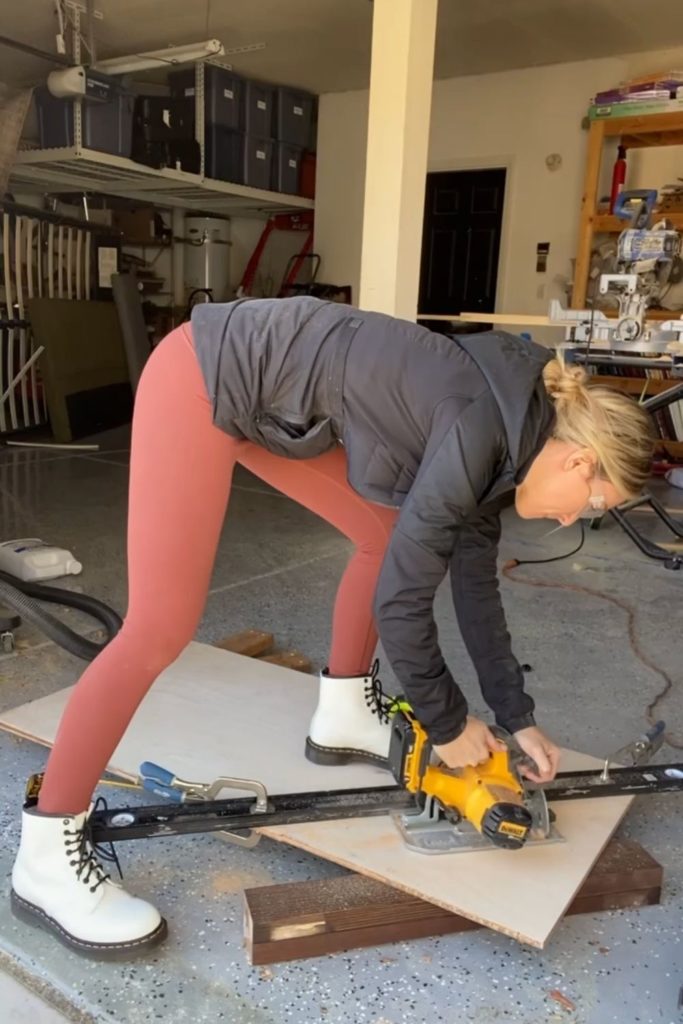
To cut the triangle pieces, I used some scrap wood blocks to prop up the plywood sheet off the floor. Next, I drew a line where I wanted to cut and clamped my level near the line to help me guide my saw. Then I made the cut. I repeated this step for all eight triangle pieces. Cutting the front edge pieces was a little trickier because the ends of the board needed to be cut at an angle. I used my miter saw to make the angled cuts and then tested it out on the framed shelves inside to make sure it matched up.
Corner Shelves Step #3 Stain & Assemble
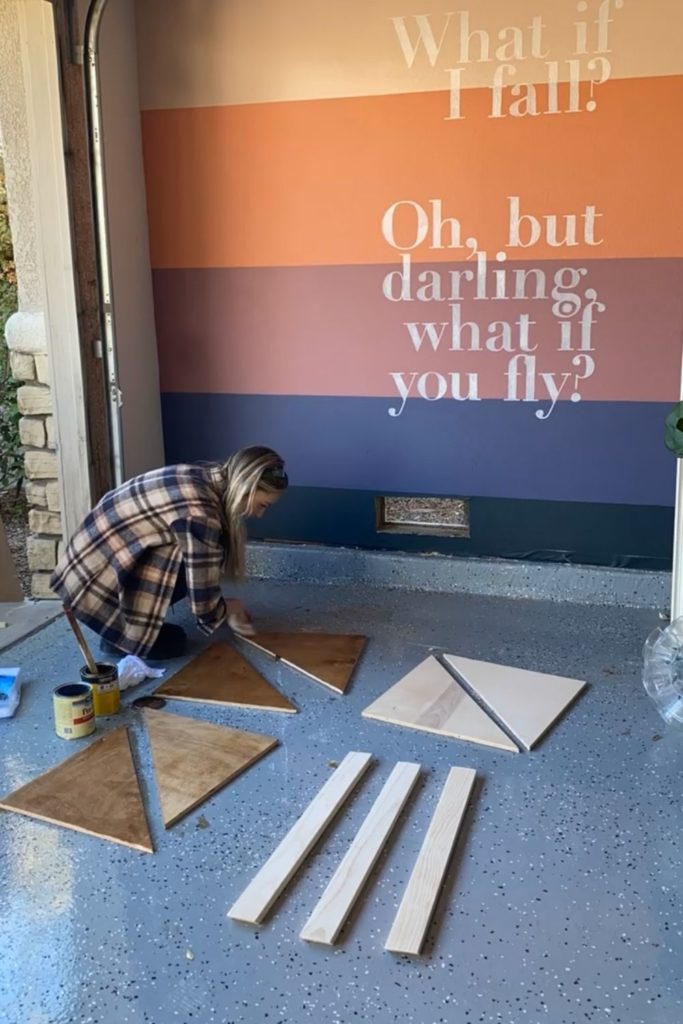
After you cut all your pieces, it’s time to paint or stain your wood. For this project, I went with stain in the color Early American by Minwax. When setting up for this though, I accidentally spilled my big can of stain all over my garage floor. Luckily, I had recently epoxied my floors so I was able to clean it all up. But, I thought I’d share as a little reminder that the process of DIY is messy. Hopefully, you don’t have to clean up any big stain messes though! Once the stain was applied and dry, I could finally put the shelves together. The real moment of truth.
A nail gun is great for this part. I attached my pieces in this order: top triangle, bottom triangle, and then front edge. You’ll want to shoot nails both into the frame and the connecting pieces of the shelf. Then, you’re done! Before closing off one of the shelves, I had my kids put a little note or treasure inside. Just a fun way to add some magic!
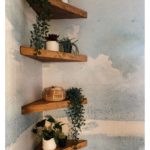
DIY Floating Corner Shelves Reveal
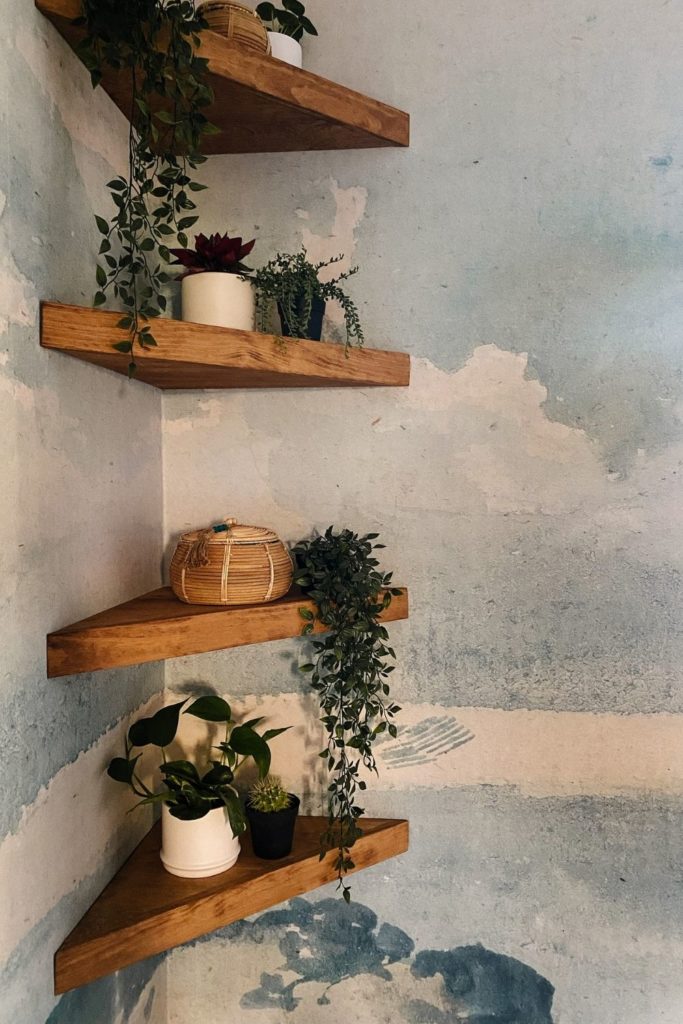
Aren’t these DIY floating corner shelves so cute? I think so! To decorate them I used a variety of real and faux plants that I got from Target and Ikea. The plants matched perfectly with the oasis theme I had going for this room. For more details on my son’s bedroom makeover, check out this blog post.
Wishing you the best as you build your own floating corner shelves! If this post was helpful, make sure to let me know over on Instagram. Then if you aren’t already, follow along @angelarosehome for more DIY fun! Stop pinning. Start doing.