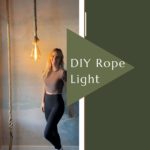
DIY Hanging Rope Light Tutorial
Sometimes it’s the smallest details that really change the whole mood of a space. That was the case for the DIY hanging rope light I made for my son’s room. It was a simple project but added so much. Want to add something like this to your space? Read through this blog post for a step-by-step tutorial! This project is something anyone can do, and I can’t wait to see what it looks like in your home. So let’s dive in!
Step #1 Choosing The Perfect Bulb
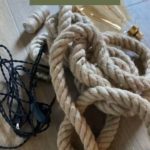
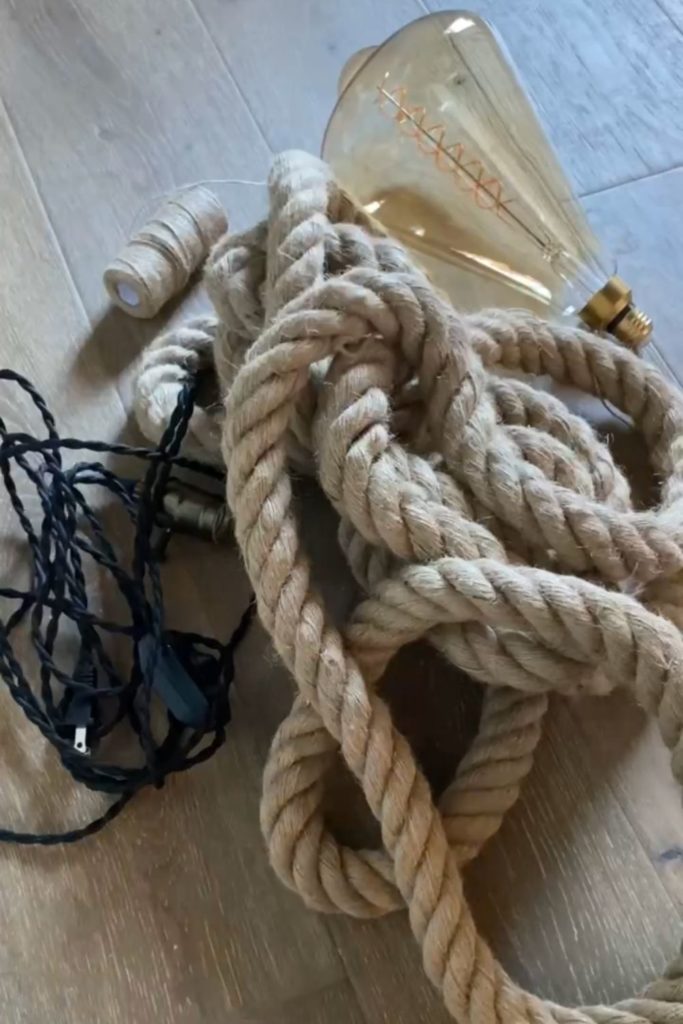
The first step is, of course, to gather the materials! For this project, you will need a light cord with a dimmer, a long thick rope, twine, and a big bulb. Now let’s talk about the bulb for a second because this decision makes a big difference. The size, shape, and overall style can change the finished look. For my space, I knew I wanted to use a large amber bulb but I wasn’t sure which one. I ordered two of my favorites and held them up to see which I liked best. Sometimes the best way to visualize something is to see it in person. Both bulbs looked great, but I ended up going with the vintage almost cone-shaped one. I love the way it looks. You can also get the link to the other option here.
Step #2 Wrapping Cord Inside The Rope
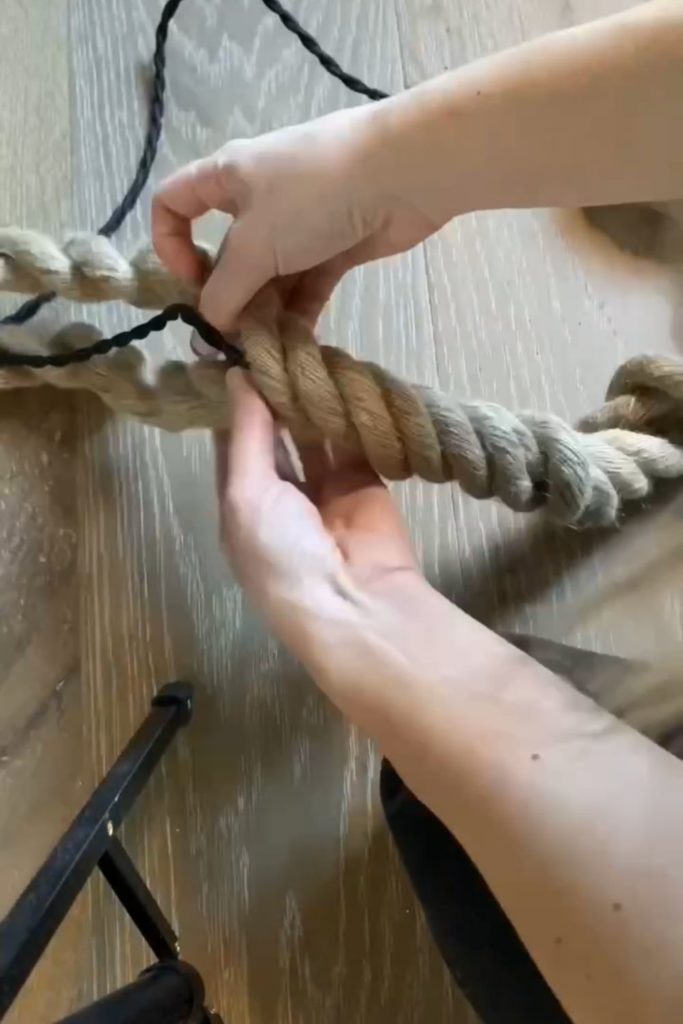
Once you have all your materials you can start putting things together. To get the cord inside the rope:
- Unravel the rope into two sections
- Use the cord to measure how long you want the rope
- Put cord in the center of the two rope sections
- Wrap the rope around the cord
- Trim excess rope
This part is just like braiding! Unfortunately, I’ve never been great at doing hair. Lucky for me though, I turned out to be a decent rope braider. Since the cord I used had a dimmer, while I was wrapping I made sure the dimmer stuck out a little. That way my son could easily turn the light on and off.
Step #3 Adding The Final Touches
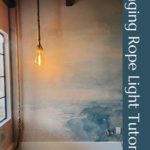
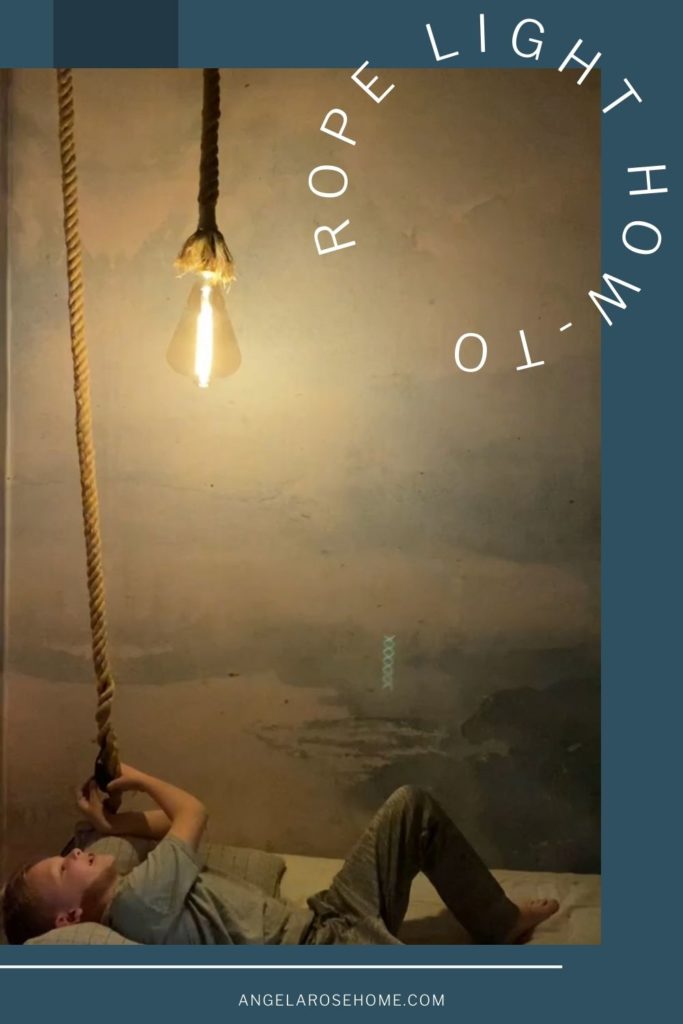
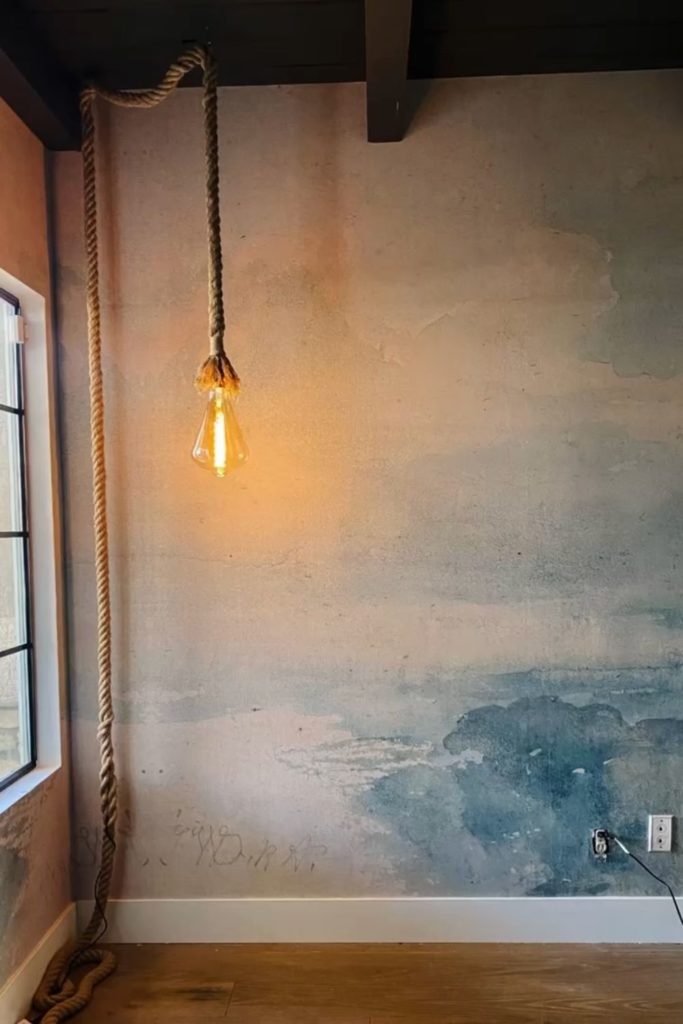
Now that the rope is around the cord, you’ll need to secure it. This is where the twine comes in. My rope had a little bit of fringe at the end, which I liked. So I trimmed it up just a little bit and then wrapped the twine around. I used enough twine to cover up about two inches on the rope. Once that was done, I screwed two hooks into my ceiling. I wanted my light to drape across the two hooks and then come down. The only problem with having a big thick rope hanging from the ceiling in a kid’s room is the temptation to climb it. So if you have kids around, make sure they know it won’t support their weight.
After I put the rope up I screwed the light bulb in and voila. Operation rope light complete! Of course, I had to test out the dimming light a few times for fun. Also, don’t forget to step back and admire your work. That’s a very important DIY rule!
Bonus Tip On Fire Safety
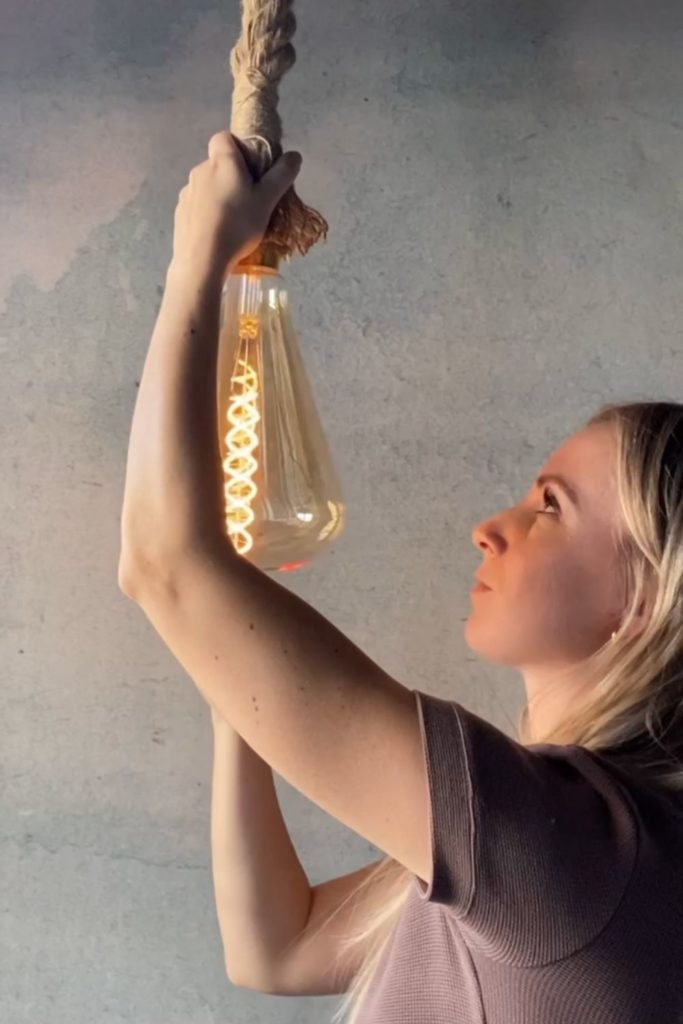
One last note. After sharing this project on Instagram I got a few questions about fire safety. I happen to have a cousin who’s a firefighter. So here’s what Tim the firefighter had to say. If you can hold the bulb while it’s on and it’s just warm and not hot, then it’s okay. If you can’t keep your hand on long, then that’s a sign it’s going to get too hot and be a problem. My bulb passed the test, but I still decided to trim the fringe back a little more just in case. Better safe than sorry!
DIY Hanging Rope Light Reveal
What do you think of this DIY hanging rope light? Will you be adding something like this to your space? I love when I can share simple projects that empower people to try something new themselves. Getting to see what my projects inspire you to build is my favorite thing. So if you do something like this in your home, will you tag me on Instagram? Then make sure to follow along for more DIY fun on both Instagram and TikTok!
Want to see more projects from my son’s room? Check out this shiplap and beam ceiling I made, here. To get all my weekly links, you can follow me on LTK.