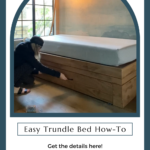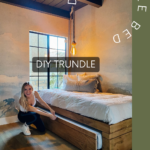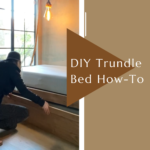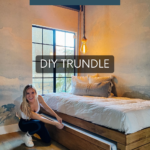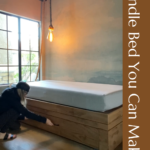
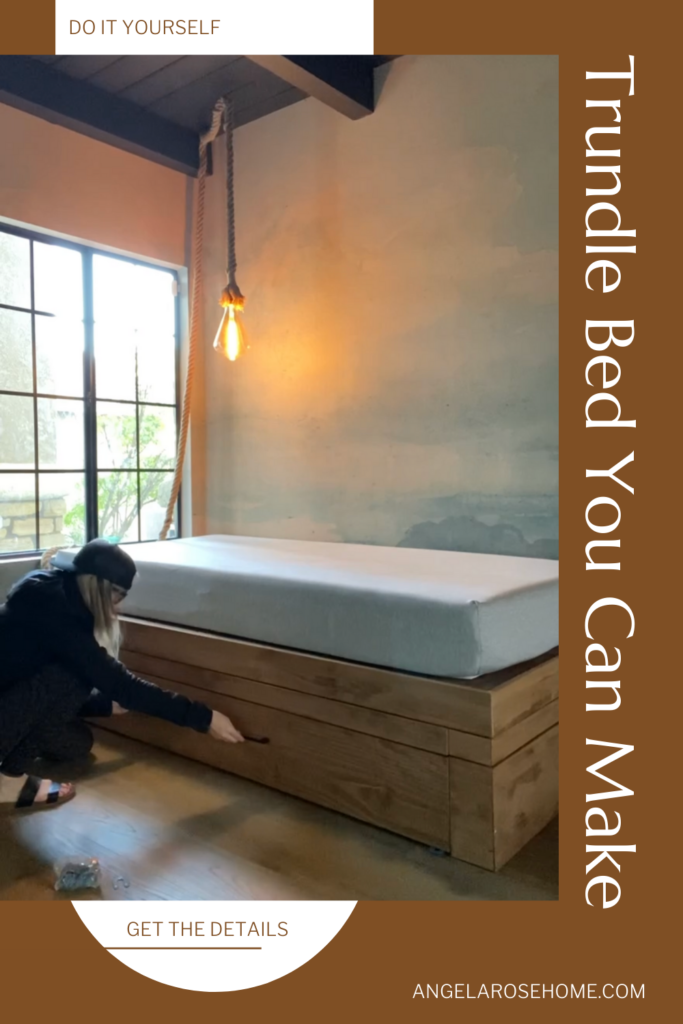
DIY Trundle Bed Anyone Can Make
Sure you can go out and buy a bed frame, but making your own DIY trundle bed is way more fun! Right? At least I think so. I recently did this for my son’s room and to be honest, building a bed frame big enough for a trundle felt a little bit like a giant game of adult Tetris. But it’s totally doable. Let me share how I built my son’s trundle bed so you can repeat this project in your space.
Supplies Used:
- Wood for frame
- Select pine boards
- Cordless drill
- Nail gun
- Miter saw
- Sander
- Wood conditioner
- Wood stain
- Ikea trundle frame
Step #1 Build The Bed Frame
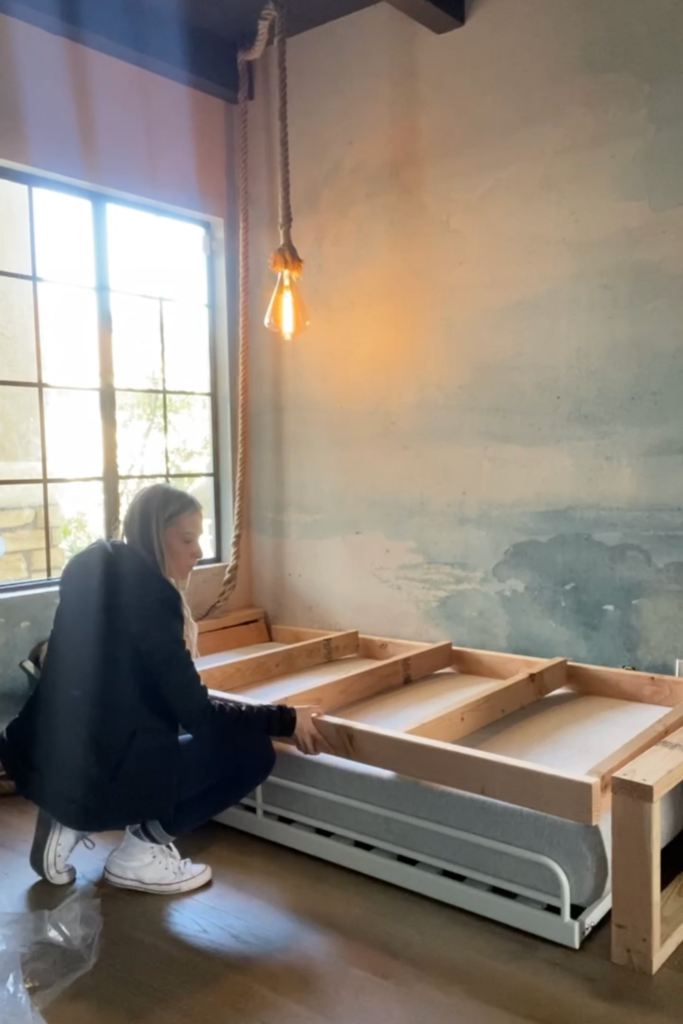
The very first step for this project was building the bed frame. To do that I needed to build supports for the head and foot of the bed, plus the frame that would attach to the top of the supports. The mattress I was going to use for this was an extra-large twin bed (five inches longer than normal). So I had to account for that when measuring. For the frame and supports, I used 2x4s that I cut to the sizes needed. I had to make sure the supports were tall enough that a second mattress on a trundle could slide underneath.
The two supports would each be made up of two long pieces, and three shorter ones. The longer pieces would go on the top and button, and the shorter pieces would go in the middle and on the ends. Making a rectangle shape. Here’s a drawing to help you visualize this step.
For the frame, I cut two longer pieces to make the sides. Then I cut five shorter pieces for the end and middle supports. After cutting all the pieces, I assembled the supports and frame. It’s nice to have clamps to hold things in place for this part. Though, sometimes I just use my foot as a clamp, shh don’t tell! After each individual piece was put together, I brought everything into the room and drilled the pieces to each other and the wall.
Step #2 Prep And Stain Wood
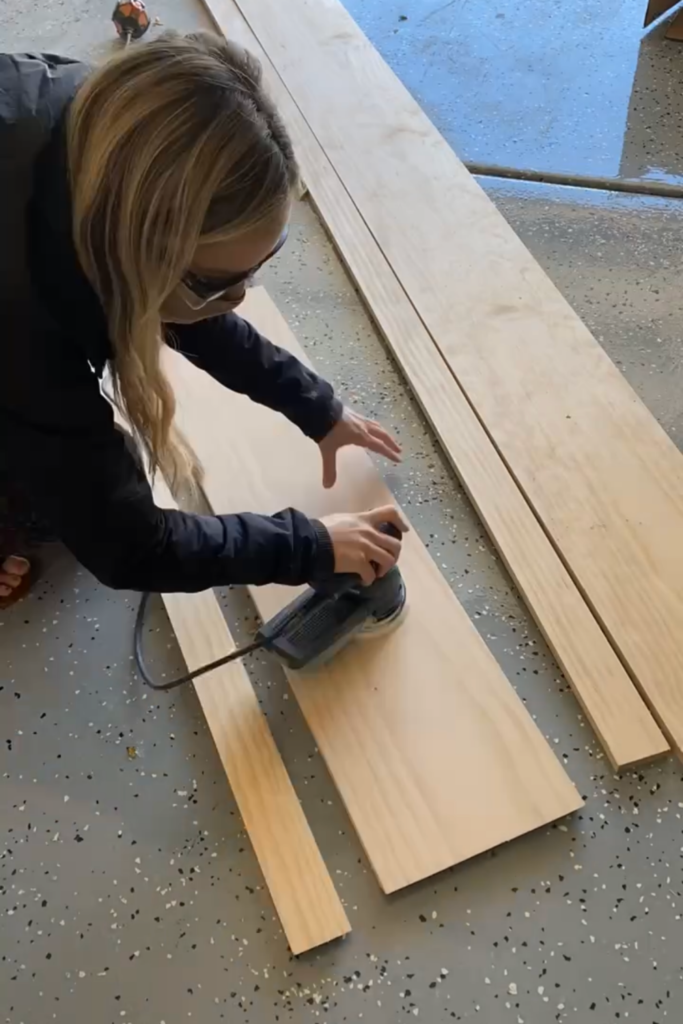
Now that the bed frame was done, it was time to prep the wood I would use to wrap around the outside of the bed. I used select pine boards for this. Using my miter saw I cut pieces for the top of the bed, side, and front. You’ll want to make an angled cut where the boards will wrap around the corner of the bed. Then grabbing my sander I made each piece nice and smooth. Don’t forget some face protection when you do this. You can get the glasses and mask I use here.
Before staining everything, I first applied some pre-stain wood conditioner. I let the conditioner rest on the wood for about ten to fifteen minutes before going back and wiping off any excess. Then I went ahead and applied the stain. For this project, I used Early American by Minwax. I’ve used this color in other areas in my house before and love it.
Step #3 Wrap The Bed Frame In Pretty Wood
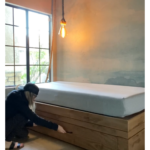
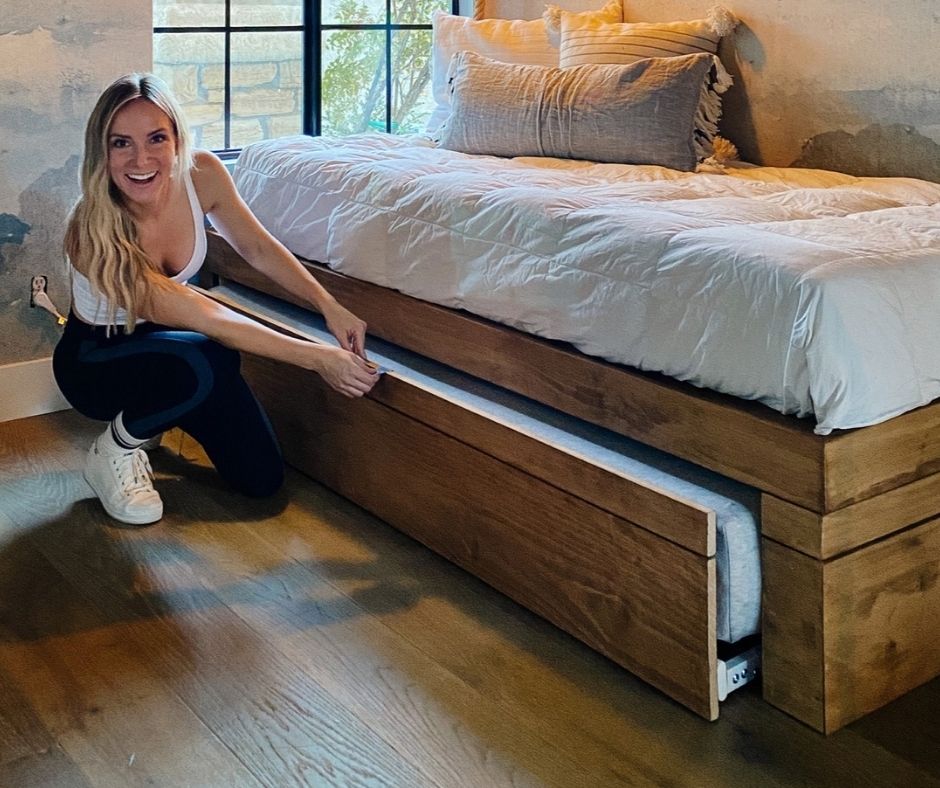
Once the stain was dry I could finally take the boards inside and finish up this DIY trundle bed! I started by attaching the top piece where the mattress would rest and then attached all the side pieces. I used my nail gun for this part. Make sure you’re hitting the bed frame when doing this so that the boards stay secured. For the pull-out part of this bed, I previously purchased and assembled a trundle bed frame. I attached boards to the front of the trundle for a really disguised look. The last thing I did to finish this project was add a handle for the pull-out bed, and toss on the mattresses!
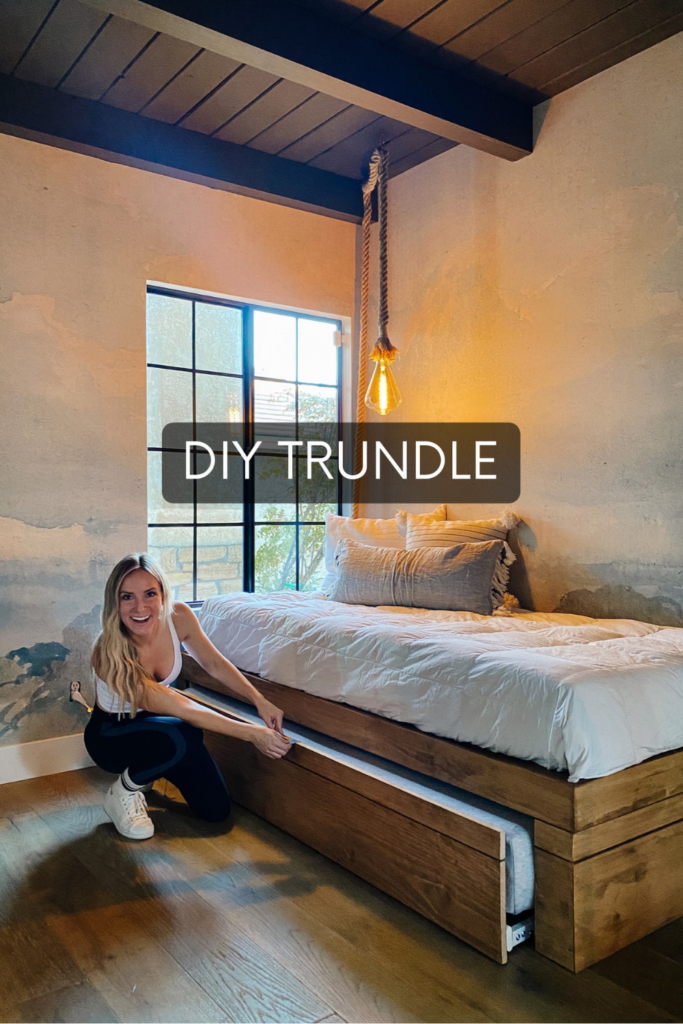
DIY Trundle Bed Reveal
Here is the DIY trundle bed finished look! What do you think? My kids love it, and so do I! Will you be making something like this in your space? If you do, I want to see! Tag me on Instagram so I can share in the magic. To see more projects from my son’s room makeover, check out this blog post.
Then make sure to follow me on Instagram and TikTok to see what I’m working on next. Stop pinning. Start doing. You’ve got this!