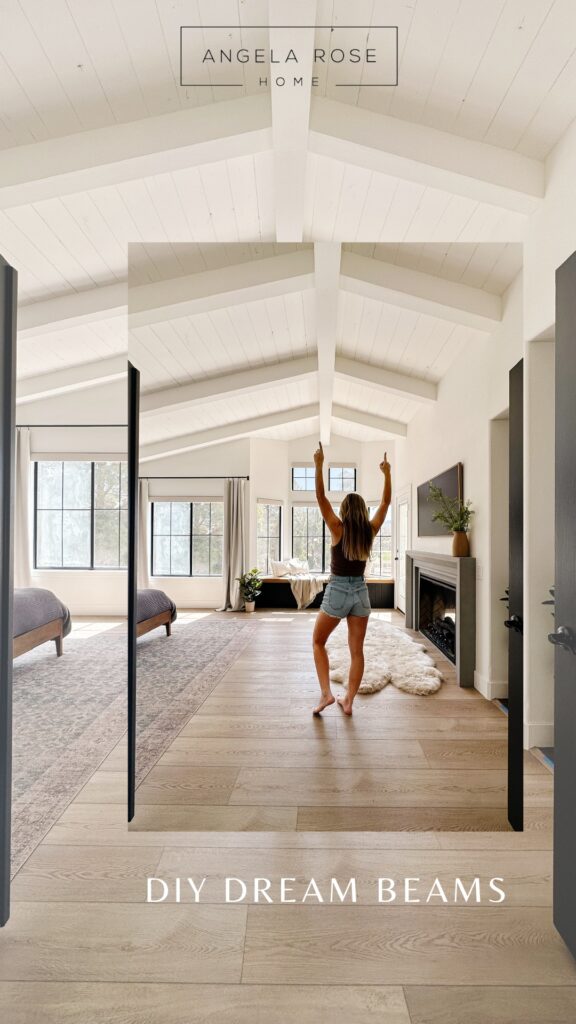
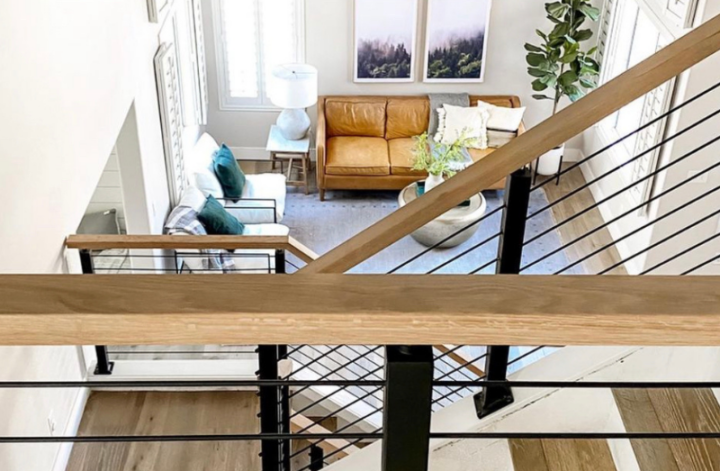
Remember that one time I gave my front room a makeover and transformed into a cozy, inviting space with a stunning fireplace? I definitely do! I love it so much and seeing it everyday as I come down my new staircase puts a big smile on my face.
Since completing my front room project, I’ve received several DMs asking how I went about decorating the space and for links to the specific products I used. So I decided to put all my fireplace room decor items in one place!
The Front Room
As a refresher, here’s a little more info about the space.
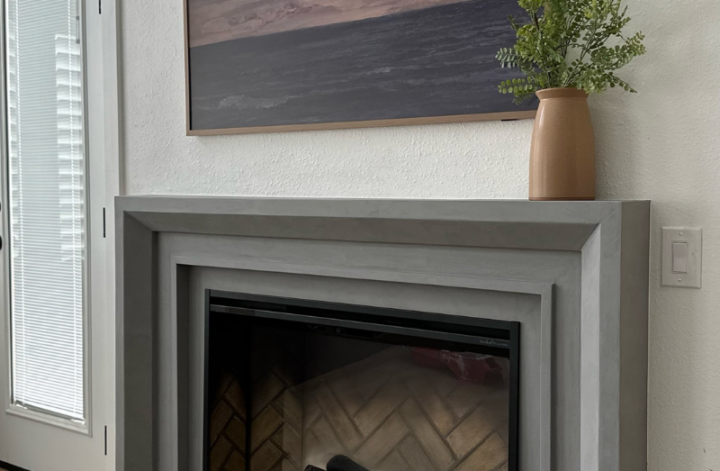
For years and years I had dreamt of a gorgeous built-in fireplace for my home, but never quite had the right layout for one. When I bought my new house and saw the front room, all I could see was how much potential was in that space. That’s when I knew it would be the perfect room for a gorgeous fireplace design!