Giant DIY Lite Brite That Anyone Can Make
Okay, getting this project on the blog has been a long time coming. I just had to share the details of this super fun giant DIY lite brite I surprised my kids with last Christmas. When you were younger, do you remember playing with lite brites? You know, the toy where you got to make fun pictures that lit up and looked magical? I loved playing with those as a kid. So I thought, why not try making one? But I wasn’t going to make just any old lite brite. I was going to make a giant DIY lite brite. Like all DIY projects, this one took some problem-solving, but it turned out amazing in the end. Let me break this project down so you can recreate it.
How to Create Your Own Giant DIY Lite Brite
Before you get started creating your own giant DIY lite brite, you’ll need to gather your supplies. The supplies aren’t too hard to find, but to help you out, I’m going to link to where I found everything I used for this DIY project for my kids.
Supplies Needed:
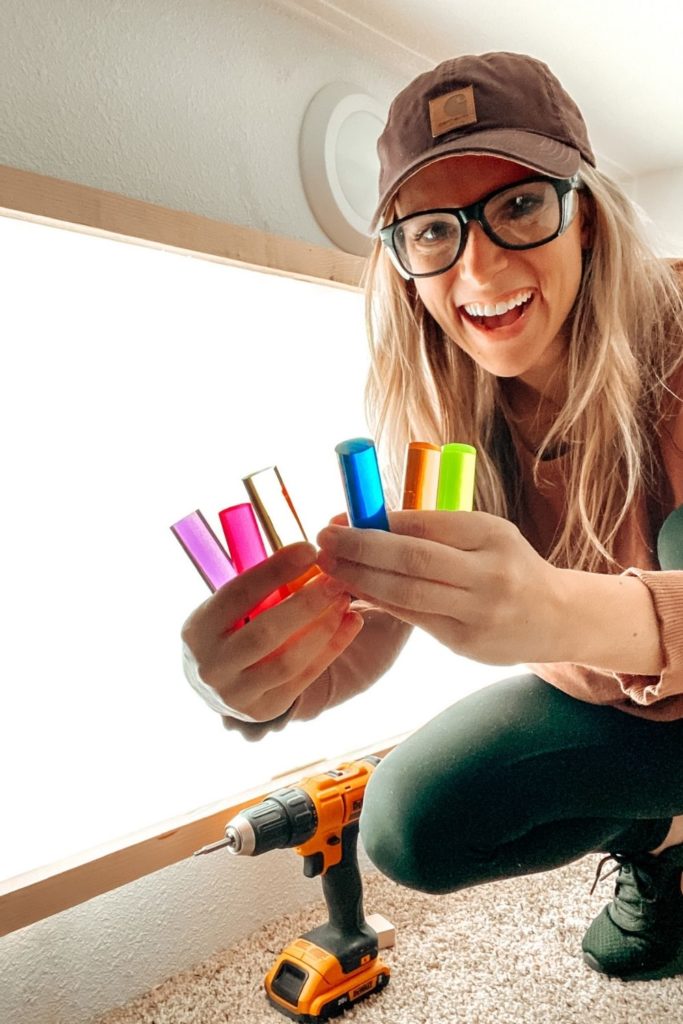
- Colorful acrylic rods (option 1)
- Colorful acrylic rods (option 2)
- LED strip lights
- Paint sprayer
- Cordless drill
- Screwdriver bit set
Getting Things Set Up Just Right
There’s one thing you need to know about DIY. You can create beautiful things but the process isn’t always pretty. DIY is just a bunch of problem-solving. When I was starting this giant DIY lite brite project, I ran into a problem right from the get-go. My original plan was to drill holes into a large rectangle-shaped piece of wood, string LED lights behind it, and then put the colorful acrylic rods I found on Etsy in place. Seems simple enough, right? It wasn’t.
To start I needed to drill holes for the rods. But no matter what drill bit I used, the hole in the wood was either too small or too big. After 3 trips to the store, want to know what drill bit finally worked? The ¾ bit (with a little wiggling) that I had tried first. Oh well, that’s DIY for you! The important thing is that it worked. Finally. This meant I could move on to the next step in my giant DIY lite brite project!
Figuring Out Acrylic Rod & Light placement
Now that I knew I could create holes the right size, it was time to decide how I wanted to place the colorful acrylic rods. The big decision was between a grid pattern or an offset design. After laying both of these options out on my garage floor (and with a little help from my Instagram followers), I decided to go with the offset pattern. Another really important thing to figure out was where to situate the LED lights. If I placed them next to the rods, hardly any light came through. If I placed the lights directly under the rods, it was way too bright. So, how did I solve the problem? I grabbed a piece of plexiglass! Placing plexiglass between the lights and the rods really made a big difference. It diffused the light just enough to make the light shine through perfectly.
Building The Frame & Taping Up Lights
Once I knew how I wanted this to look in the end, it was time to put everything together. In our house, we have a closet under the stairs. I thought it would be the perfect place for a fun little playroom for the kids. So that’s where the giant DIY lite brite was going to go. To start assembling, I first built a frame that was going to bump out the plexiglass. I used star drive screws (my favorite) and drilled into the studs for a stronger hold. For the LED lights I found this ridiculously cool light roll that tapes right to the wall!
Since I was going to use the offset pattern for the acrylic rods, I lined the LED lights up with an offset as well. I notched out a little area at the bottom of the frame for the cord to come through and then ran the lights up and down until the whole frame was filled. It took a full sixty-two feet of lights to do this so always get more than you think. I also attached some clips that came with the lights to the top of each row. That way everything was extra secure.
Attaching Plexiglass & Drilling One Million Holes
After taking a minute to bask in the glow of the LED lights, it was time to attach the plexiglass. I found the perfect milky plexiglass from a local glass shop, and I’d recommend doing it this way so that you don’t have to worry about cutting it to size. Before taking the paper off the glass I first very carefully drilled a hole in each corner. Then I peeled the paper off and sandwiched the plexiglass between a two-board thick frame in the back and a one-board thick frame in the front. Now that everything else was put together, it was time to drill a million holes (not literally but it felt like it).
Before I started drilling, I first mapped out and marked where each of the holes needed to be. All thirty-one rows of them! Believe me when I say I was so excited when I finished the last row. Next, I sanded the front and back of the frame. Then I painted the back of the frame white to reflect light, and the front black so the colors stood out more. Now I could finally add this board on top of everything else and insert the acrylic rods. Are you ready for the reveal?
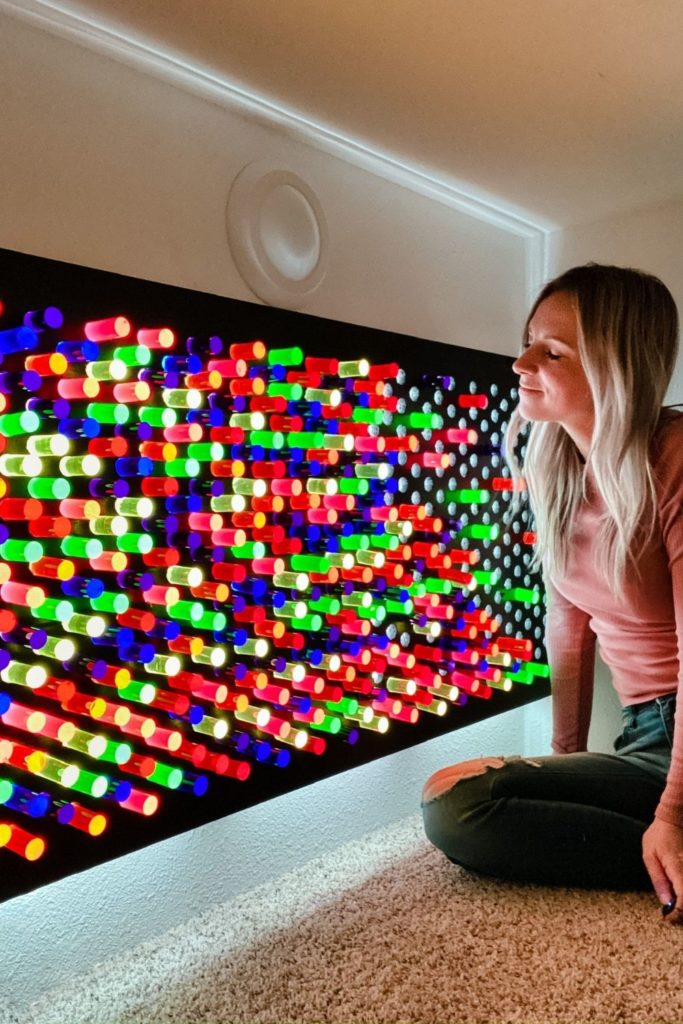
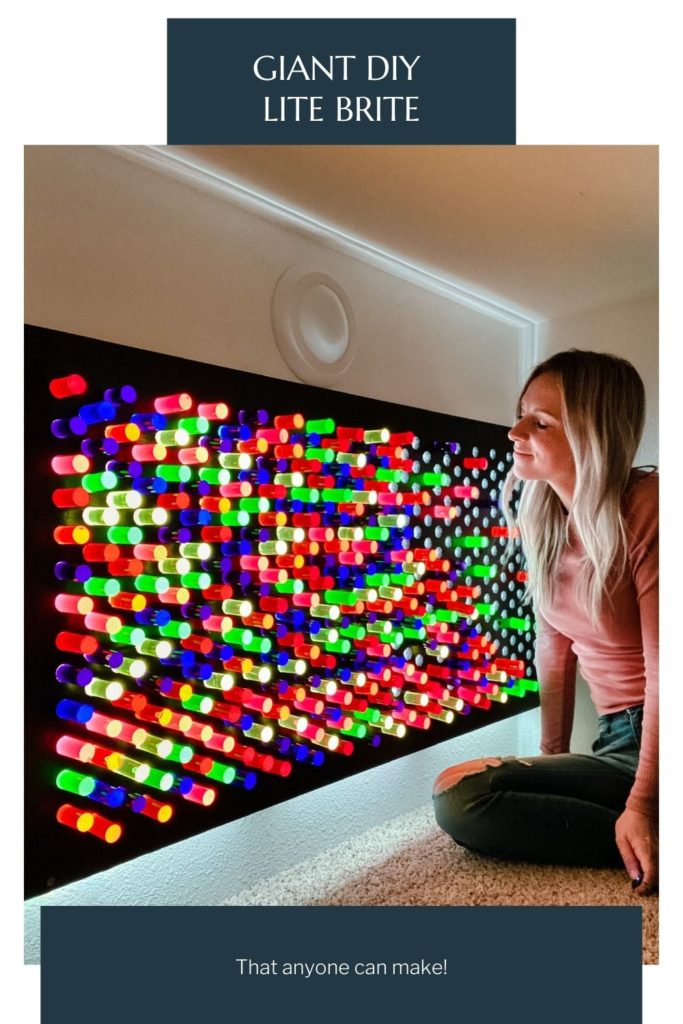
Giant DIY Lite Brite That Anyone Can Make
There it is! Project giant DIY lite brite is complete. I’m not going to lie, partway through this, I was thinking, “what did I get myself into.” But guess what? I love it! The first time seeing all this glowy magic left me speechless. My kids loved the Christmas surprise too. It’s still up for debate if my kids or I enjoy this more. I love DIY. Coming up with the initial idea, the messy process, and especially seeing the end result I worked so hard for. If you’re dreaming of creating something, I just have one thing to say…Stop pinning. Start doing. Let’s do this together over on Instagram and TikTok. If you make your own DIY lite brite, be sure to tag me so I can see!
Speaking of this closet playroom, have you seen the loft playroom I just added a few updates to? You can view that post here!