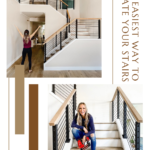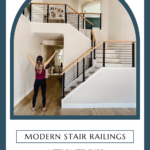
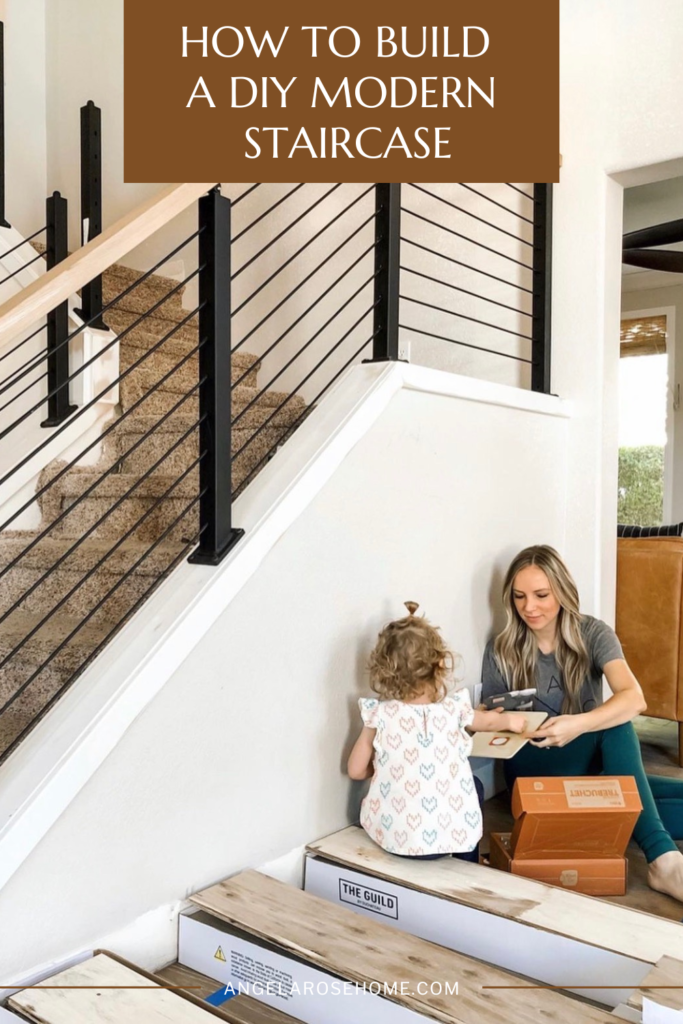
Modern Staircase Renovation Tutorial
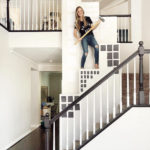
The first time I walked through my house I can remember looking up at the giant bulky staircase and thinking, I’m going to knock that out in a day. Now it may have taken more than a day to complete, 3 months to be exact, but I finally did renovate that awkward staircase! The original staircase surrounded a large wall structure that blocked the entire view of the living room from the loft. And I felt like it was dating my house. So I picked up my tools and got to work! And this modern staircase renovation tutorial turned out to be one of my favorite projects ever!
This was an intimidating project to start and it took me almost 3 months to finish. I poured my whole heart, mind, and body into this staircase transformation! Hours were spent knocking it down, building it up, trimming it out, and installing the new railings. And it was all worth it! Because now I really love my stairs and I get to enjoy them every day. I’m a DIY nerd, I know. I love all the little things! If you’re looking for the courage to make a change in your home, I am your biggest cheerleader. You can do it! Now let’s renovate these stairs.
Modern Staircase Renovation Materials Needed –
- Viewrails Rod Railing System
- MDF Trim Boards
- MDF Risers
- Hailee Duchateau Treads
- Satin Benjamin Moore Paint
- Hammer
- Crowbar
- Box Cutter
- Reciprocating Saw
- Nail Gun
- Cordless Drill
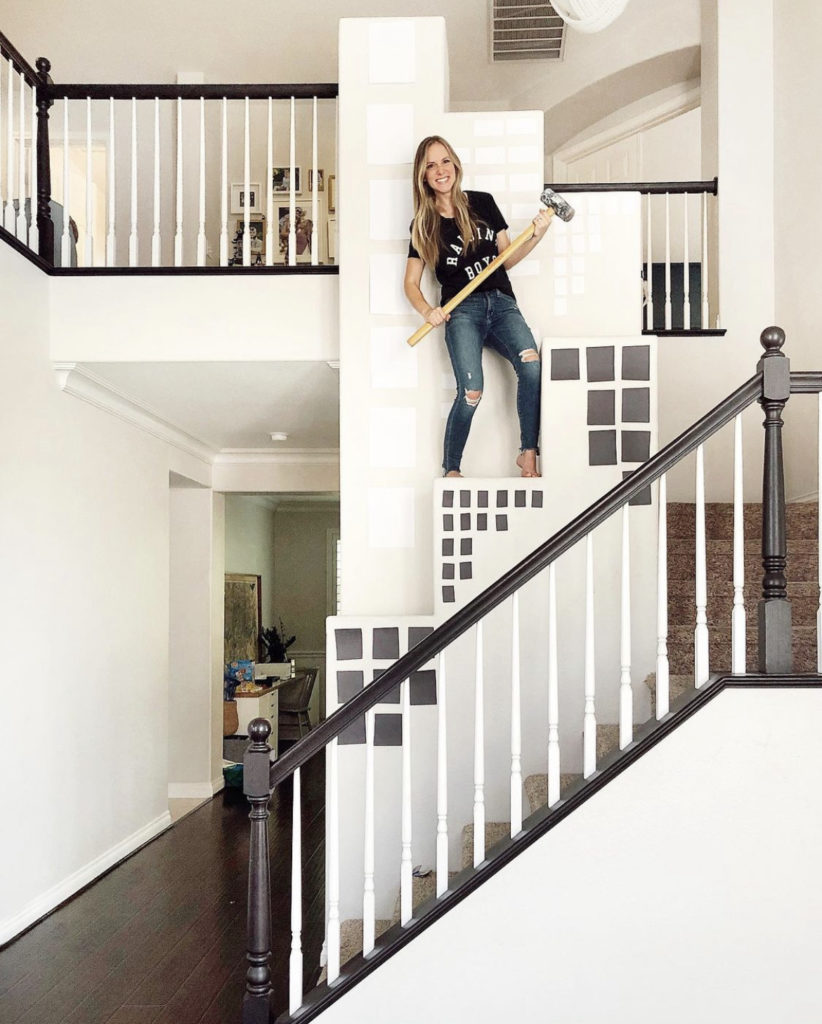
Staircase Demolition Day!
Out with the old and in with the new! I was mentally sledgehammering the awkward cutouts in my stairs for years. It was so satisfying to finally knock them down! If you’re wanting to remove a wall or something similar in your house make sure you consult a structural engineer or contractor before you start. They can help you determine if a wall is load-bearing and show you where there may be water pipes and/or electrical wiring. It can be very dangerous to bust into a wall without knowing what you might hit. You could be electrocuted or even have your roof cave in. So check with the experts first and once you know it’s safe, demo away!
How to Remove Unwanted Staircase Walls
To tear out the wall on our staircase I first used a hammer and crowbar to remove all of the sheetrock. You can start at any corner and use your hammer to carefully hammer the back of the crowbar into the wall. Once you get a piece up you’ll be able to see the nails that are holding it in place. Use your crowbar to pry each of the nails up. Then you’ll need to remove the 2×4’s inside of the wall.
The easiest way to remove 2×4’s is by taking a reciprocating saw and cutting them off at the top and bottom. If you don’t have a reciprocating saw you can usually rent them at Home Depot for less than $20. You can also use this saw to take out the sheetrock if you want to! Because of the way my staircase is laid out I needed to be more careful about how I removed the drywall which is why I used a hammer and crowbar.
TIP – I also took out the carpet on my stairs and replaced it with beautiful wood treads. But, don’t remove or replace the carpet until after you have finished installing your new railings. If you remove the carpet it will expose several staples and you’ll have to be extra careful not to step on anything sharp. And if you replace your floors before installing your railings it puts unnecessary stress on them and leaves an opportunity for them to be scratched.
Staircase Trim Tutorial
My original staircase didn’t have any trim and I knew it would elevate the whole look of the stairs by adding it. For the trim, I used my favorite go-to Medium-Density Fiberboards. I love MDF boards because they are affordable and perfectly straight. You can learn more about how I choose between MDF, plywood, and solid wood for each project in my blog post here. The ones I used were pre-primed and they came from Composite Panel Association.
It may not look like a lot, but I am so proud of the stair trim! It was a lot of trial and error to get all of the correct angles measured. And it took a long time! My garage was completely covered in scraps and sawdust by the end. But it all worked and I love the way it turned out! To build the trim boards I measured along the base of my stairs and cut each trim board to the correct length. I first cut the edges at right angles, then I would hold them into place and use a pencil to mark the angles the corners needed to be cut. Once I made all of my cuts I attached them to the wall using a nail gun to nail in all of the corners.
Painting and Installing Staircase Trim
Next, I painted the trim with two coats of Satin by Benjamin Moore to match the other baseboards in my house. (Update- Since this project was completed, I have recently repainted all of my walls, ceilings, and baseboards with the color Chantilly Lace by Benjamin Moore.) To learn my painting tips and tricks you can check out my blog post here. Once the paint was dry, I attached the trim to the wall using a nail gun and placed one nail in each of the trim’s four corners.
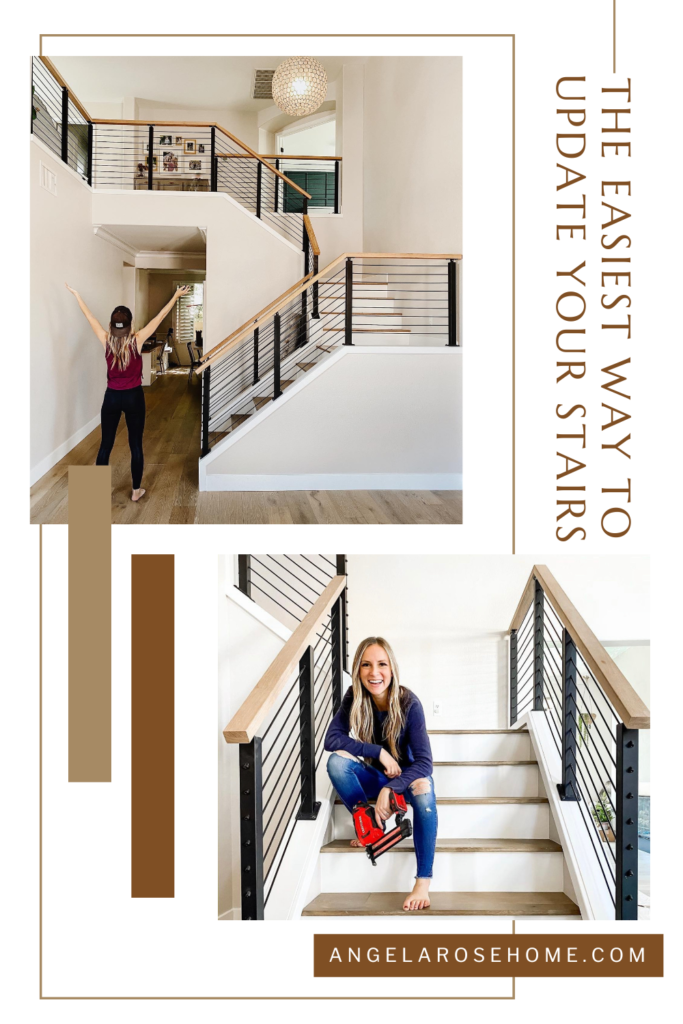
Choosing Your Modern Staircase Railing System
Next up in this modern staircase renovation tutorial is choose a railing system. I had never renovated a staircase before this and I knew it could be a lot of work. I needed to find a stair railing system that was beautiful, modern, and also manageable to install. That is why I am obsessed with Viewrails! I was one of the first people to use their rod railings system and since then I have seen them take the internet by storm. And they deserve all of the hype! If you’re a little nervous or scared to install your own stair railings, don’t be! The Viewrails team is SO helpful and the whole planning process was very collaborative. All you need to do is measure your stairs and decide on the railing you want. I was able to call them anytime I had questions or needed help. They rock and their railings rock!
Installing Your Modern Railing Posts and Rods
My Viewrail railings are the Onyx Black Rod Rails. To begin, I downloaded the PDF installation manual from the Viewrails website. Then I measured my staircase and marked where each rod needed to go. To secure each post to the floor I use the provided railing screws and drilled them into the four corners of each post. There are already clear pre-made holes where the screws fit.
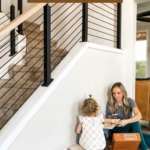
Once all of the posts have been installed you can begin to add the rod rails. Follow your customized Viewrail instruction manual for this! Everyone’s staircase is a different size and you’ll install these according to your customized plan. But basically, what you’ll do is thread each rod through your posts and spin them to get them to screw into the posts. The rods can be tricky to learn, but once you get it down everything goes by so fast. When I put these up I had some safety concerns with my younger kids and I was originally going to put up clear plexiglass to make them safer. But my kids never tried to climb through and after testing them out for a while, I ended up leaving them how they are. Do what feels comfortable for you!
Installing Modern Staircase Handrails Tutorial
For the handrails, I used the white oak option also from Viewrail! They came completely finished and ready to install. I really like the look of the wood railing and they tied in really nicely with my floors. I was also concerned that if I used their metal option it would look too industrial for the space. But they would be a great option for an outdoor railing on a deck! To attach the rails to the posts all you have to do is screw them in from the bottom. There will be four corners with holes on the top of each post to drill the screws through. So simple!
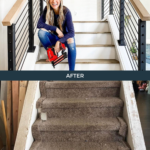
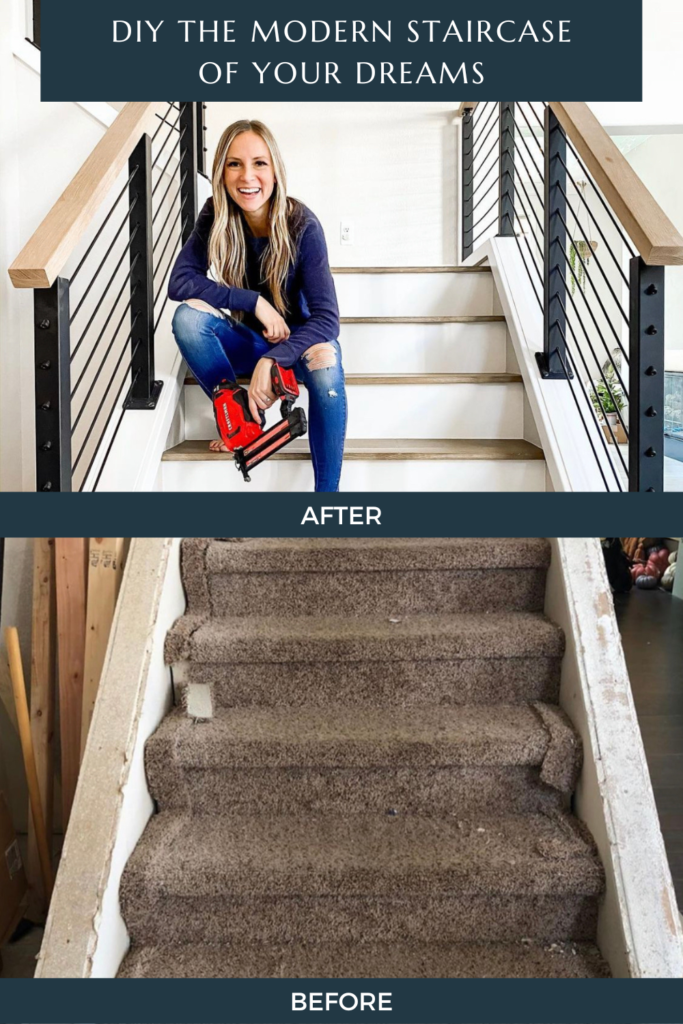
Removing Staircase Carpet Tutorial
The final step in my modern staircase renovation was to update the flooring! I needed to get rid of the old worn down carpet on the stairs. To remove carpet, all you have to do is take a box cutter and cut along one of the inner corners of your stairs. Use gloves to protect yourself for this next part! Grab ahold of the carpet (use pliers if you need to) and pull. This will expose a bunch of staples that were securing the carpet to the stairs so be careful not to cut yourself. Once you’ve ripped out the carpet you can use a crowbar to pry up the tack strips.
Modern Staircase Wood Flooring Renovation
Once I removed the carpet, the stairs were left showing just bare plywood. So I decided to reface the risers and the treads! To build the risers, I began by measuring the face of one of the stairs. Then I used this measurement to cut the perfect-sized risers out of MDF. Once all of the risers were cut I painted them with two coats of the same Satin by Benjamin Moore paint that I used on the trim boards. Once they were completely dried (about two hours) I used a nail gun to secure the four corners of each riser to the stairs.
The last thing left to add was the stair tread. I used the same Lineage Series flooring, from the company Duchateu, as I used on the floors in my house. They are a beautiful engineered hardwood in the color Hailee. Before you install these make sure your stairs are free of debris and are a level surface. Sand them down if you need to and use a broom or a blow dryer to clean them off. Next, install these like you would any flooring, measuring piece by piece and making cuts for each stair. You can glue, nail, or staple down this kind of flooring. Also, you can call Duchateu to learn what type of installment method they recommend for you or ask a professional for advice.

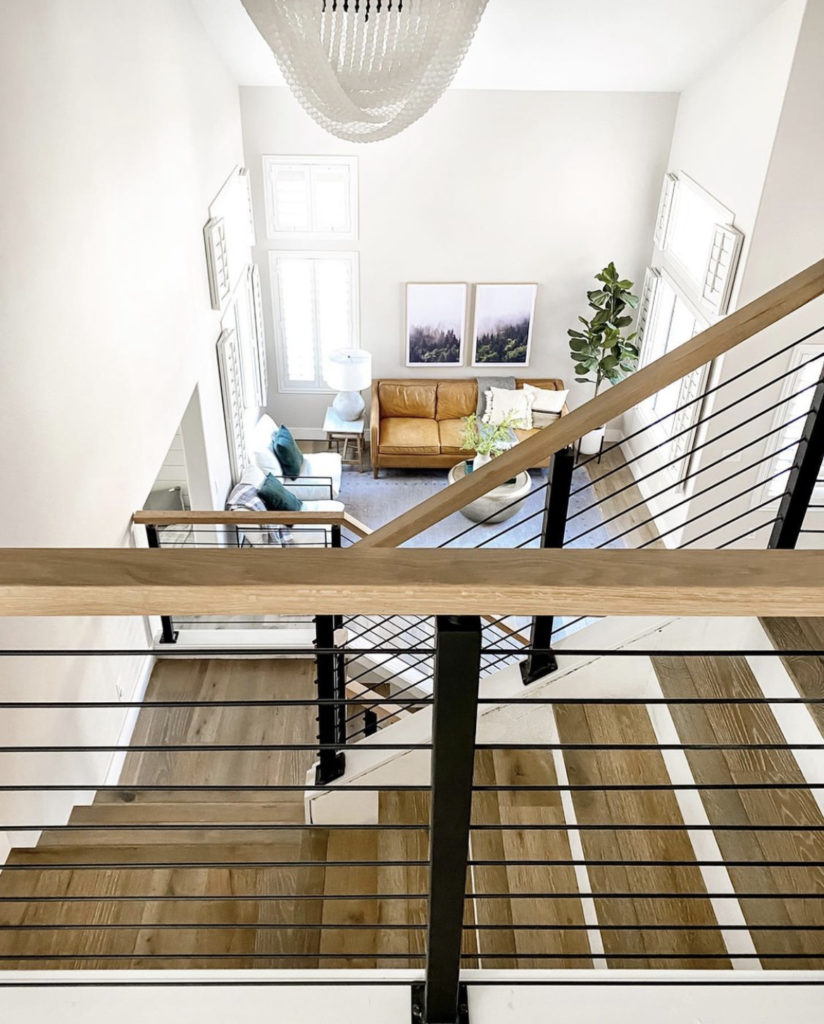
Modern Staircase Renovation Tutorial
These new rails open up my entire living room and loft space! I love how modern and clean they are. I wish I could come and install them in all of your houses! But, now that you’ve read this modern staircase renovation tutorial I’m sure you can do it yourself. I’m so happy about the way these stairs turned out. They really are exactly what I envisioned in my head. And this space finally fits the rest of my home and feels like me. I really can do hard things, and so can you! Follow me on Instagram @angelarosehome to see the rest of my home transformation journey. And remember, stop pinning, start doing!