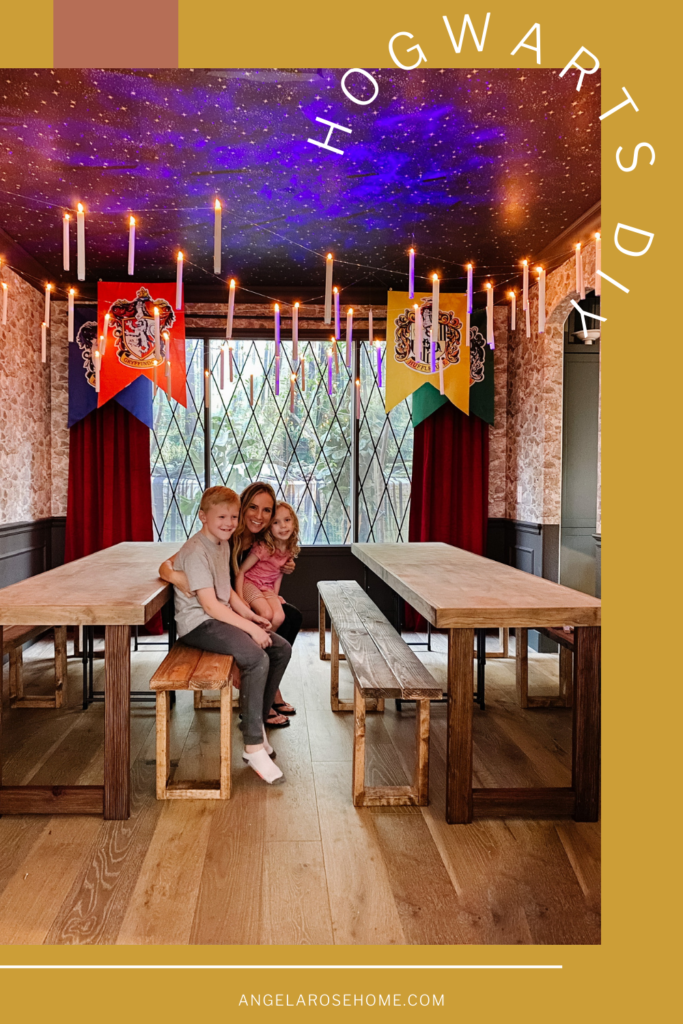
Operation DIY Hogwarts Great Hall Thanksgiving is complete and I am here for it! I haven’t been this excited about a project in a while and I love how it turned out. Are you as excited to see these pictures as I am to share them? I’ve been asked, why create a Hogwarts-inspired Thanksgiving? Well, a big reason for this project was my kids. They are obsessed with Harry Potter, especially my kid Blake (watch this video to see his reaction). So why not turn this space into the Hogwarts Great Hall? I had to bust it in real-time to finish this room in time for Thanksgiving this year. Now that the holiday has passed, I can share all of the details with you.
Hogwarts Great Hall Thanksgiving Reveal
Starting Things Off With Wallpaper & Paint
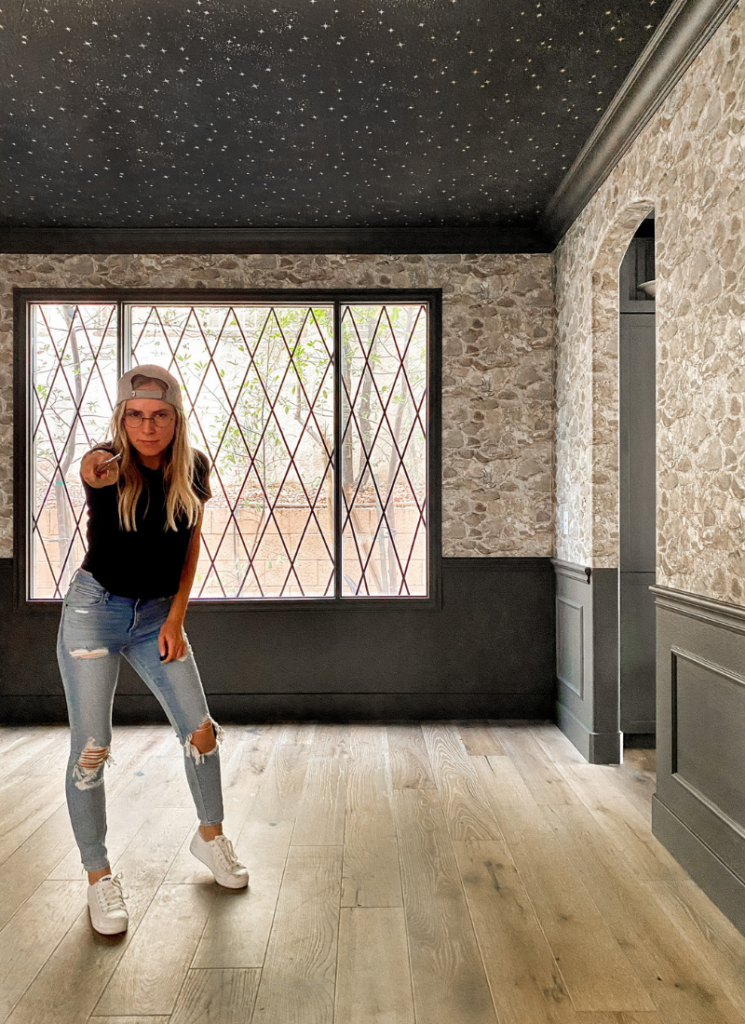
Let’s start by talking about the walls. I really wanted to create a stone wall look and thought wallpaper would do the trick. I loved this weathered stone wallpaper from Amazon. It was the perfect beginning to transforming this space. To create a seamless look I lined up the repeating pattern as I attached it to the wall. It’s always nice to have help with this part and it makes the project even more fun.
To make that stone look even more realistic, I decided to wrap the wallpaper around the doorway. For anyone worried about my walls, this wallpaper is peel and stick. So there’s no glue involved. It’s basically a giant sticker that peels off once you’re done. Now on to the rest of the wall. I wanted to paint the wainscoting and crown molding a dark color and settled on Urbane Bronze by Sherwin Williams. It took two coats to get it to look just how I wanted, and I’m so glad it turned out the way I hoped it would.
Giving The Room A Magical View
You know I love to add some magic wherever possible! For the windows in my DIY Hogwarts Great Hall, I had to go all out. The first step was removing the shutters and painting the trim black. Then comes the part I get the most questions about, creating the diamond-patterned window grid look. Electrical tape is the big secret here. But honestly, there’s no fancy method for this. I just measured the distance I wanted between each one and used a permanent marker to show where each line should start. Then I found the right angle and eyeballed the rest. It took me a couple of tries to get it to look just right, but I’m loving how it turned out. To see how I elevate my windows for other projects, check out this blog post.
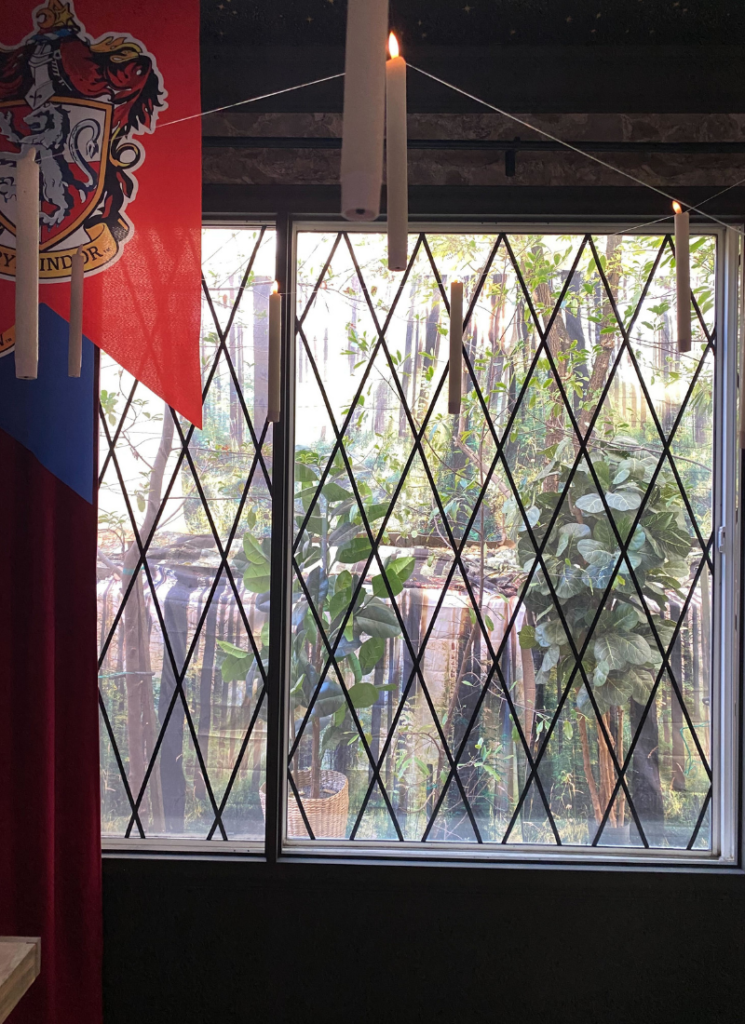
Now for the magical forest…I knew the cinderblock view out my window just wasn’t going to do. So I grabbed a few large forest tapestries from Amazon and draped them over the cinder block walls outside. Then basically I just grabbed all the faux trees from around my house and stuck them outside the window and voila, magical forest!
Creating The Hogwarts-Inspired Great Hall Ceiling
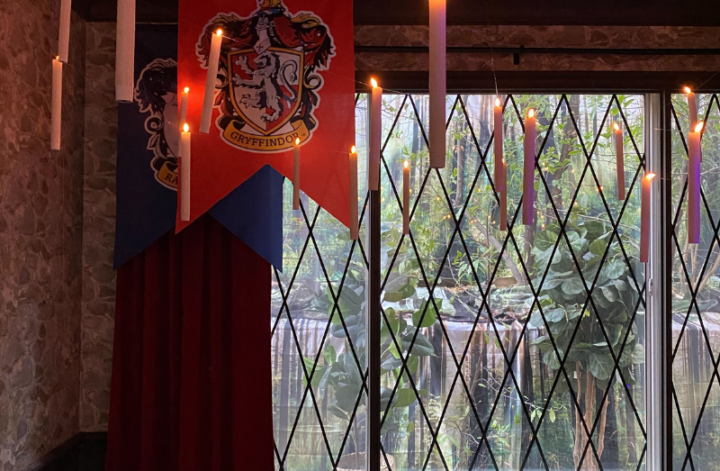
The thing that really took this room to the next level was replicating the Great Hall starry night ceiling and floating candle look. To start, I grabbed this Upon A Star peel and stick wallpaper and carefully stuck it to the ceiling. I definitely had help with this part which made it easier. For the floating candles, I used Flameless Flickering Taper Candles from Amazon that I was able to turn off and on with a remote! How cool is that?
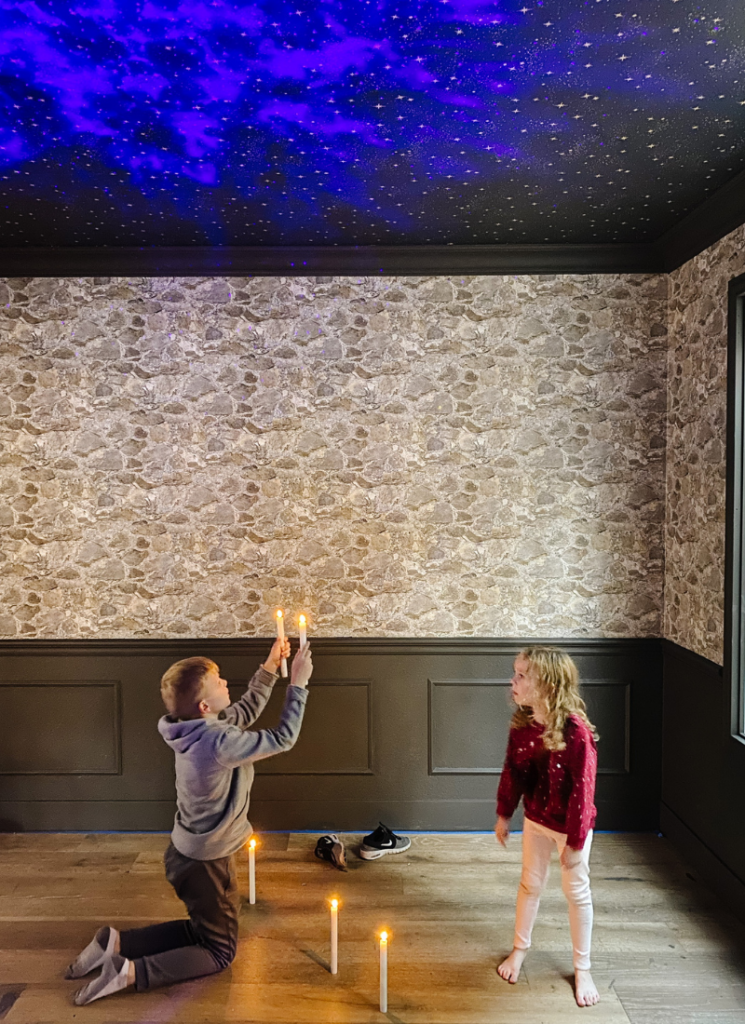
To make the candles look like they were floating, I attached them to some fishing wire using slip knots. That made it easier to adjust how far apart from each other they hung without having to restring them all. Once the candles were strung I drilled small holes into the ceiling, used anchors to set the holes, and screwed hooks in to attach the fishing line to.
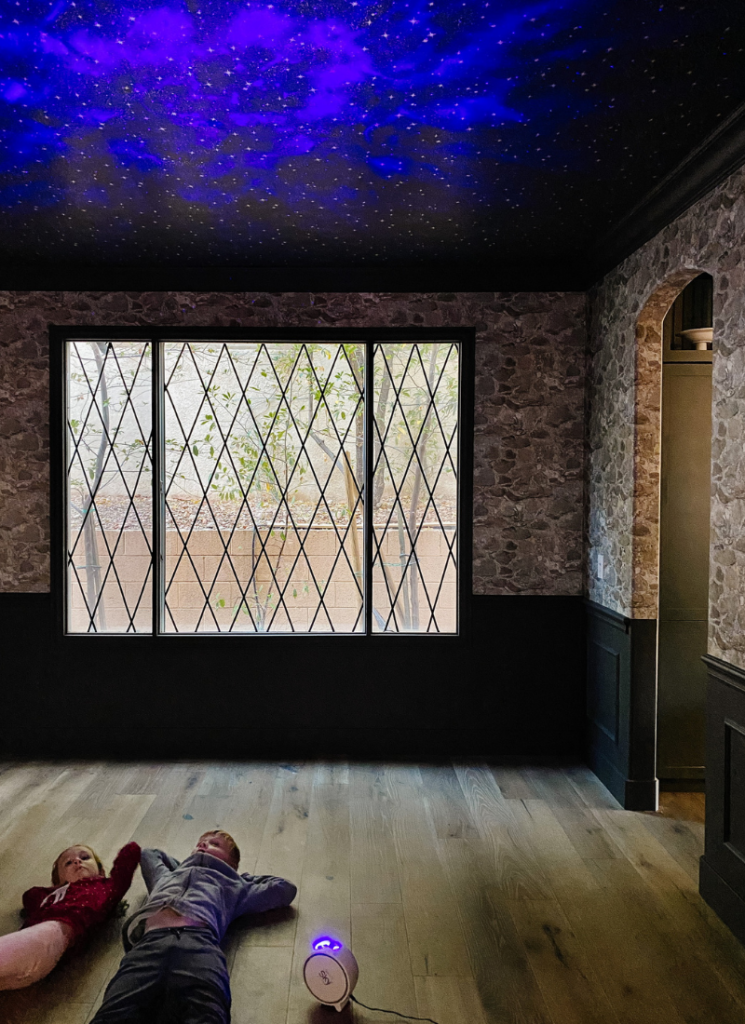
Now, this all looked so good already but, wow! For the final touch, turning on this Laser Star Projector really made the space look extra special. Don’t you think? It made all my DIY Hogwarts Great Hall Thanksgiving room dreams come true.
Adding The Final Touches to this DIY Hogwarts Great Hall Thanksgiving
To get this room Thanksgiving ready, the next thing on my list was building some tables and benches. To start, I grabbed some wood and built some simple sturdy benches that I stained a special walnut and dark walnut color from Minwax. For the tables, I wanted to do something I hadn’t seen done before. So I decided to create a solid wood look by building around a few folding tables I already had. To do this I used some 2×4 sheets of plywood that I measured and cut in pieces to fit around the tables. I also used the same stain colors that I used on the benches to stain the plywood. Once the stain was dry, I took everything into the Hogwarts room where I assembled the plywood pieces together using a nail gun and screws.
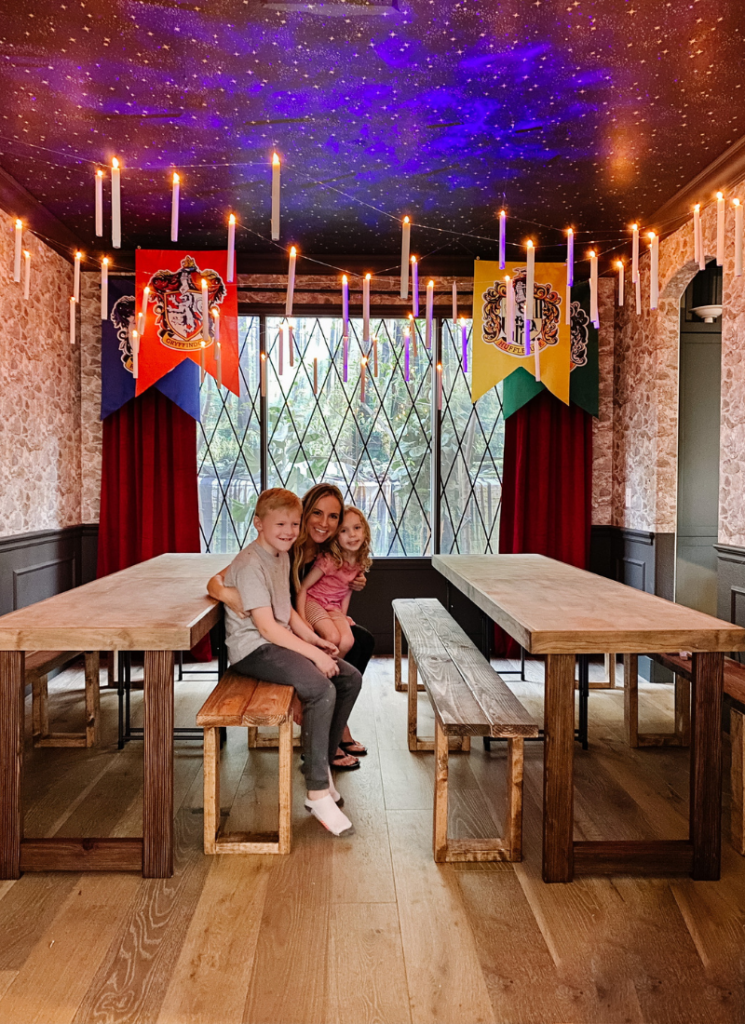
After getting the tables and benches in place, it was time to add the finishing touches to really bring things to life. I hung up pendants for each of the houses, some floating letters, and even an owl. Then last but not least, I placed our sorting hat at the front of the room in between the tables ready to sort people into their houses.
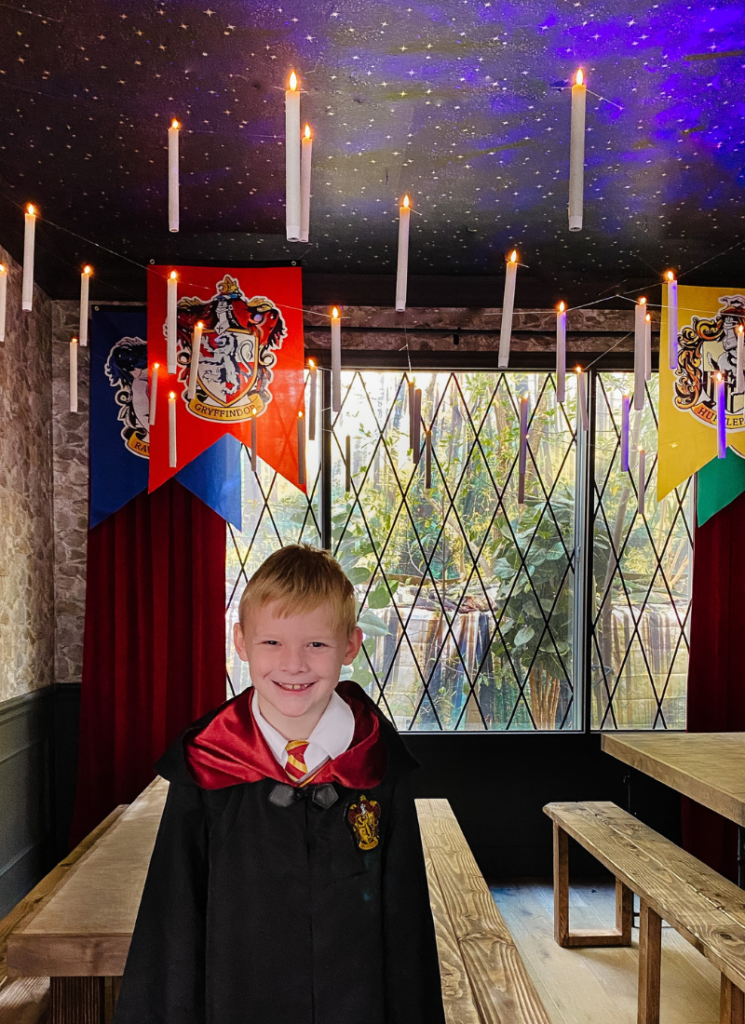
DIY Hogwarts Great Hall Thanksgiving
Just in time, the DIY Hogwarts Great Hall Thanksgiving reveal is done! What do you think? Do you love it? I had so much fun hosting Thanksgiving in this room, and everyone had a good time jumping into the Harry Potter world. My parents even came prepared by wearing their Hogwarts shirts. Now I’m thinking, do we need to do a Hogwarts Christmas in this room? Could be fun! You can see more details on this project and others to come by following me on Instagram and TikTok.
And here’s a reminder for that project you’ve been wanting to do forever…stop pinning and start doing. You’ve got this!

