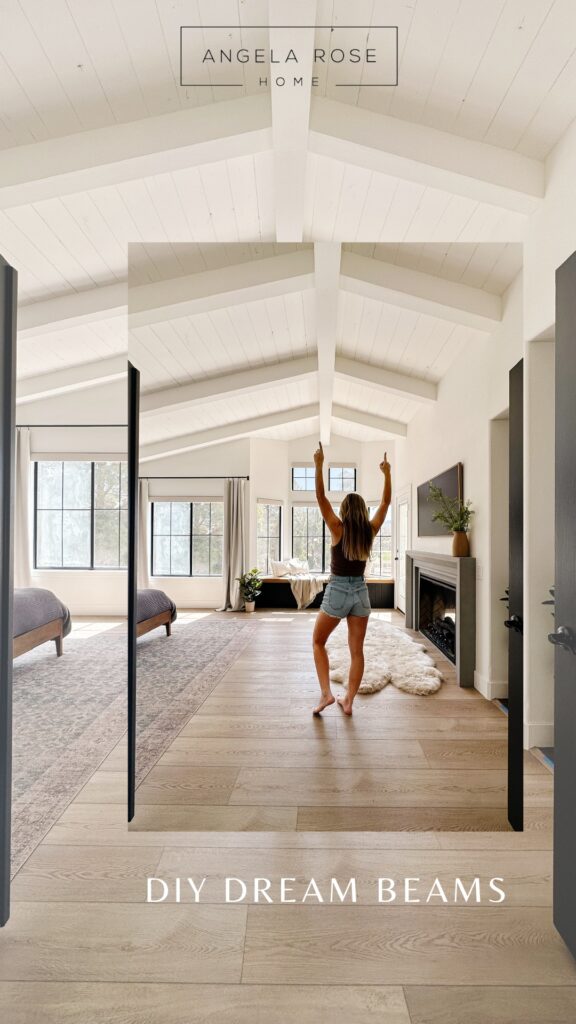
 Ever since I walked into my house, I just knew my bedroom HAD to have ceiling beams. Not just any beams… we’re talking plank beams!
Halfway through my project, I realized where my dream for ceiling beams came from. Every summer I vacationed at my dads house he grew up in on Lido Island in Newport Beach, CA. This house was so magical for me, and I remember my favorite room in the house had these tall, amazing ceiling beams! Years later, here I am recreating this vision!
Breaking Down the Plan
Attaching Ceiling Cleats
First I located and marked the position and direction of each stud around my ceiling. Then, I marked where the beams will be positioned while avoiding my ceiling fixture.
Large Center Beam
This is the beam that all the rafters are going to dive into.The big beam had to be assembled in three different parts. Each side of the center beam was put up first before inserting the big center portion.
Smaller Rafters
Here’s what I have to say about this step: Planking, planking, and… more planking. This is the step that took by far the longest. This definitely took some will-power to trust the process and set my mind on the outcome
Side Beams
To assemble the side beams, I studded screws into the ceiling joints. Then I nailed boards on the left and right and then blocked to stabilize the edge and seams. Finally I nailed the bottom piece!
Pro-tip: Use clamps when assembling beams!
Caulking
Use caulk saver to shove in the cracks and big gaps so you don’t have to use as much caulk
Caulking the cracks definitely took a TON of time so here’s another pro tip: Use a caulk saver to shove in the cracks of the big gaps so you don’t have to use as much caulk!
Final Step: Painting the Beams
After the caulk, the beams were left a little junky. All it needed was a fresh coat of white paint!
I am still in awe of how these beams turned out. This project took a lot of time and extra patience. I spent HOURS measuring and cutting the wood panels out. My whole backyard was covered in beams! (Fun fact: I cut out 97 beams… Isn’t that absolutely crazy?!)
Good things take time and this definitely proved that to be true! As always, thanks for supporting me. Make sure you’re following me on Instagram to never miss out on my latest projects. Happy DIY-ing!


