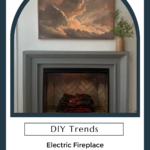
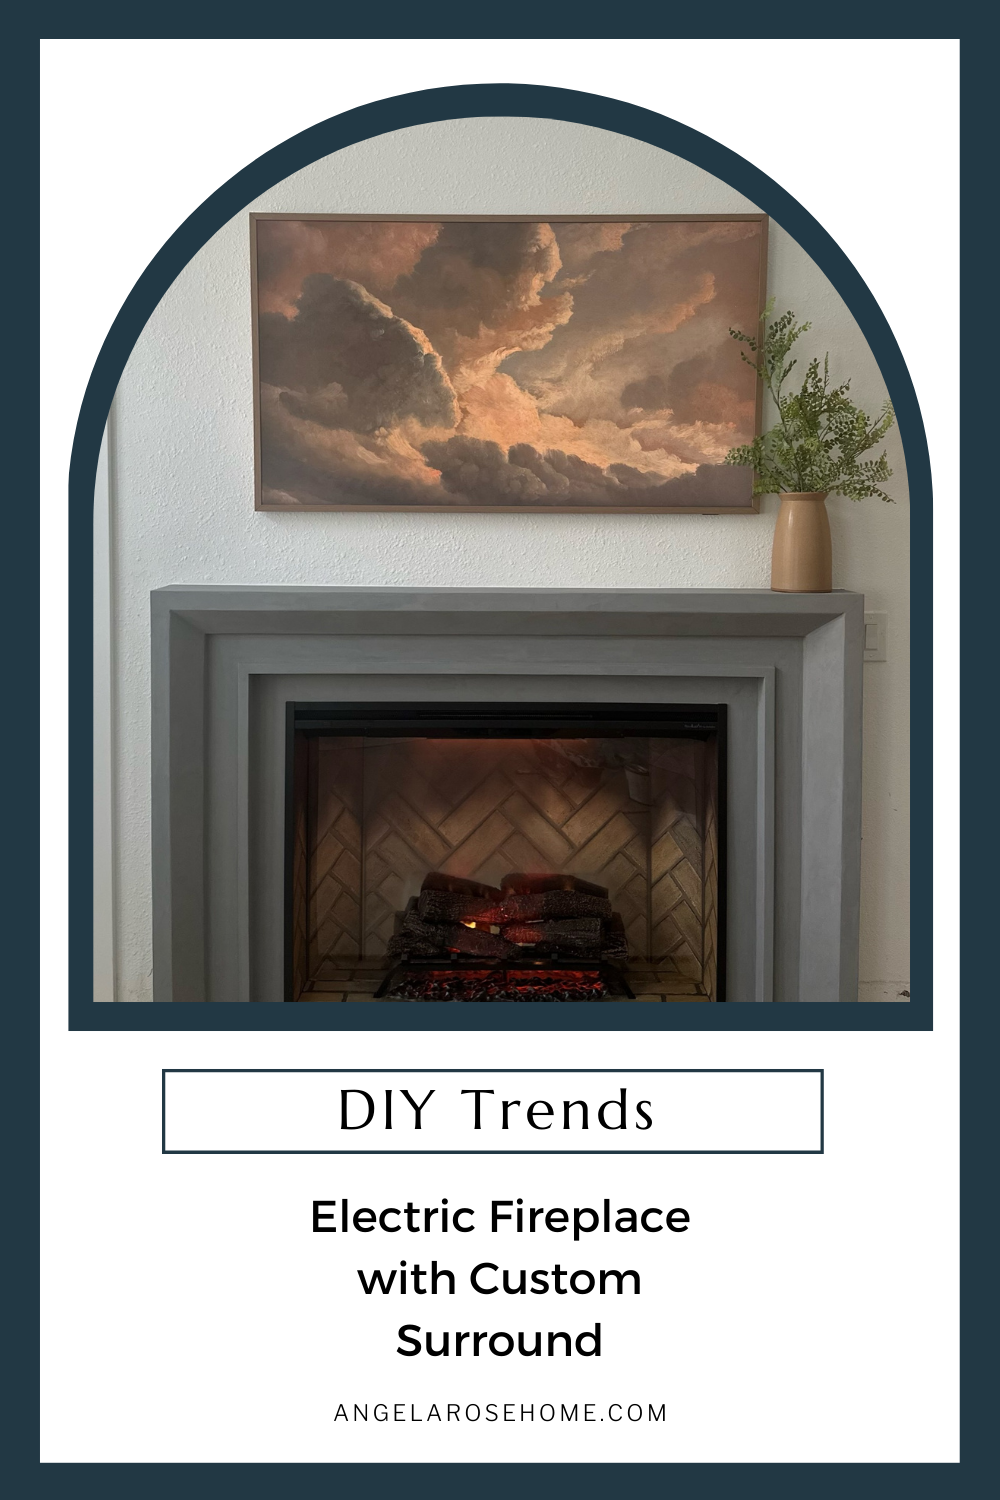
The latest area of my home I have been working on is my bedroom. My whole goal is to create a peaceful spot just for me and I could not be happier with how everything is turning out! My most recent project in this space was transforming an awkward nook into a beautiful electric fireplace feature wall. It has been a really fun project! I’m sharing the steps for this electric fireplace DIY with custom surround so that you can have one too!
 Step 1: FRAMING
To start this project, I needed to frame out the space to fill in the awkward nook in my bedroom. Does your home have awkward nooks too? In Vegas, most homes have unique recessed areas. I always try to transform them into something special like the built-in desk from the original Angela Rose home. Even if you are blessed to not have awkward spots in your home, you will still need to frame out the area for your fireplace.
When you frame out the space you want to think ahead to your structural needs. Will you need additional support for a TV? Do you need to figure in extra space to make sure the end result is seamless? For my fireplace transformation, I made sure to have cross supports to hold the weight of my TV as well as insetting the frame to leave room for ½ inch drywall. You won’t regret taking a few extra minutes during your planning to figure out the structure of your frame.
Step 2: DRYWALL
The next step is to add drywall to your frame. I used 4×4 panels of drywall because it is as big as I could carry by myself. Find the right size for your project and go for it! Attach the drywall to your frame with drywall screws and your drill.
PRO TIP: When cutting drywall, score the paper layer with a utility knife. Then all you have to do is bend the drywall board and it will snap where you scored the board. That snap is so satisfying!
Step 3: MUD & TAPE
In order to mud and tape your drywall you will need to grab a few supplies. Here is what you will need:
- Westpac joint compound
- Drywall knives
- Pan
- Drywall tape
Start by filling in the gaps with your joint compound. My favorite joint compound is from Westpac. It is so easy to work with and the end result turns out so smooth! When applying the joint compound, I like having a bunch in my pan so I can dip into it easily. Then you scrape it onto the wall leaving a smooth edge.
You will want to make sure to add drywall tape to any drywall joints before mudding. Then add drywall mud (aka joint compound) on top of the tape for a smooth edge. Use your drywall knives to help get a nice smooth edge. Once all of the gaps and joints are filled, keep adding layers of drywall mud until your entire surface is smooth. For my fireplace, it took 3-4 layers of the mudding process until the entire wall was ready to texture.
Step 4: TEXTURE
What is your favorite kind of wall texture? I typically love smooth walls, but for this project, I tried to match the orange peel texture that is on the rest of the walls in my room. It isn’t my favorite wall texture, but for this space it just made sense to match what was already in the rest of my room.
Since I’ve never done this type of orange peel wall texture, I called in some help from a local handyman. Do you remember Jeremy that helped me with my kitchen renovation? Jeremy knows how to do it all and he walked me through the process of getting the wall texture just right. I love the DIY community! It is what keeps me going and thinking of projects to share with you. I’m very grateful for all the support.
Step 5: FRAME OUT THE FIREPLACE
Framing out your fireplace can be as easy or complicated as you want to make it. In typical Angela fashion, I found an intricate design that I could not get out of my head. There were lots of angled cuts and fitting pieces together like a puzzle. It took some time to figure out, but it was totally worth it! I know you will be able to find the perfect design for your space!
Once you build out your frame, make sure you fill in gaps with wood filler and sand smooth. This will give your fireplace a seamless look. After sanding, add caulk around your frame and your fireplace surround will be ready to paint.
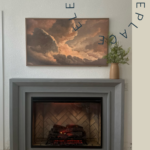
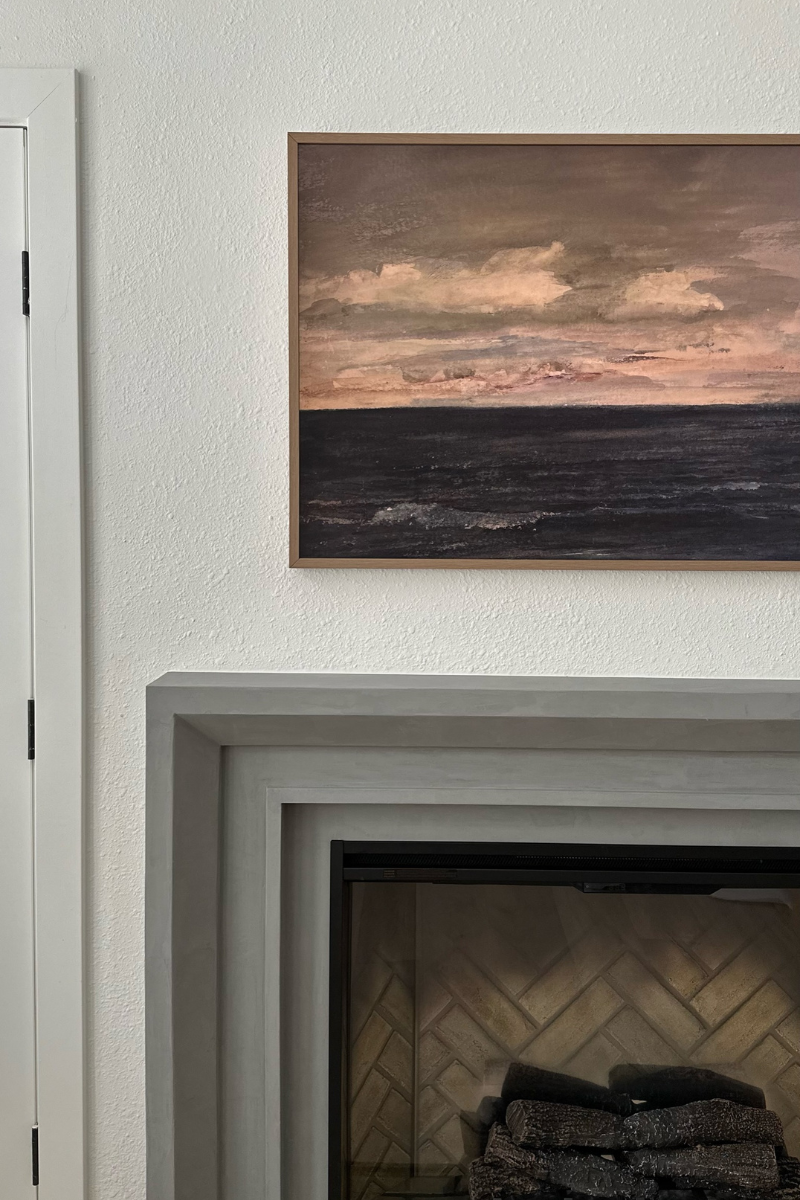
FRAME TV
My frame TV was delivered in the middle of this fireplace DIY project, so I had to pause to install it. Have you heard about these frame TVs? You guys, they are SO COOL! Frame TVs are so thin and you can download images on them that actually look like real artwork when you aren’t using it to enjoy your favorite Hallmark movie. There are a ton of places to get artwork, but I fell in love with the artwork from MetroMposter on Etsy. There are even customizable magnetic frames to go around the TV. I’m officially obsessed with my frame TV and think everyone needs one too!
Step 6: PAINT
Now that the custom fireplace surround is built it is time to finish it off. I started by priming the wood with sealer to seal in the wood. Then I wanted to bring the design elements together so I used a mineral color of paint by Portola Paints. I like having the contrast of color because it really made the fireplace pop. What vibe are you going for with your fireplace? Are you sticking to a more neutral design or do you want the fireplace to be the focal point?
 Step 7: ROMAN CLAY
While I loved the color of the paint on the fireplace surround, I was looking for something with more movement and depth than just paint. I decided to add Roman Clay by Portola Paints. I’ve used this product so many times, but most recently on my dining room walls. Roman clay gives more of a cement look and comes in so many great colors. I used the color mineral for my fireplace.
PRO-TIP: If you are using Roman Clay, use the color-matched Portola Paints paint underneath as a base. Trust me, I’ve done this process a few different ways, and I will never to Roman Clay without the color-matched color underneath again! It made the process so much easier.
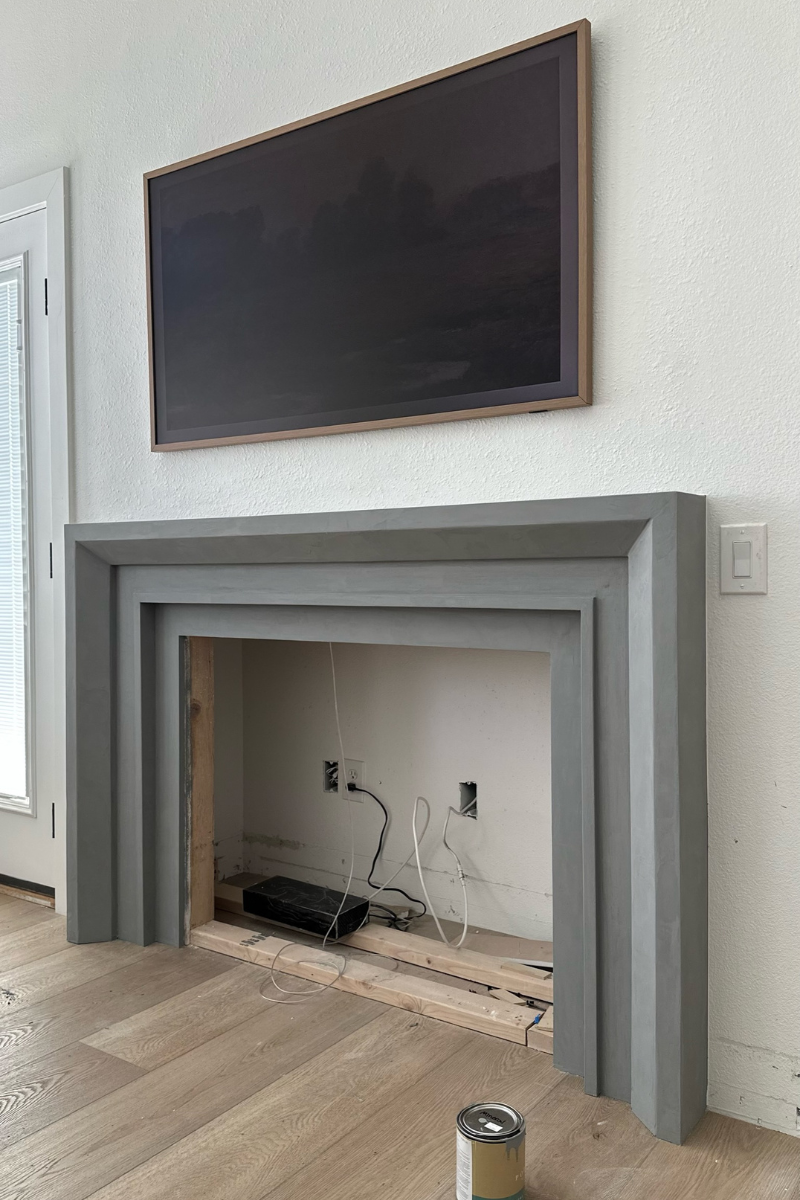
Step 8: INSTALL ELECTRIC FIREPLACE
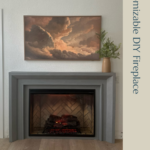
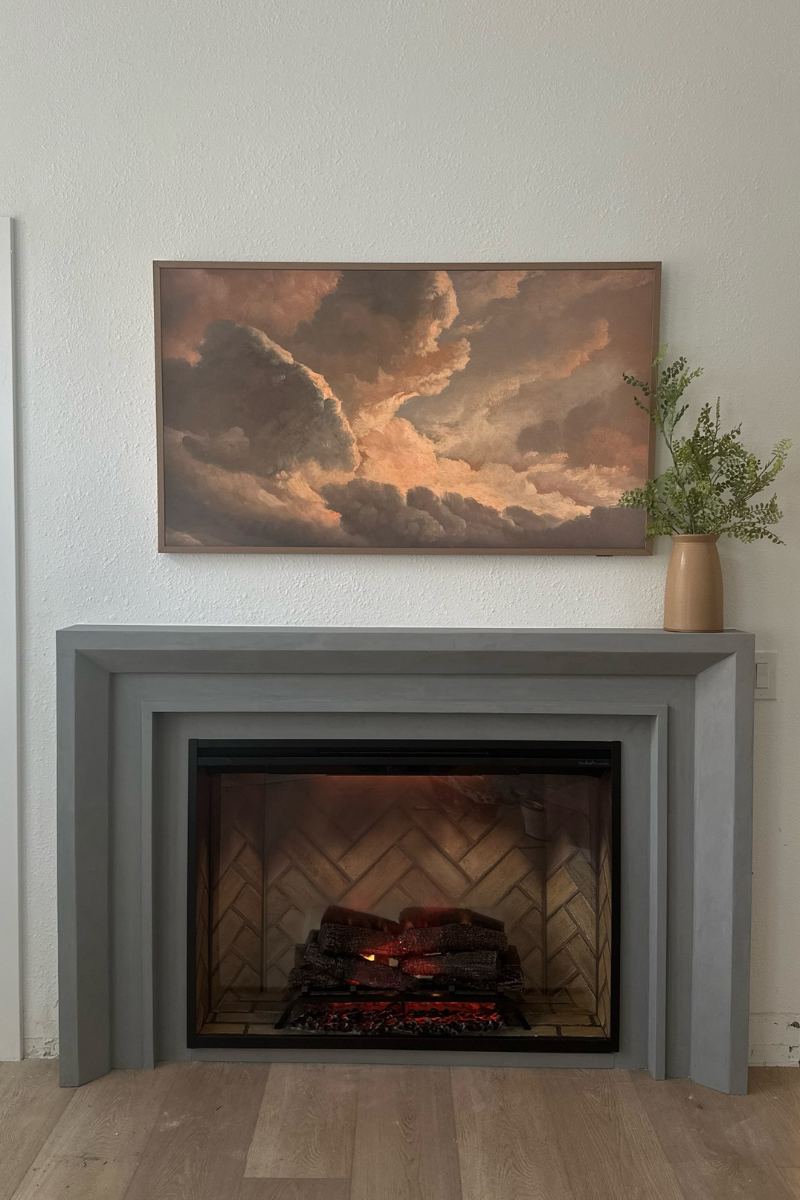
Once you get your custom fireplace surround finished, it is time for the faux fire magic! I LOVE the electric fireplace I found. It actually looks like real fire. Heat comes from a vent at the top and the rest is LED magic. It looks super realistic! Installation is super easy! Plug in your electric fireplace and then slide it into place. It is that simple.
Step 9: FINAL TRIM PIECE
The final trim piece is like the cherry on top of an ice cream sundae. It just ties everything together! The trim piece hides the bottom of the electric fireplace so that it looks completely built-in.
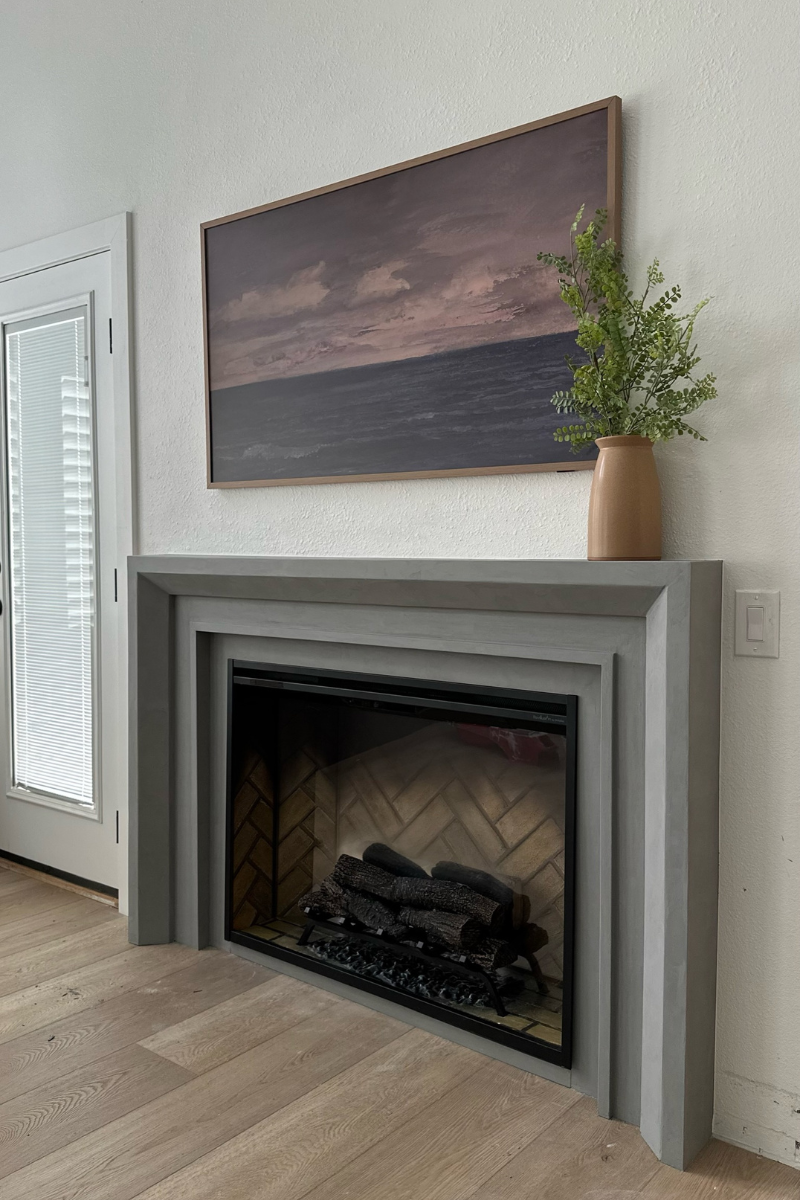 Electric Fireplace DIY with Custom Surround
I am obsessed with this electric fireplace DIY with custom surround project. It completely transformed my bedroom into the coziest spot in the house. I am so grateful for all the support I get with each of my DIY projects and I love supporting you guys too. Make sure you tag me @angelarosehome in your fireplace reveals. I love seeing each of our personal takes on similar projects. Make sure you are hanging out with me on Instagram and TikTok because I still have a few more projects in my bedroom oasis before it is fully finished.
Disclosure: I only recommend products I would use myself and all opinions expressed here are my own. This post may contain affiliate links that at no additional cost to you, I may earn a small commission. Read the full privacy policy here.