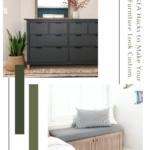
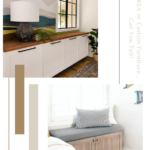
I use IKEA furniture often. It’s a good price point. The products hold up well. But, I do find they aren’t incredibly unique, which is why I am always adding my own personal touches. I’ve got to put my Angela spin on things, right? Have you ever felt the same way? Don’t worry! I am sharing how to make Ikea look custom.
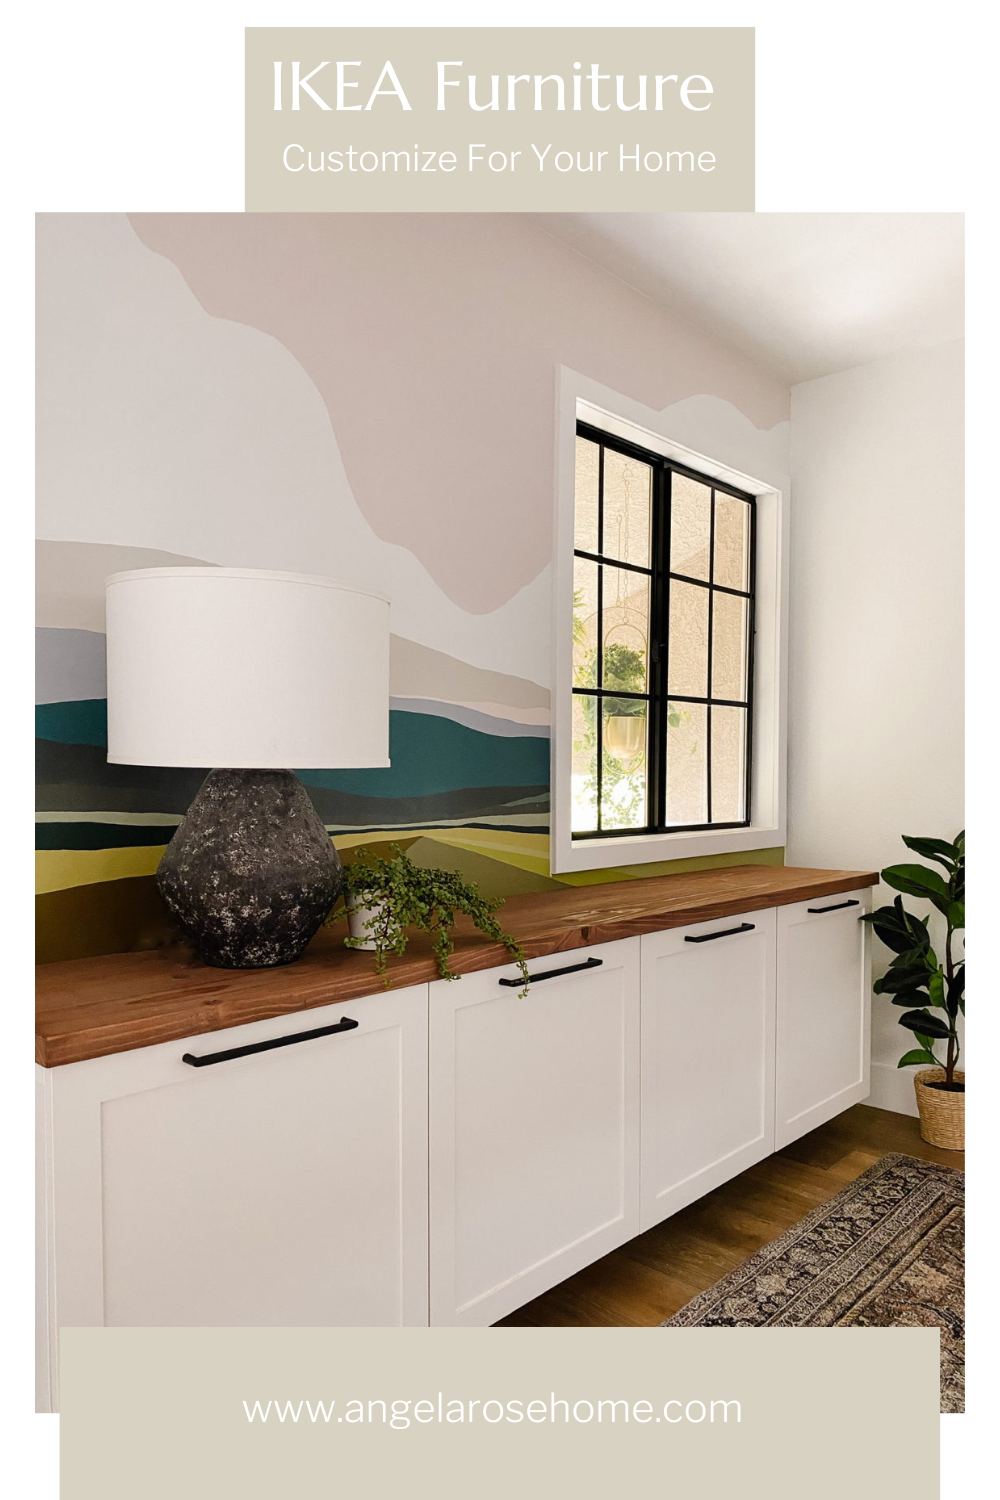
Honestly, Ikea products are a perfect canvas to let creativity flow. There are so many options for making the furniture look custom:
- Changing paint color
- Adding new hardware
- Switching out cabinet door fronts
- Installing new design elements
- Repurposing for a new function
I’m going to walk you through some of my projects so that you can see that the possibilities for making IKEA look custom are endless!
Changing Paint Color
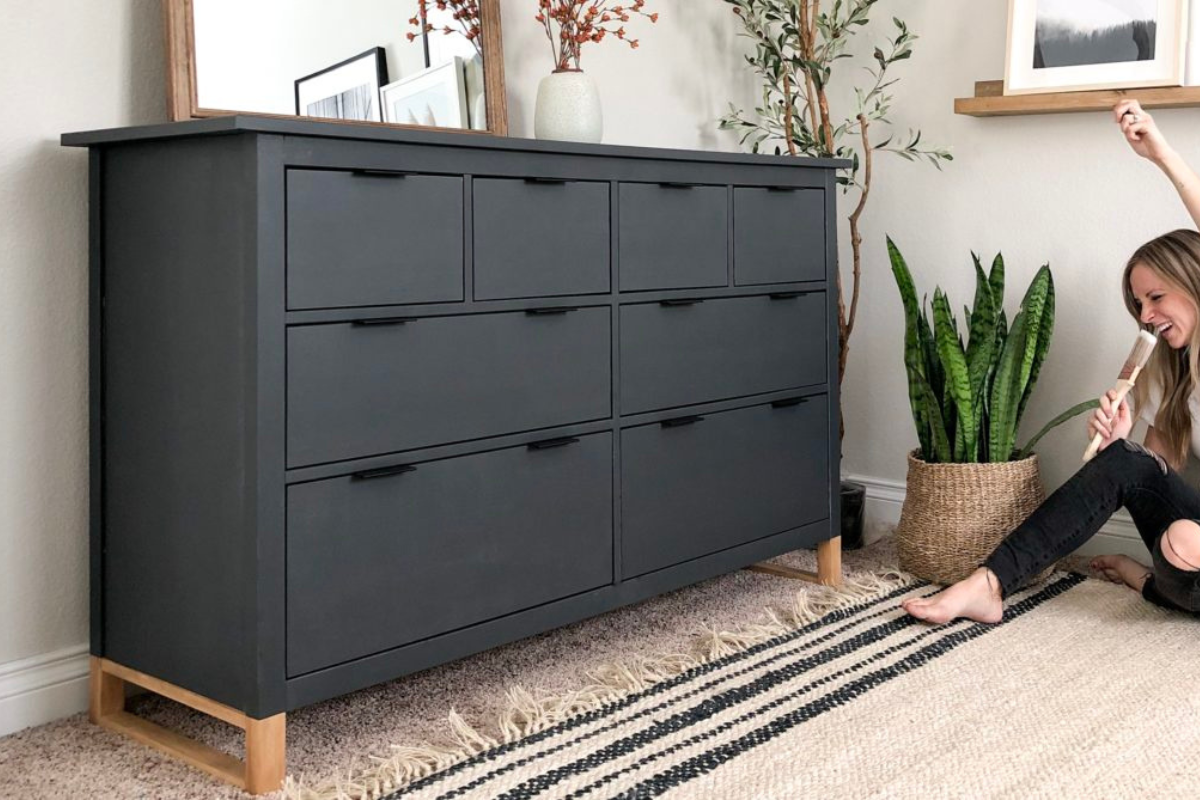
Were you here with me when I transformed my IKEA Hemnes Dresser? My friend Cynthia Harper and I challenged each other to a 2-day $200 DIY project. I decided to focus on my dresser because I had a forgotten corner of my master bedroom that needed help. The process was super simple and an easy DIY project anyone can do.
To make an IKEA dresser look custom with paint, I grabbed:
- Rust-Oleum Chalked Paint
- Rust-Oleum Chalked Top Coat
- IKEA Hemnes dresser (This is the style I used, but you can use any style you like.)
- Wood Filler
- Sandpaper
First, you have to prep your furniture. You will want to clean and wipe down your entire piece. This step may not seem super important, but trust me, do it! Your paint won’t adhere properly to the furniture if you don’t clean off the surface. For this project, I used chalk paint so you don’t typically need to prime/sand (unless the surface is super glossy, then I would sand). A good wipe with a tack cloth to get off all dust will be perfect.
Project Reminder: Make sure to remove all your drawers and take off hardware while you are in the prepping stage. I put all my hardware in a labeled plastic bag so wouldn’t lose anything and to help me remember where everything belonged! If you are going to be changing the location of your hardware, make sure to fill in any holes with wood filler at this stage.
PRO-TIP: When you are filling in holes, make sure to overfill. Once it’s dry, you sand it with 220 sandpaper, and the surface should be all smooth.
Here comes the fun part…the paint! To modernize my dresser, I used Rust-Oleum Chalked paint because I like a matte velvety finish. I also like that I don’t have to sand or prime! For furniture, you will want to use a 1/4 nap roller for the smoothest finish. I used the color Charcoal and got everything looking pretty with 2 coats of paint.
To finish off your piece, you want to protect it with a top coat. Plus, Chalk Paint has a chalky feel. With a top coat, the paint color is enriched and deepens as well as protects your piece. I used the Rust-Oleum Top Coat in Matte Clear because I didn’t want my piece shiny, and I wanted to maintain the soft velvet matte look and feel.

Adding New Hardware
Switching out hardware is a great way to make IKEA look like a custom piece of furniture. I switched out the hardware in the paint project I mentioned above. It really took everything to the next level. Here’s the hardware I used.
If you are changing hardware double check to see if your new hardware is in the same location as the original hardware. If not, all you need to do is fill in any holes with wood filler. I like overfilling to make sure the entire hole is filled. Once the wood filler is dry, you sand it with 220 sandpaper, and the surface will be smooth and you can install your new hardware.
Project Reminder: Before installing hardware, Also make sure you measure and mark your furniture. Kind of like the “measure twice, cut once” philosophy. You don’t want to have holes in the wrong spots.
Switching Out Cabinet Door Fronts
One of my all-time favorite ways to give IKEA furniture a custom feel is to switch out cabinet door fronts. The technical term is called refacing. Refacing is the act of replacing all of your cabinet door and drawer faces with new ones in a fresh style and color. Sound similar to refinishing, which is the act of having existing doors repainted, but it’s different.
For all of my refacing needs, I turn to Nieu Cabinet Doors. In fact, I love their product so much that I have my own Angela Rose cabinet door line. Nieu makes it so easy! All you have to do is take off the existing door fronts and replace them with newer more elevated ones like the ones from Nieu cabinet doors. (P.S. You can get 5% off your own cabinet and drawer fronts with code: ANGELAROSEHOME5.)
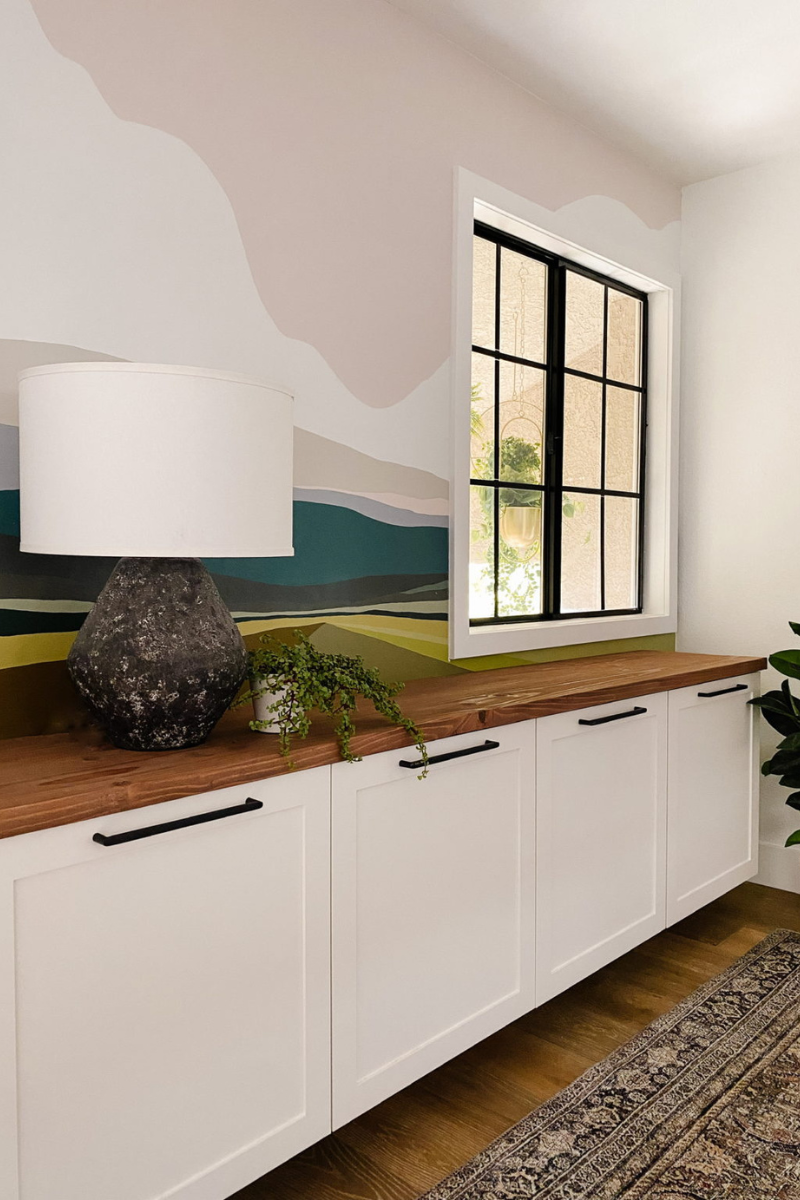
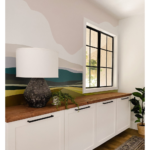
I did this when I updated my loft. I used the BESTA storage unit from Ikea as a base and was easy to build on to. You know how I love to spice things up. I originally added some doors to elevate the look but was already having some problems with them. So I switched the old cabinet doors out for nice custom white ones from Nieu, which are actually from my very own collection with Nieu. I love the way the doors turned out! Definitely more Angela Rose for sure.
Installing New Design Elements
To take my loft storage cabinet one step further, I decided to build a DIY long wooden tabletop. I picked up some nice pine, joined it together, and filled in any holes using wood glue and sawdust. After filling in the holes it was time to sand, sand, sand! Using an electric sander definitely saved me a lot of time (don’t be afraid to grab those power tools). Once everything was smooth, I primed and stained the wood. I really love the warm tones the stain brings in.
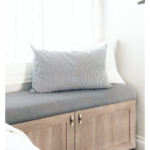
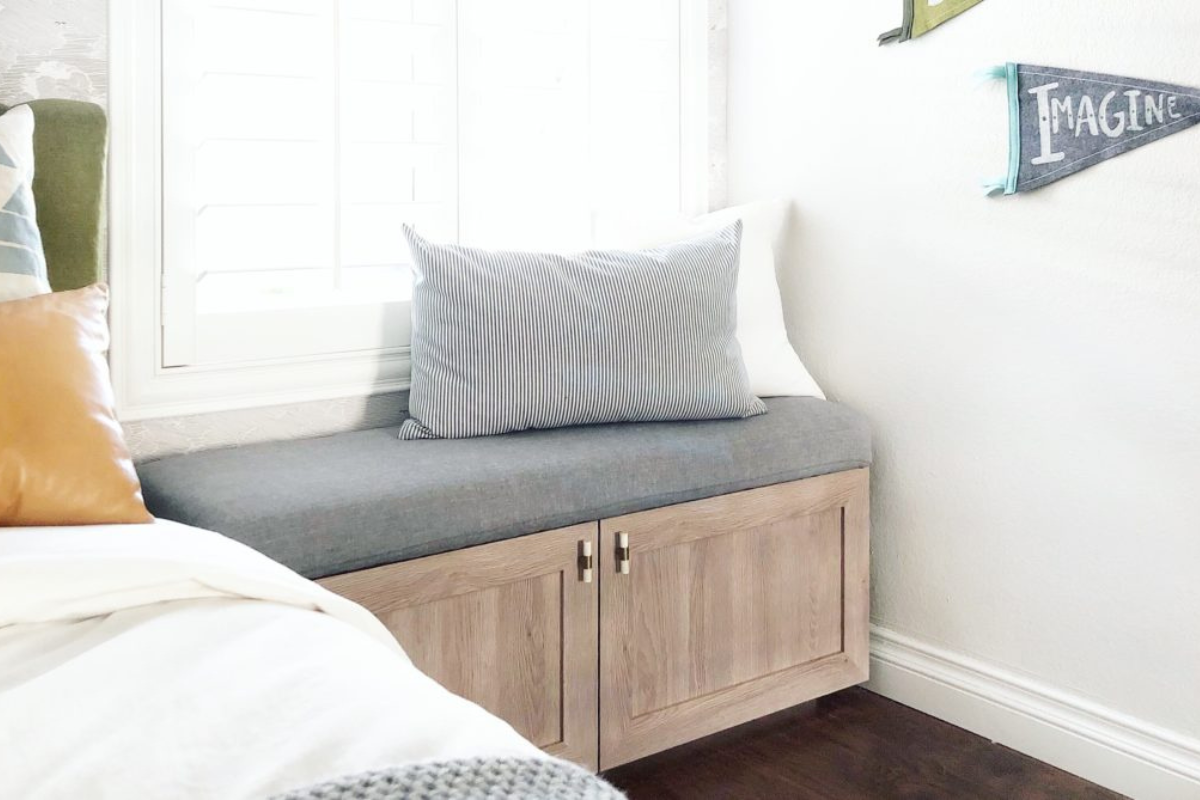
You can do this type of “mod” to any style of IKEA furniture to create something unique. I also installed new design elements to my BESTA cabinet to create a custom bench cushion top. If you are interested in adding a cushion top, it is super easy, and no-sew! Check out my full tutorial here.
Adding fun design elements to your existing IKEA furniture not only makes it look custom, but it also gives your furniture a longer life. It’s sustainable, and saves you money on buying brand new items. Give me an option that is stylish and saves me money…Count me in!
Repurposing For a New Function
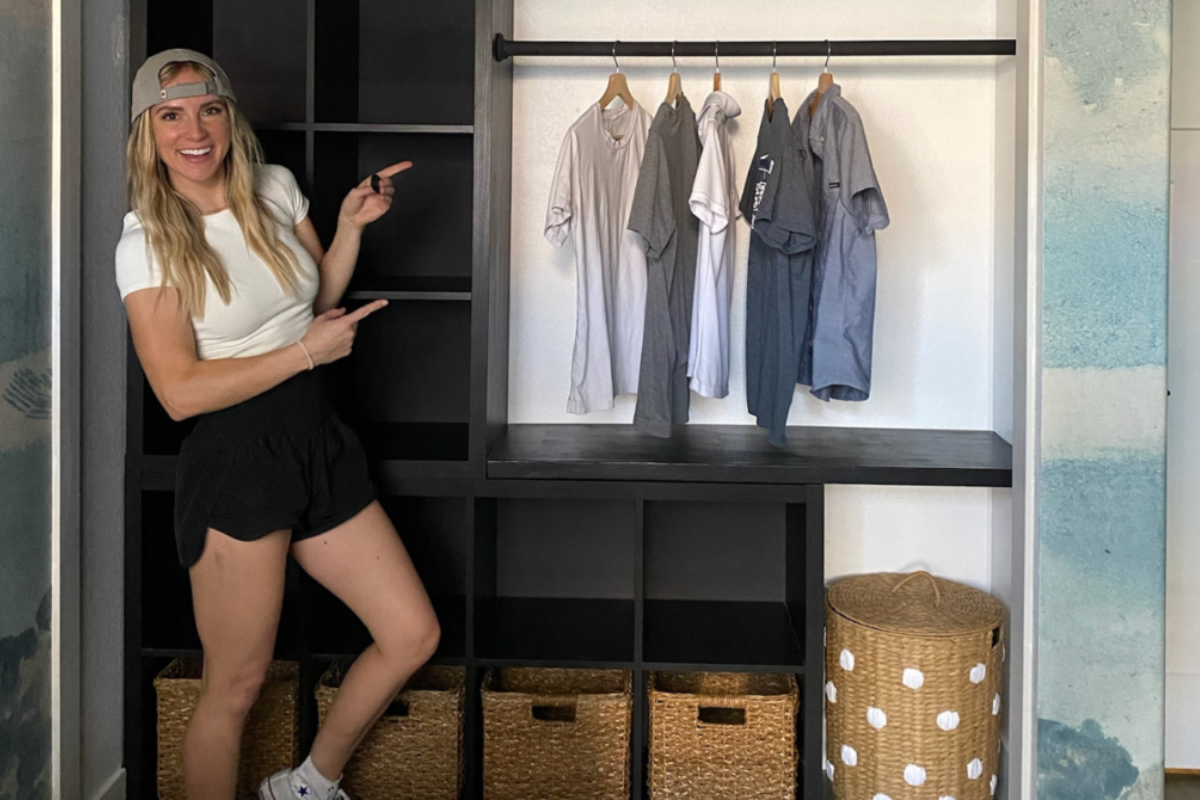
Shelves are shelves…Bookcases are bookcases…right? Yes, but also not quite. I love taking items and giving them new functions. I created an entire closet for my son by hacking 2 sets of IKEA’s KALLAX shelves for $200. Typically these shelves are used for books, offices, toy storage, etc. I decided to create a built-in closet for my guy. Check out the process here.
Don’t take any piece of furniture for face value. If you can dream it, you can do it! I really do believe that. That is what is so good about IKEA products. They create a really great base for us to dream up our own custom DIY projects for our homes.
How to Make IKEA look Custom
I’m sure you can probably tell by now that I love IKEA products…and I love a good DIY hack. That’s how to make IKEA look custom. If you are looking for other DIY projects, hang out with me on Instagram and TikTok. I am always doing some type of project! Remember, stop pinning and start doing. It’s when the magic happens.
Disclosure: I only recommend products I would use myself and all opinions expressed here are our own. This post may contain affiliate links that at no additional cost to you, I may earn a small commission. Read the full privacy policy here.