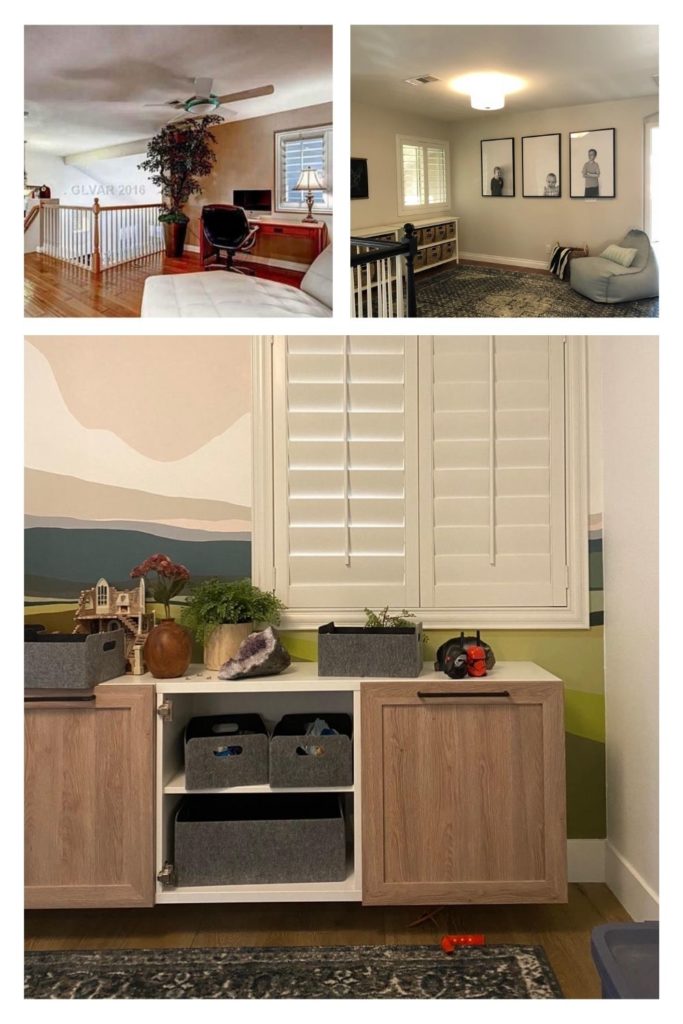
Wow, it’s finally done!! Last year I decided to transform this space into the perfect playroom for my kids. I thought the space was really cool already (I mean look at those before and after pictures below). But I still felt like there were some details missing to give it that magic. So I picked up my tools and got back to work. Before sharing the full loft playroom DIY reveal, let me take you through the process.
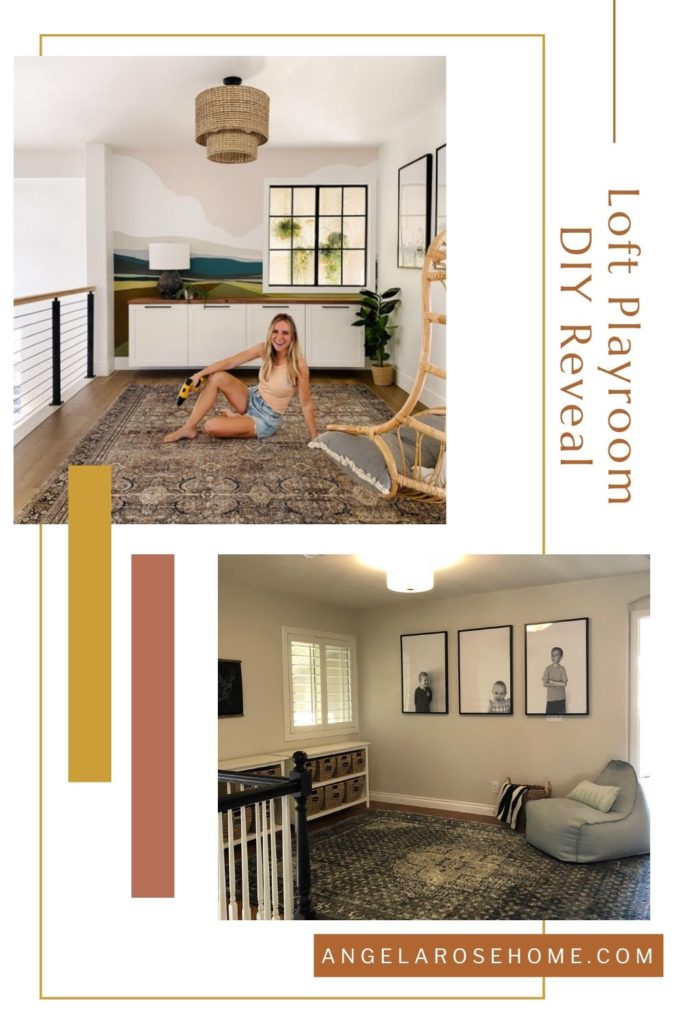
Loft Playroom DIY Reveal
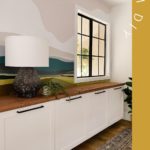
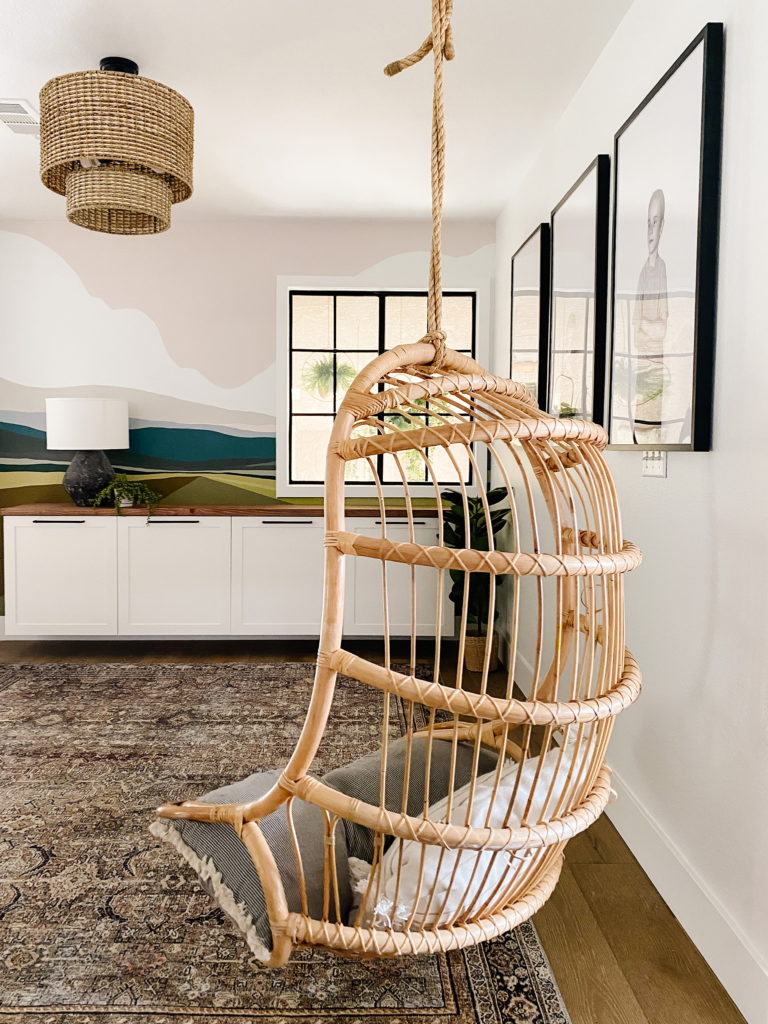
The projects on my list included switching out the cabinet doors, building a long wooden cabinet top, and adding some brightness by getting rid of the shutters and adding a few hanging plants. If you’ve been around a while, you won’t be surprised by that last project. There’s just something about updated windows and pretty plants that makes my heart happy. I mean, doesn’t that sound magical? Just you wait! On that note, let’s get to the details of each project. Starting with the cabinet doors.
Custom Cabinet Doors
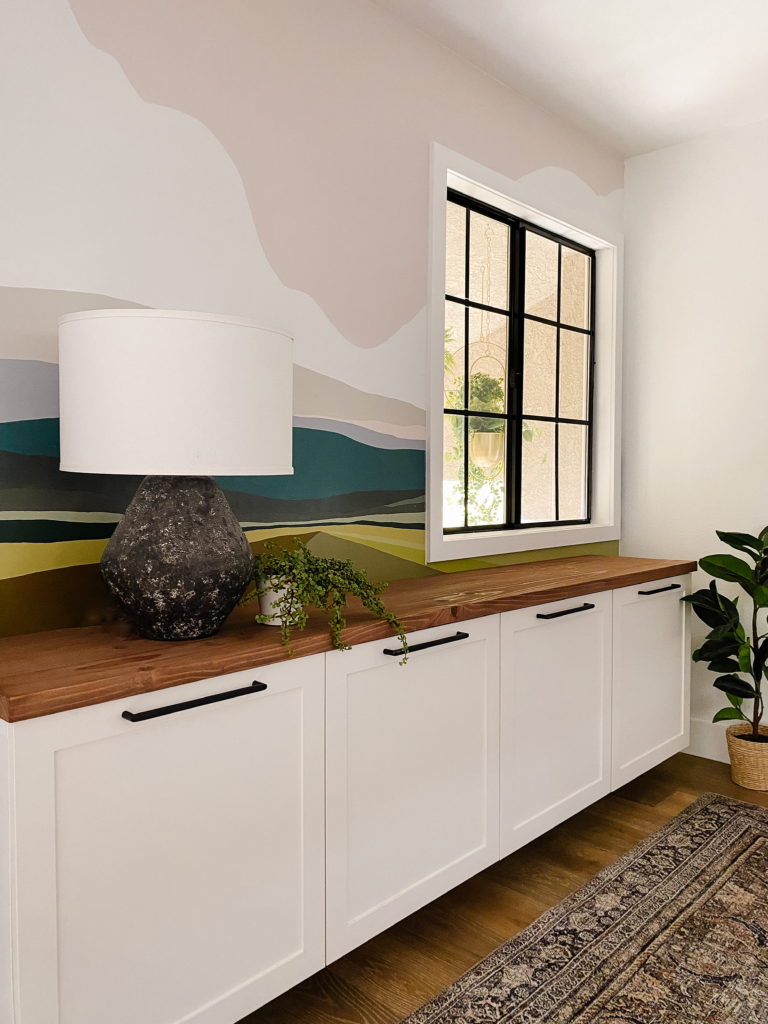
Here’s a hack for you, the base of this cabinet is a BESTA storage unit from Ikea. It’s nice because all the shelving is already in place, but it’s easy to build onto if you want to spice things up. Which of course we do, right? I originally added some doors to elevate the look but was already having some problems with them. So I switched the old cabinet doors out for these nice custom white ones from Nieu. I love the way it looks. Something extra cool about these cabinet fronts is that this winter white color is a part of my very own collection with Nieu! P.S. You can get 5% off with code: ANGELAROSEHOME5.
Wooden Cabinet Top
To take this storage cabinet one step further, I decided to build a DIY long wooden tabletop. I picked up some nice pine, joined it together, and filled in any holes using wood glue and sawdust. After filling in the holes it was time to sand, sand, sand! Using an electric sander definitely helped (don’t be afraid to grab the power tools). Once everything was smooth I primed and stained the wood. I really love the warm tones the stain brings in. To finish the tabletop, I had my friend Jeremy come and help me attach it to the cabinet.
Quick tip: when you purchase wood, it usually comes with rounded edges. To get a nice square board, just table saw the rounded edges off for a tighter fit.
Brightening Things Up
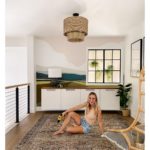
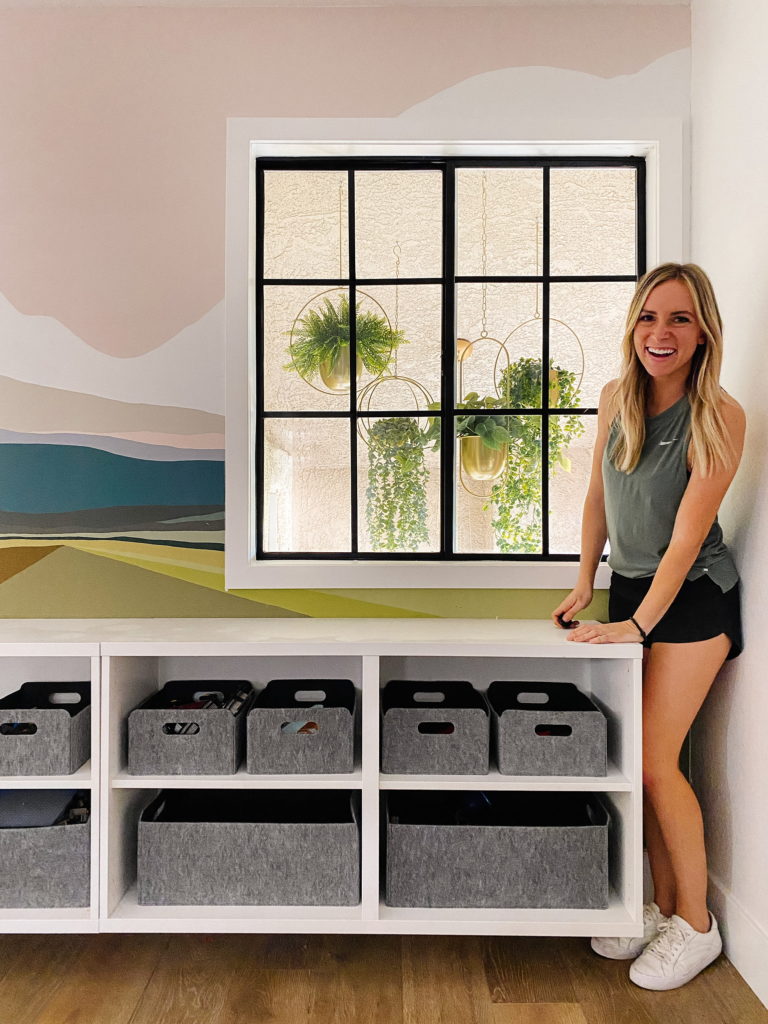
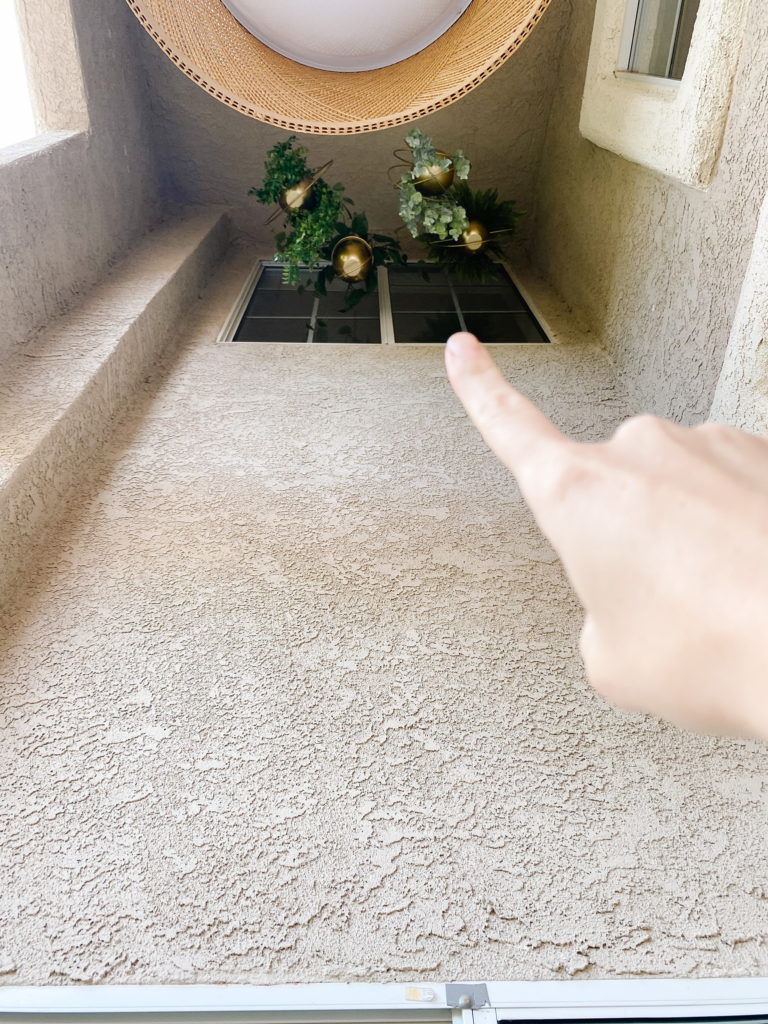
To get some more light in this space, the shutters needed to go. Honestly, just doing that made a big difference but I didn’t stop there. Once I took those off, it was time to give the window a modern look by spray painting it black and adding that grid pattern look. For a full tutorial on windows, check out this blog post. Now here’s where things really get creative. The normal thing to do would be to put hanging plants inside…but I just have too much fun shaking things up. So after finding the perfect planters and faux plants, I hung the plants outside the window. And wow, I love it.
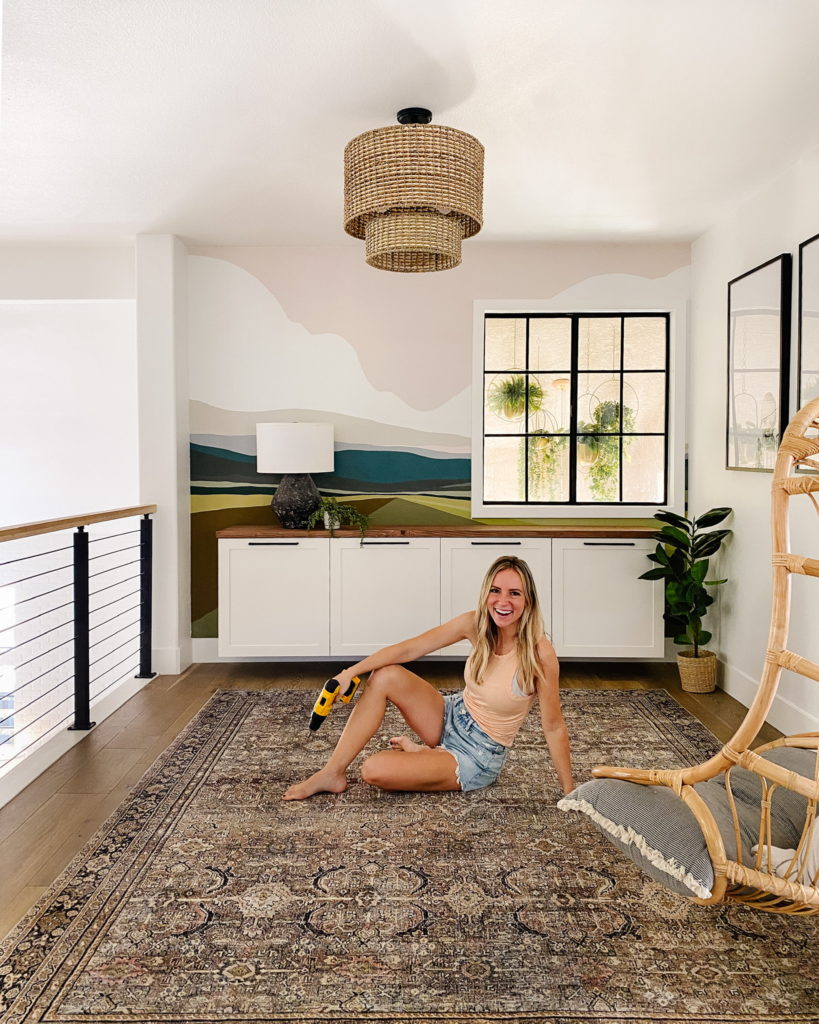
Now the only thing left to make this playroom refresh complete was to switch up the decor. So I added a new rug from Loloi and installed a fun light fixture. And finally…drumroll please…the Loft Playroom DIY is finished!
Loft Playroom DIY Reveal
Do you love it? Looking at this playroom just makes my heart skip a beat. It makes me feel so grateful I get to do what I love and share it with you. So thank you for following along!
For more DIY fun, you can check out the little girl bedroom makeover we did for my niece in just 48 hours! And of course, if you don’t already follow me on Instagram and TikTok, head over there for some behind-the-scenes info on my latest projects.