Search results
209 results found.
STOP PINNING. START DOING.
209 results found.
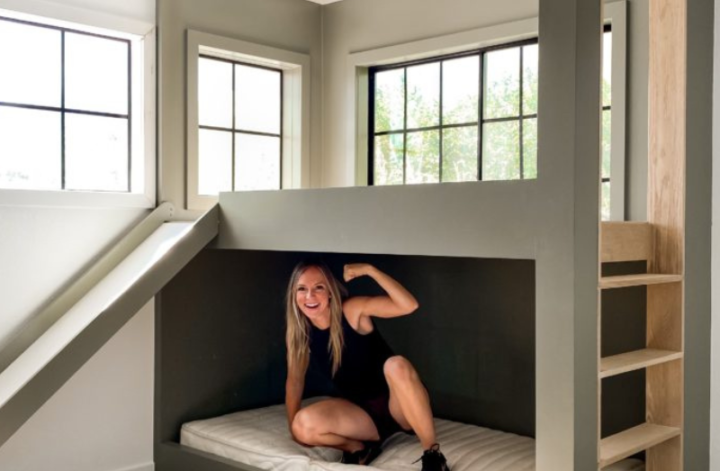
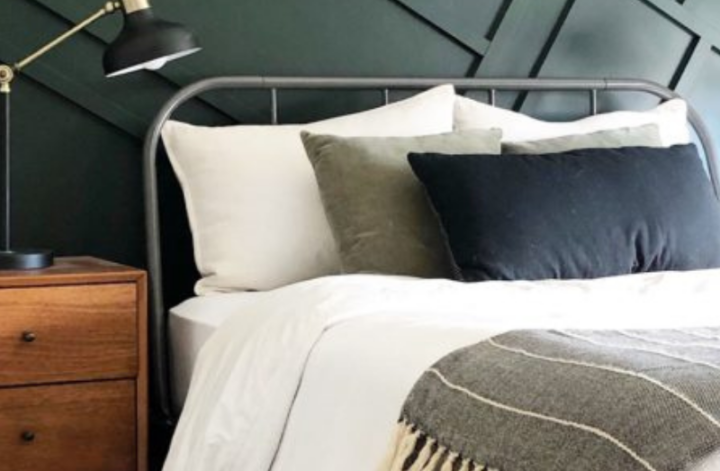
The main event in any bedroom will always be the bed. It’s where we lay our heads, dream up dreams, and rest our worries of the day away. Such an important feature of our bedrooms needs to be selected with special care. There are so many modern bed styles to fit any room, no matter what vibe you are looking for. I have used so many different types of modern bed styles throughout my home and I know how much the perfect bed can transform any bedroom.
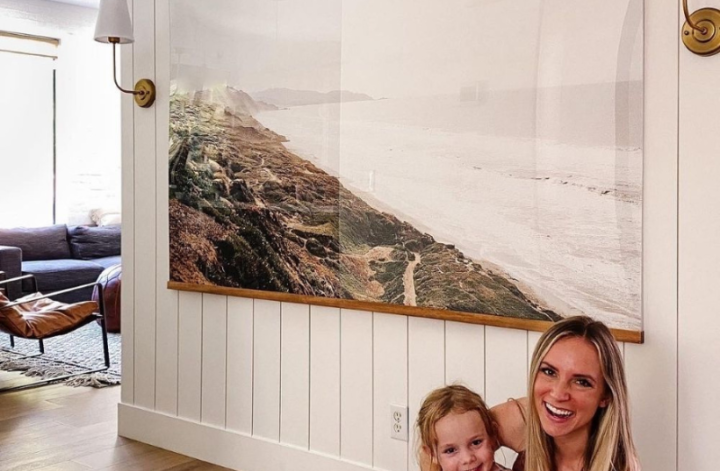
Have you ever had a spot in your house that is begging for a light fixture, but the wiring just isn’t there? Calling an electrician to rewire your wall for sconces and light fixtures can get really expensive, which is why I got so excited when I figured out how to add working sconces without hardwiring them into the wall. I want you to have the lighting of your dreams too, so let’s walk through how to add a working light fixture without hardwiring it.
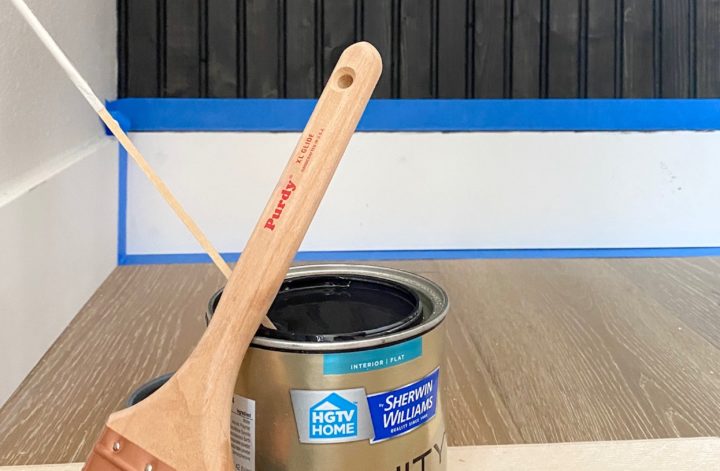
Picking a paint color is fun because it can transform a space into something fresh and new. There are variations of white paint, modern bold paint shades, and of course my favorite…greens! The possibilities are exciting but, have you ever walked up to the paint counter, after spending possibly too much time trying to find the right color, and then felt totally lost because you then had to pick a paint sheen? Don’t worry it happens more often than you think. This is why I am sharing how to choose a paint sheen for your home.
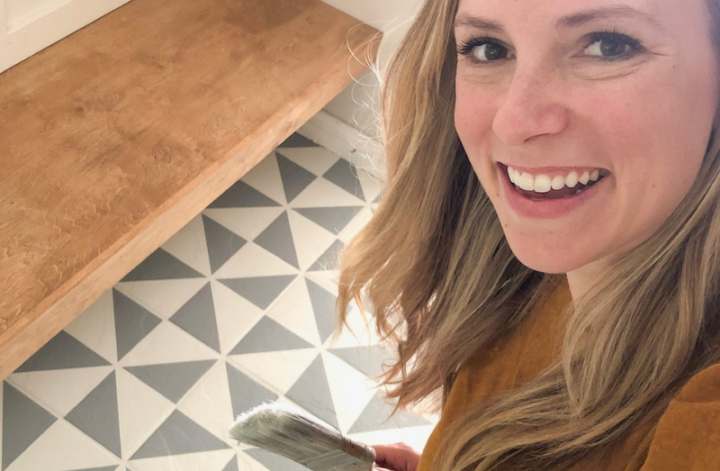
If you were looking to change a space in your home what type of project would you think of doing? Big projects are so fun, but I also love that you can change your space by only using paint. Paint is such a great way to add color, personality, and fun. Come see how easy it is to transform your space with paint.
Sponsored by Discover® Personal Loans
Disclosure: I only recommend products I would use myself and all opinions expressed here are our own. This post may contain affiliate links from which, at no additional cost to you, I may earn a small commission. Read the full privacy policy here.
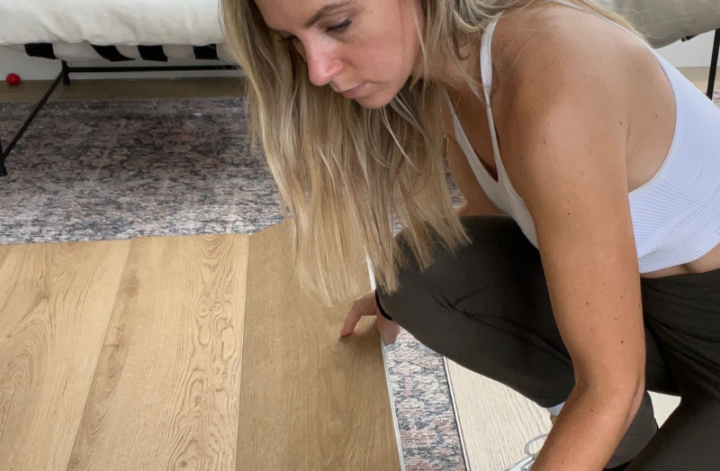
There is one part of your home that you use consistently every day…your floors. Taking on a flooring project is a BIG decision because not only do you want the floors to be functional for your family, but if you are anything like me, you want them to be beautiful too. Plus, flooring is expensive! If you are spending the money, you better love it. Am I right? I am getting ready to replace the flooring in my home and have definitely felt overwhelmed trying to figure it all out. So, I am going to tell you what you need to know before getting new flooring in your home, and how using a payment option like a Discover personal loan can keep your project on track.
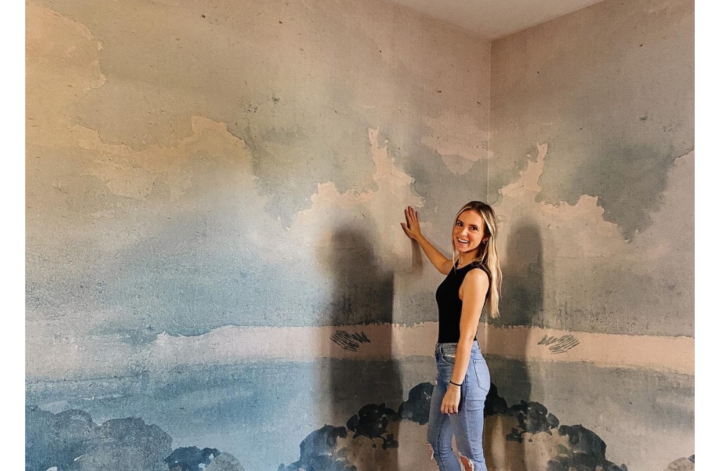
Wallpaper has made a comeback and I am here for it! It is a fun way to help make your home more personal. There are countless different styles and patterns available. Are you team traditional wallpaper or team removable wallpaper? I’ve used both for different DIY room refreshes. So, today I’m diving into the top differences between traditional and removable wallpaper.
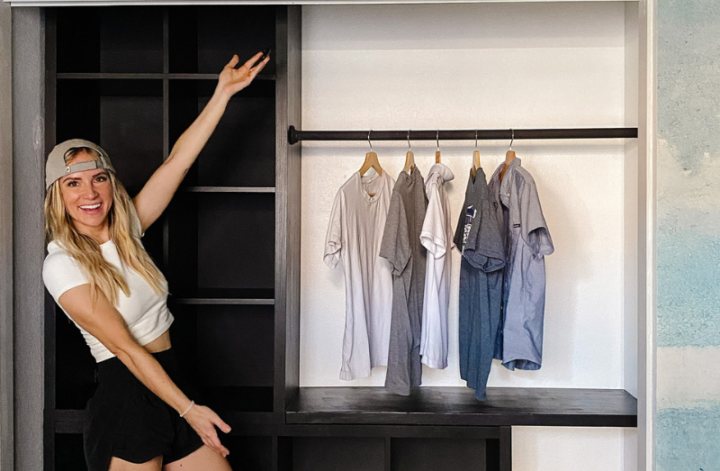
Do your kids forget where everything goes in your house? Or is it just mine? I swear, sometimes my house is unrecognizable. Keeping things organized can be so hard to do, especially if you have a full schedule and full hands. But, if you have those things going on it means you have a full heart too, right? So, to help combat the busyness of life I have been incorporating more organization into the final design of my projects. That way it gives my family and me the tools we need to stay organized. I want your family to have the tools you need too, so I am sharing my favorite products for home organization
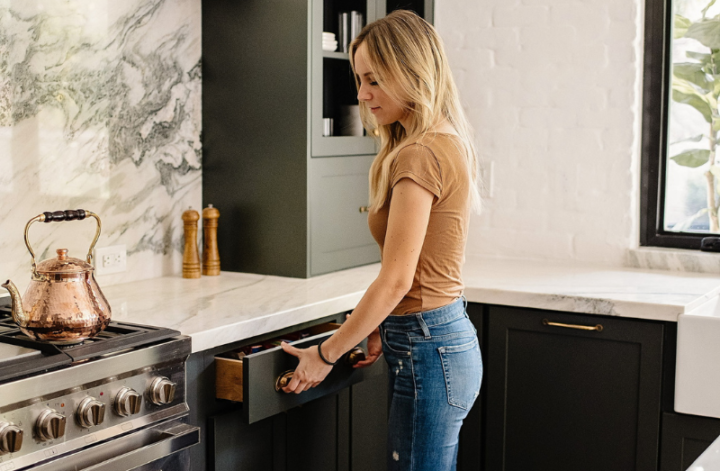
Are you looking to make a big change in your home without a big budget? Not all DIY projects have to cost a lot of money in order to make a difference. In fact, some of my favorite DIY makeovers have been when I have not spent much at all. You just have to know what elements to focus on. That is why I am sharing 4 BIG ways to save on a room makeover.
You can be honest with me…are there times that DIY feels intimidating? I get it. Big projects can feel overwhelming especially when we are trying to figure out how to do them. It happens to me too. That is why I have my personal mantra: STOP PINNING. START DOING. It doesn’t mean we have to speed through things, we just have to start. So in the spirit of starting, I want to share 5 easy ways to update your home that anyone can do.
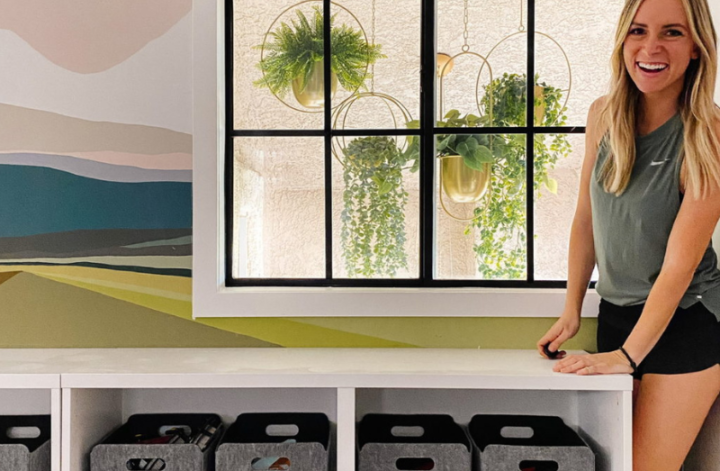
I don’t know about you, but I struggle to keep real plants alive. If you have a green thumb I need you to teach me all of your ways! But, until we can get together, I am over here faking people out with realistic looking faux plants. I’m sure you are thinking that in order for them to look good you are going to spend a ton on faux plants. But don’t worry! They have come a long way and there are so many options for faux plants for any budget.