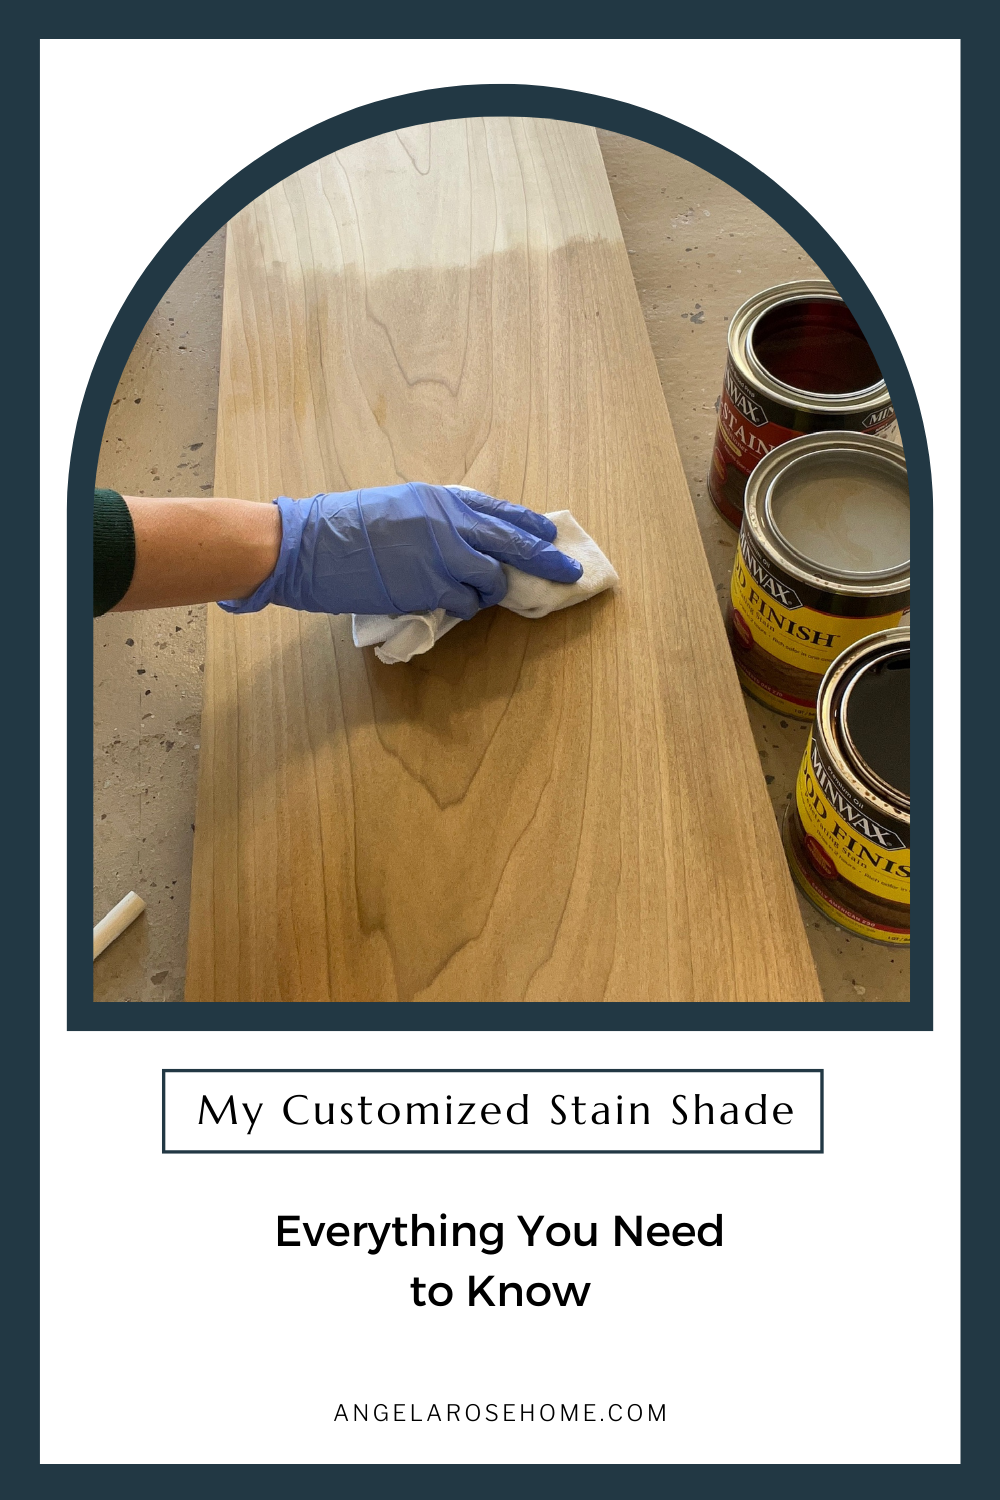
One of the most common questions I get asked is about my go-to wood stain shade. I love using Minwax wood stain, but in true Angela fashion, I like combining colors to create my own customized shade. Don’t worry, I’m willing to share all the secrets to my customized wood stain so that you can use it in your DIY projects too.
How to Stain Wood
Before I share my secrets, I think it’s really important to talk about the process of staining wood. I know at this point in a DIY project we all just want to jump right into the staining, but DON’T! Trust me, preparation is the most important part of staining. It’s true what they say, “fail to plan, plan to fail.”
Steps for Staining Wood:
- Sand and prepare the wood
- Apply wood conditioner to get the wood ready to stain
- Use Minwax wood stain to get your desired color
- Apply wood sealer to keep your project looking great
Sanding:
To achieve the best staining end result, you first need to sand your boards. When you sand wood you always want to start with sandpaper that has the lowest number of grit and then work up to the higher numbers. A low number such as 80 will remove most unwanted texture and roughness and then I usually suggest using a medium grit number like 120. I always finish off sanding by using a 220 before I move on to wood conditioning.
Prepping the Wood:
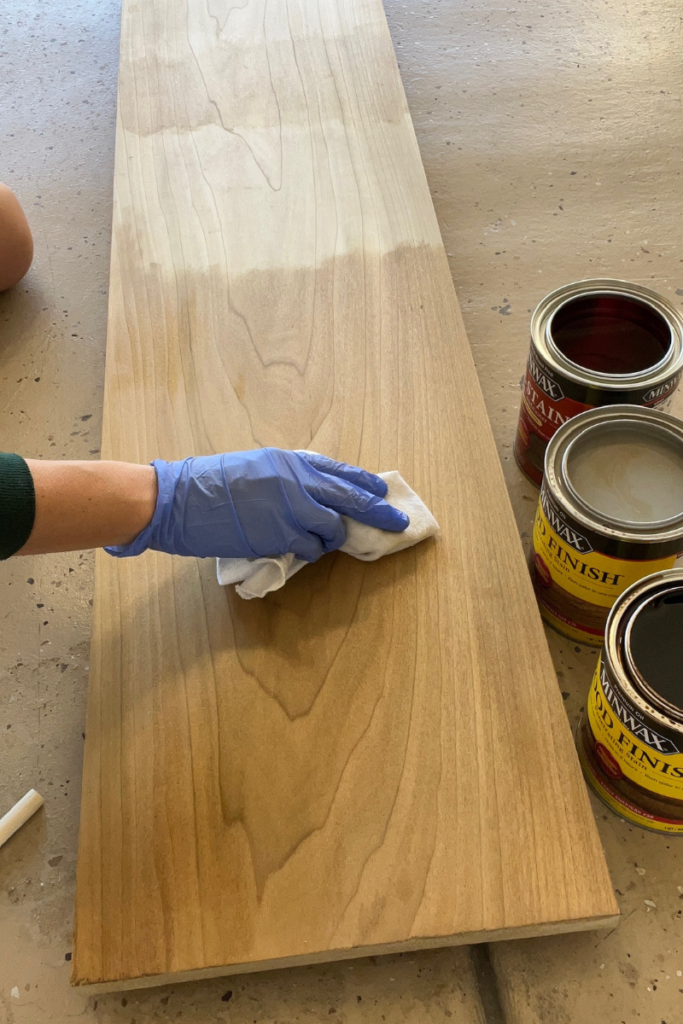
Conditioning your wood will help your stain go on evenly and keeps it from being blotchy. For wood conditioners, I always suggest using a water-based solution. Minwax pre-stain is my go-to.
Apply wood conditioner with a clean rag making sure to cover the entire area you are staining in an even layer. Wipe off any excess conditioner and then let the rest soak in for 10-15 minutes before you apply the stain.
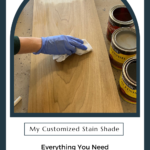
Staining Wood:
Getting the perfect stain color can be a long and frustrating task if you’ve never done it before. That’s why I am sharing my secrets. Once you have your specific color in mind, I suggest testing it out on a spare piece of wood before applying it to your project. If you don’t have any extra wood you can test it on the underside of a piece you’re using that won’t be visible later.

Different species of wood have different undertones and will stain differently so you’ll want to know what yours looks like before you stain your entire project. But don’t worry, if you aren’t happy with the way a stain looks you can always sand it off and try again!
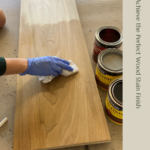
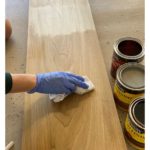
One of my hacks for getting a perfectly natural-looking stain is to apply the product lightly. I dip a clean rag or stain rag into just a little bit of stain at a time. I immediately wipe it off as I go. This makes it so the stain doesn’t sit on the wood for too long and darkens it more than I can control.
Seal the Stain:
To seal your stain, I always recommend using a topcoat. This will help protect the wood from scratches, stains, and water damage. Minwax polyacrylic in matte is my go-to topcoat for most wood projects.
The Secret Angela Stain Combo
It is the time you have all been waiting for….drumroll…I’m spilling the beans on my soon-to-be not-so-secret stain combination.
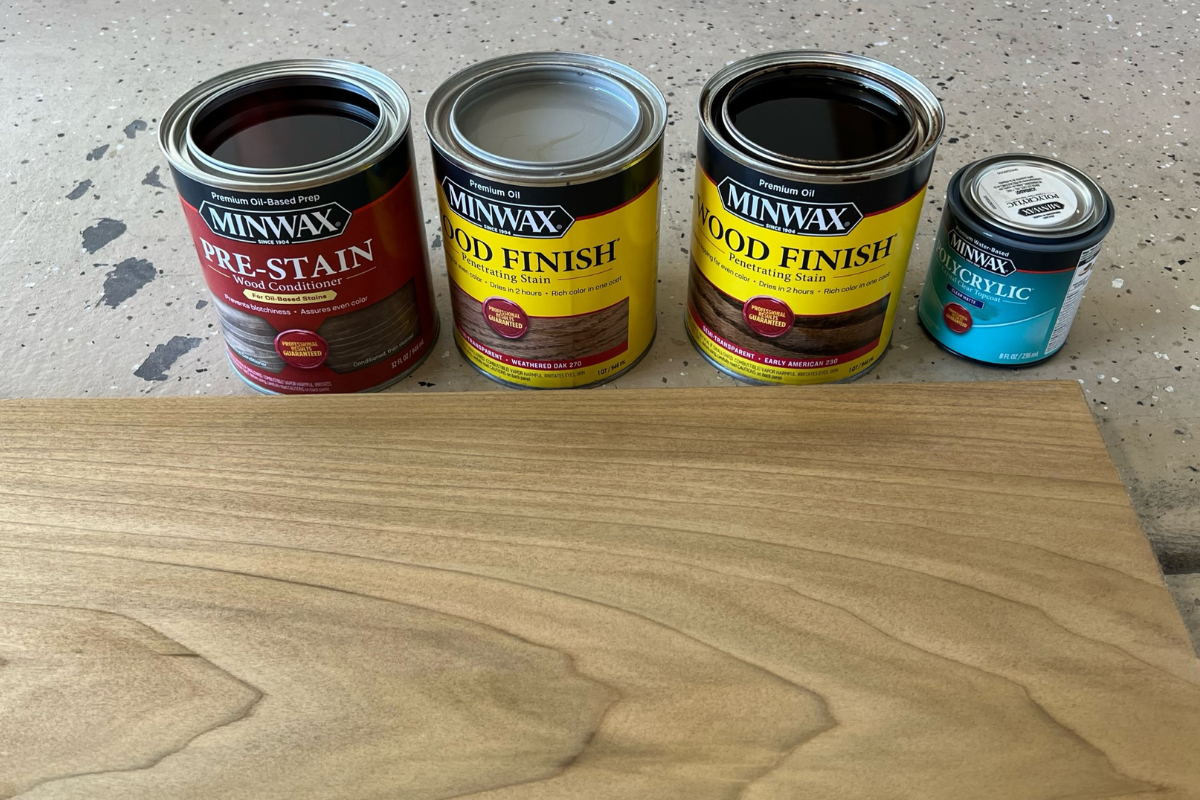
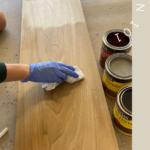
To get my favorite stain combination I layer Minwax Early American and Minwax Weathered Oak on top of one another and the color always turns out perfect. If I’m doing a project where my wood looks super yellow I’ll also use Minwax Simply White as my first stain to help pull the yellow out of it. But usually, I can just start off by applying Minwax Early American.
To start I use a clean rag and dip it into my Minwax Early American stain. I rub it on evenly using it a little bit at a time. Then, let it dry for 2-4 hours. Or sometimes 1 hour is it is a hot day. Once the wood is finished drying I go in with the shade Weathered Oak and repeat the same process. This color combo is seriously magical! When you try it, tag me on Instagram @angelarosehome so I can see!
My Favorite Projects with This Stain Color
Now you know how to use my customized wood stain on your DIY projects, but just for fun, I thought I’d share my favorite projects where I used this color combination.
DIY Faux Beams
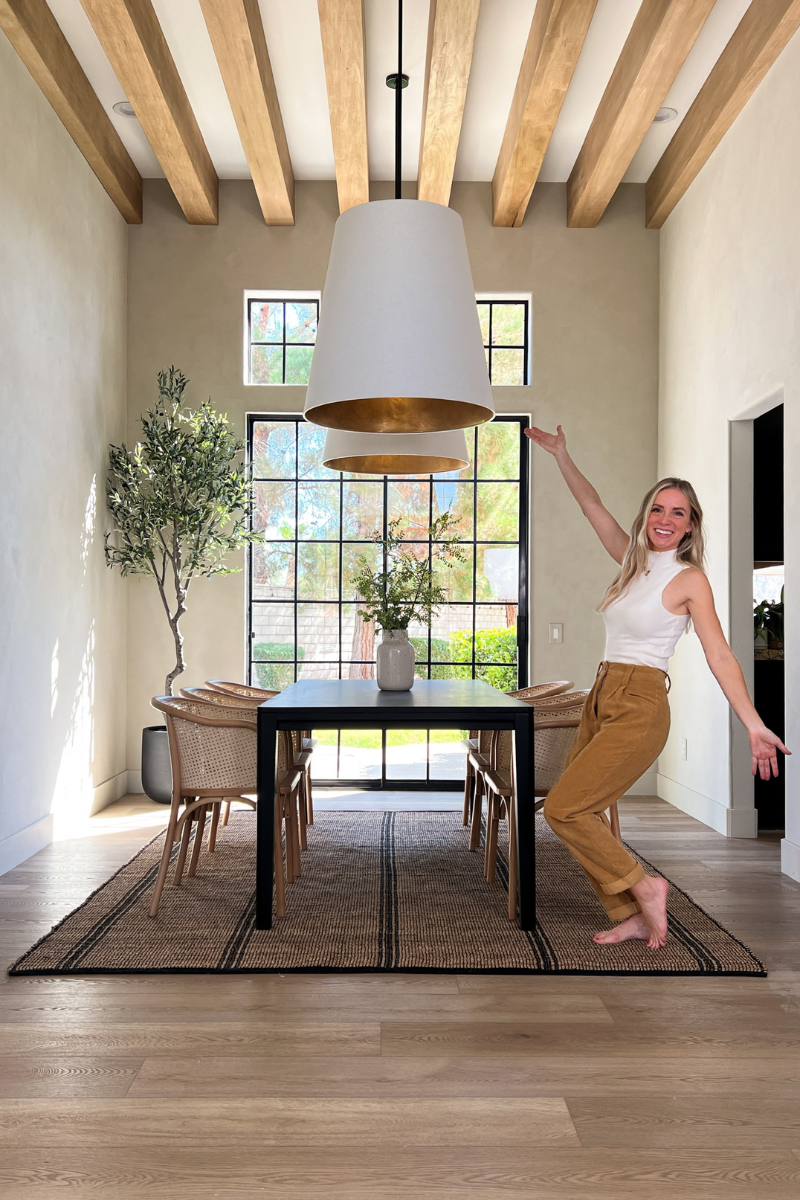
When I decided to refresh my entry dining room area, I know I had to have faux beams after I saw a picture of stunning wood beams. Everyone told me, “ Don’t do it.” “It’s going to be too hard.” But you guys, I was not able to unsee that picture. I knew I had to have them. So, in true Angela fashion, I had to go for it! Check out the whole process here.
For my entry dining room ceiling, I built 8 beams total. You guys, these things are BIG! They are 13 feet long, 12 inches deep, and 7 inches wide. It felt like the equivalent of building 12 dining room tables. It was a lot of building and staining, but it turned out perfect!
Floating Corner Shelves
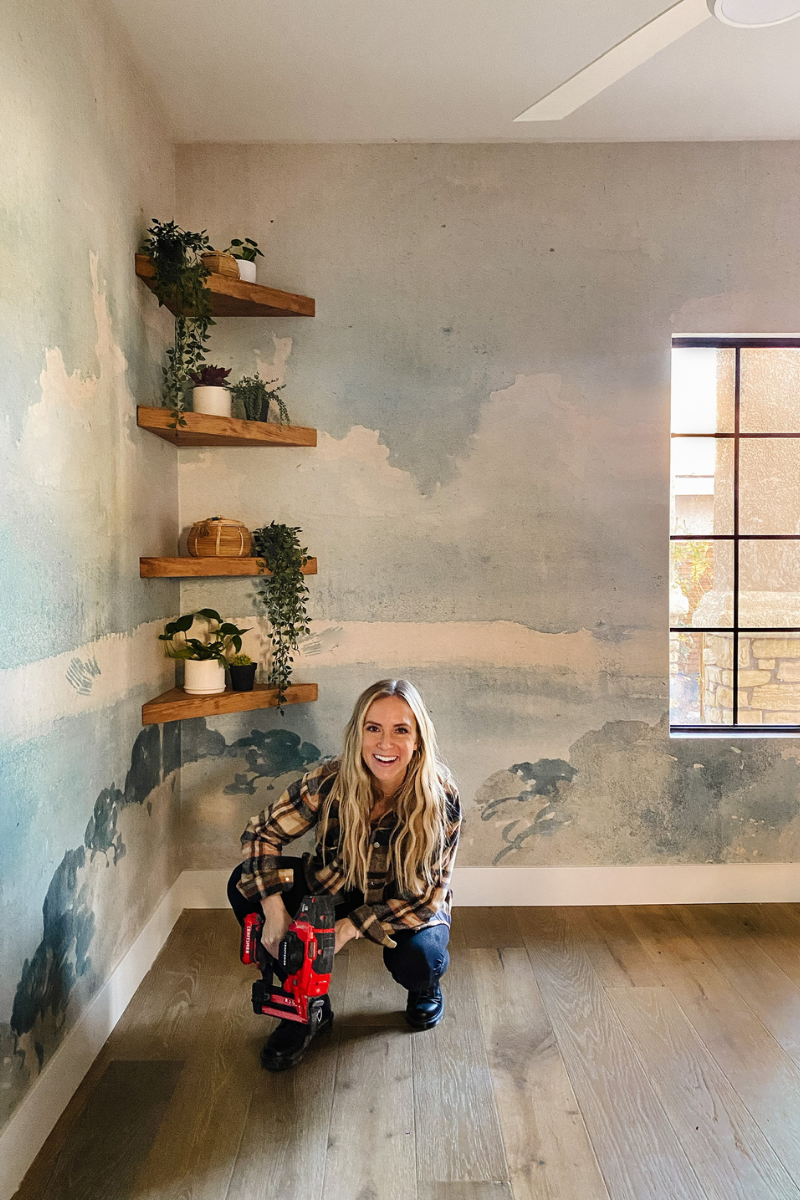
I loved making DIY floating corner shelves for my son’s room. They turned out looking so cute that now I’m searching the other areas of my house for an excuse to build more! If you’re looking for a fun way to upgrade a small space, this might be just the thing you’re looking for. Check out my full tutorial here.
Hallway Cabinet Storage
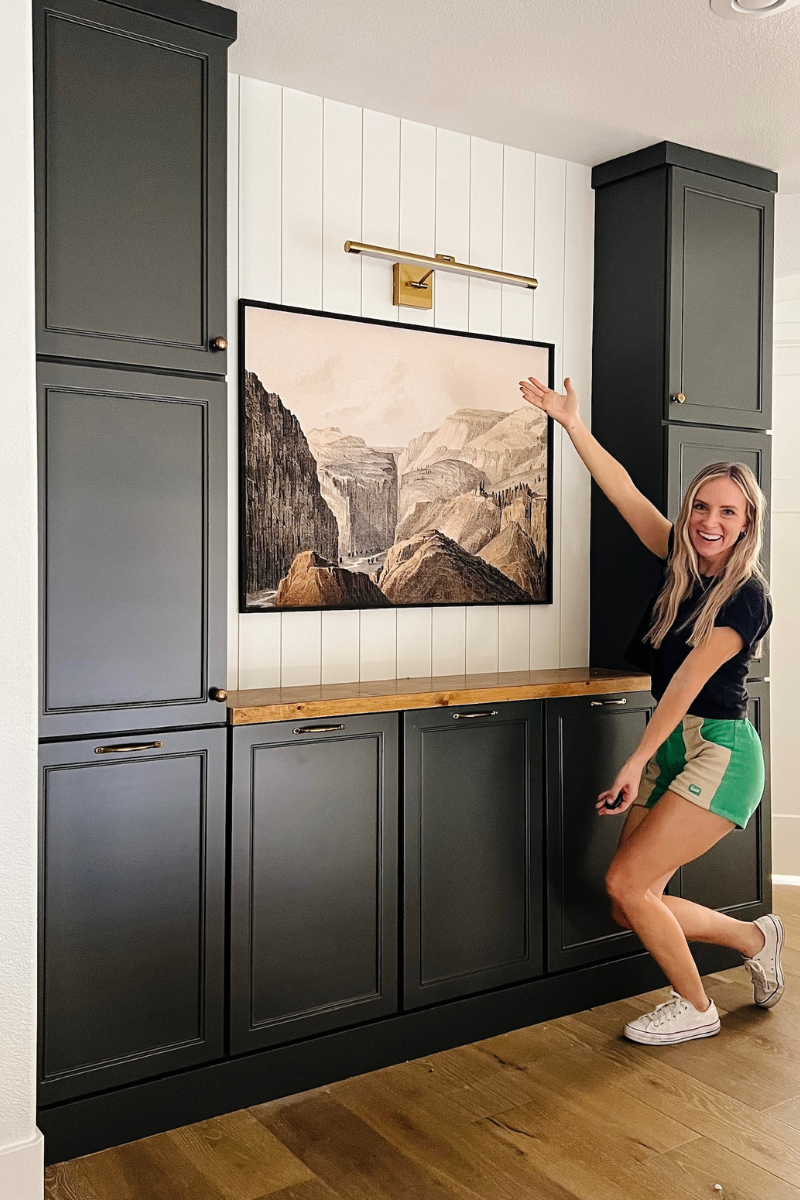
While I was dreaming up ways to add more storage to our home, the hallway cabinet storage project was born. One of my favorite details in the project is the wooden countertop. I was lucky enough to have repurposed an old project for the countertop. And when I say lucky, I really mean lucky! The piece I used already had front trim and a nice top. All I had to do was cut it down to the right size and stain it with my secret stain.
DIY Wood Desk
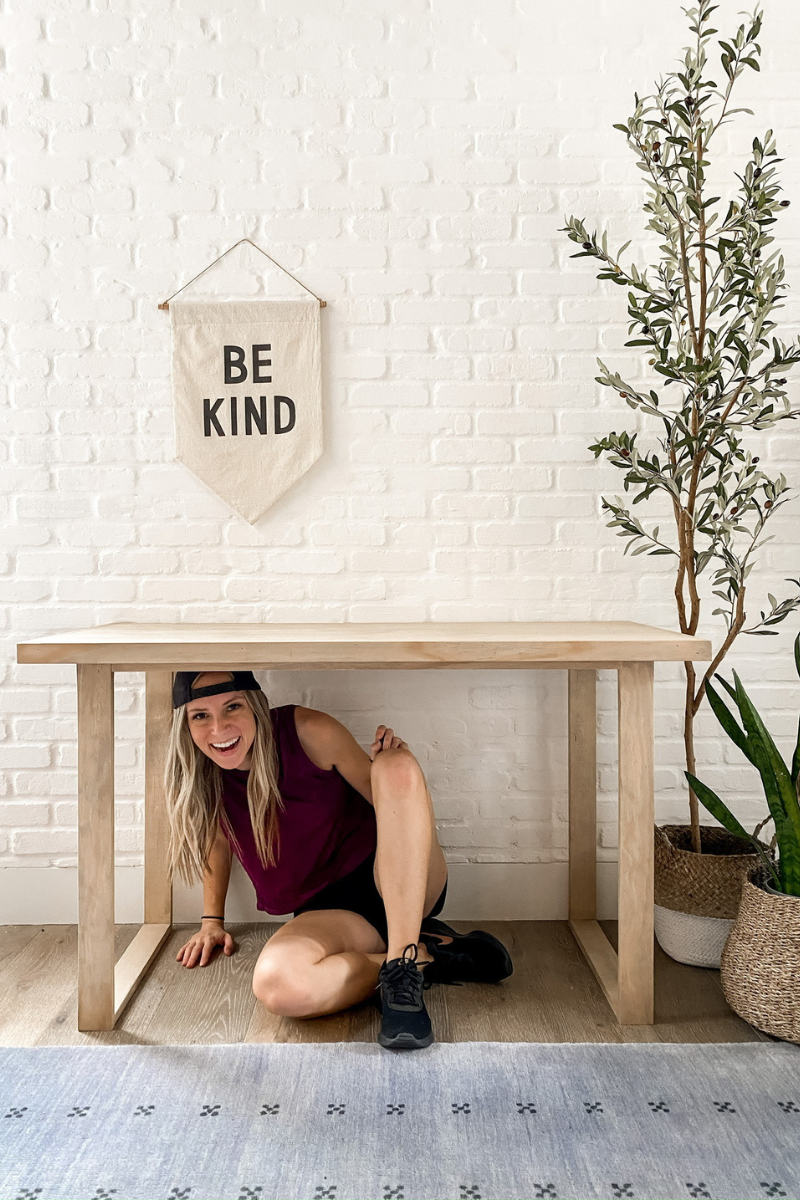
In 2020 many of us were given the opportunity to adapt and create classrooms in our homes. For me, one of the first creative necessities during that crazy time was building an amazing and affordable wood desk for my son. The desk was super easy to make and the specialty wood stain gave the desk some serious wow factor. If you are interested in making a desk check out my how-to guide here.
The Secrets to My Customized Wood Stain
You’ve got all the secrets to my customized wood stain so it’s time to stop pinning and start doing. Honestly, I cannot wait to see your projects so tag me @angelarosehome in your reveal posts. I always feel your love and support when I am sharing my projects on Instagram and TikTok and I want to cheer you on with your DIY projects too! The DIY community is the best! Let’s keep sharing our secrets and supporting each other in our creative endeavors.
Disclosure: I only recommend products I would use myself and all opinions expressed here are my own. This post may contain affiliate links that at no additional cost to you, I may earn a small commission. Read the full privacy policy here.