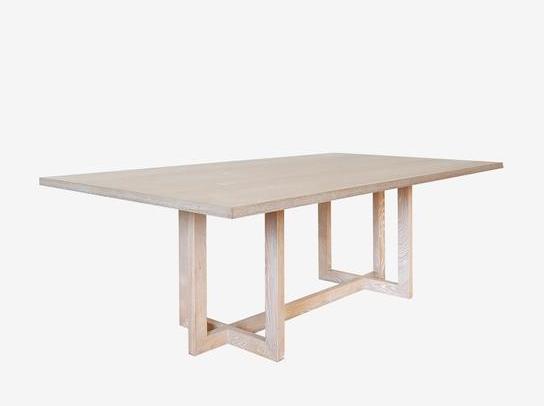
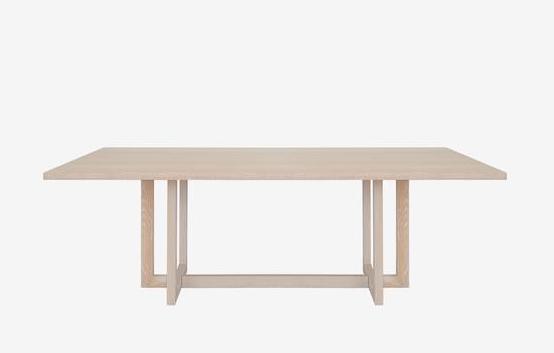
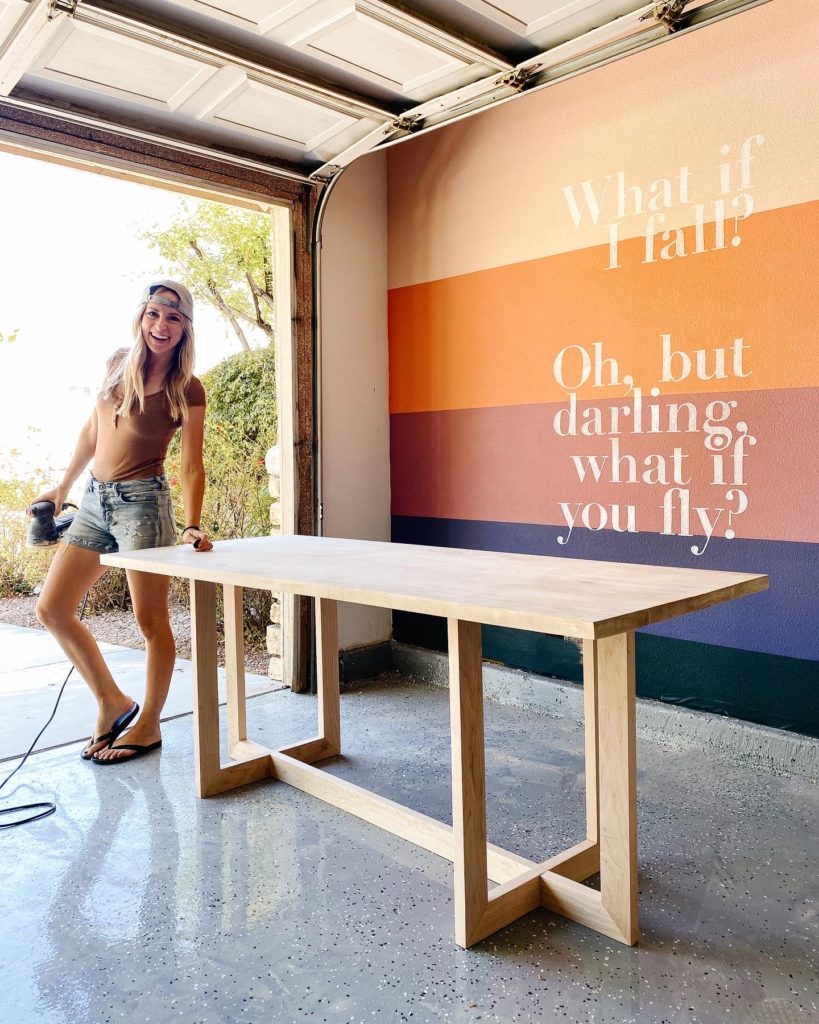
When I saw Studio McGee’s Iva dining table I knew I had to have it but didn’t want to spend the $4,200. I decided to take on the challenge of building this table myself because I really loved the designer look of it. There’s nothing better than a DIY solid wood table that’s kid-friendly, durable, and functional all in one.
Below I’m sharing how to DIY this Studio McGee table for your kitchen or dining room for only $200 using maple wood.
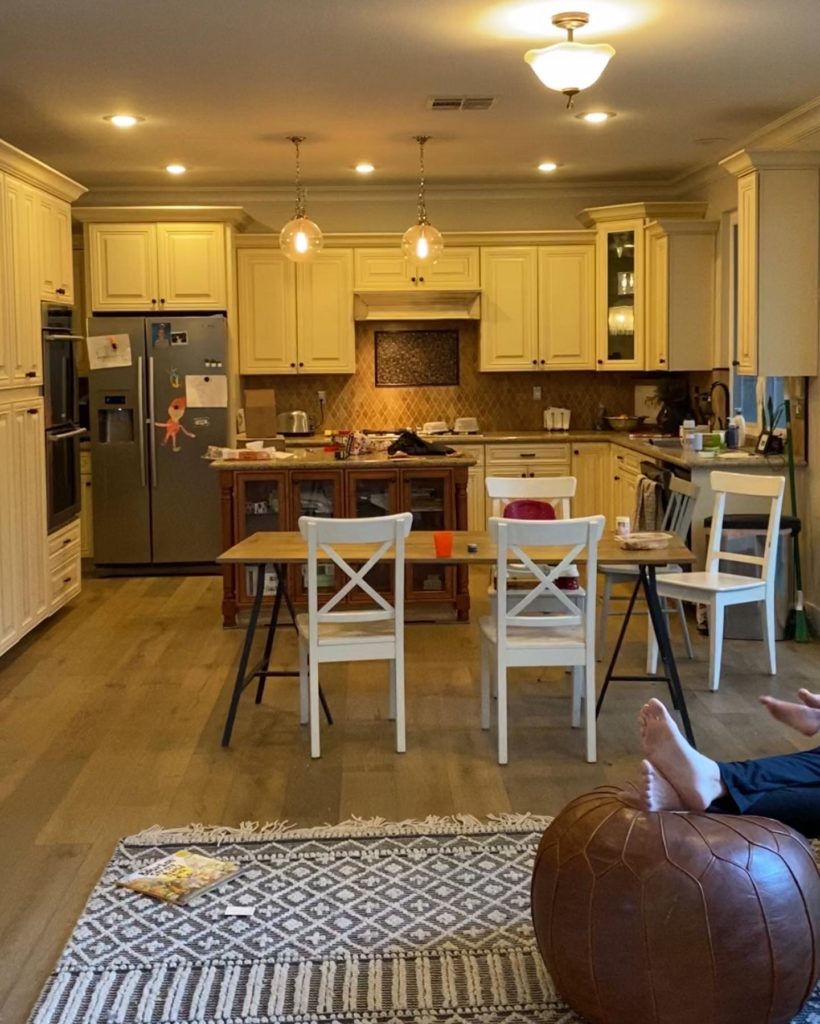
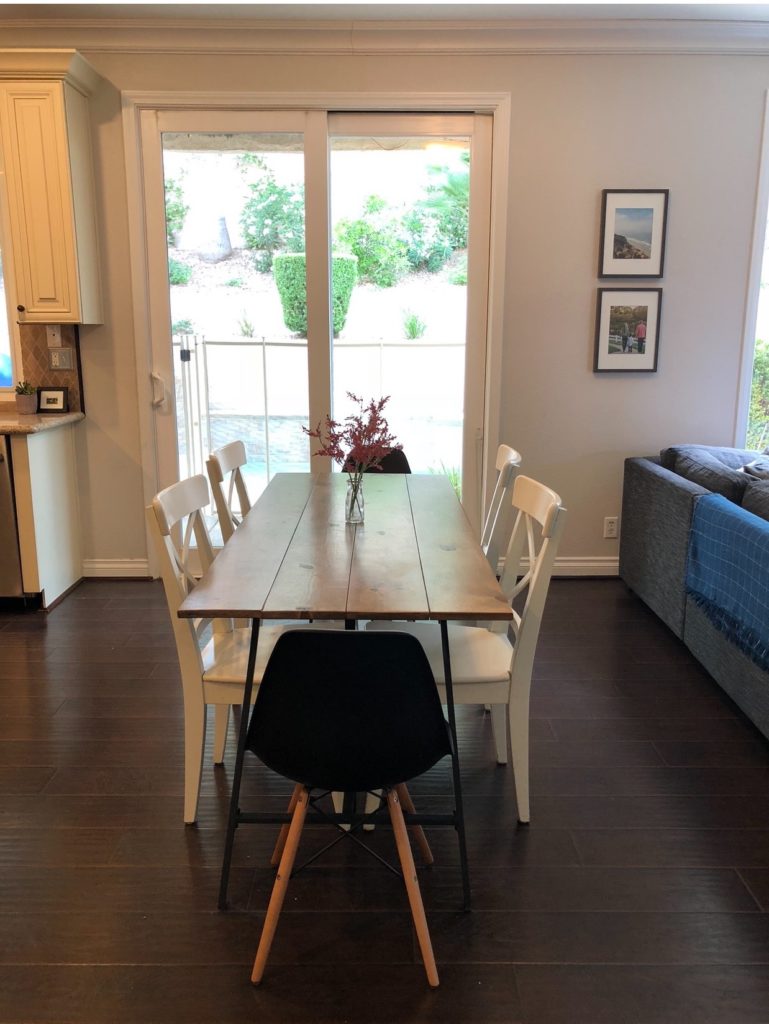
Here was our kitchen table before:
Step 1: the lumber from the lumberyard was only finished on 3 sides, so I cut the last side to size. When getting wood, make sure to check your boards and make sure they are straight!
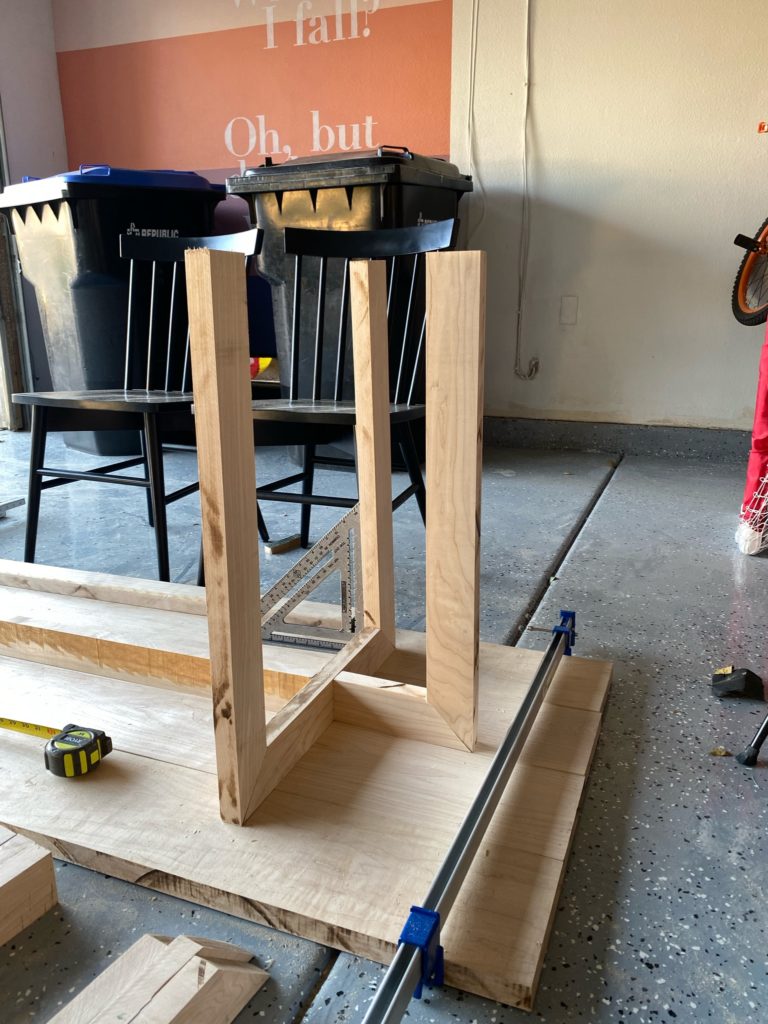
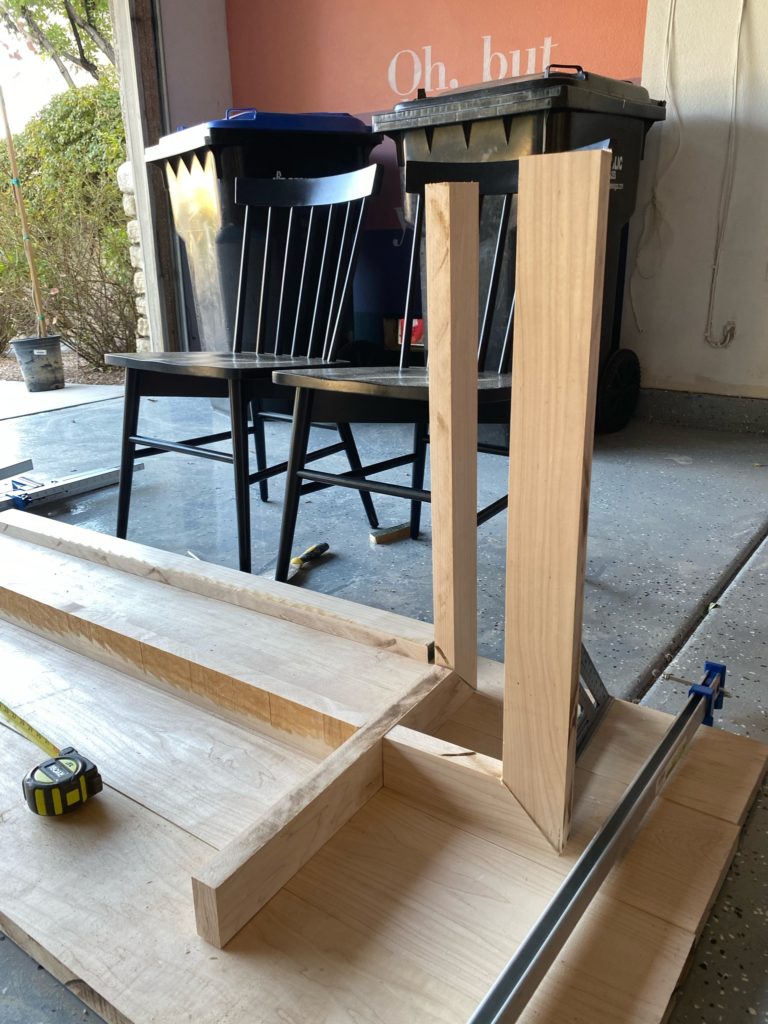
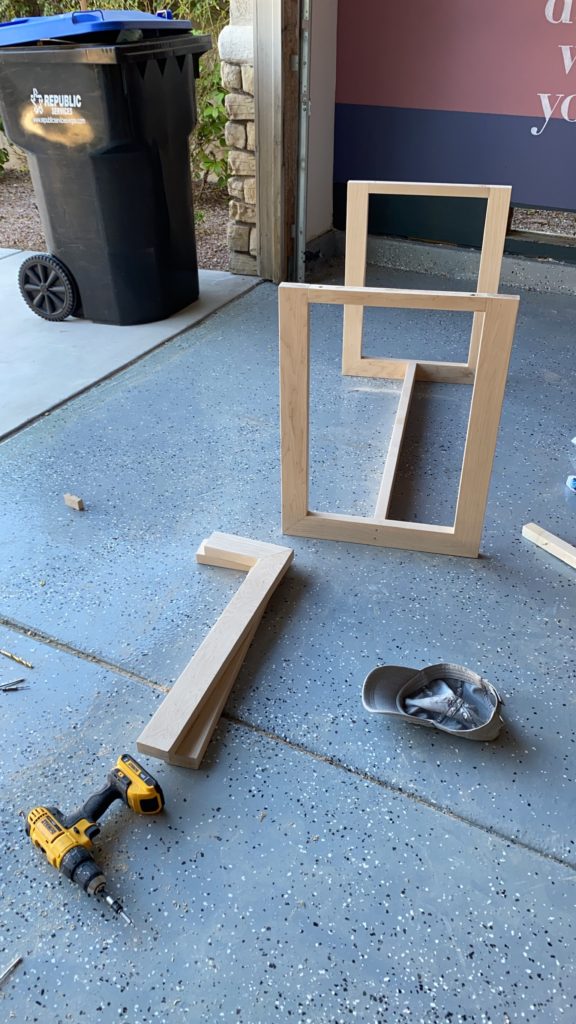
Step 2: The legs. For my table size, I used 1 1/4 x 2 3/4 in board, but you can use a 2 x 4 or whatever works for your table size. I mitered one side to be a 45-degree angle, used clamps, wood glue, and screws to reinforce.
PRO TIP: save the sawdust from your cut wood to mix with wood glue and fill gaps later on in the project.
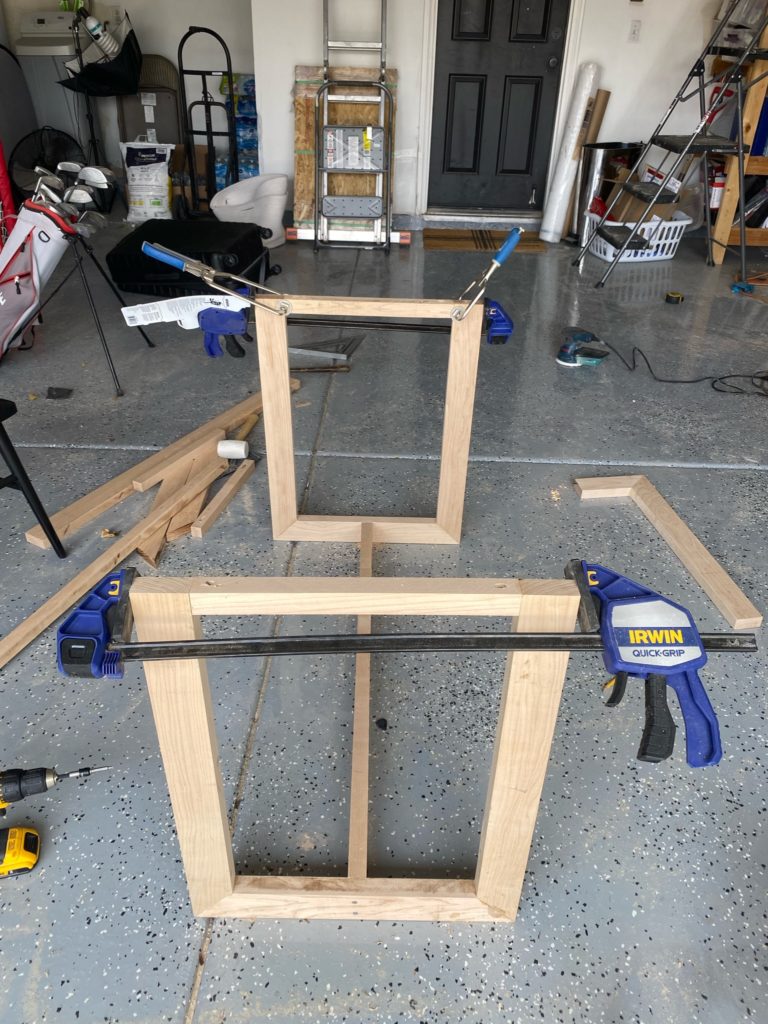
Step 3: Cut and build the legs like shown, or modify for your preferences.
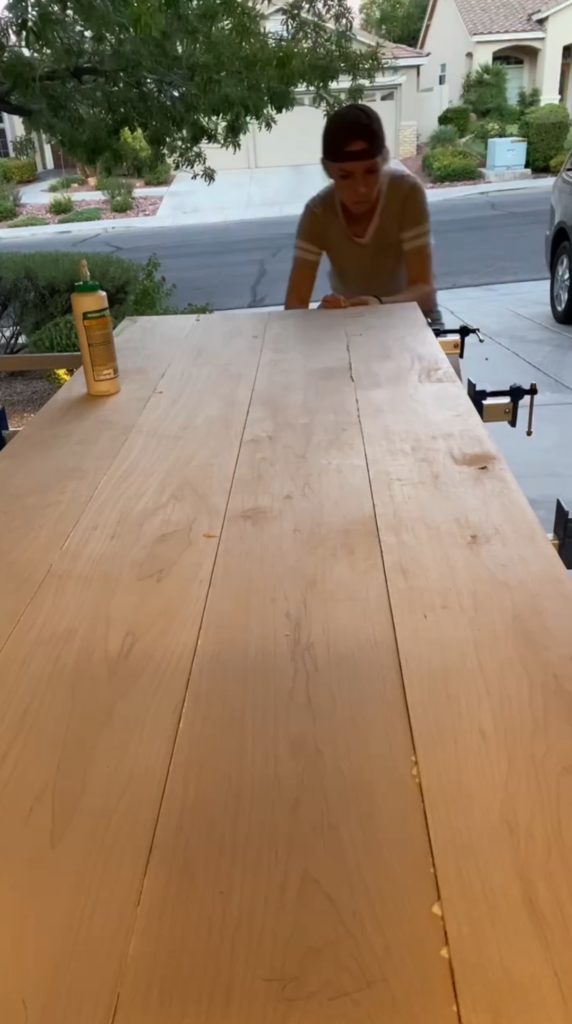
Step 4: The tabletop. There are a few different methods for making a tabletop…glue-up, pocket holes, biscuits. I decided to try the glue-up method (I used Titebond Ultimate Wood Glue). Apply glue and spread on edges of boards (hurry… it dries fast!) and stick the boards together. I had all the boards laying on large clamps. After tightening the clamps on bottom, I added clamps across the top to help with bowing.
PRO TIP: To avoid bowing, alternate the grain so it goes cup up, cup down, and so on.
Step 5: Fill in the gaps between the boards with a simple homemade “putty.” To make the putty, use the same glue and the sawdust from the sawed wood. Mix it together and cover the gaps. Then, carefully use a sander to get the top totally flush.
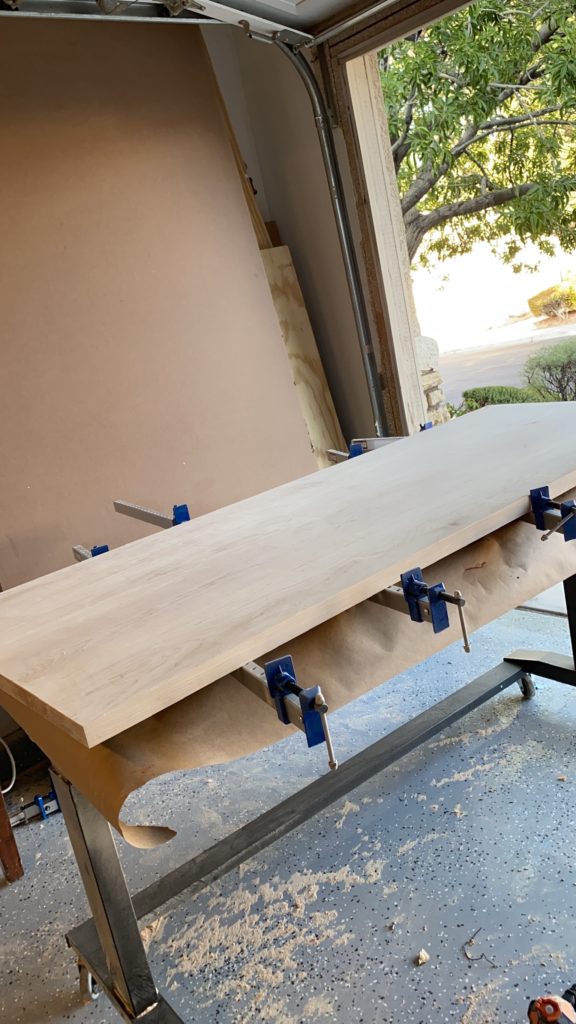
Step 6: Sand, Sand, SAND!
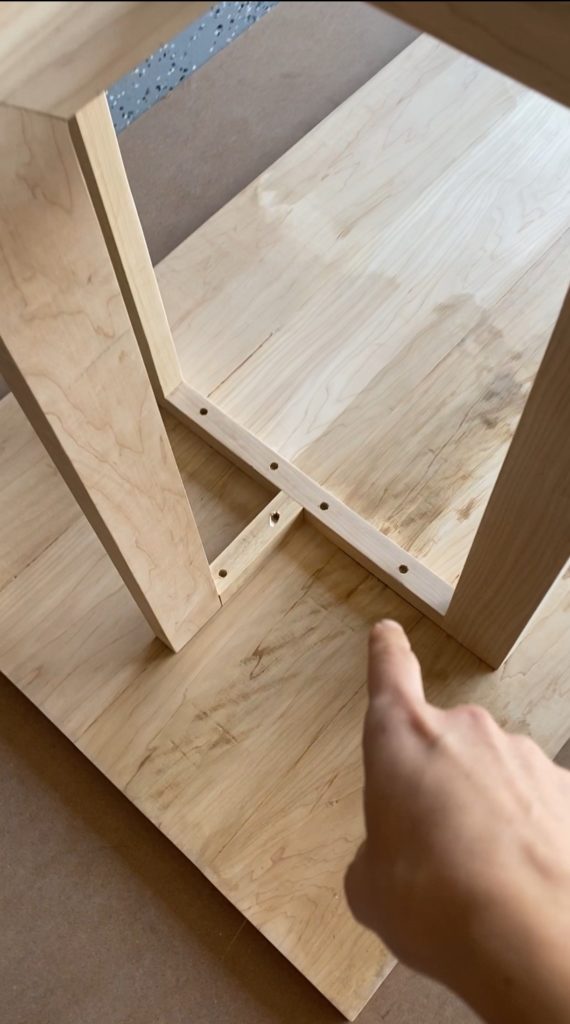
Step 7: Attach the tabletop to the base by screwing through the legs to the top.
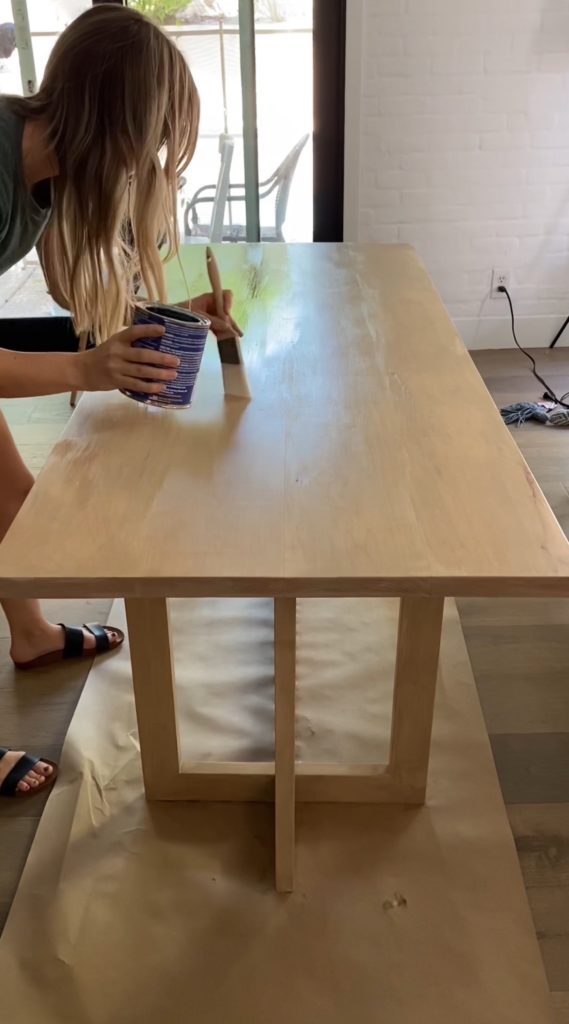
Step 8: Prep for staining. Be sure to start sanding with the lowest grit number and build your way up to higher grits like 220. Then add wood conditioner to make it less blotchy and more even.
Step 9: Choose your stain. DIY pro tip: Deconstruct the table to practice the stain on the bottom, so if I don’t like the stain it’s on the underneath part.
Stain 1 – simply white (to knock off the yellow color)
Stain 2 – weathered oak (started super light)
Trick for de-pinkifying: acrylic paint (color: tan with a green undertone) that cancels out the pink. Add a small amount of water, mix it up, and brush it on to knock off the pink.
Step 10: Apply the topcoat. I did 3 coats with a light 220 sanding in between. I like polycrylic in satin or matte or General Finishes Brand.
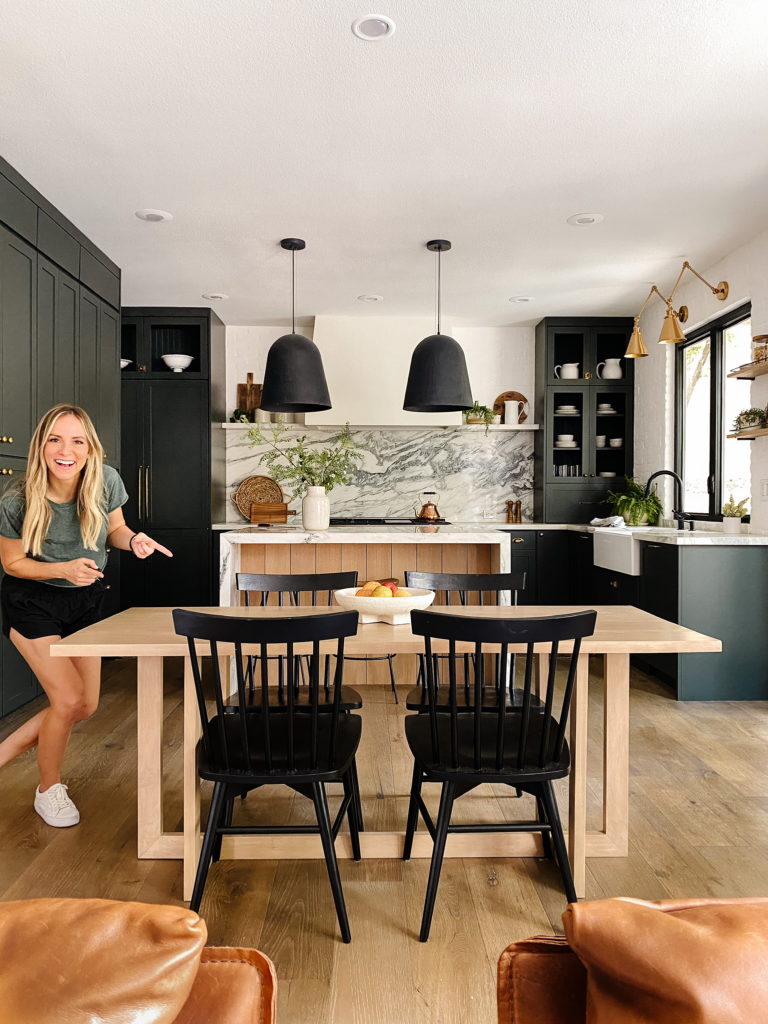
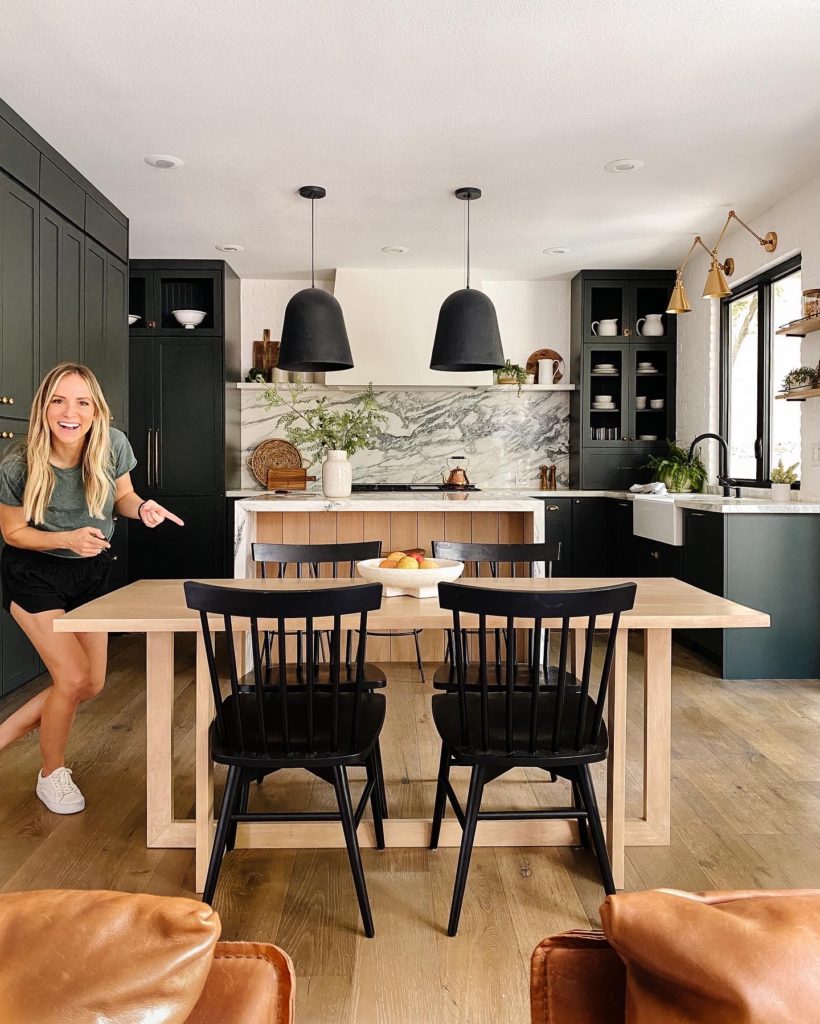
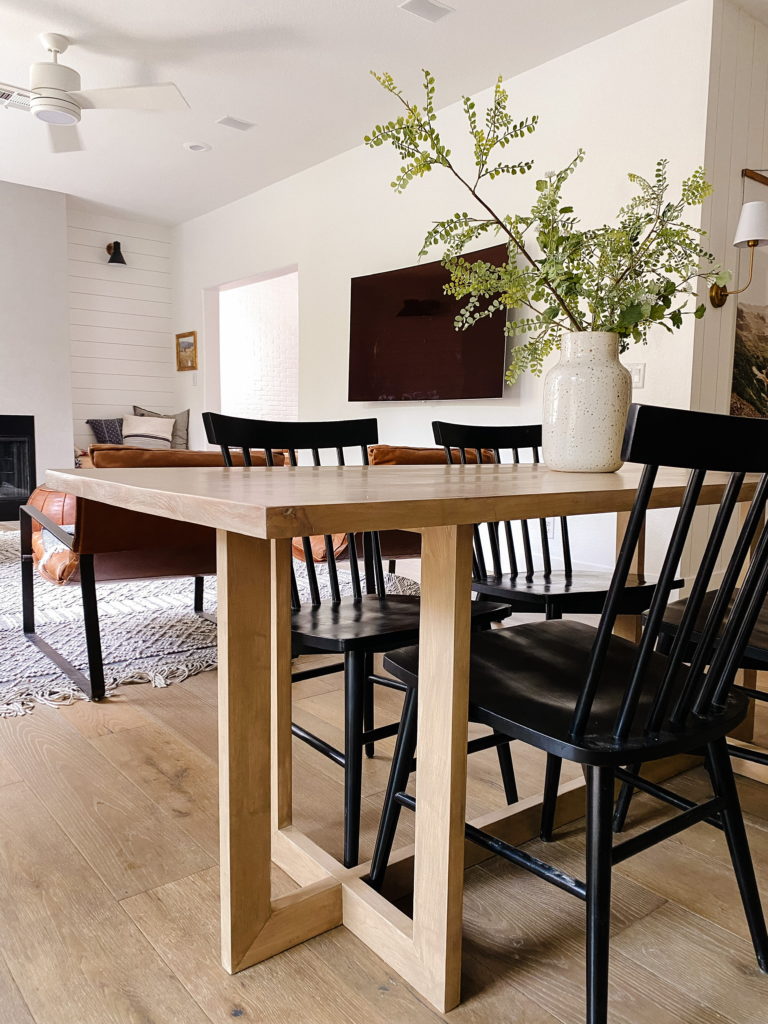
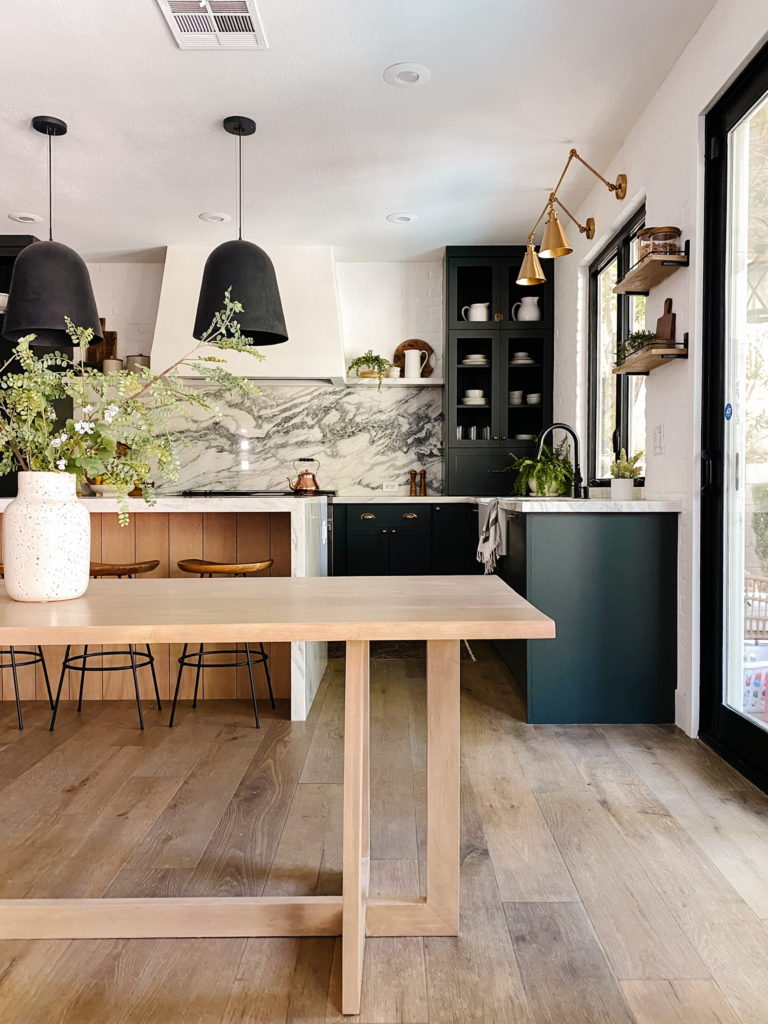
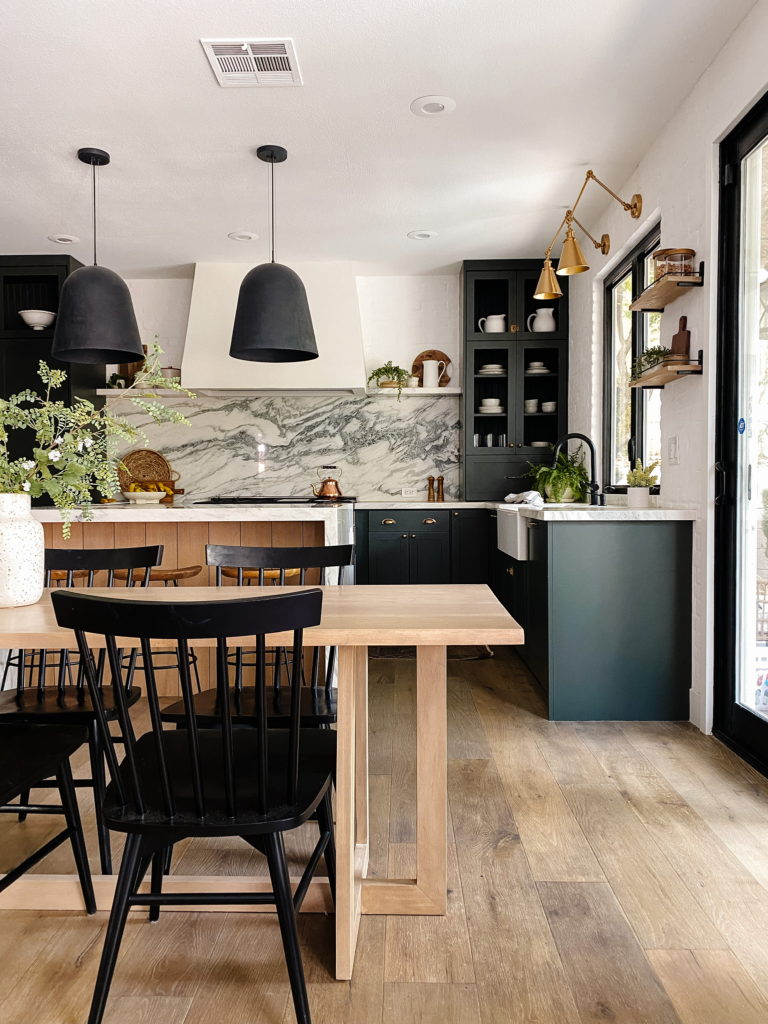
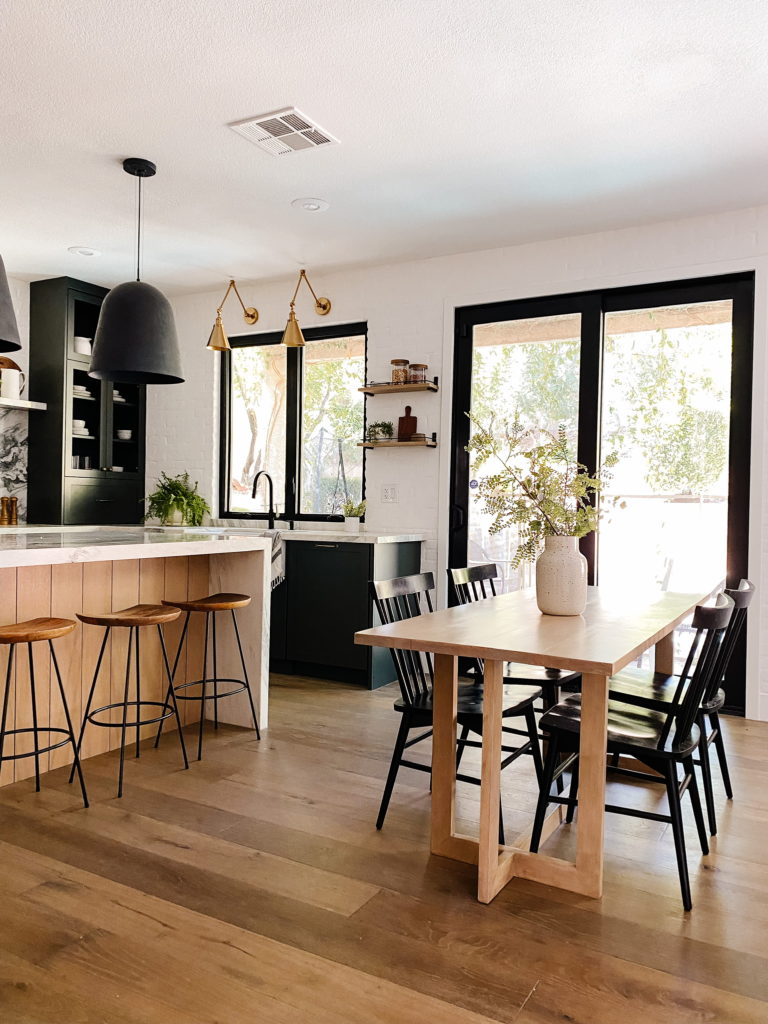
Drumroll, please…… the final table!
FAQ DIY Wood Dining Table
- Where are your chairs from? They are old Target chairs I spray painted, but here are the ones that are almost exactly the same!
- Do your knees hit the table legs while sitting down? Sitting down, the legs aren’t a problem. The chair can’t push in all the way, but it was a decision I made to fit the table in my small space.
- Where are your floors from? Floors are Duchateu in Hailee, engineered wood. I love them and they have held up great.
- What color are your kitchen cabinents? Our cabinent doors were custom sized and painted (to put on my old cabinent boxes) from Nieu. They are from the line Angela Rose Slim Shaker in Dream Dusk. You can find the doors HERE and you can use ANGELAROSE for 5% off your entire order.


