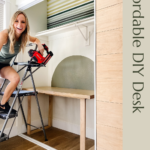
Lots of us in 2020 had to adapt and make DIY classrooms in our homes. It is hard remembering back to that time. In fact, I am sure most of us have probably blocked it out. But, if anything, we got some really cool ideas from the need to get creative. For me, one of the first creative necessities was building an amazing wood desk for my son. Are you ready to see how I transformed $35 worth of wood into an affordable and stylish DIY wood desk?

It seems to be hard to find anything these days, so I say, let’s get DIY-ing! Plus, that way we will get exactly what we want! Fun fact, I actually started my DIY journey years ago when I decided to start making furniture instead of spending money on the lavish pieces I really wanted. Who knew it would lead me to a journey where I got to be here making an amazing wood desk with you.
Tools and Supplies for Building an Affordable and Stylish DIY Wood Desk
I always say that there are really only 5 tools you need in order to start DIY-ing. Guess what, those 5 tools (and a few other things) make up most of the supply list for making an affordable and stylish DIY wood desk.
Here’s what you need to make an affordable and stylish DIY wood desk:
- 2’x4’ Plywood
- 1×2 pine boards
- Wood stain
- Wood conditioner
- Topcoat
- Wood glue
- Miter saw
- Nails and Nail gun
- Sander and 220 grit sandpaper
- Drill
- Screws
- Clamps
- Optional-Kreg jig
One of my favorite places in the hardware is that magical spot where plywood is already cut down into manageable pieces. Building a desk may seem difficult, but I promise you, if you visit the magical plywood spot you are going to be 10 steps ahead. For my desk, I needed a 2’x4’ piece of plywood, but if you are looking to make a bigger (or smaller desk) there are all sorts of pre-cut sizes. The plywood piece is going to act as the top of your desk so you are essentially halfway done.
How to Make an Affordable and Stylish DIY Wood Desk
The hardest part of this whole DIY wood desk is building the legs. We are going to build rectangular legs that slightly resemble a picture frame. If you were here when I was making them you may remember that picture frame pose moment I had. What can I say, DIY should be fun and I try not to take myself too seriously.
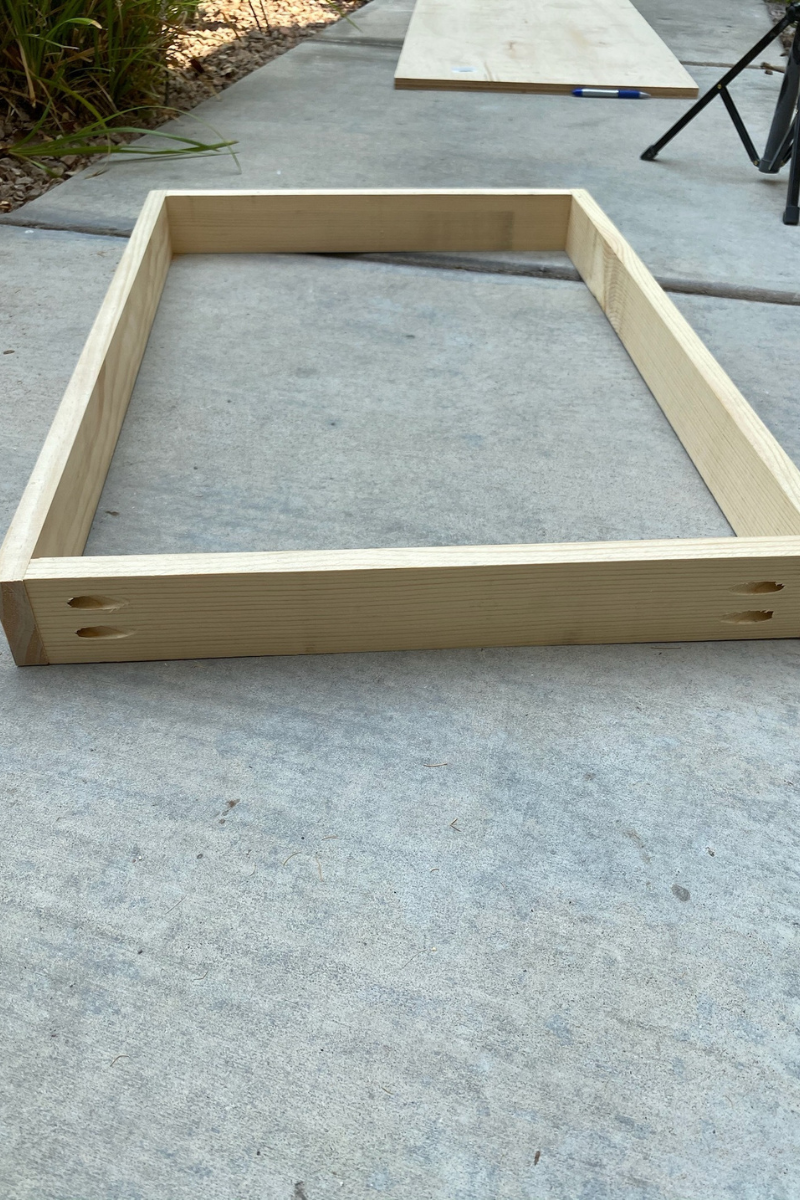
You can build the frame-like desk legs in a few different ways. Isn’t DIY the best? You pick projects you want to do and make them the way you want to. Here are a few ways I suggest making the legs for your super-stylish desk.
1-Kreg jig
2-Nail and wood glue combo
Kreg jig- If you haven’t heard of a kreg jig it is an amazing tool! Definitely one of the top 5 tools I think DIY-ers need. The kreg jig helps you create pocket holes in your wood so that you can have hidden ways of attaching pieces of wood together. It’s super helpful when building furniture and frames. The jig acts as a guide so you can drill a hole into the wood at an angle which creates a “pocket” for your screw.
Nail and wood glue combo- Creating the legs of your DIY wood desk can also be done with wood glue and nails. It really is as simple as it sounds. Glue the pieces of 1×2 pine wood together and then use your nail gun to shoot nails into the wood to secure it. You don’t need any super special tools, other than a nail gun. I am pretty obsessed with my nail gun. If you don’t have one yet, you should check out the Craftsman airgun. It has been a game-changer. It is so easy for nailing on trim and building projects. And it’s even battery powered so you don’t have to deal with the cord.
Miter saw- If you are like me and tend to complicate things a bit, you might like building your desk legs with a miter saw. This way of creating desk legs is a little more technical, but it is super cool. Use your miter saw to cut 45-degree angles at the end of your 1×2 pine boards. This will allow your boards to fit together and look like almost 1 continuous piece. Once your pieces fit together, shoot a nail in the boards to hold them in place. Then use a screw to securely fasten everything together.
What it comes down to, is the fact that there are no excuses. There are a bunch of ways to create something and you just have to figure out what works for you. That’s why I have the motto: “Stop pinning. Start doing.” There is so much to be learned from just going for it.
Dress up the Desktop
The only other thing you need to do to finish off the top of your wood desk is to frame out the edges. Technically you don’t HAVE TO, but I like things to be all buttoned up. And while I obviously love the pre-cut pieces of plywood, they do have raw and unfinished edges. So simple solution is to frame out the edges with 1×2 pine boards. They will make the project look professional and they will match the legs we are building.
First, measure your 1×2 pine boards to the right length. Then use your miter saw to cut the edge to a 45-degree angle. Cutting an angle will make the boards look like they are sliding together perfectly. Once the boards are ready, apply wood glue. Hold the board up to the edge of the desktop and nail the boards into place. Repeat until all the unfinished edges are covered.
Attaching the Pieces to Your Affordable and Stylish DIY Wood Desk
You’ve made your legs, have your desktop, and now it’s time to put everything together so you can start using your affordable and stylish DIY wood desk. Before attaching the legs to the desktop, I added an additional 1×2 pine board that is the same length as the legs. The reason I did that is that I found that I wanted some additional support in the front and back of the desk and adding the board under the legs helps to keep everything on the same level.
To attach the desk legs, line your “bump board” and your desk leg up with the plywood desktop. Then screw everything together with a 1 ¾-inch screw. You want to get the plywood, but not go all the way through.
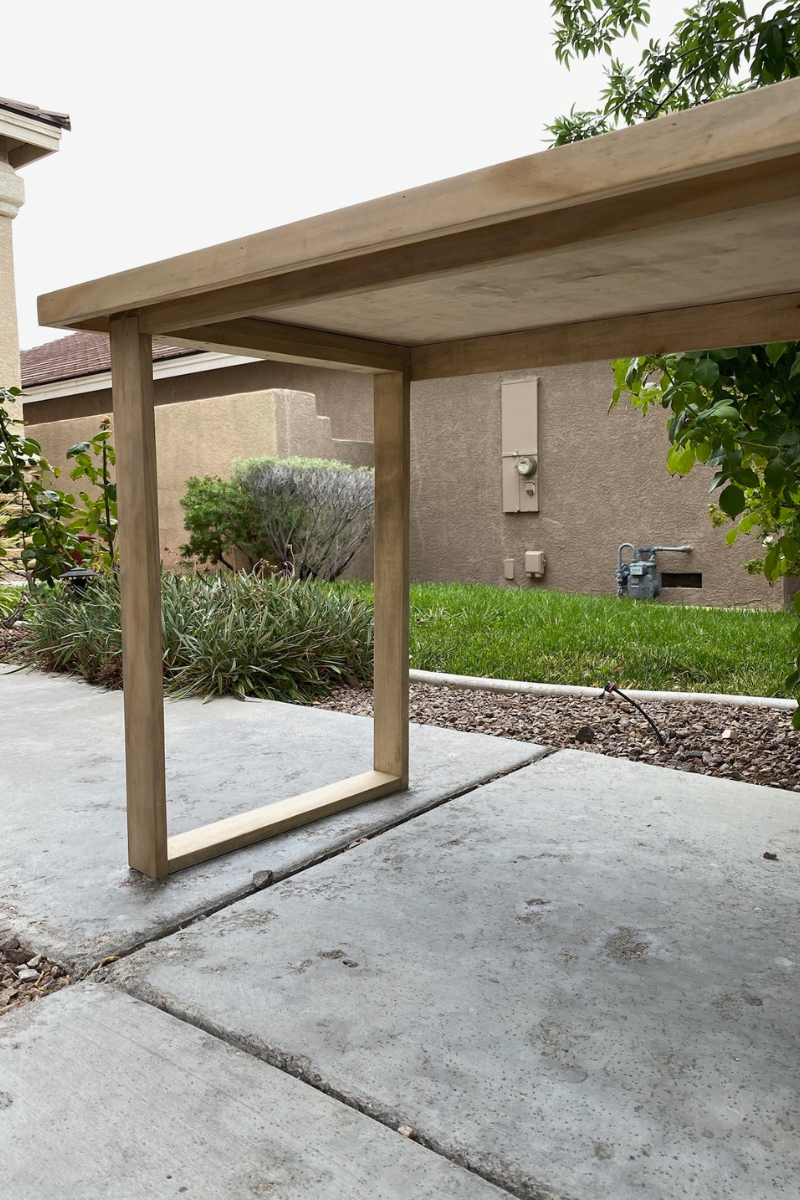
I found that the desk was pretty sturdy before adding supports, but why not make sure the desk is the best it can be. For the back support, I added another 1×2 pine board that fit right in between the 2 legs and nailed it in. For the front trim piece, I added wood glue and then clamped the 1×2 pine board to the front of the legs. To finish building, nail everything into place.
Finishing Off Your DIY Wood Desk
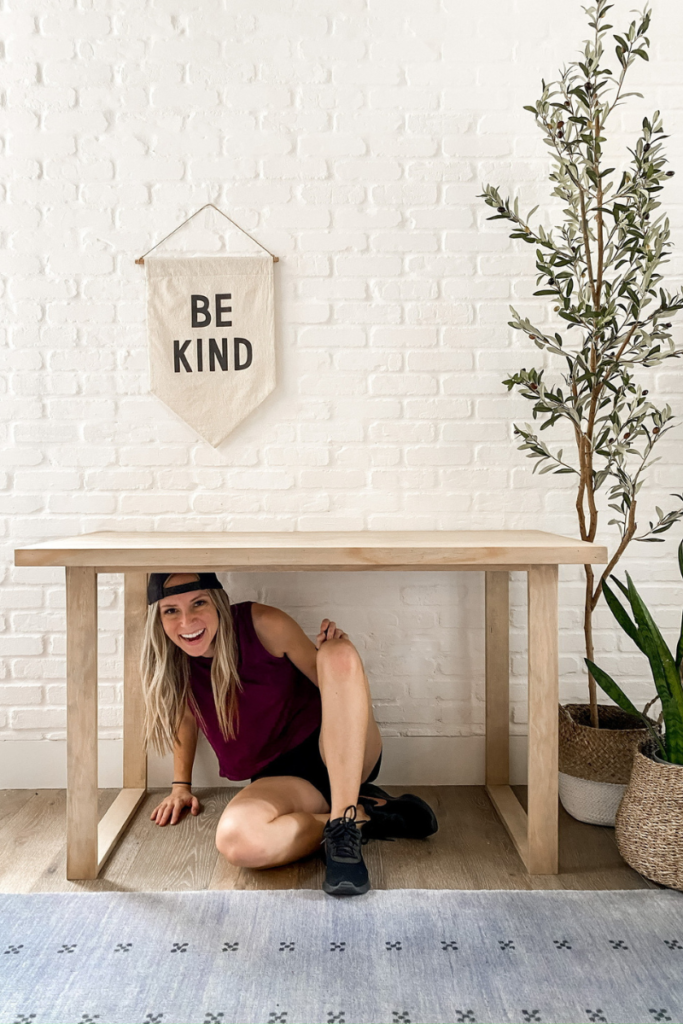
You did it! You built an affordable and stylish DIY wood desk! Now, let’s gussy it up and make it pretty.
First, you need to prep the wood before staining. Grab your sander and smooth out the wood. For this project, I used a higher 220 grit sandpaper. Once the wood is sanded, apply the wood conditioner with a clean rag to make the stain less blotchy and more even. Wipe off any excess conditioner and then let the rest soak in for 10-15 minutes before you apply the stain. For this desk, I used Mini-wax Weathered Oak stain and it was perfect. The stain knocked off the yellow of the plywood, but you could still see the beautiful wood grain. And lastly, don’t forget to apply a top coat to seal your project.
Breakdown of How to Make an Affordable and Stylish DIY Wood Desk:
- Build legs
- Attach legs to plywood desktop
- Frame out desktop
- Add supports
- Stain and seal desk
- Enjoy your hard work!

Can you believe that I made this desk for $35?!? There are times when I can’t believe that I figured out how to make an affordable and stylish DIY wood desk either. The biggest lesson learned from DIY-ing is that we can find creative solutions to things that come our way. The times when we stop pinning and start doing is when all the magic happens. If you are looking for other DIY ideas, or just want to hang out, check me out on Instagram and TikTok. I always have a project going on!
Disclosure: I only recommend products I would use myself and all opinions expressed here are our own. This post may contain affiliate links that at no additional cost to you, I may earn a small commission. Read the full privacy policy here.