Search results
83 results found.
STOP PINNING. START DOING.
83 results found.
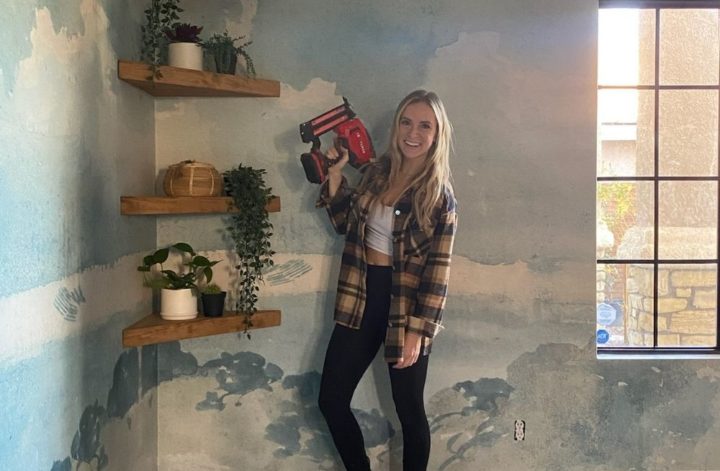
Recently I made some DIY floating corner shelves for my son’s room. They turned out looking so cute that now I’m searching the other areas of my house for an excuse to build more! If you’re looking for a fun way to upgrade a small space, this might be just the thing you’re looking for. To help you get started, I’ve put together a quick tutorial on how I made these floating corner shelves so you can build them too.
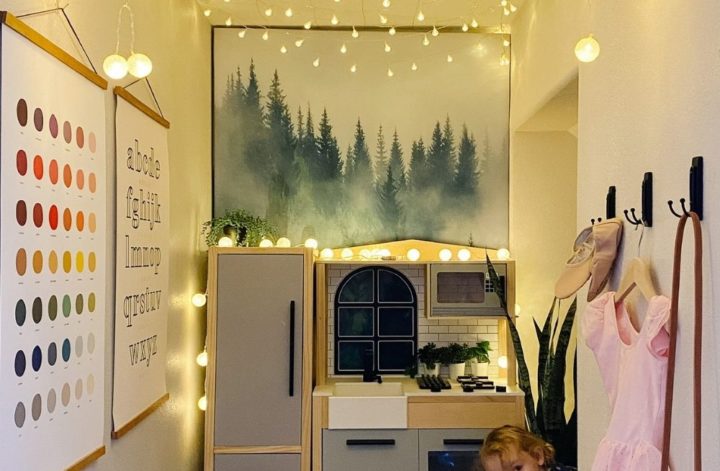
Not sure what to do with that closet under the stairs? Maybe it’s collecting random boxes and you’d like to turn it into something more magical? I have a few ideas for you. Recently, I transformed the closet in my home into an under the stairs playroom for my kids! Complete with a play kitchen, cute decor, and a giant lite brite. Honestly, I might love this little space even more than my kids do. So if you’re looking for ideas, here’s a breakdown of everything I did and used to remodel this space.
Wow, it’s finally done!! Last year I decided to transform this space into the perfect playroom for my kids. I thought the space was really cool already (I mean look at those before and after pictures below). But I still felt like there were some details missing to give it that magic. So I picked up my tools and got back to work. Before sharing the full loft playroom DIY reveal, let me take you through the process.
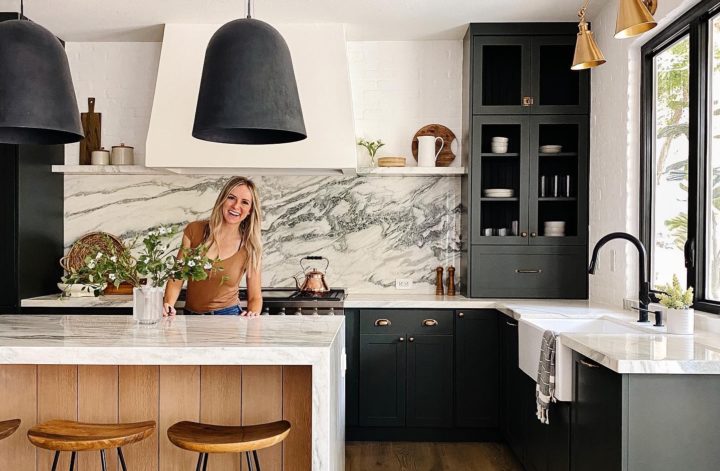
I can’t believe the kitchen is finished! From a dream in my head to the install, so much thought thought and
design went into creating the space you see on my feed.
I wanted to walk you through the designer elements I’ve used in my kitchen from materials to
colors to show how YOU can get a designer kitchen on a budget. Ready? You got this!
This post is sponsored by Ruggable.
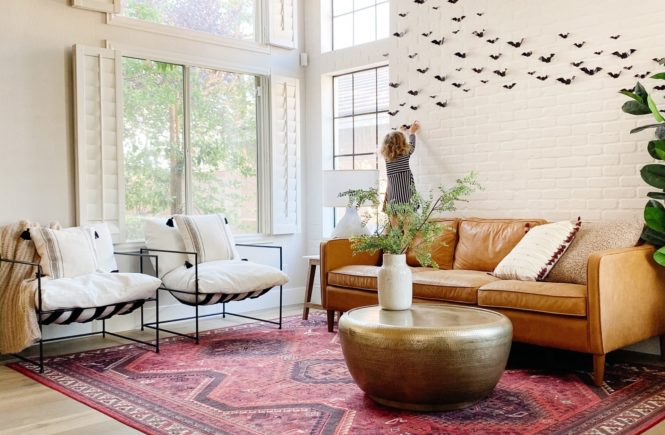
I love holidays and changing seasons, but I am not a fan of clutter! So I end up not doing any decorating (haha! I know I know, I am a home blogger so this is a tragedy!) So today, I am showing you how to totally decorate for a season…without adding any clutter!
This post is sponsored by Lowe’s.
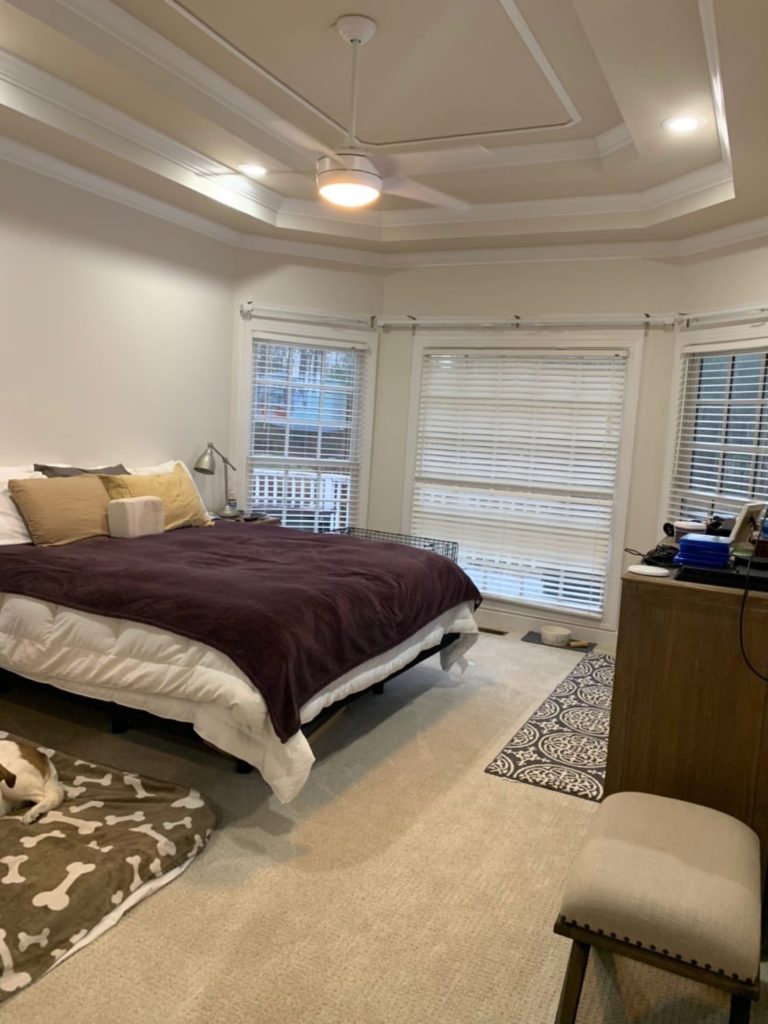
We are one week out from the DIY Dream Team flying to Georgia and making over Nicole’s master bedroom! It’s been a lot of preparation and planning, but we are ready. Think we can handle finishing it in the 3 days? I sure hope so! haha. I am excited for the projects we have planned for the space, so let me go into detail about what they are!
Before picture of her room:
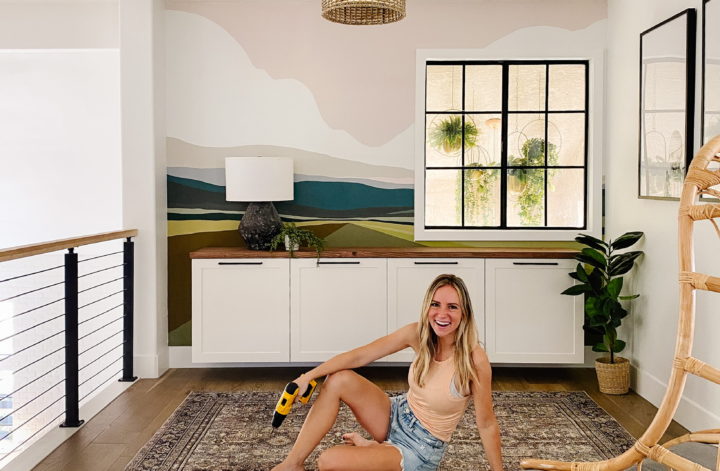
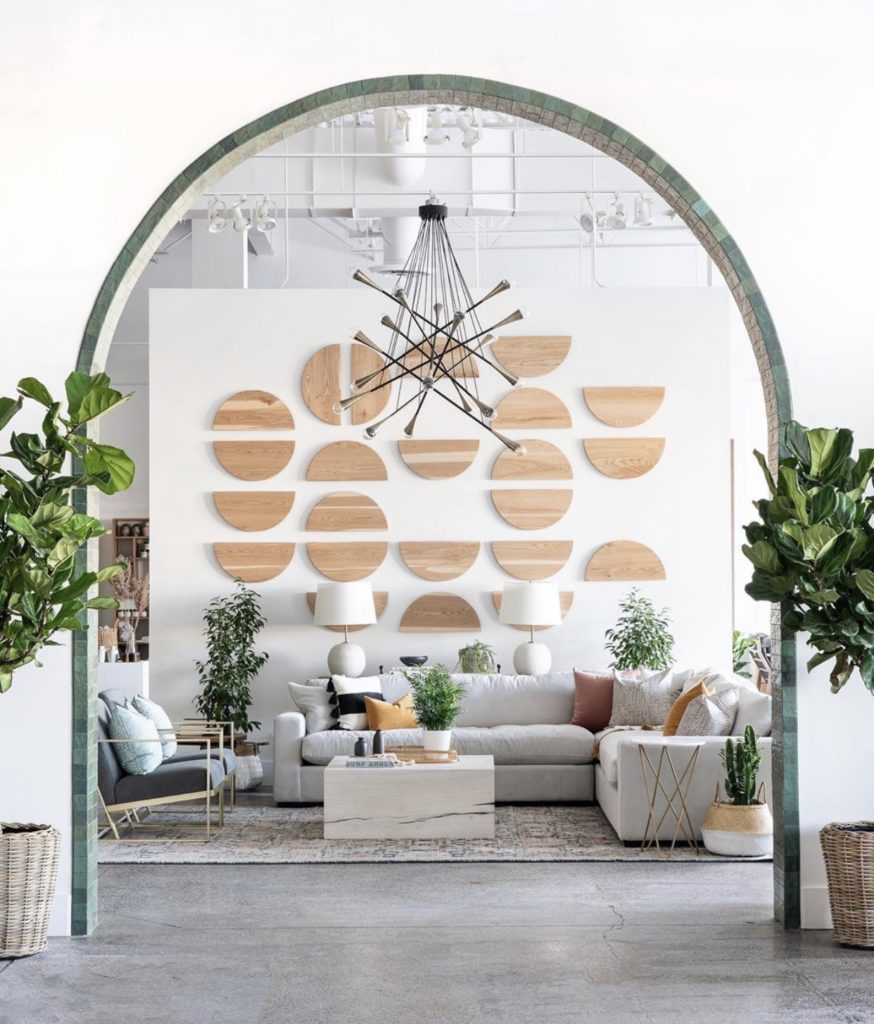
Nothing makes a bigger impact in a space than a wall treatment, and with a small budget. You know it’s my go to for every space, and we plan to do the same for Nicole’s bedroom. Here are a few of my favorite wall treatments I have done.
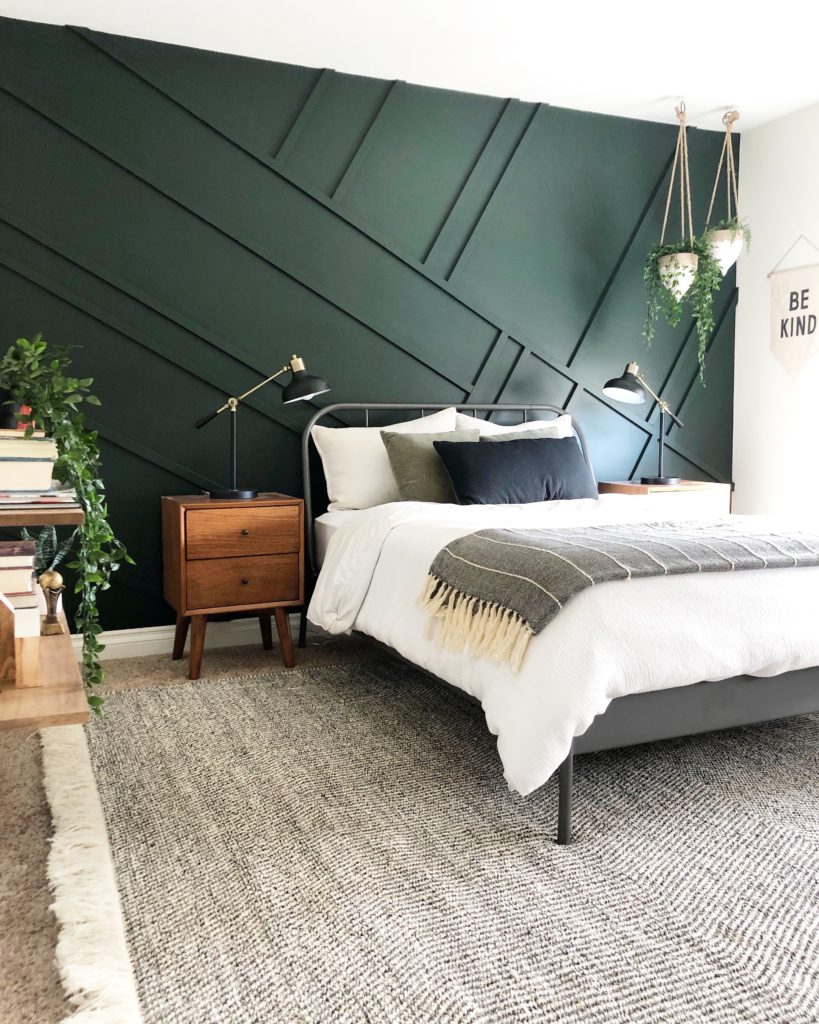
We are planning on doing something on all four walls since her room is an odd shape and we want to create balance. We also are planning on using a moody blue on the walls in the HGTV Home by Sherwin Williams paint. Here is our inspiration image.

Here are the wall and paint supplies we will use:
Another way I love to make a big impact with a budget is through a large scale art piece. Here are a few of my favorites that I have made.
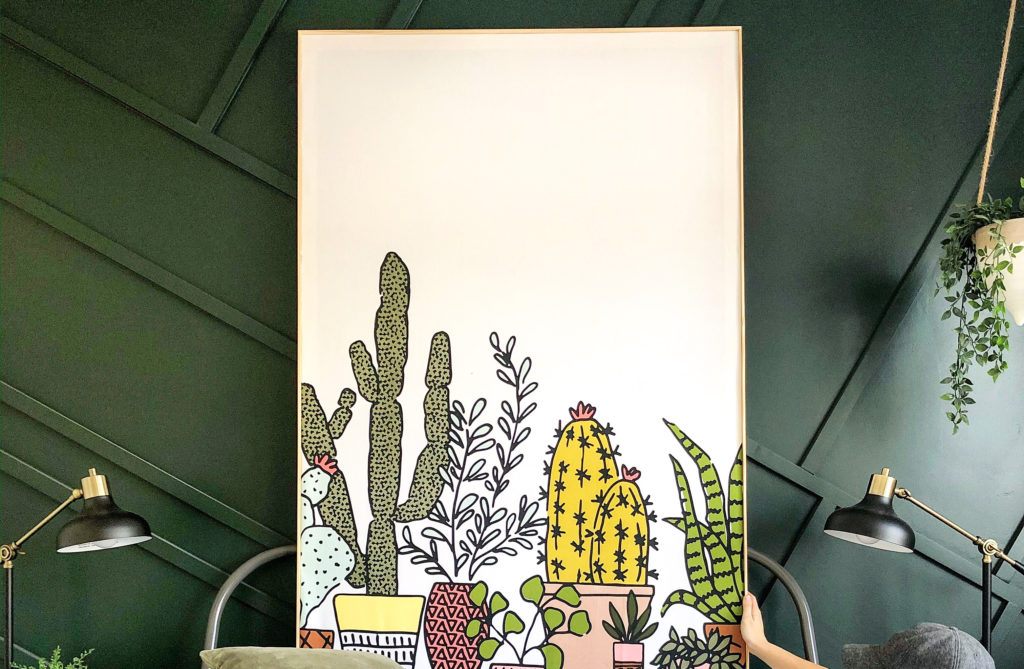
Here is our inspiration image for the wall art we are planning.
Here are the supplies we will use for the wall art:
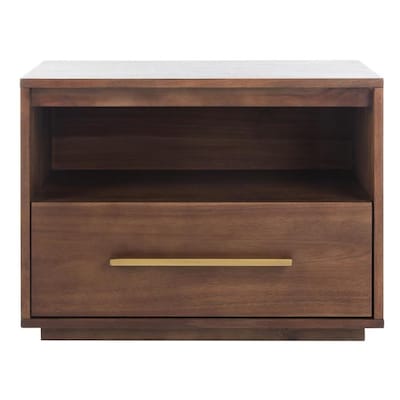
We love the look of THIS nightstand, but it is too short for her space. Ideally, beds and the nightstands should be within 4 inches of the same height. To solve this problem, we are going to add these legs to add to the height! Problem solved!
And the best DIY tool ever…PAINT! Nicole has a tray ceiling with a ton of detail. To update that area and disguise all that trim, we are going to paint the ceiling with HGTV Home by Sherwin Williams in a flat white Pure White.

We are also going to paint the walls in the same color to freshen up the space
Additionally, we will assemble some new furniture from Lowe’s the whole space is going to all come together!
I can’t wait! Stay tuned…
This post is sponsored by Lowe’s.
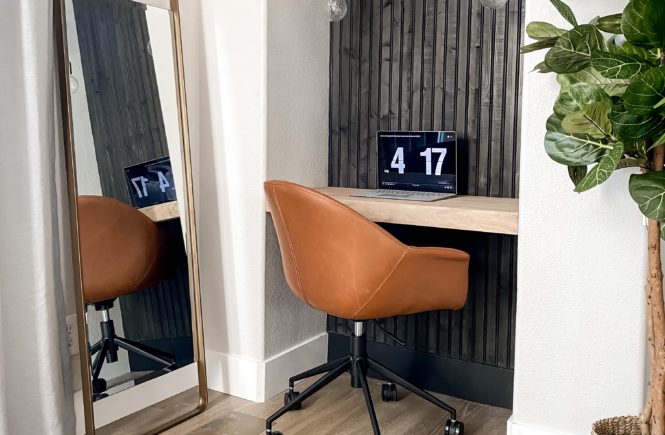
I can’t wait to show you this build-in desk nook area! Let me take you on a trip down memory lane…when this nook was just a sad space used as a dumping ground for junk. It’s amazing what a few days, some power tools, and some hard work can do to a space. I think this new little office for me might just be my favorite space.
Today I am rounding up some of my favorite affordable Christmas finds. A lot of them you saw in my fireplace makeover.
One of my most asked questions is, “hey, what material did you use to build the….”. So today I am breaking down all the basics of MDF (Medium-Density Fiberboard vs solid wood). I am going to go through each one, the benefits of each option, where it’s most often used, and which I’ve used in my projects. Ready to become material experts? Heck yes!
About Wood: First, you can always build with solid wood. This is a good choice if it’s something you want to stain, or want the real wood look.
Solid wood can include knots and imperfections. The boards may not be perfectly straight and they can contract or warp a little overtime. It’s also more expensive.
*Fingerjoint pine is another form of wood I sometimes use that is wood pieces spliced together to form a longer piece.
*Plywood is another form and is made up of sheets of wood veneer glued together into one solid piece. It comes in different grades and can be stained, but the edges are unfinished and can easily splinter.
MDF is made up of wood! It’s actually recycled wood so it is also beneficial for the environment. To make MDF, the manufacturers take the scraps of wood leftover from the production of wood boards and beams that might normally end up burned or in a landfill, and turn it into MDF by adding glue and heat/pressure. Here is some more information about MDF.
Benefits:
-The result is a board that is smooth throughout with no knots or imperfections to worry about.
-It’s great for painting since the boards are perfectly smooth.
-MDF is very consistent throughout, so cut edges appear smooth and you can use router to get decorative edges.
-MDF is less expensive than solid wood and plywood.
Where it’s used:
MDF is used in so many spaces in our homes. You can find it in cabinets, furniture, moulding/trim work, door parts, and store fixtures.
What projects have I used MDF?
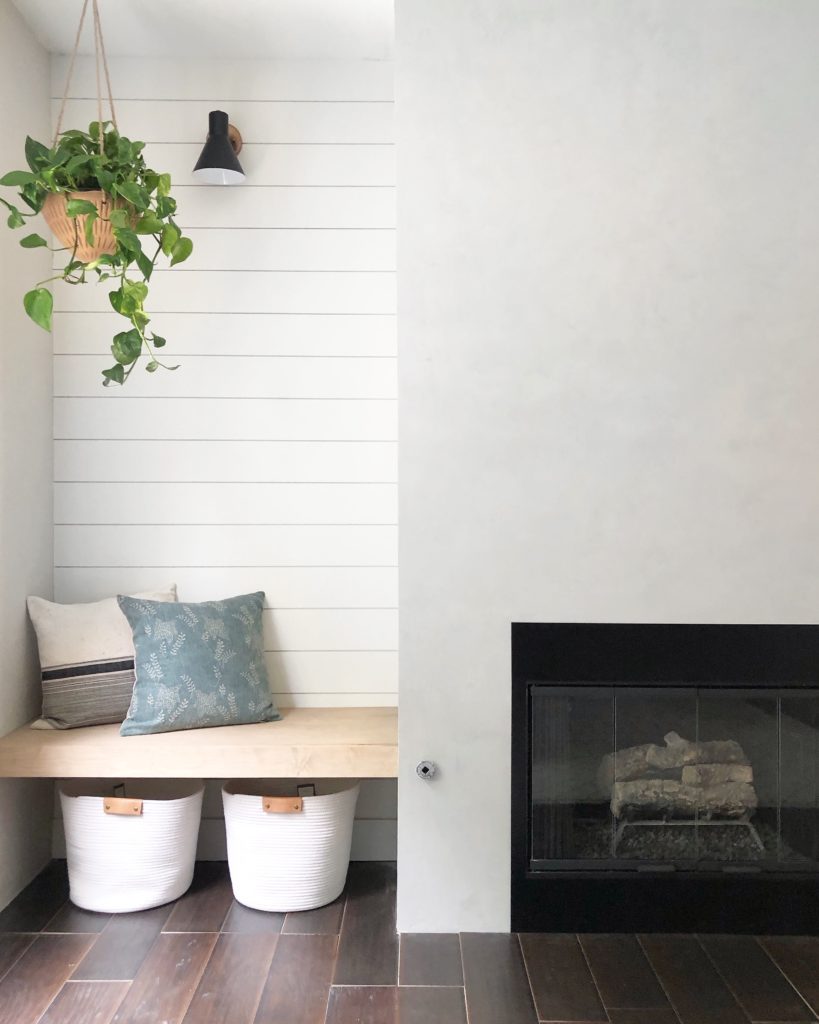
Remember those primed and smooth shiplap boards I used in the fireplace area? I used MDF here because I wanted a smooth modern look with no knots, and they were more affordable than solid wood.
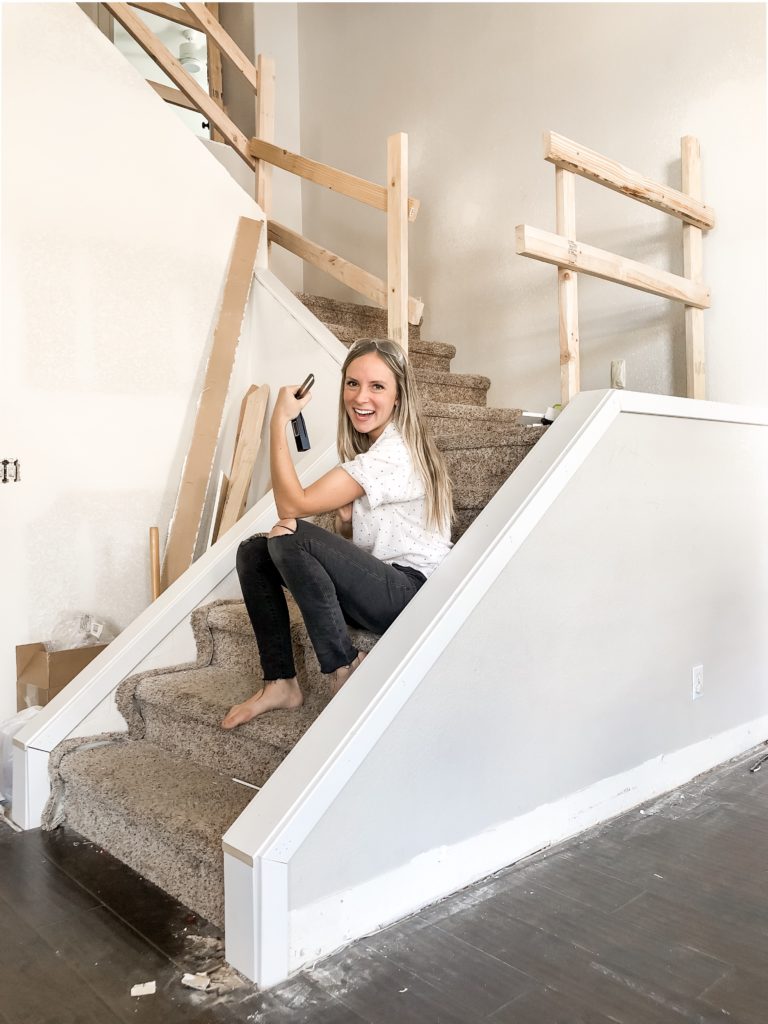
I am currently trimming out my stairs in MDF. I looked at some solid wood options, but there were imperfections and I needed my boards to be perfectly straight. Also my boards came with a slight rounded edge so I didn’t even need to buy a router.
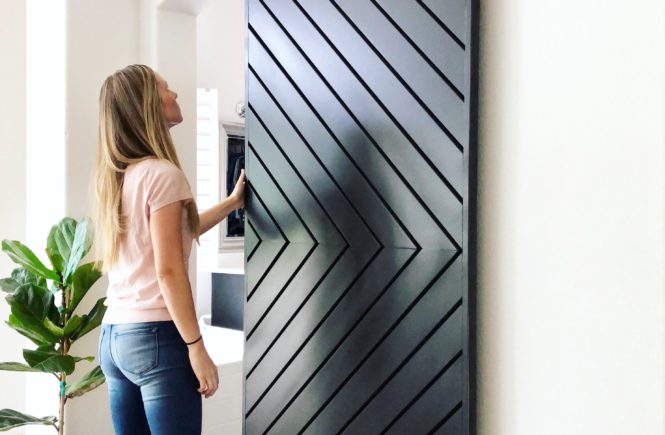
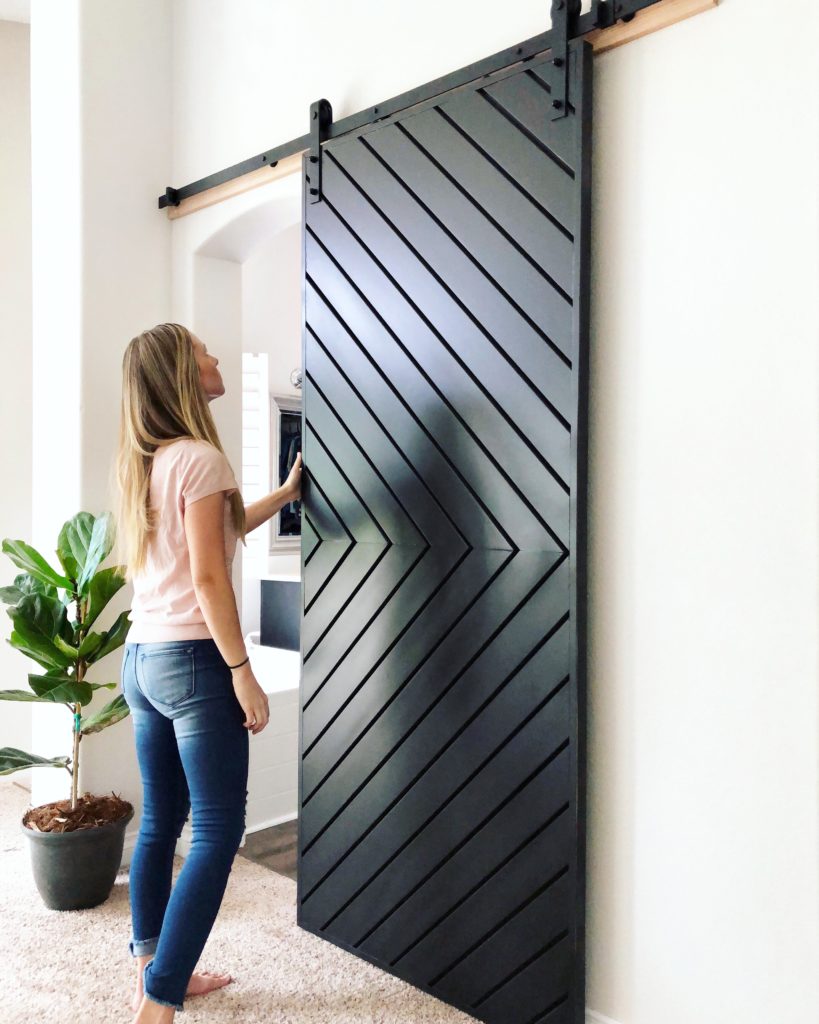
My barn door is made of a 3/4 MDF sheet and topped with MDF boards. I wanted it perfectly smooth and didn’t want it to warp over time.
My window trim and baseboards are also MDF
*If you plan to use MDF in areas with moisture (like bathrooms or around sinks) you can source moisture-resistant MDF, but just make sure you prime and paint all edges so there is a barrier the water can’t get through.
I hope that was helpful! Now go build something! Tune into @angelarosehome for more tutorials and projects.
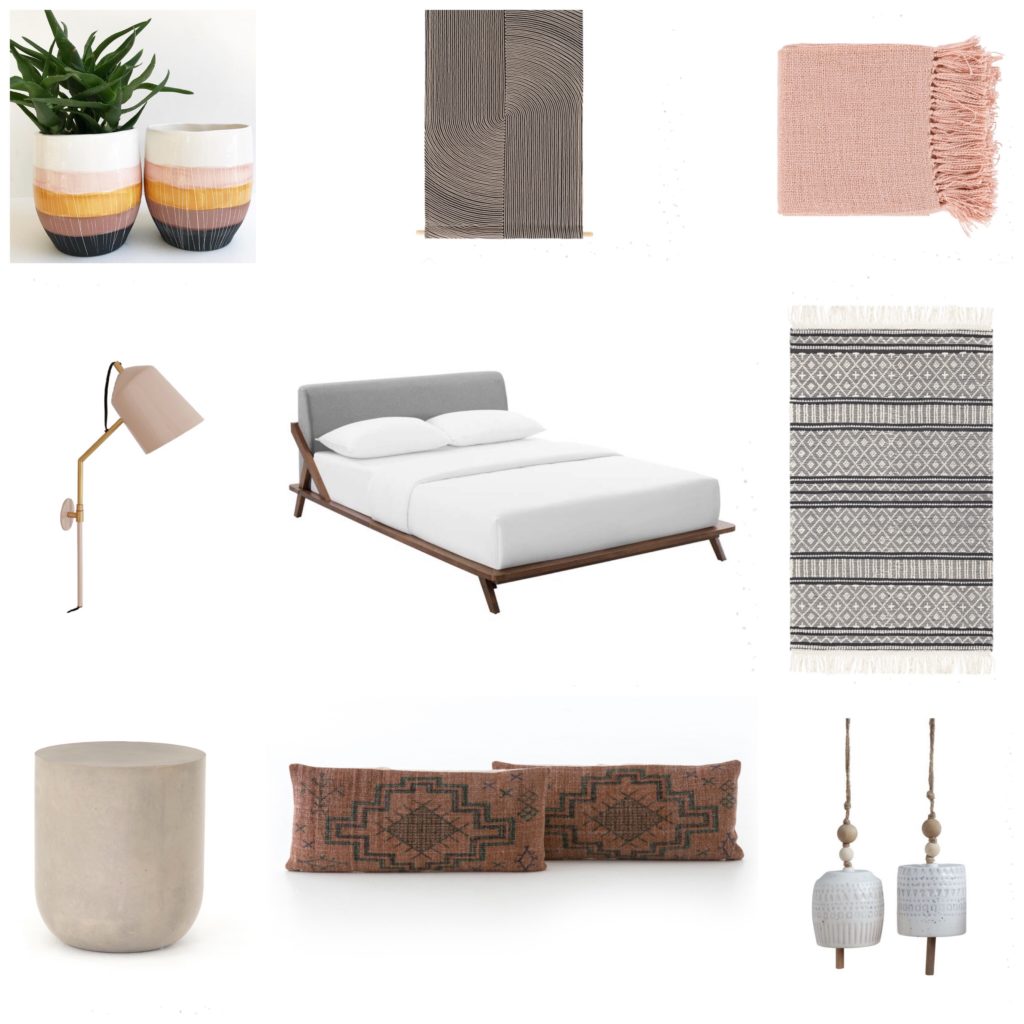
I am so excited to give one of you a $1500 Room Giveaway! I thought I would round up my favorite items (from Eclectic Goods) for you, to see how to pull together a room. And now that I’ve made this mood board, I need to build another room in my house so that I can use these to decorate it. ha!