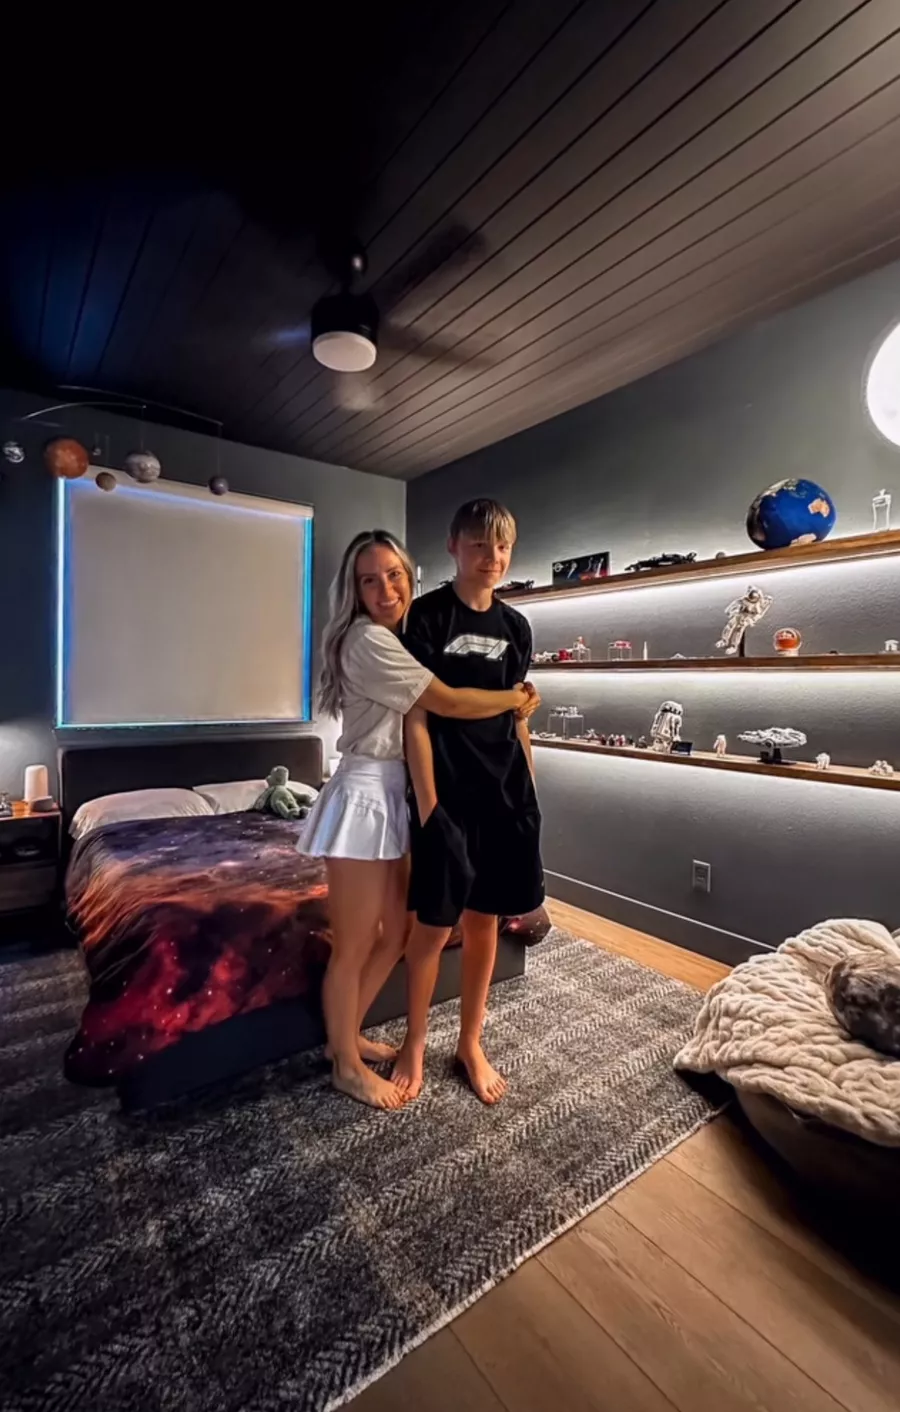
This summer, I decided to press pause on all the adult projects and do something with my kids—not just for them. Time is flying, and Blake (who’s growing up faster than I’m ready for) wanted to redo his bedroom. So we made a deal: he’d be in charge of the ideas, and I’d be his DIY sidekick. It meant letting go of control (deep breaths), but what happened was better than I imagined.
This room became a mix of his big ideas and our teamwork—and I honestly love how it turned out. It’s bold, cool, and completely his.
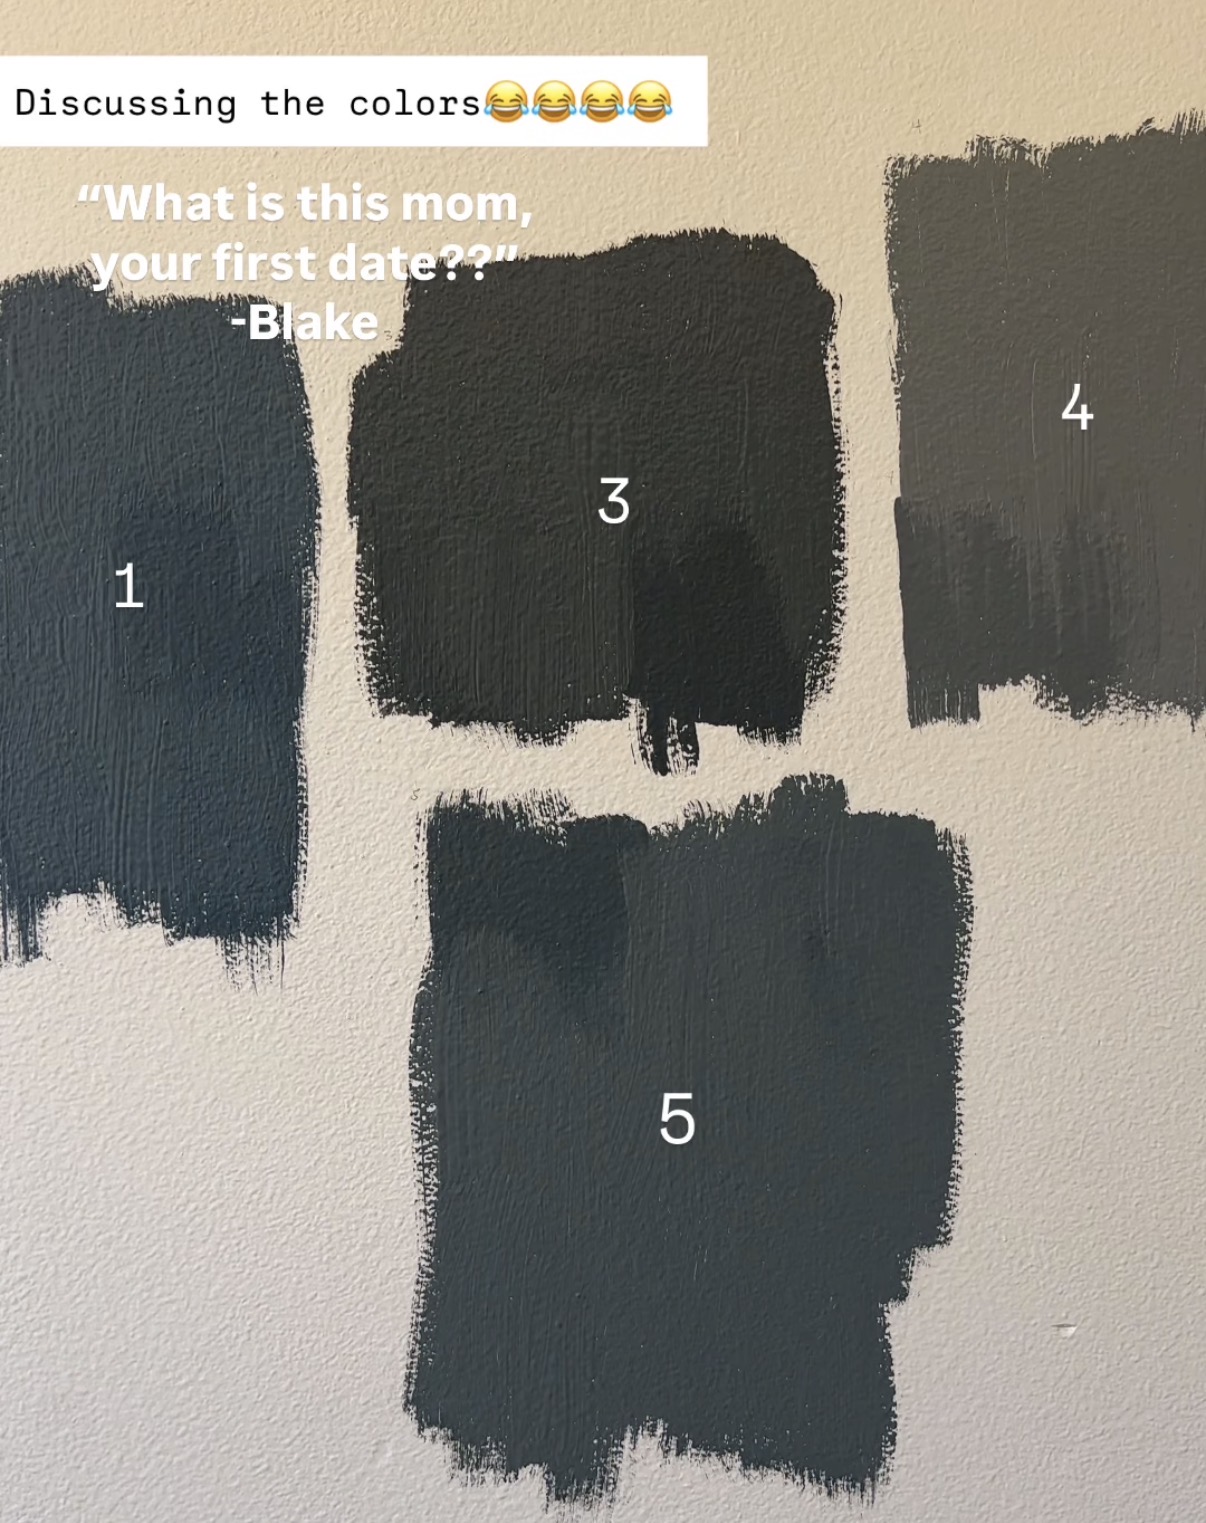
Step One: The Blue-Gray Wall that Started It All
The paint debate was real. Blake had strong opinions (he’s my child, after all), and we had a debate in trying to decide if the color was greenish or bluish. After lots of swatches and back-and-forth, we landed on Sherwin-Williams Slate Tile—a moody blue-gray that feels rich and grounded.
He even used a drill for the first time to help remove old shelves. Pro tip: if you can’t get drywall anchors out, hammer them in and patch over them!

A Black Ceiling and Moon Light Dreams
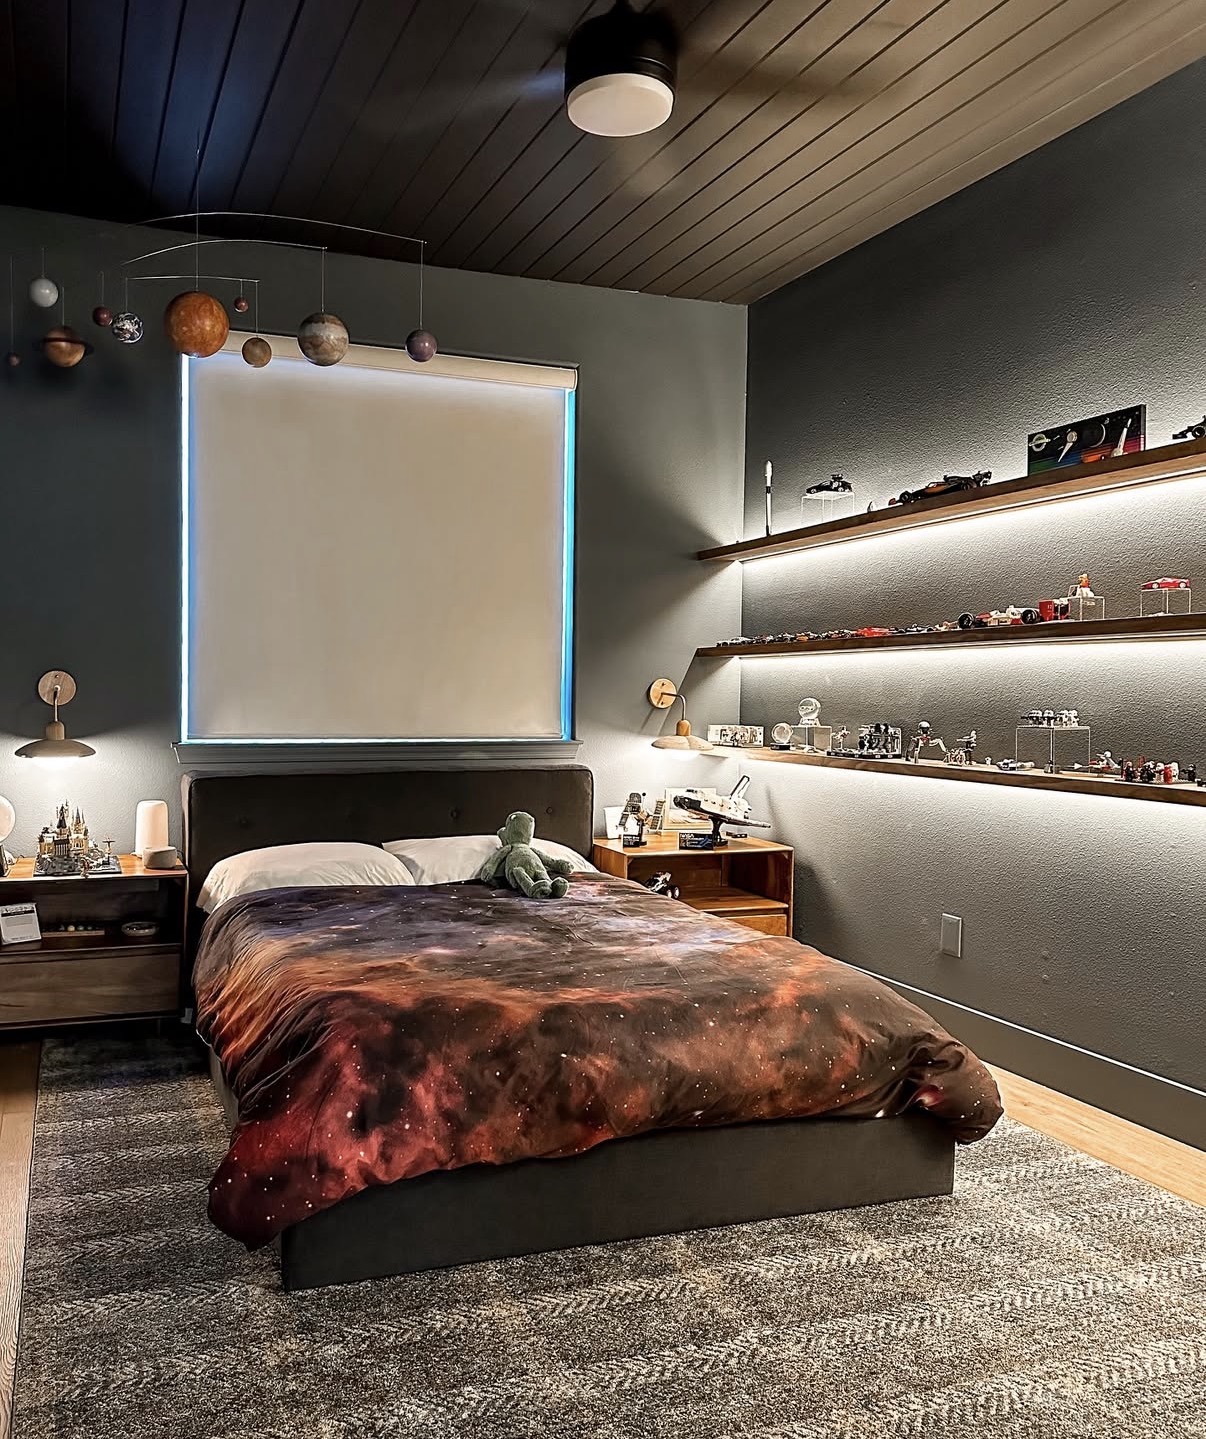
Blake’s next big idea? A black planked ceiling. At first, I hesitated—but I promised to trust him. We used vertical grain hemlock boards from 84 Lumber, painted them black, and installed them together. It added the coolest contrast and depth to the whole room.
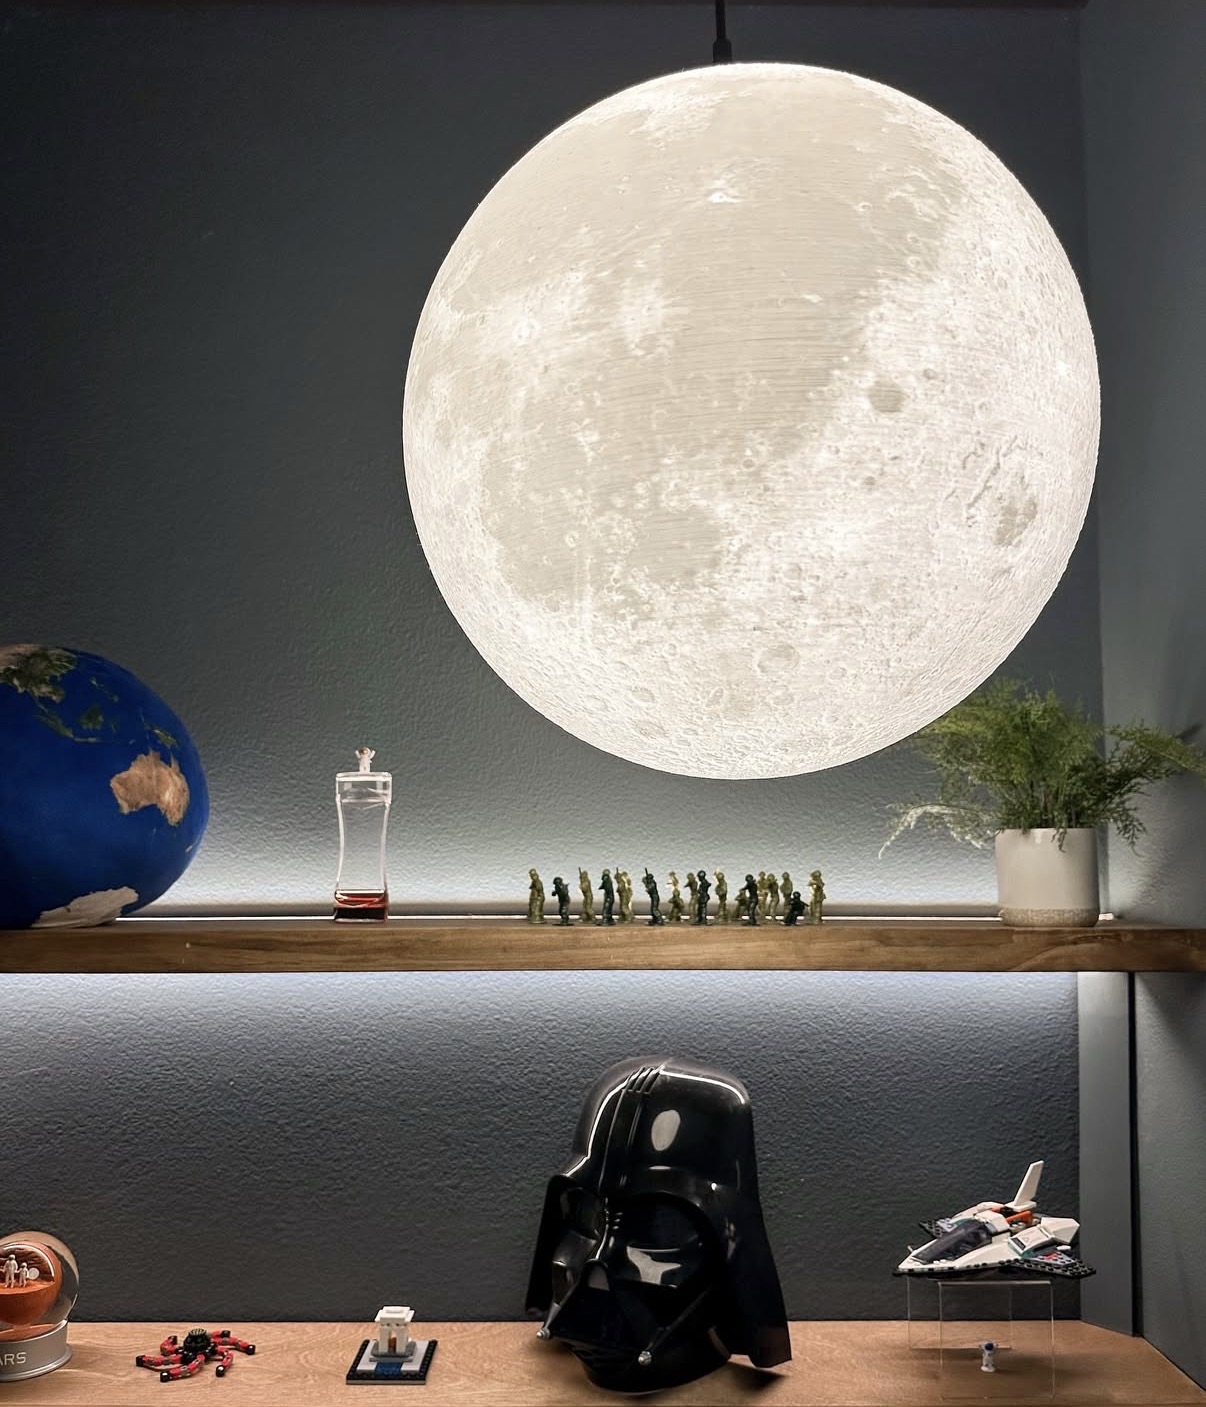
Then came the real showstopper: a moon replica pendant light that looks like it was plucked straight from orbit. It glows softly with crater details and makes the entire ceiling look like outer space.


Custom Shelves + LED Glow-Up
Blake wanted a space to display his favorite things: LEGO builds, NASA models, and F1 memorabilia. So we created custom pine shelves with a built in look that span the length of the wall. We stained them using a combo of Varathane Provincial + Special Walnut, then added LED light strips under each shelf to give his collections a soft, glowy spotlight.
It turned into a museum-style wall that’s both functional and totally magical.

Nightstand Hack + Reading Nook Cozy Zone
We found new nightstands that we loved the look of, but they were taller than Blake’s bed—and that just didn’t feel right. Instead of compromising on function or style, we grabbed our tools and cut them down to size.
We measured the ideal height (just above the mattress top) and trimmed the legs.
Tip: Cut down the legs of a nightstand to make it the right height for your bed. Nightstands should be within a few inches of your mattress height for both function and proportion.
We carved out a little reading nook— just a corner to chill, read, or build more LEGO. While the bean bag we used isn’t available anymore, the real MVP of this space is the Lola Blanket. It’s oversized, textured, and perfectly soft.
Details That Pulled It All Together
- The Planet Mobile: One of the biggest hits, Blake LOVES it.
- Devil Nebula Bedding: His choice! It’s cosmic, vibrant, and matches the moody ceiling so well.
- Angela Rose x Ember Rug in Blue Denim: Soft, neutral, and brings the whole color palette together. The one thing we agreed on right away.
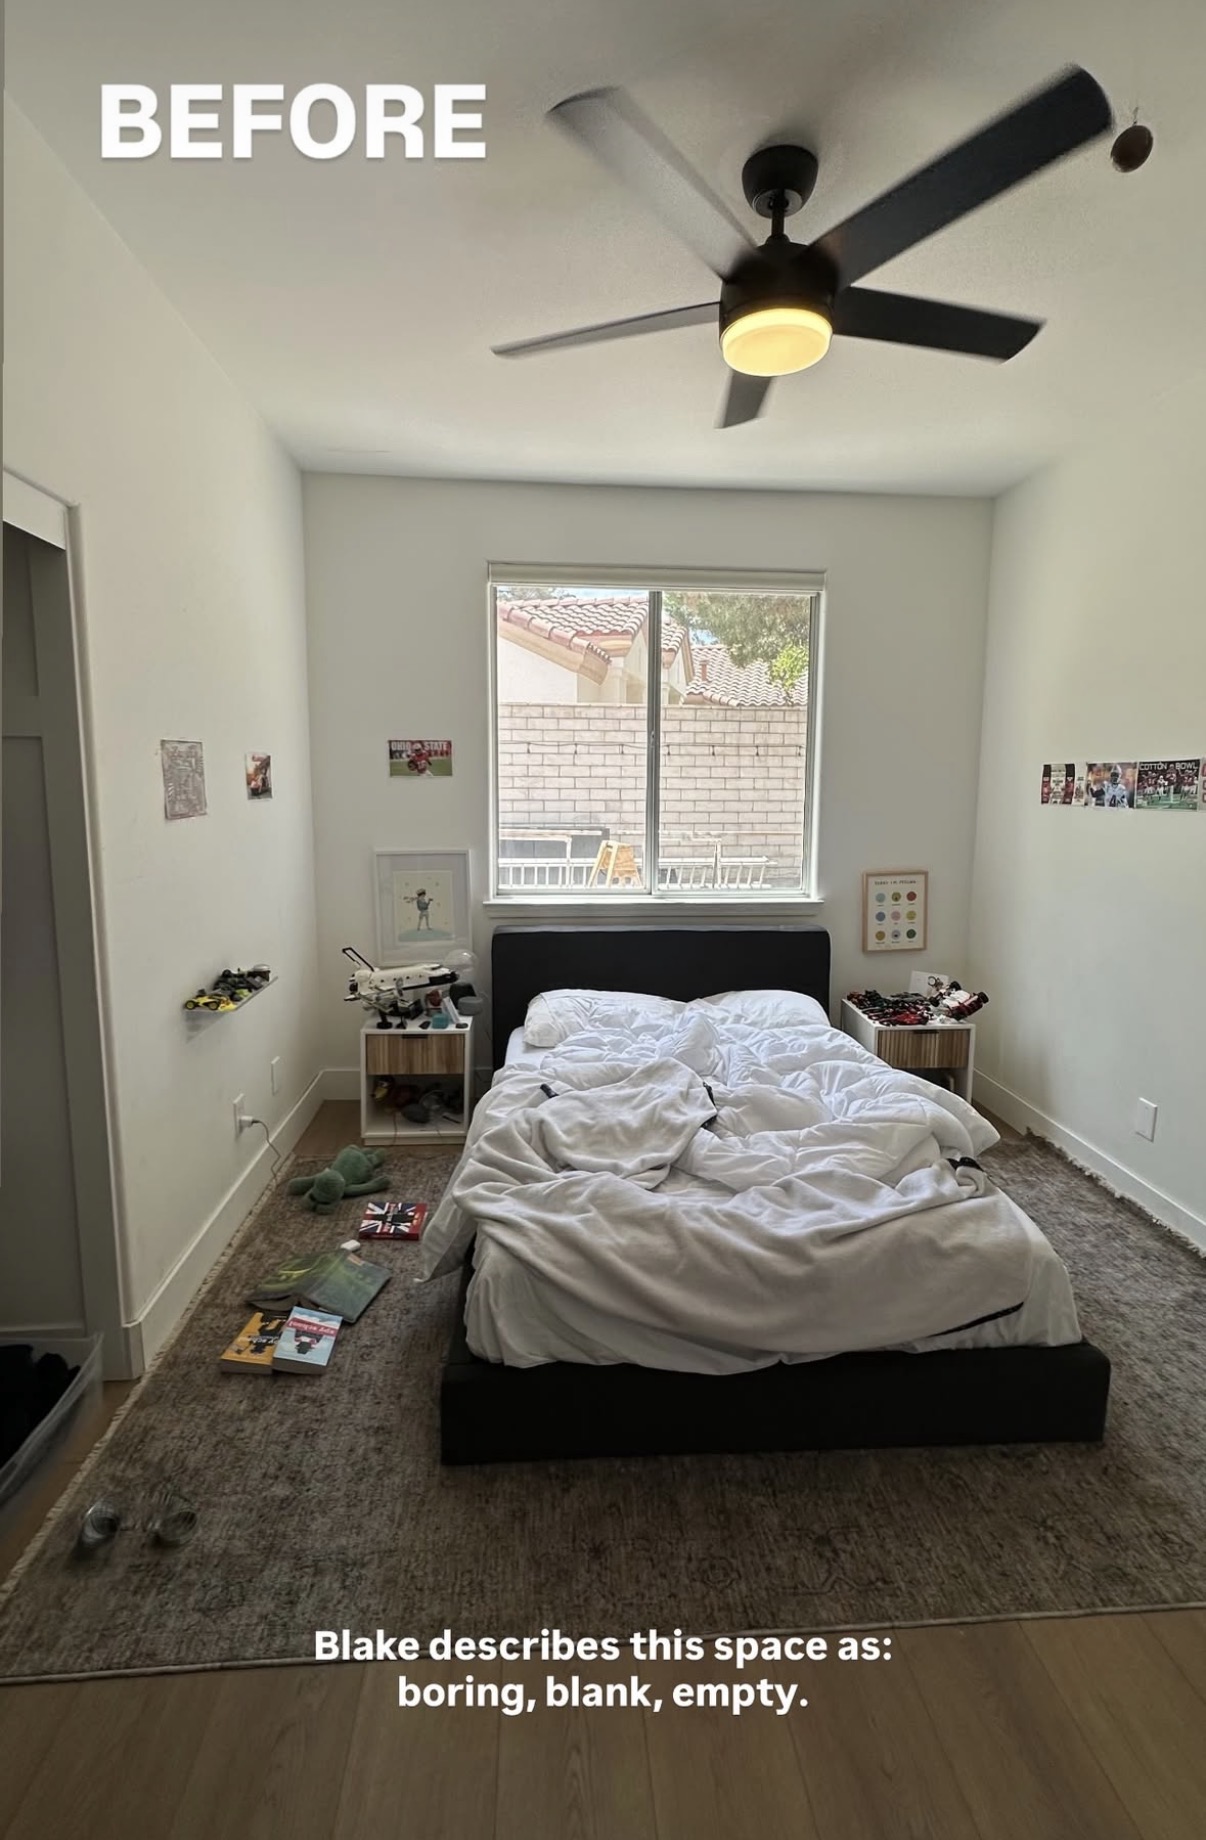
BEFORE
AFTER
Letting Go Was the Best Decision
This wasn’t just a room makeover—it was a chance to see my kid’s imagination at work. I had to step back from my usual designer mindset and say yes to his bold choices. Black ceiling? Moon light? LED-lit shelves? At every step, I let him call the shots.
And the result? I love it. Blake loves it. It’s one of the coolest rooms in the house and a reminder that some of the best design happens when you let go of control and make space for someone else’s vision.
Thinking of Redoing Your Kid’s Room? Try This.
If you’re dreaming of updating your kid’s space, don’t be afraid to:
- Let them pick the colors
- Try something bold (like a black ceiling!)
- Add lighting that makes it feel magical
- Give them the tools and trust to help
Let them be in charge—and you might just end up with your favorite room in the whole house.
And if you need any of the products we used, you can find the full list on my Amazon Room Reveal List or on my ShopLTK page.


