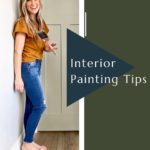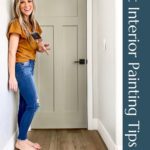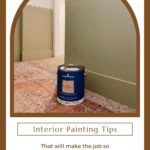
Interior Painting Tips That Make Life Easier
So, you want to change up your space? Adding a fresh coat of paint is a great way to do that. There’s no need for it to be scary, it’s not. After all, if you don’t like the outcome you can always repaint it. I’ve done that plenty of times! While painting requires zero DIY experience, there are a few tips that make the process a lot easier and the end result seamless. So, let me share with you a few interior painting tips that I’ve picked up along the way.
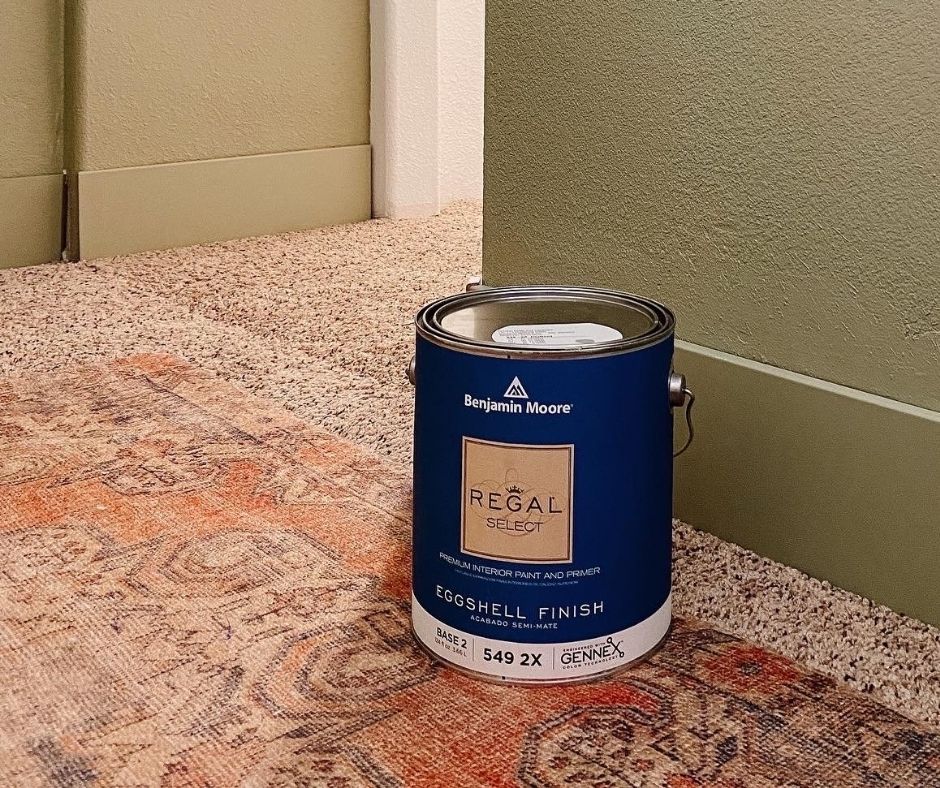
Tip #1 Choosing The Right Paint And Sheen
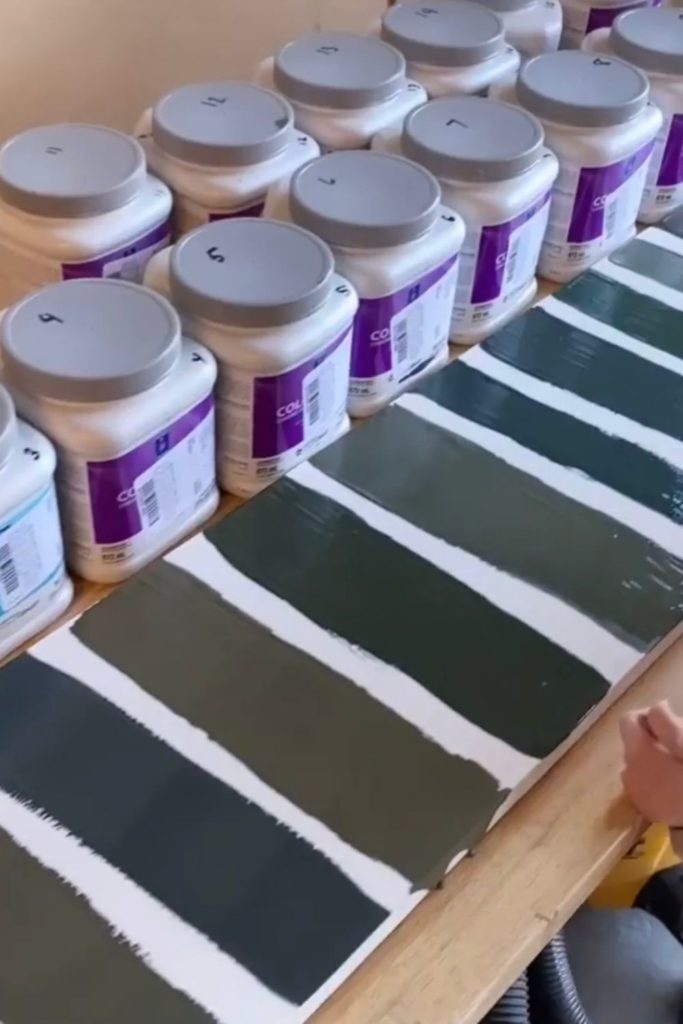
Before you start any painting project, please (I beg you) test the paint colors on your wall. Don’t just base your decision on a photo. Things always look a little different when the paint is actually on the wall. I’ve used Benjamin Moore paint for a long time and they make it super easy to do this. Just choose a few colors you’re eyeing and they’ll send you samples. Once you get the samples, make some color swatches on your wall with the paint. Then pick your favorite. Easy enough, so no excuses!
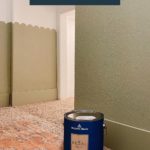
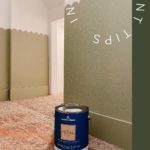
After you’ve decided on the color, you need to pick the right sheen. Which is basically just choosing how shiny the paint looks when dry. This is totally a preference thing, but here’s what I do: paint my walls in matte or eggshell sheen, baseboards in satin sheen, and ceilings in a flat sheen. One last thing to take into account when choosing paint is the room you’re putting it in. Is it a high-traffic area like a playroom? Then you might choose a sturdier paint that’s easily washable! That’s what I did for my kids’ playroom under the stairs.
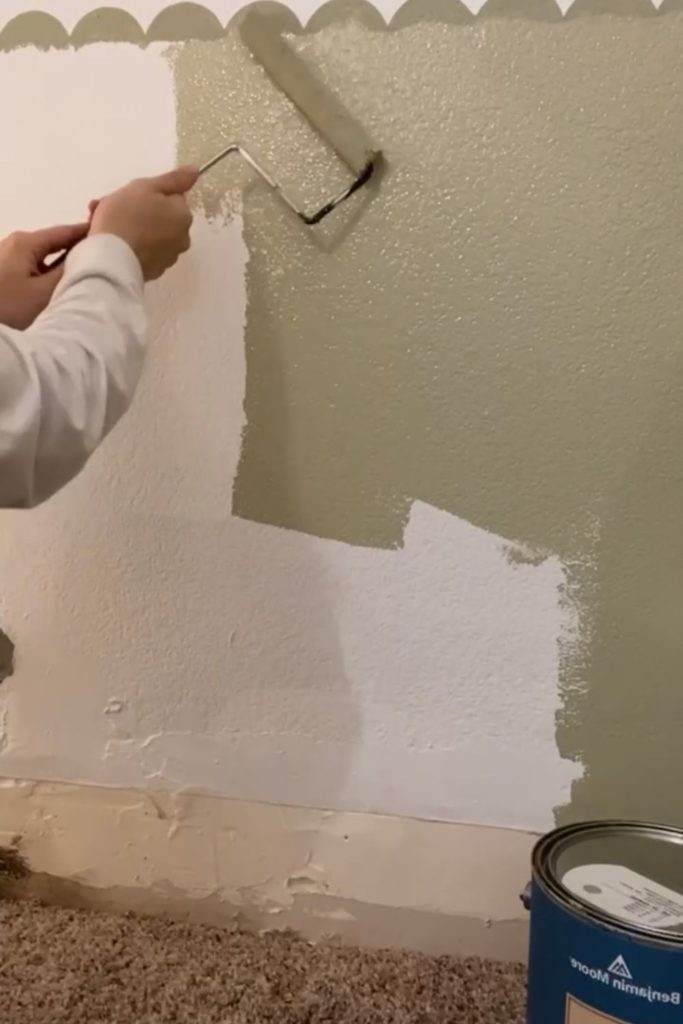
Tip #2 Achieving A Seamless Look
Something else I shared when painting the scallops in my kid’s under the closet playroom, is how to avoid any flash marks on the wall. Here’s the trick, don’t repaint over areas that are already starting to dry. Leave that paint alone. Once you start touching up areas is when you get those streak marks. Instead, while you paint try maintaining a wet edge. Meaning you keep painting along in the areas that are still wet. Doing this will help you get the best finish and will look a lot more professional when it’s all done.
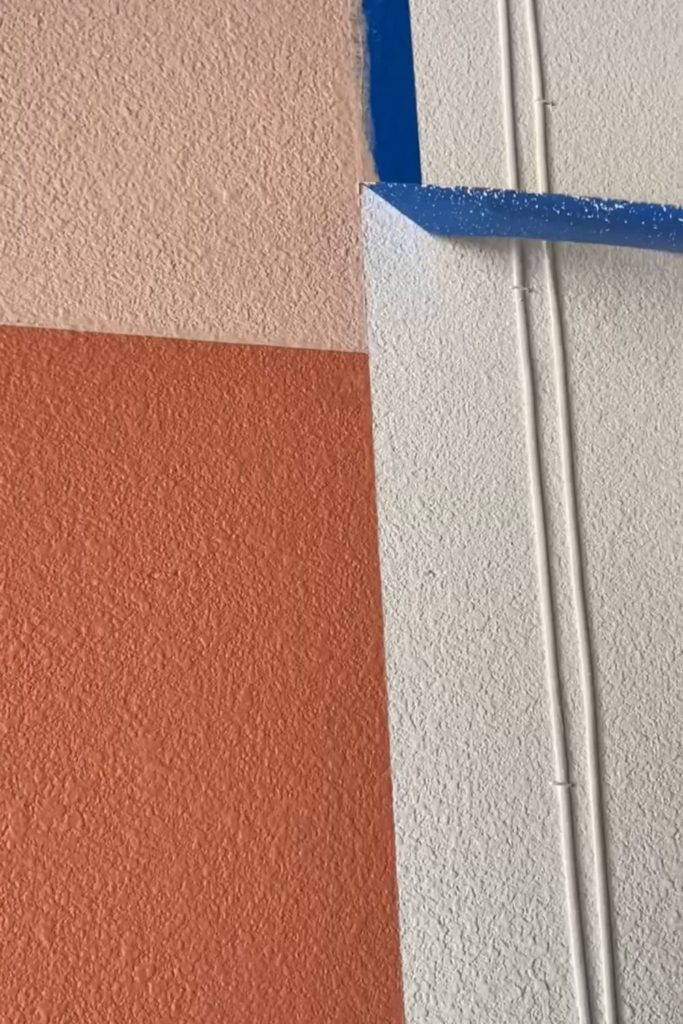
Tip #3 Getting A Straight Edge
I have two tips to share with you here. The first is for all my friends with textured walls. It can be a pain to try and get a straight line on a textured wall (believe me I know). So here’s a tip. Use blue painter’s tape to mark your line. Then before you start painting, use a little bit of caulk and smear it on the edge of the tape to help fill in any cracks. You will have a lot less bleeding and touching up to do if you use this trick. If you’re a visual learner, check out this story highlight.
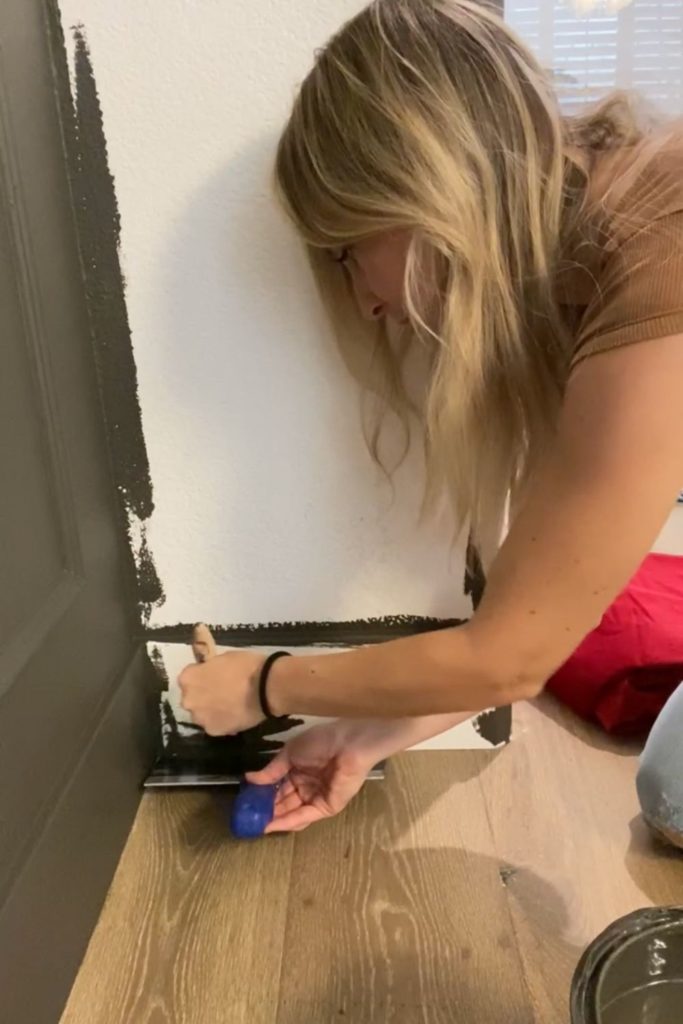
The last tip I have for you is to use a paint guide. I shared this tip during my Hogwarts Great Hall project, and people were losing their minds over it. But it’s so simple. To use this tool simply place the edge up next to the wall where you’re painting and use an angled brush to get a nice straight line! I’ve used my paint guide a lot for painting baseboards. It makes the line look clean and professional. Here’s a short tutorial here.
Interior Painting Tips That Make Life Easier
There you go! A few interior painting tips to get you started on your next project. I can’t wait to see the magic you create. If you use these tips, don’t forget to let me know over on Instagram. Something I love about DIY is that it’s just a process of problem-solving. Anyone can do it. So, if you’ve been wanting to update your space…Stop pinning. Start doing. You’ve got this!
If you’re new to DIY and want a fun project for your outdoor space, try building this giant planter wall. I made this to cover up the ugly cinderblock view out my front room window. I didn’t realize how much it was bothering me until I built this pretty thing!