Easy Antique Brass Hack To Upgrade Your Hardware
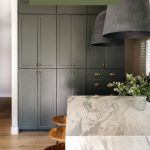
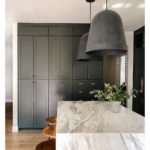
There are so many little details that really brought my kitchen renovation to life (full kitchen reveal here). One of those details was the brass hardware I used. I love the look of aged brass but didn’t want to pay extra to get the look. So instead, I decided to create it. Let me show you how you can do it too with this super easy antique brass hack. Plus, stick around till the end for a few tips on attaching your hardware. Let’s get started!
Supplies Needed:
Step #1 Applying The Antique Brass Solution
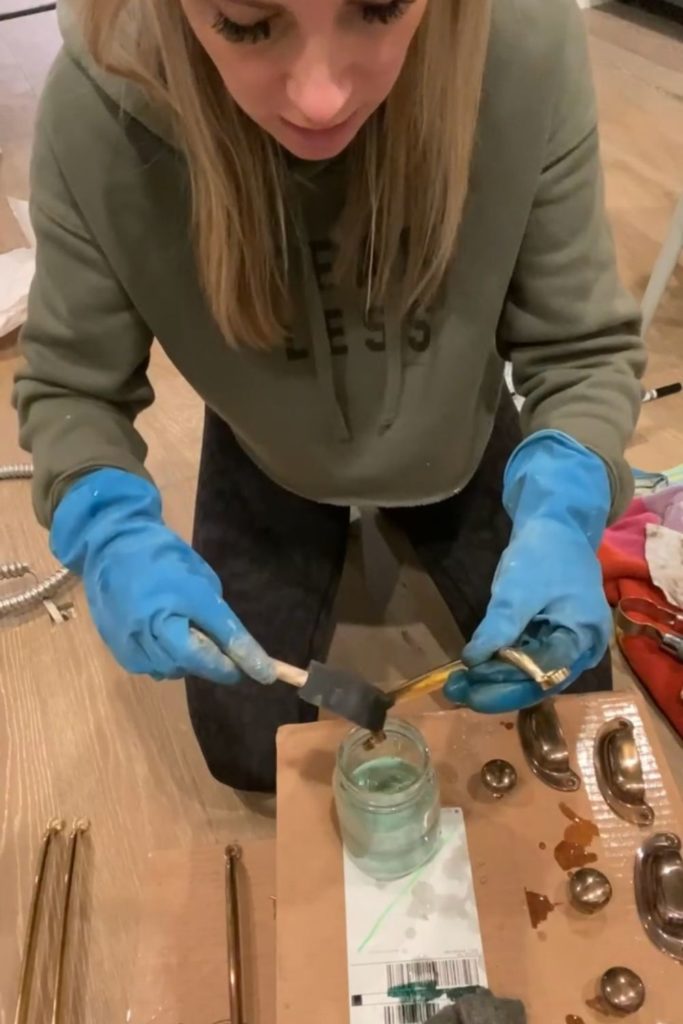
Before you start, you’ll of course want to pick up or order some hardware. When you do, make sure the hardware you choose is 100% brass. That’s what it will need to be for this project. Here is a link to the kind I used! Once your hardware arrives, grab the rest of the supplies and set up a workstation. Don’t forget to wear rubber gloves. Don’t be mad, but I just put some cardboard down and did this on my kitchen floor.
To start, pour all of the brass darkening solution into a small mason jar or other container. Then, grab one piece of hardware and dip it into the solution. This part kind of feels like dipping Easter eggs! After you dip the hardware, wet a foam brush in the solution and evenly coat the rest. You probably have a foam brush lying around your house somewhere, but if not here are some from Amazon. Use the brush to get rid of any drips or else you’ll have darker spots in those areas.
Step #2 Buffing The Brass Until Smooth
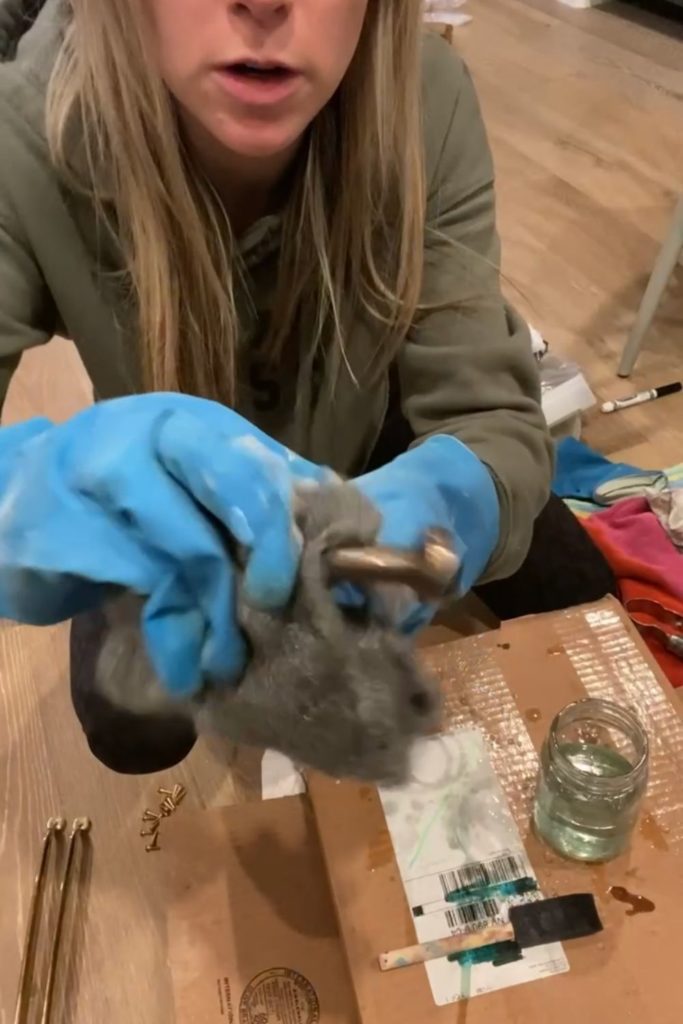
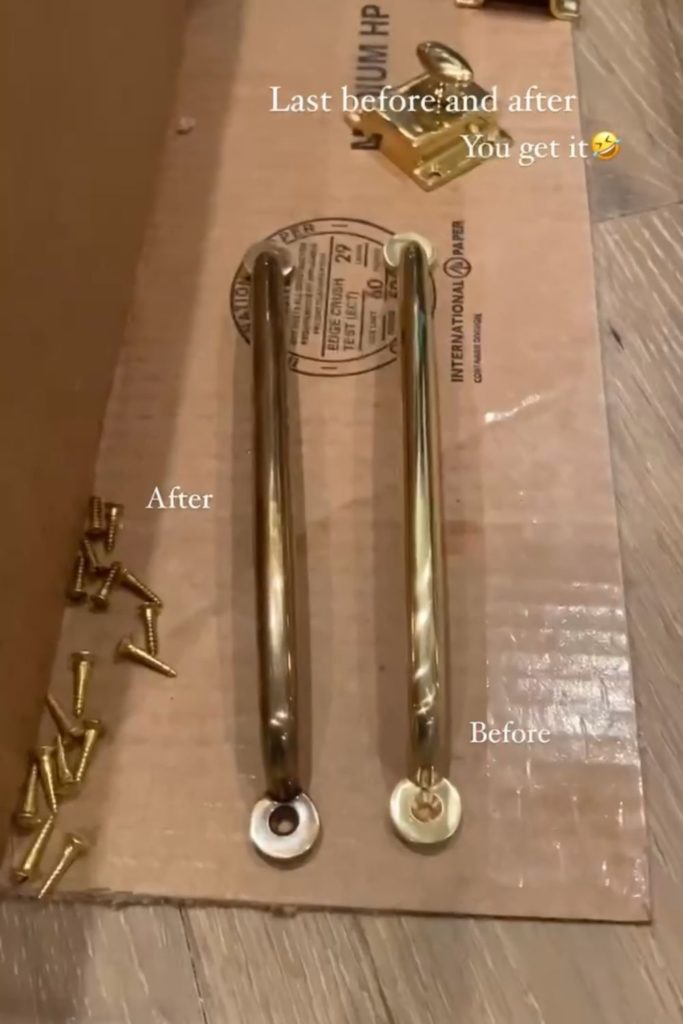
Let your hardware rest for a second and you’ll start to see it darken. So cool, right?! You might notice that it looks a little splotchy. Don’t worry, you didn’t do anything wrong. We’re not done yet. To get rid of those darker areas, grab a piece of steel wool. Buff out the hardware with the steel wool and you’ll see it looks so much smoother afterward. There, you’re done! Now just repeat the process for the rest of your pieces. Here’s a link to the large drawer pull shown in the image below. Look at that before and after. It deserves all the heart eyes!
Step #3 Attaching The Finished Hardware
Now that you’ve made all your brass hardware antique and beautiful, let’s attach it shall we? Here are a few tips for attaching it all without jigs. First, mark where you want the hardware to go by measuring up from the bottom of the cabinet and over from the side. A level will come in handy here. Where the two lines cross is where you’ll drill your hole. Before drilling into your cabinetry, hold your hardware piece up to where the lines cross and make sure it looks right. If it does, grab your drill and pre-drill the needed holes. Then get your hardware piece, screw it into the cabinet, and you’re done. Just repeat the process for the rest of the hardware. Don’t forget to step back and admire your work! After all, that’s the best part.
Easy Antique Brass Hack To Upgrade Your Hardware
So, what do you think about this easy antique brass hack? Will you give it a try? If so, make sure to tag me on Instagram. If you’re more of a visual learner, you can get a short video on the project here. I love the way this hardware looks in my kitchen. It adds just the right combination of modern and antique. Remember, when renovating the spaces in your home it doesn’t necessarily matter what’s in or trending. It just matters that you’re creating a space that you love.

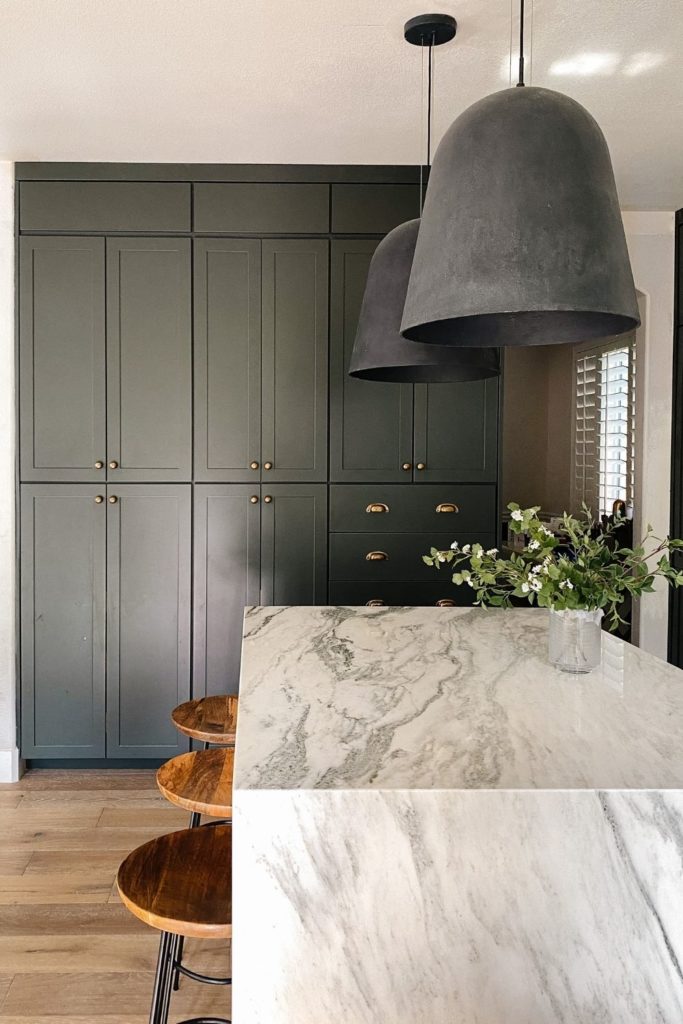
Are we Instagram and TikTok friends yet? Make sure to follow along because I’ve got some exciting things in the works that you won’t want to miss. For more details on my other kitchen projects, check out this post. I always get questions on the cabinet color, so here’s the answer. The cabinet fronts are from my line with Nieu in the color Dream Dusk (that you can shop here). The matching paint color is Rock Bottom by Sherwin Williams. Happy DIYing!