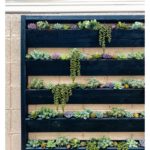
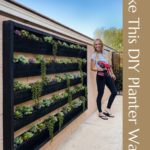
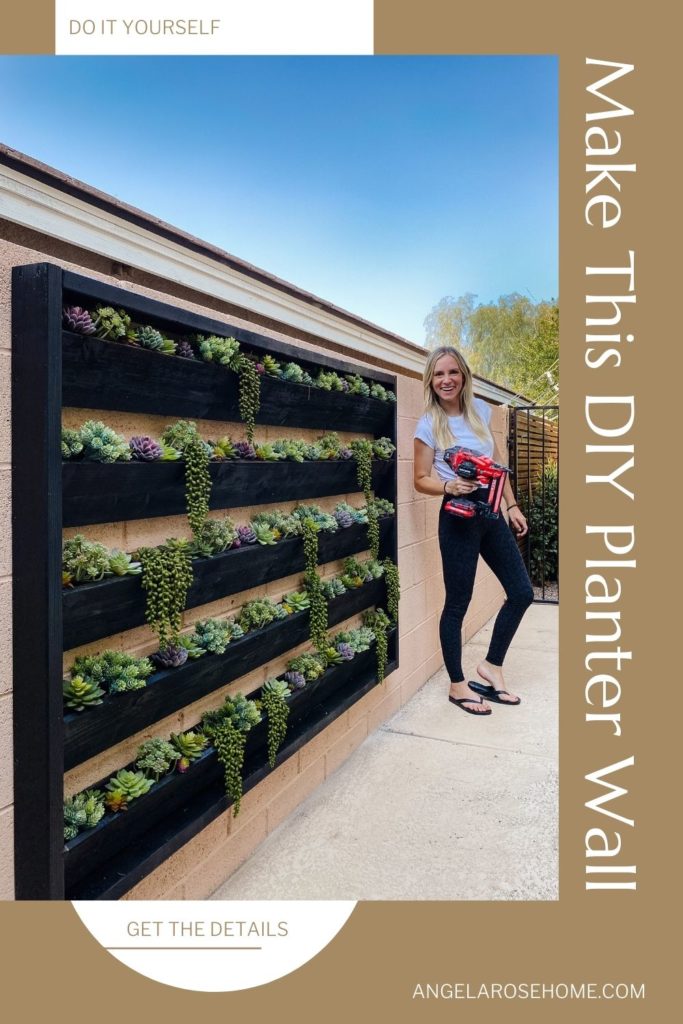
DIY Planter Wall Anyone Can Make
Ever wished you could change your view? I know the feeling. I used to look out my front room window and stare straight at a cinderblock wall. Not the best view, right? To be honest it made me a little sad. So, I decided to change it. How? By building a giant planter to cover up the ugly wall! Now I have a pretty view out my window that makes me so happy. Let me share how I made this DIY planter wall so you can change your view or spice up your outdoor space.
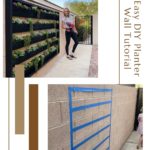
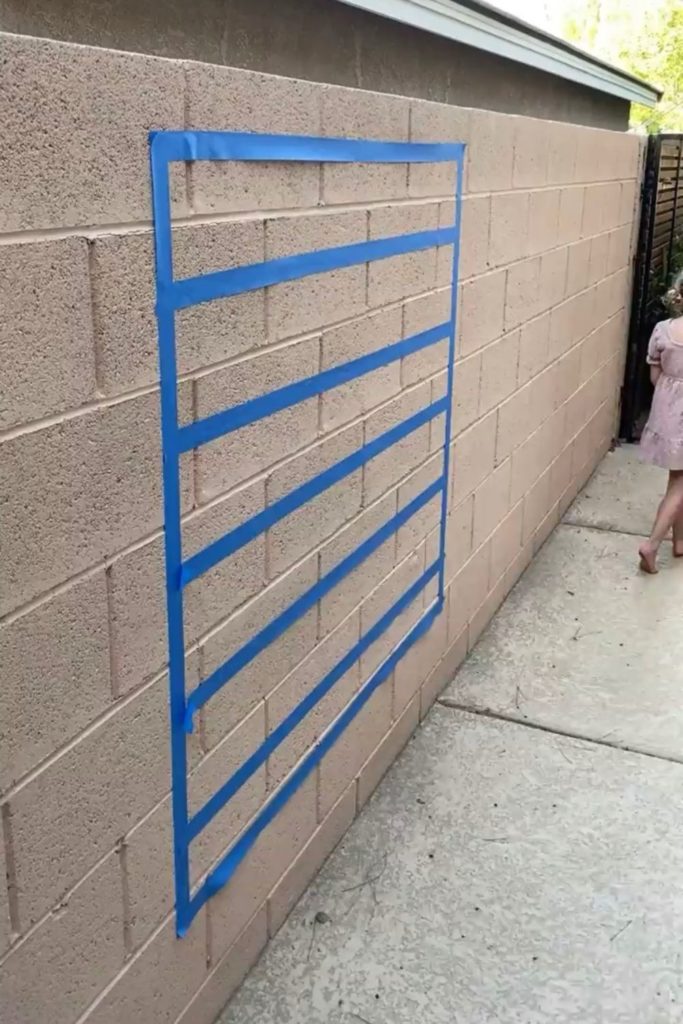
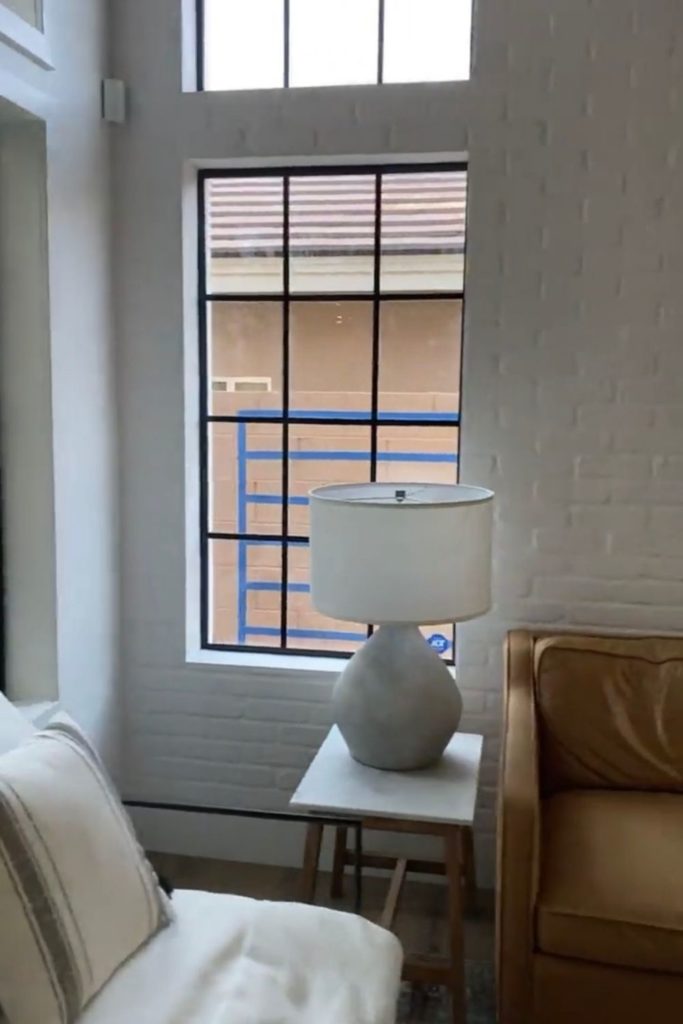
Step #1 Visualizing The Planter Wall
I love taking time at the beginning of a project to visualize. I think it’s so important. To do that for this project, I grabbed some blue painter’s tape to map out how big the planter needed to be. I wanted it to be seen at all angles from inside my front room. It took a few tries but eventually, I decided on a 6 foot long DIY planter wall. Now that I had an idea of what I wanted it to look like, I went to the hardware store to get some supplies. I picked up some redwood 2×4 cedar planks that I’d be using to build the planter. Here’s a tip: when you’re buying wood, lift one end of the board up at an angle and look down the length of the board to make sure that it’s straight. It will save you from frustration later.
Step #2 Building The Planter
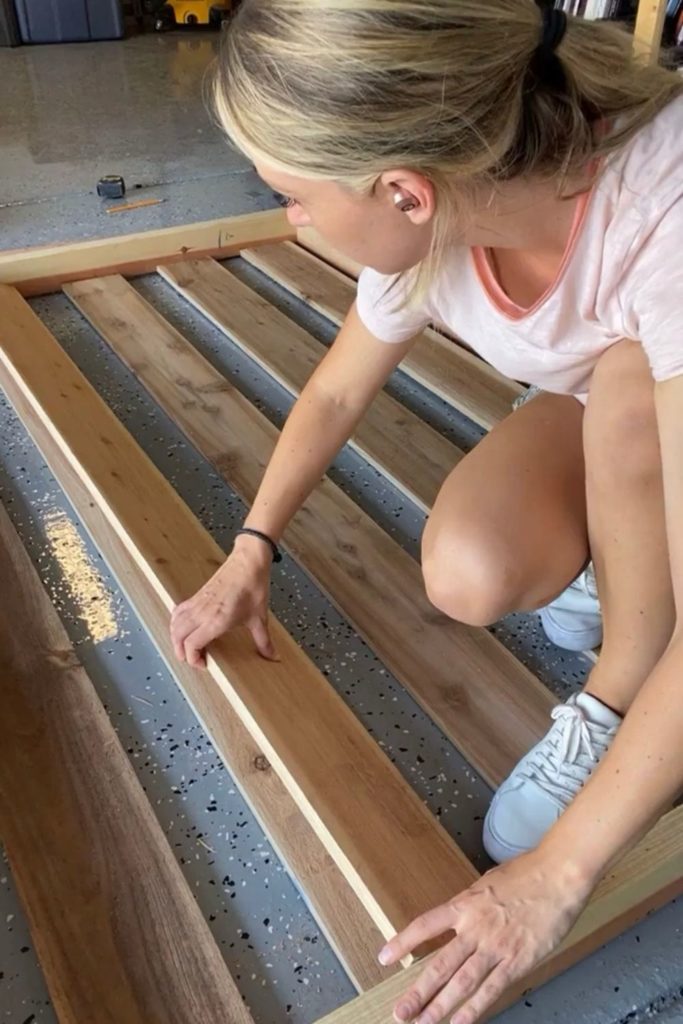
To start building this planter, I cut each plank to the size I wanted using my miter saw. A quick tip: If you’re not sure how long you want each section, draw it out. After cutting the boards, I laid everything out on my garage floor. I put the framing pieces down first with the smaller side facing up. Then I laid five boards down flat inside the frame. After making sure I liked how it looked, I used an impact driver to attach the frame pieces together. This might sound a little nerdy, but I love the sound an impact driver makes. So satisfying!
Now, to keep the planks inside the frame in place I used wood glue and a nail gun. Then I pre-drilled and added some screws for even more support. Overkill maybe, but oh well. After all, DIY is just a bunch of problem-solving. I figured out how to make this planter as I went. You may try something else out that works better for you and that’s just fine.
For this project, I needed to make five troughs for the plants to sit in. To do this, I put three triangle support pieces on each of the wood planks. One on each side and one in the middle. Not only would these little triangle pieces add support, but they would also make it easier to eventually attach the front of the trough. To connect the triangle pieces, I used wood glue and then a nail gun again.
Step #3 Painting & Attaching The Planter
Over on Instagram, I asked whether I should stain this planter or paint it. A lot of responses came through saying I should stain it, so of course I decided to paint it! I used some black spray paint for this but you could also grab a paint sprayer or brush to do the job. I painted the planter and the front trough pieces out on my lawn to avoid messing up my new garage floors. Once the paint was dry, it was time to hang the planter on the cinderblock wall.
Now, hanging something on cinderblock can be tricky. So to make this work, I first used a masonry bit to drill a hole through the wood planks of the planter and into the cinderblock. Then I used barrel anchors to secure the screws. Anchors are great to use for something like this because they swell and create a strong hold in the wall. Without them, the screws would fall right out. Now you can’t hold up the planter and attach it at the same time, so you’ll want help when you do this. I had help from my friend @honeydohandyman_bbh.
After everything was secured to the wall, I put on the fronts of the planter troughs that I pre-painted. Using the same method as before, I used wood glue and then a nail gun to attach the planks to the rest of the planter. It’s nice to have some help with this part too.

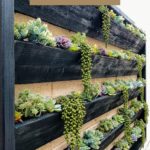
Step #4 Adding In The Succulents
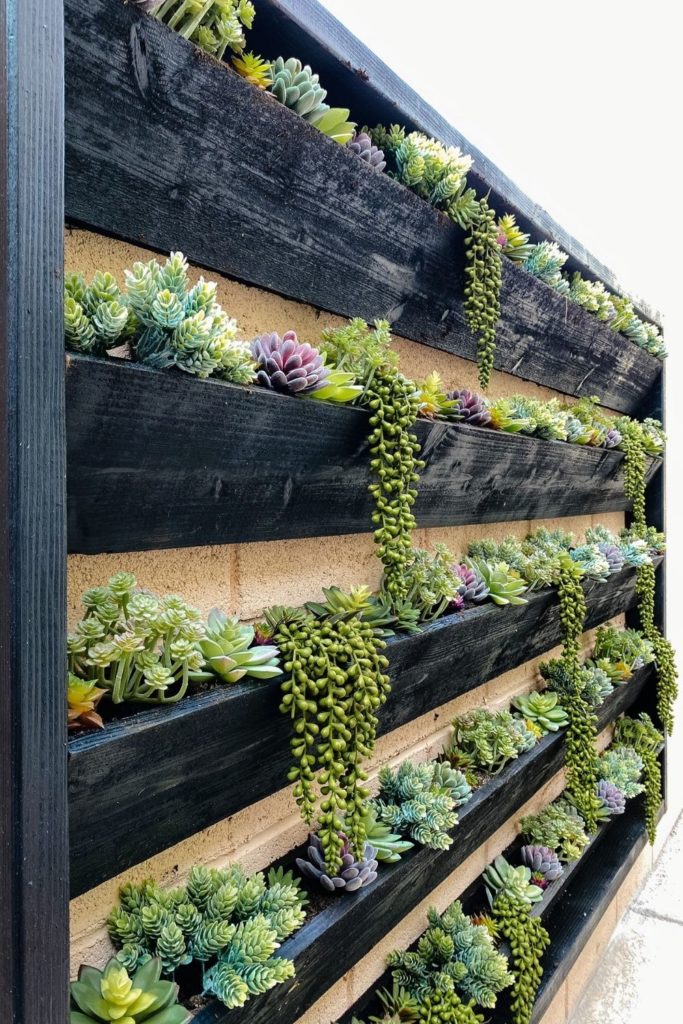
Now here’s where the vision really comes to life, adding in the plants. Don’t hate me for it, but I decided to use faux succulents for this project. I know succulents are already low maintenance, but I still struggle to keep them alive. So fake it is. Here’s a trick for making fake plants look more realistic, use real dirt. I just used my hands to scoop the dirt into each box, but you can use a cup or gardening shovel as well. The process is a little messy but worth it.
After I brushed away any excess dirt, I started placing the plants. You can get the succulents I used here. Each package had one or two plants that didn’t look real so I took those ones out. For the best look, I spread out any plants that looked similar and varied the height, color, and placement to give depth.
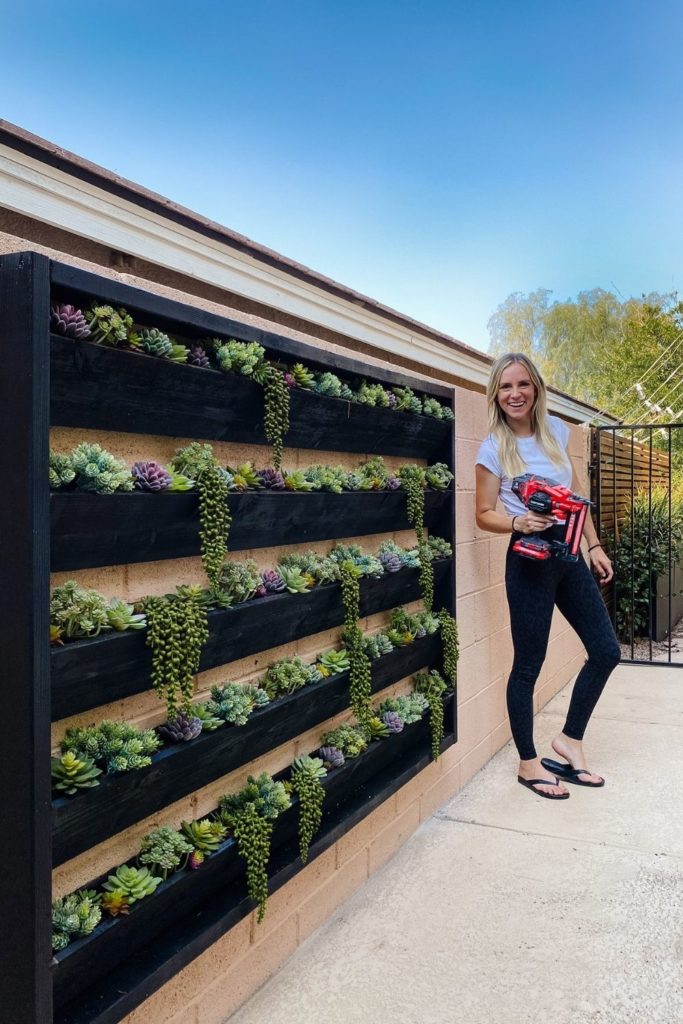
DIY Planter Wall Anyone Can Make
There, this giant DIY planter wall project is complete! Seeing this beauty through my window just makes my heart happy. I guess that’s the DIY lesson for today, if you don’t like your view…change it! To see other ways you can create a home you love, check out my Loft Playroom reveal and the Skinny Slat Wall I made. If this tutorial inspires some home projects of your own, make sure to tag me on Instagram. I love to see the magic you create. Now, stop pinning and start doing.