Search results
198 results found.
198 results found.
This post is sponsored by Lowe’s.
If you’ve been with me for longer than a few weeks, you know that I live in Las Vegas and have been battling with the awkward nooks and niches since moving in a few years ago. In most spaces I’ve removed them, but in my bedroom I have one nook left…and I came up with the perfect idea to work with it! I am about to show you progress on my master bedroom BUILT-IN desk nook with Lowe’s. The main element in this space is going to be some accent trim with a DIY wall, and of course a desk. Ready to see what I’ve been up to?
This post is sponsored by Rust-Oleum
Are you ready to see the craziest floor transformation…and just with paint? Everyone has boring beige tile somewhere in their house, or maybe just some linoleum or vinyl that isn’t your favorite? It’s time to change that with my all time favorite DIY tool…paint! Check out this before and after and tutorial so you can learn how to paint your tile (or any floor really) with paint too.
I love a good accent chair! They are my favorite way to change the style of a room without switching out everything. So today, I am going to give you a round up of my favorite accent chairs for every budget…and also a few tips!
A trend I am totally loving right now is cane furniture. I am seeing it everywhere in decor: chairs, media units, headboards, end tables…but I love that it is also a timeless look! So, as always, to save you time and make your life easier…I put in time to round up my favorite cane furniture pieces!
This post is sponsored by HANDy Paint Products.
By now you all know I love projects, but a project isn’t fully complete until you do all the touch up paint! It’s not glamorous, but it’s what makes your project go from a DIY look to a professional look. Whether it’s patching holes, getting that perfectly straight line, or just freshening up marks and scuffs…I’m here to tell you all my touch up paint tricks. PLUS, my favorite ever straight line hack so you can get perfectly straight lines!
Here are 4 simple tricks for touch up painting like a pro!
It’s been a long time coming, but it’s finally reveal time for this fireplace! This was such a fun One Room Challenge so let’s show you some good before and afters shall we? (my last One Room Challenge was the Green Room ) I hope you’ve been having fun following along on @angelarosehome . Now let’s admire this fireplace!!!!
I have totally jumped on this cement bandwagon…and I can’t get enough. There are so many different ways to add this material to your home. Here are my 5 ways that you can add the cement look.
I’m doing it guys! My last One Room Challenge Green Room was so much fun, so I had to enter again. This One Room Challenge victim?…the nichy 90s fireplace/family room! I live in a Las Vegas 90s home which means one thing, lots of niches and odd cut outs, fake mantels, and texture…and I am someone who craves the simplest and cleanest lines. So, of course, there was no working around this, and it all just had to go. (follow the whole video transformation @angelarosehome in Story Highlights Under “Fireplace Reno”…and see who was living in my attic?)

Here is what the space looked like when I started. Sooooo many niches right? And can you even call that a mantel?
What a fun and crazy 8 months this has been since starting @angelarosehome last Spring! I had no idea when I started this account, that I would have 50,000 people interested in my projects and home DIY. It is humbling, and I have loved being able to share what I love and help empower others to love their homes also. Recently, I have been getting a lot of questions about how I have grown, and what tricks and advice I have for other accounts wanting to grow. I wish there was one easy trick, but the truth is that it takes a lot of work, thought, and hours….but I love it!
There aren’t any shortcuts, but here are the 7 things I did to grow my account...and grow it organically (no gimmicks, no buying followers, no follow trains, no follow for follow etc).
Okay, I’m not a big shopper, but I DID round up just a few of my favorite things for this holiday season.
***RYOBI is having a BUY a tool get one Free at Home Depot. Check out this link for details.*** Here are some Home Depot deals below.
You can get this drill and nail gun kit combo for $51 off. The nail gun is battery operated and doesn’t even need an air compressor. I use a drill and nail gun on almost every project.
Here is a miter saw for $100 off. It can even slide to accommodate wider boards. I use one to cut all my boards.
Electric Sander: This sander makes smoothing out wood, sanding off wood putty, and all finishing aspects so much quicker.
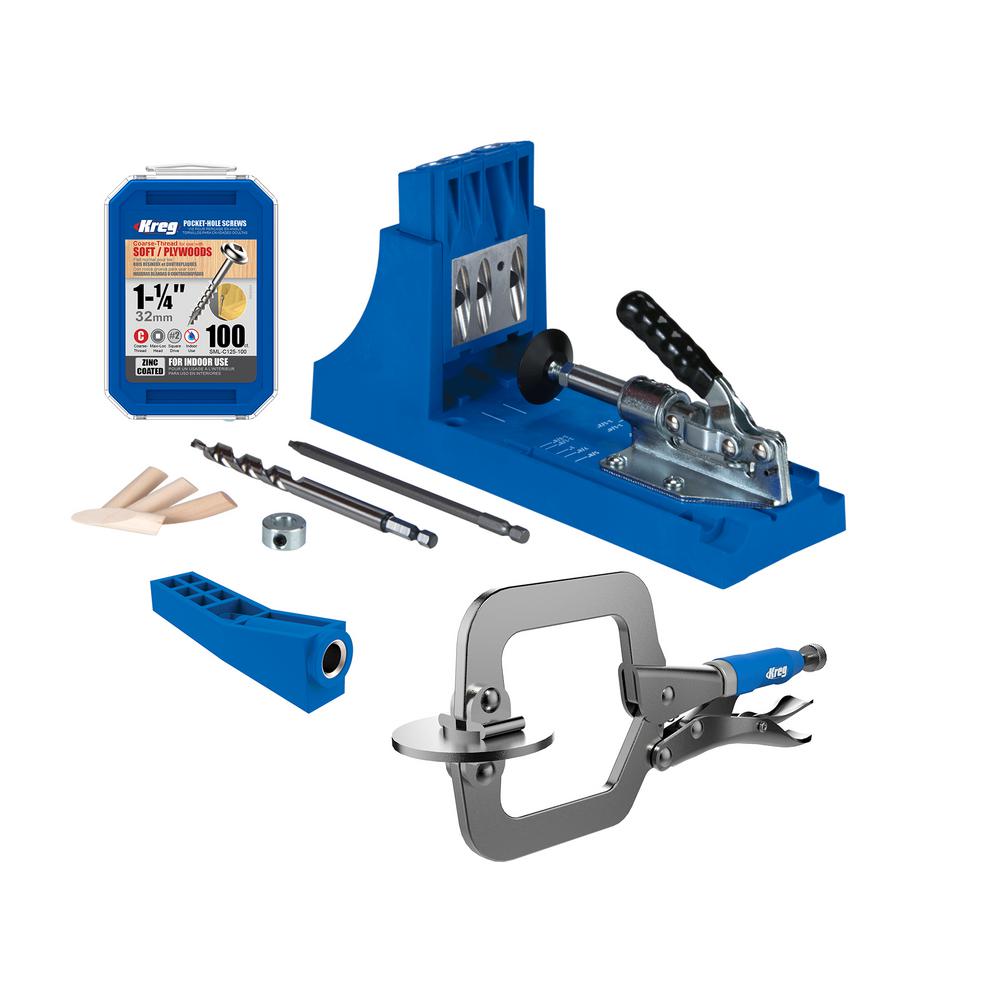
Kreg Jig(Optional but LIFE CHANGING): This tool is so cool because it allows you to attach boards with hidden holes so the finished project looks nicer (and it makes joints stronger). This is a must if you ever get into building built ins or basic furniture. This is the exact set I’ve had for 8 years and loved.

Check out all my home sources in my “Shop My Home” Menu tab
This Bean Bag Chair: 20% off with the code THANKS. Its never on sale, so this is the cheapest you’ll get it. I know because I watched the price for 4 months. This is my favorite ever bean bag chair that is stylish and comfy. We use ours all the time in our playroom.
This Rug: 6o% off with code BLK60. This rug has been in our playroom for 3 years and we love it. Super soft, no shedding, and really durable with no wear.
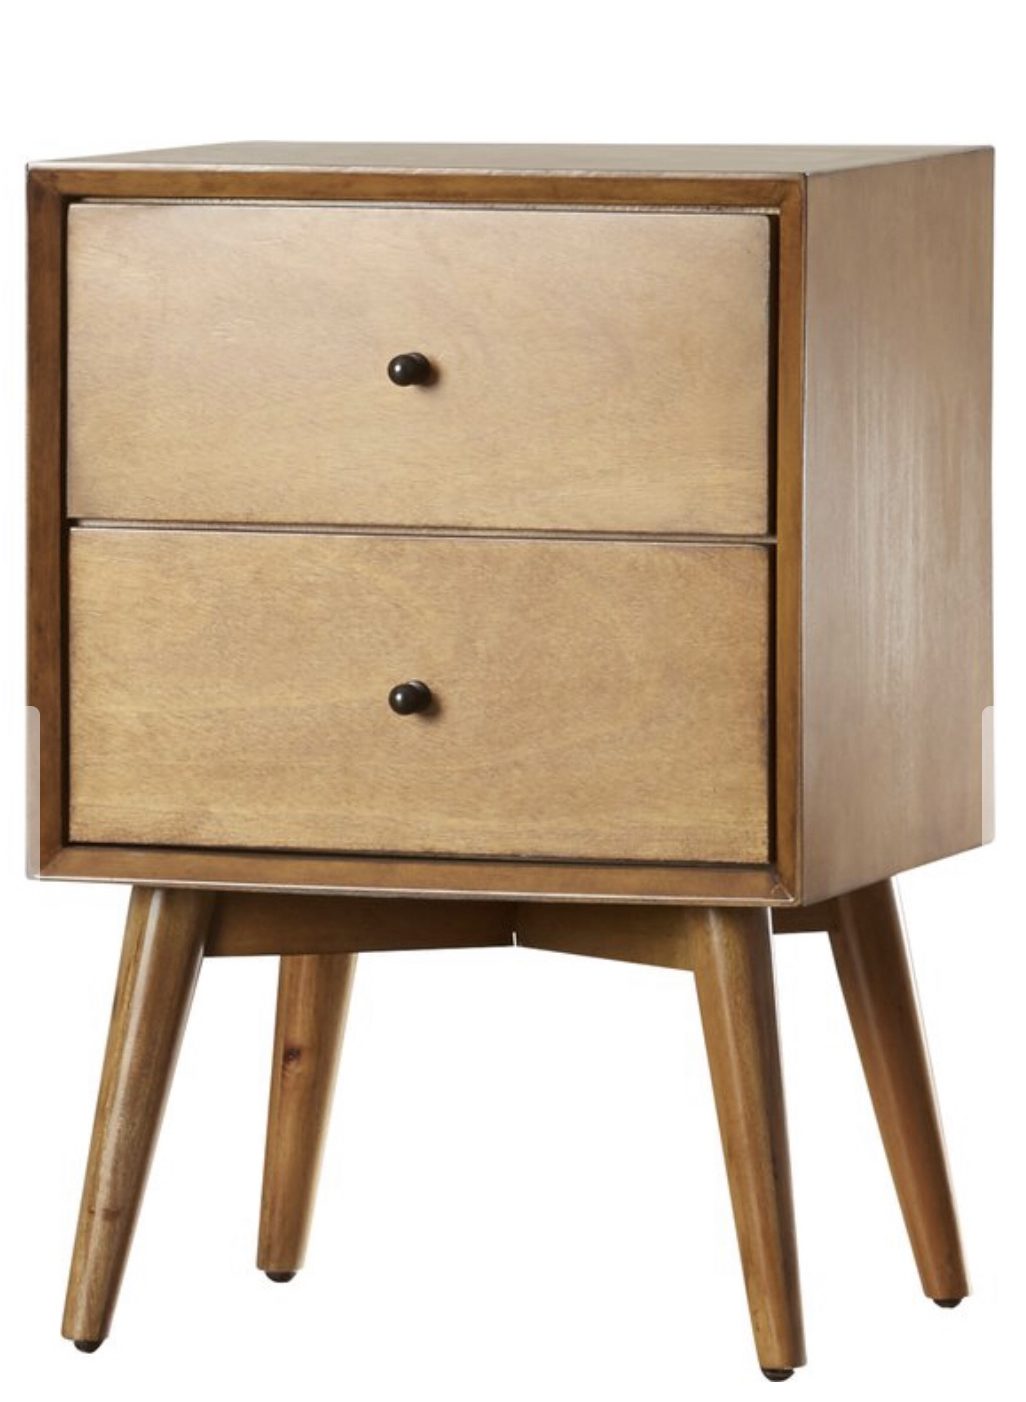
This Nightstand: This is the nightstand I got for my son’s room and it’s the perfect color and really good quality for a great price.

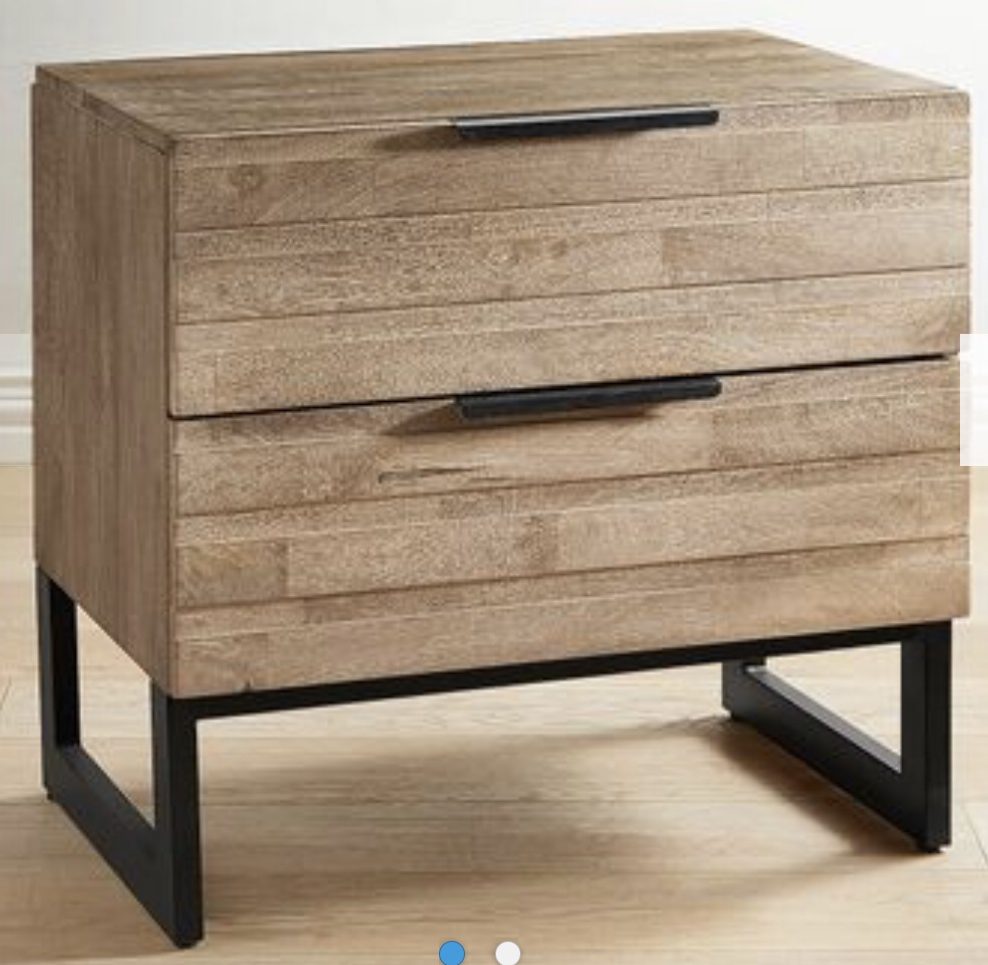
This Nightstand:This is the nightstand in my room that I love!

These Pillows: Perfect 4 pack of Christmas pillows and for only $39!
Boogie Board : Such a good toy to entertain kids in the car or at church. They can write and erase on it over and over again. My kids use this all the time.