This post is sponsored by HANDy Paint Products.
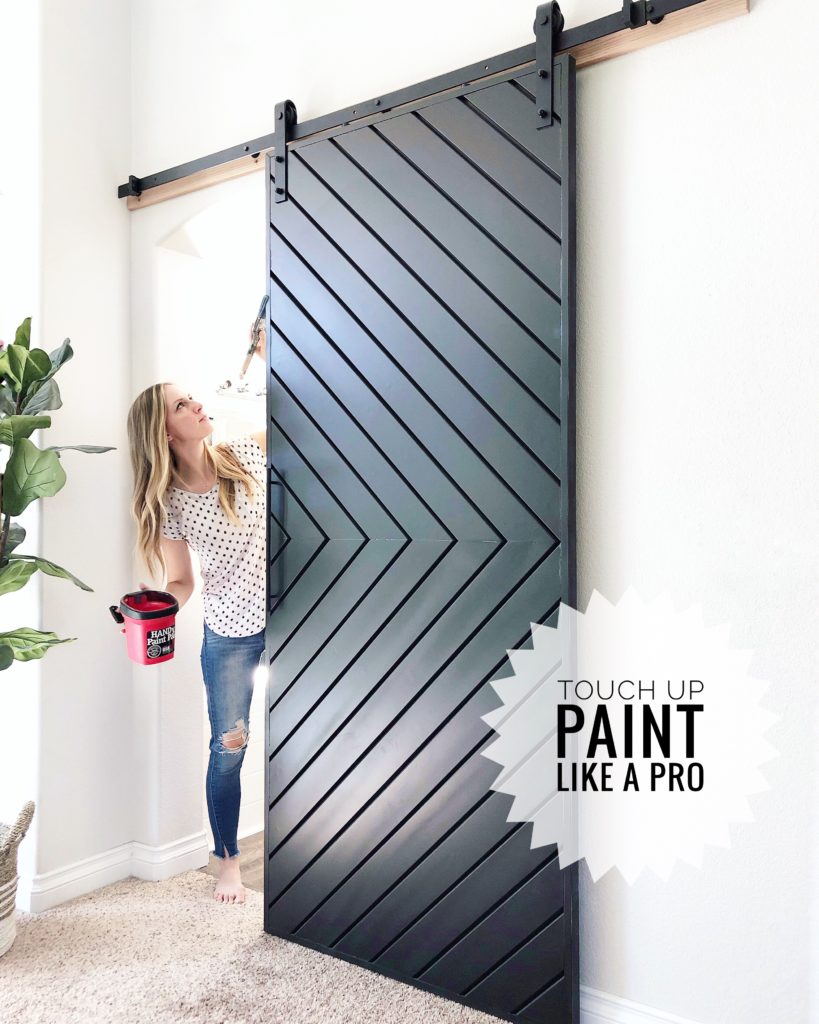
By now you all know I love projects, but a project isn’t fully complete until you do all the touch up paint! It’s not glamorous, but it’s what makes your project go from a DIY look to a professional look. Whether it’s patching holes, getting that perfectly straight line, or just freshening up marks and scuffs…I’m here to tell you all my touch up paint tricks. PLUS, my favorite ever straight line hack so you can get perfectly straight lines!
Here are 4 simple tricks for touch up painting like a pro!
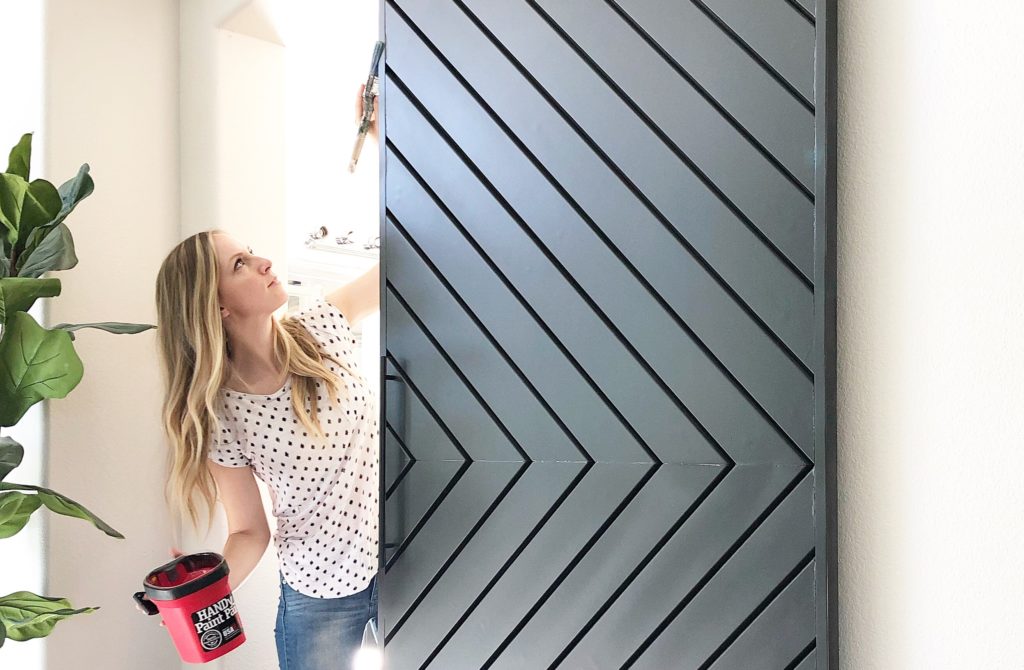
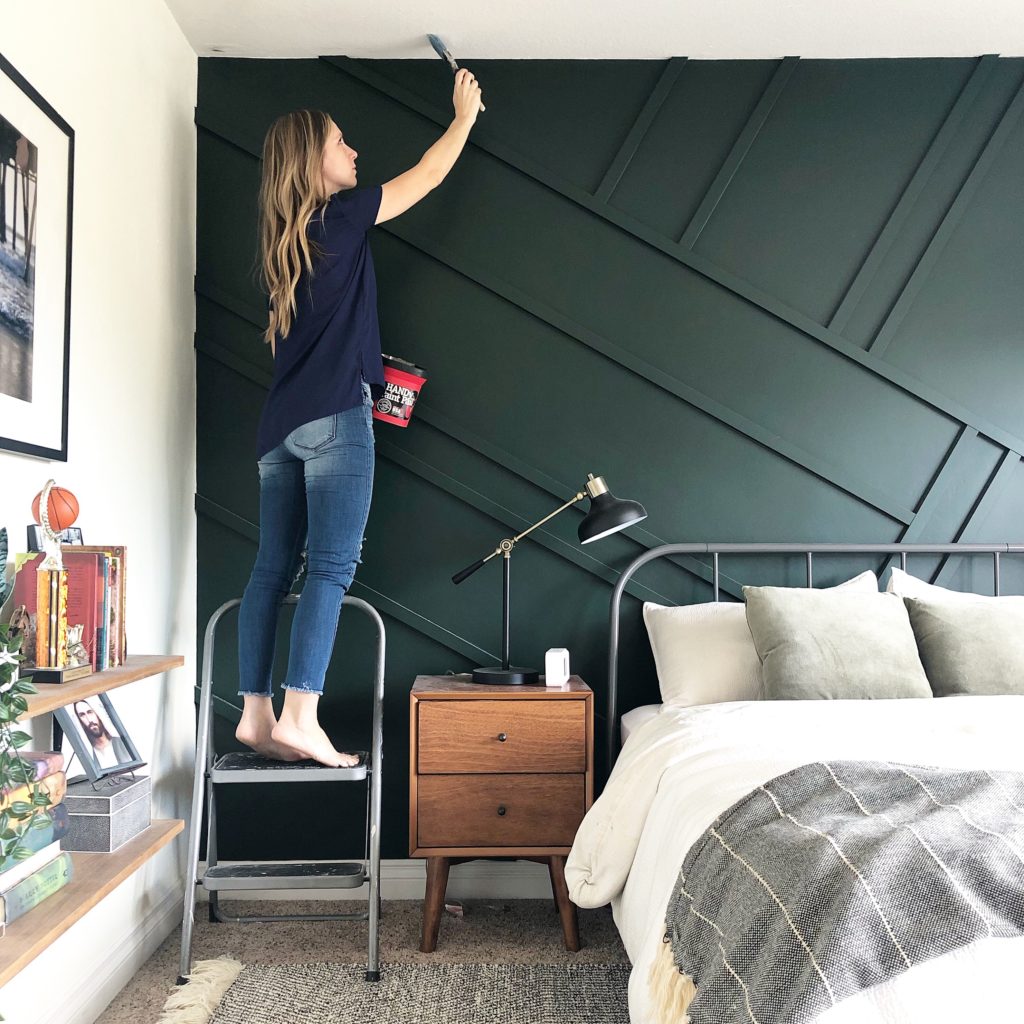
Tip 1: Have an easy way to carry your paint and supplies
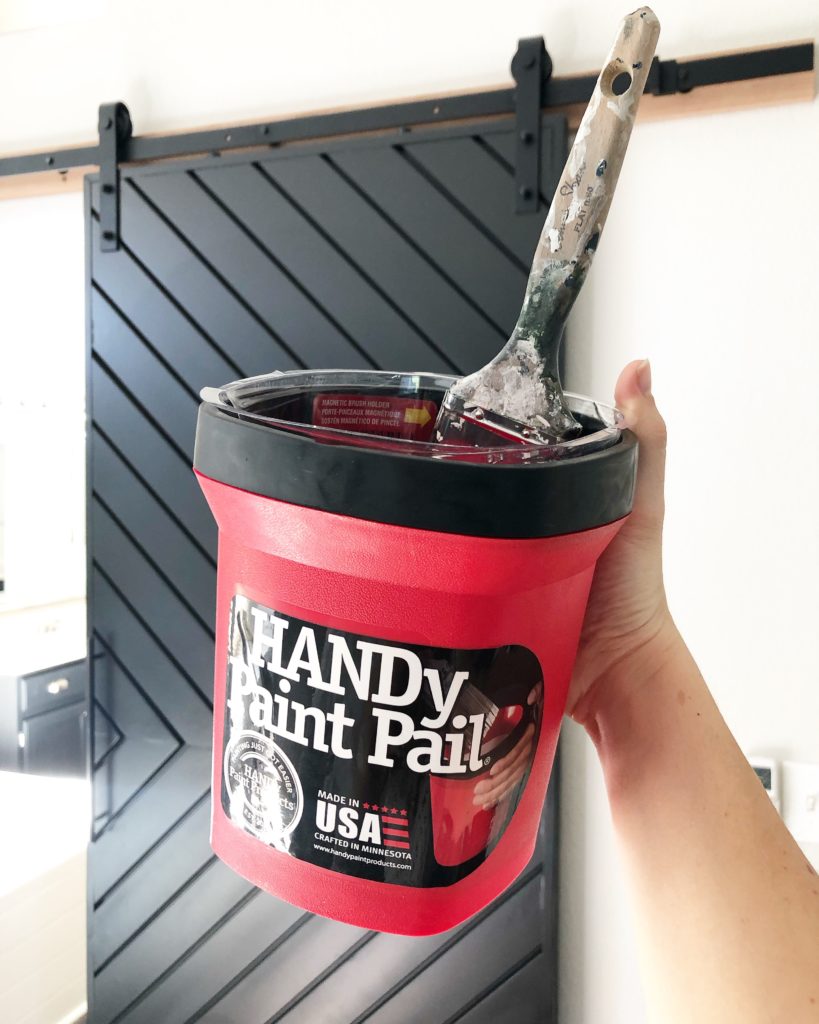
There is nothing worse than going up and down a ladder a million times to dip your paintbrush in the can, or going through a million plastic storage containers. My HANDy Paint Pail is my secret weapon for touch up paint. I can hold it in one hand with the strap and stick my paint brush to the magnet so I can easily move around and get all my trouble spots.
Tip 2: Have the right brushes
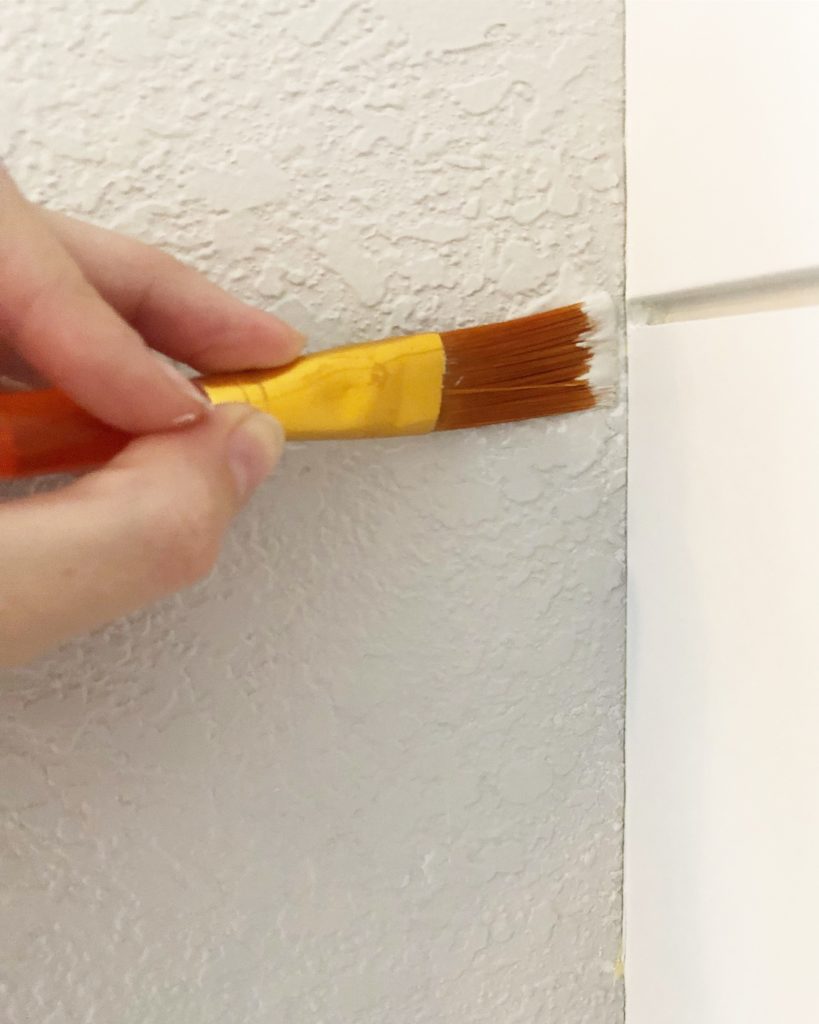
THE TINY BRUSH!
You know I’m not very fancy, but having the right brushes makes a huge difference with touch up paint. For tiny little bleed through marks on a desired straight line, I love to use a small craft brush. Touching up these marks totally transforms the end result. I also like to keep both colors with me so I can go back and forth perfecting my line.
Pro tip: When I tape off my ceiling, I make sure to err on the ceiling side. I find if my tape is more on the ceiling than on the wall, the wall color fully covers the wall and just a fraction onto the ceiling and final result looks so much nicer than if the wall color paint stops a fraction before the ceiling starts. Trust me.
THE NORMAL BRUSH
For main touch ups, like large marks and patches I use a regular high quality bristle brush.
Pro tip: Often times the touch up paint color can be slightly off from the original, so I try to fan out the paint on the touch up spot to help it blend.
THE 1/4 NAP ROLLER
For smoother finishes like a flat wall or cabinets or furniture, I like to use a 1/4 nap roller. I find that these give the smoothest finish. The last thing I want is brush strokes on my smooth furniture pieces!
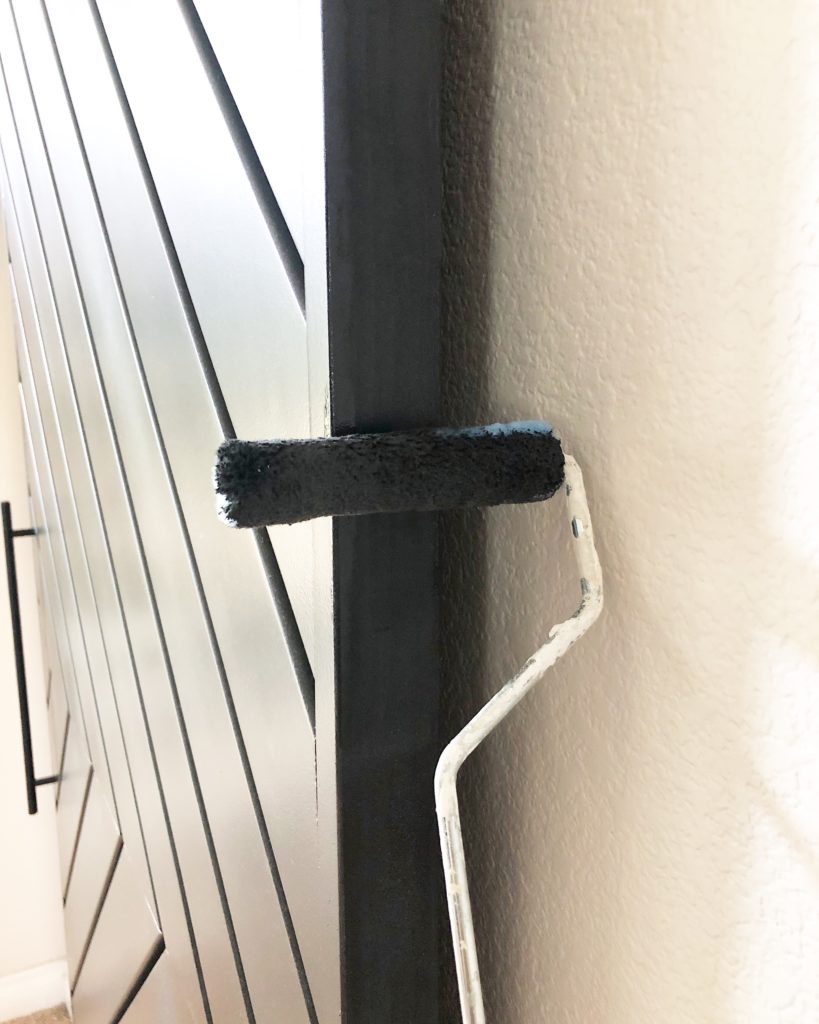
THE BIG ROLLER
Lastly, if you have a wall that is covered in marks and scuffs (or kid fingerprints and smears like mine), sometimes it’s just best to re roller over the whole wall. There is nothing that freshens a space up more than a fresh coat of paint. I often don’t even need to tape off and cut in, and just need to roll over the main wall.
Tip 3: Don’t forget Prep Work
If you have patched a hole with spackle or joint compound, often they need a primer over them first, or you will see a sheen difference. Don’t say I didn’t warn you! Here is a cool spackle primer in one.

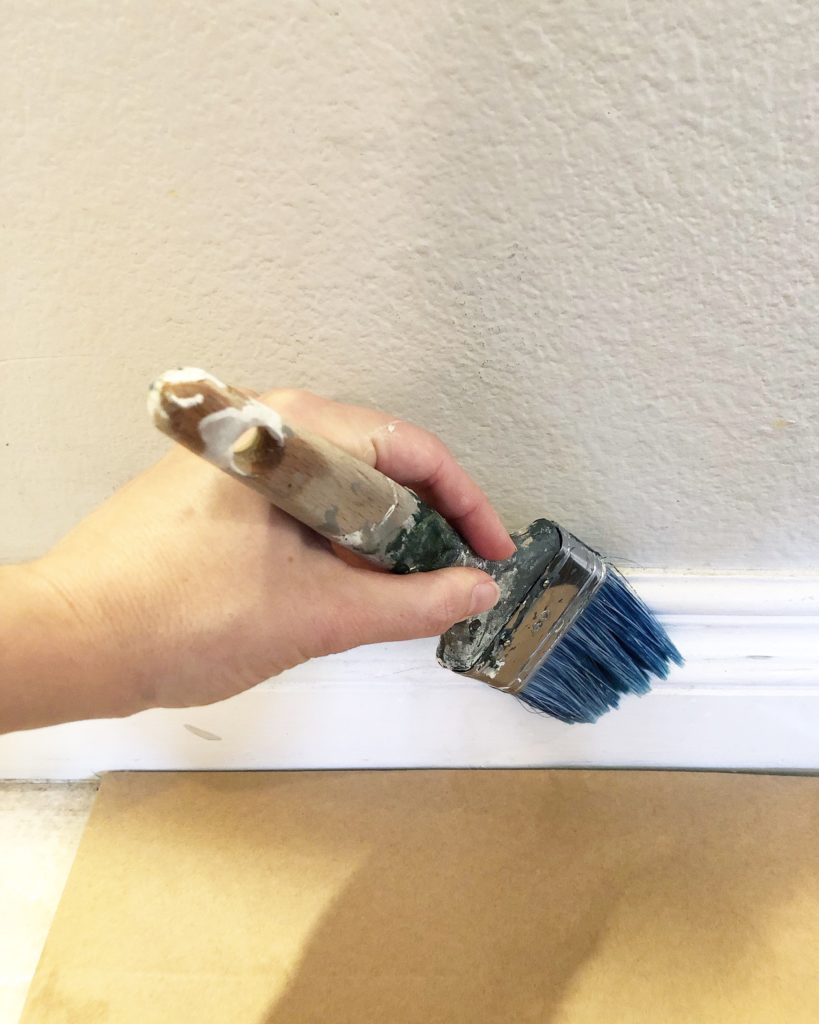
Also, when touching up baseboards or any surface, make sure it is clean and dust free.
Pro Tip: For touching up baseboards, I like to have a small piece of cardboard that I place just below the baseboard. As I paint, I just slide it to where I am painting. Makes it easier than taping everything off!
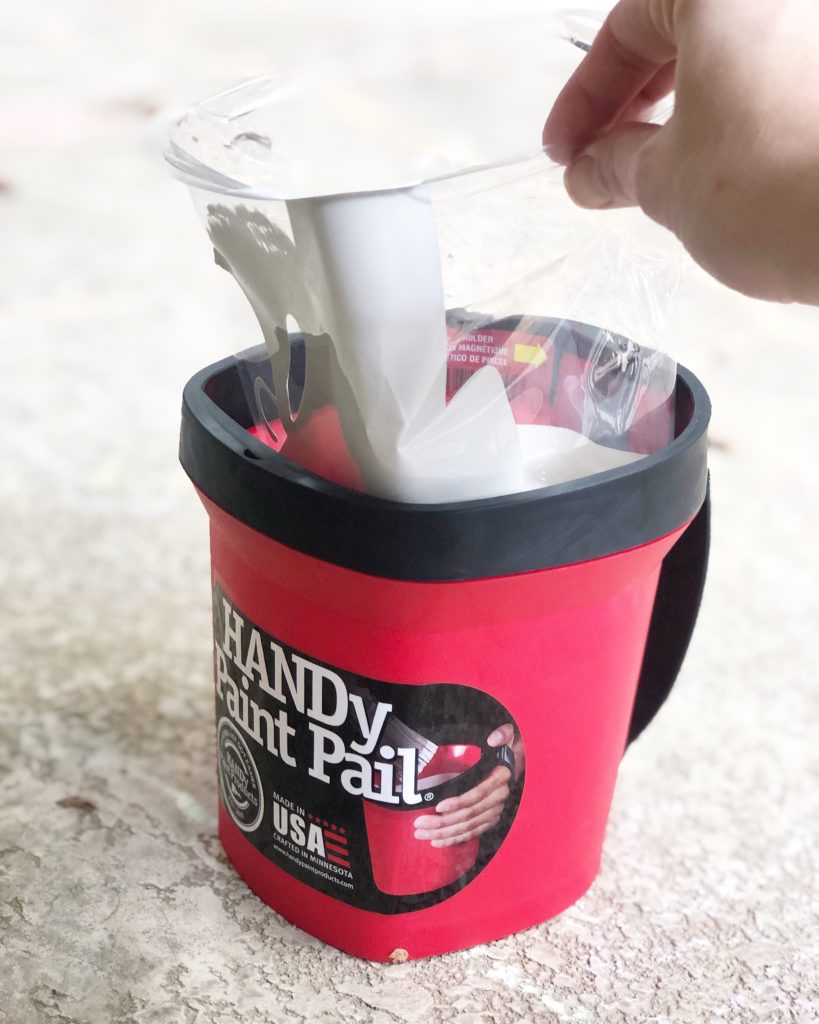
Tip 4: Easy Clean Up!
This one was always the hardest for me, until I discovered these disposable HANDy Paint Pail Liners. No joke, I went through about 15 plastic storage containers and cups within just a few months, and just kept throwing them away. Now, clean up is super easy since I just ditch the liner. The liner also makes it easy to switch up different paint touch up colors I am working on.
Okay, now it’s time for the hack that is taking the @angelarosehome feed by storm…
The Super Amazing Straight Line Hack
Step 1: Put on your painters tape
Step 2: Caulk the side of the tape where your NEW color is going (another technique is to paint the EXISTING wall color over the side of the side where your NEW color will go). The caulk is going to fill in any of the tiny little gaps that inevitably form when your surface isn’t smooth. This will prevent any of the new color from leaking under the tape.
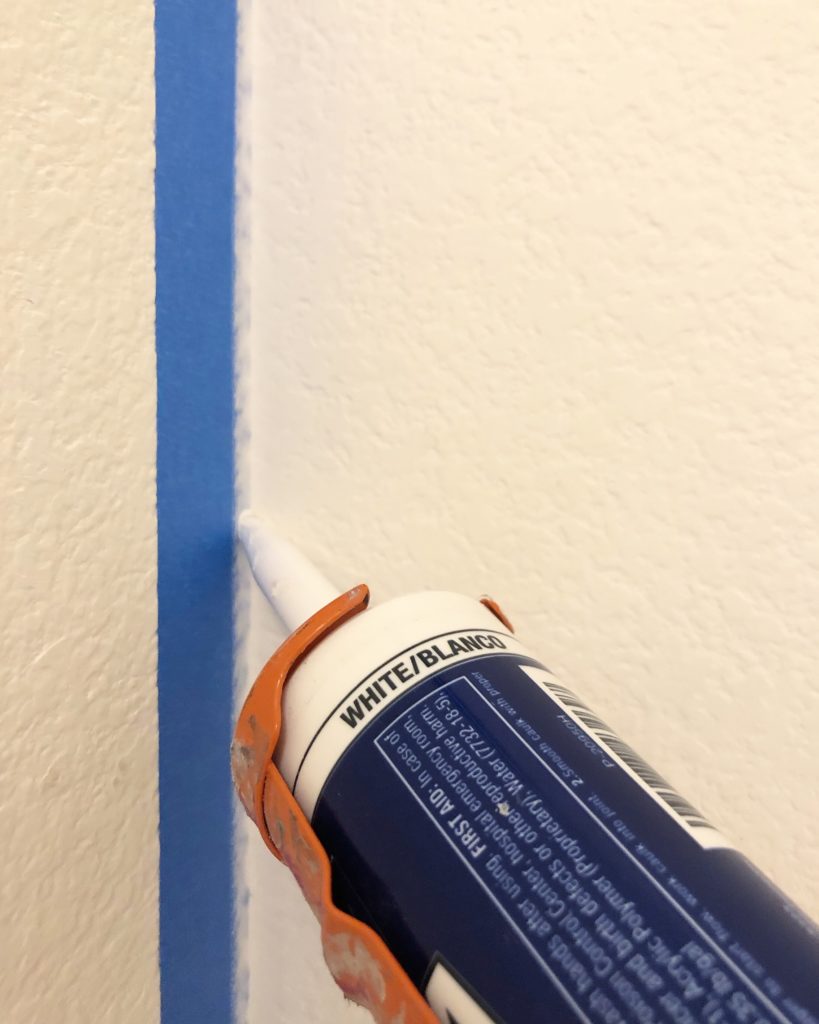
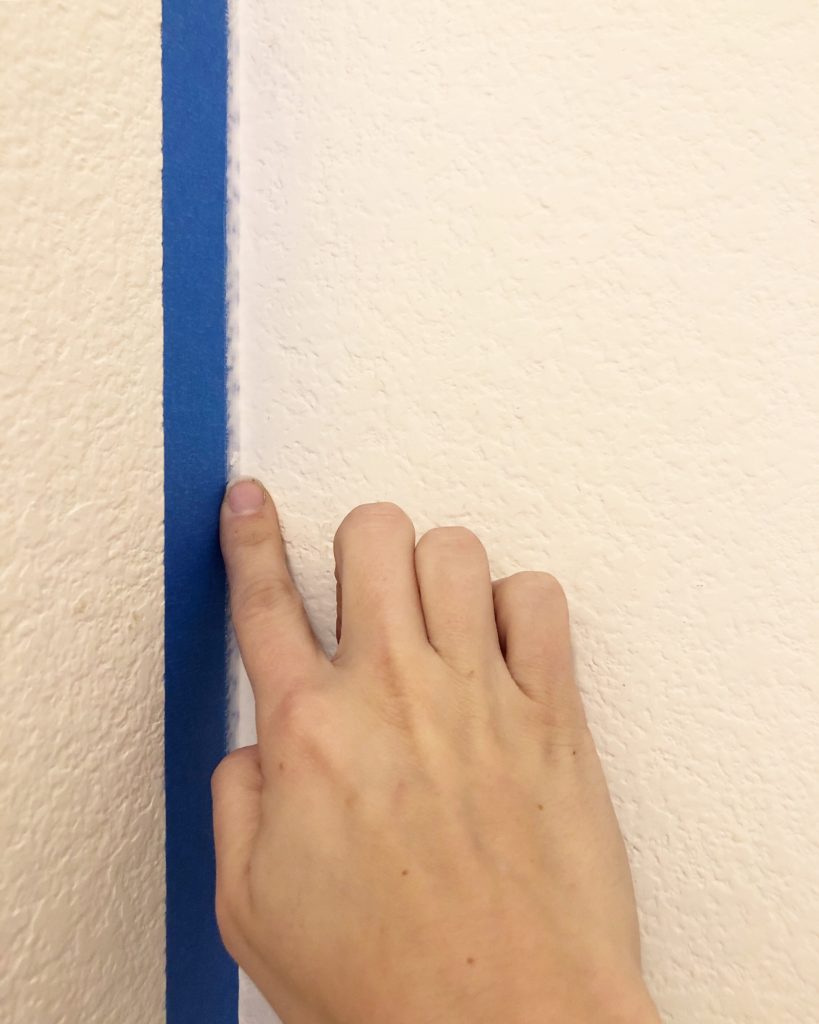
Apply a thin bead of caulk and smooth with your finger. You don’t want a lot of caulk on the tape, just enough to seal in the cracks.
Step 3: Paint your new color
Step 4: Peel off tape and ADMIRE your STRAIGHT line! It’s best to peel off tape when your paint isn’t totally dry yet. If for some reason your tape isn’t coming off well, you can have a utility knife nearby to score your straight line and keep your line straight.
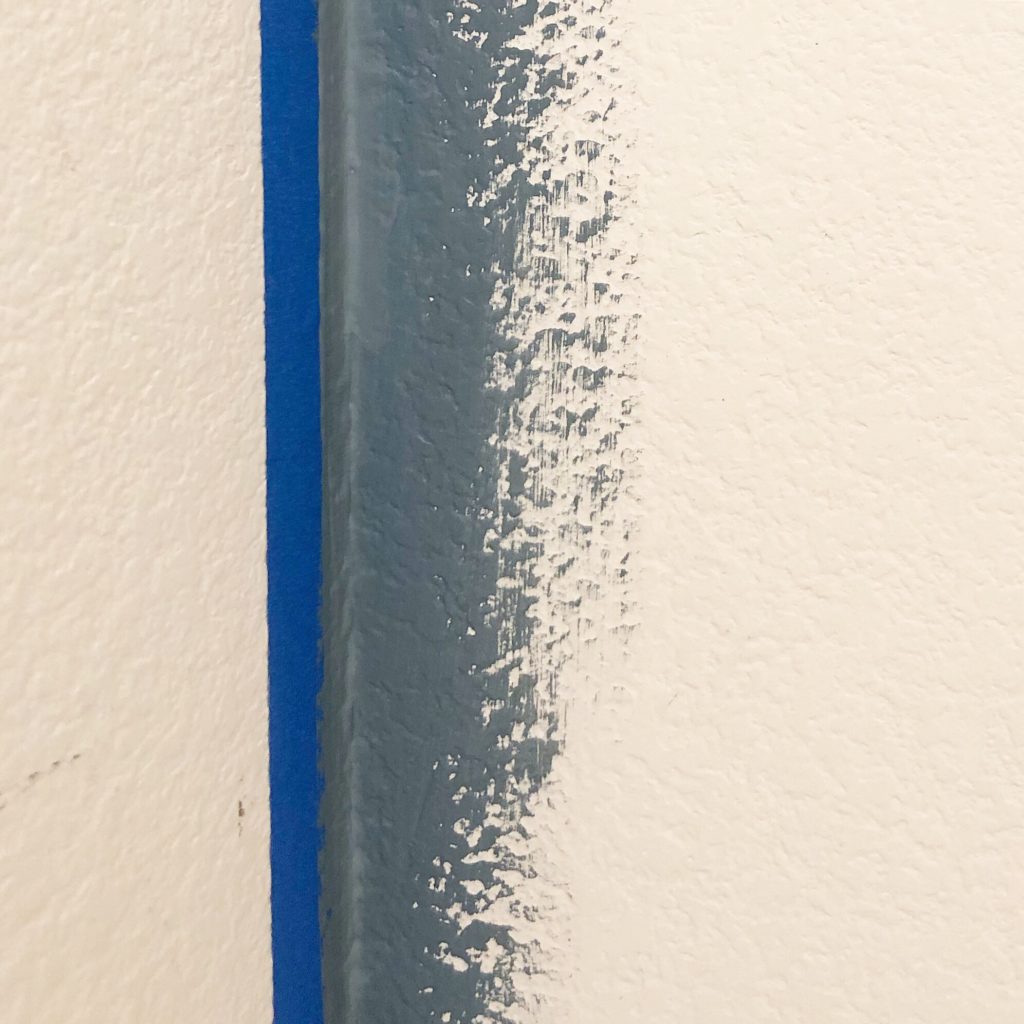
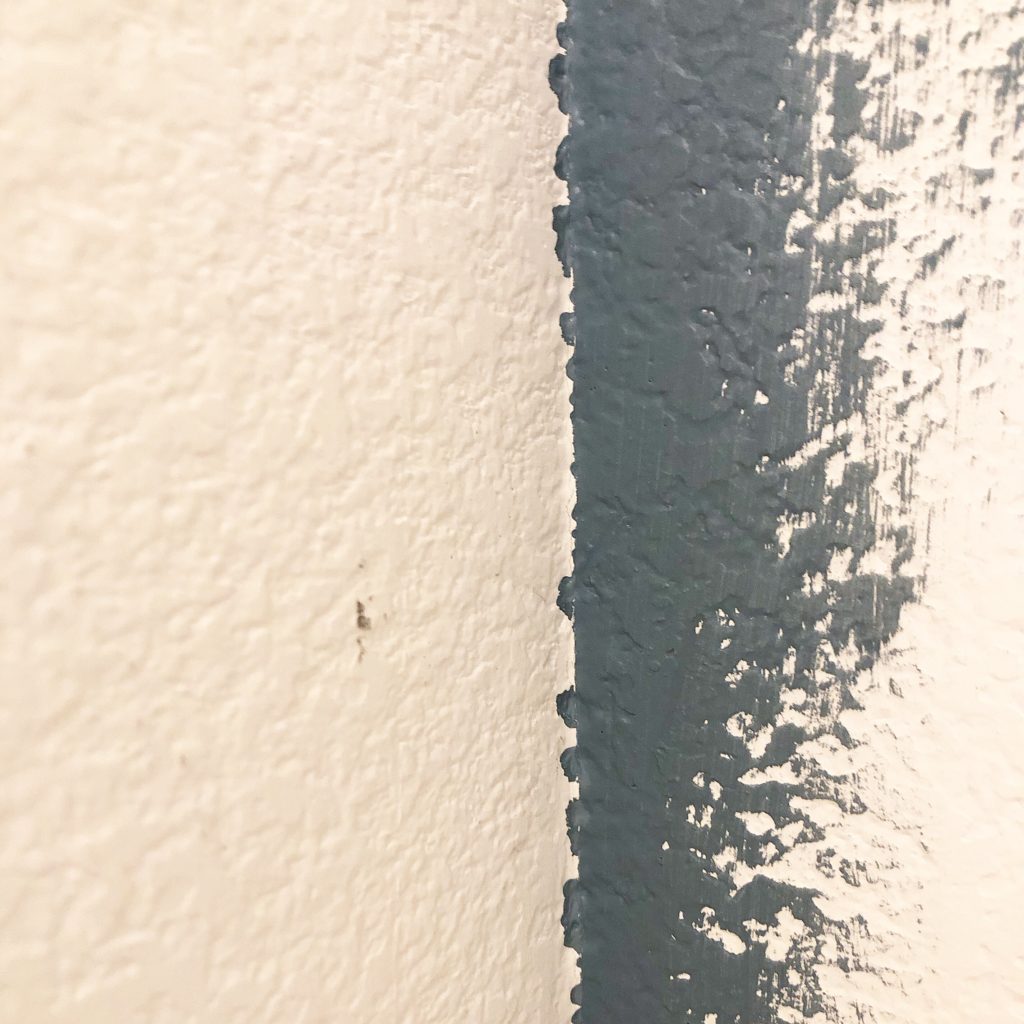
STRAIGHT LINE with caulk
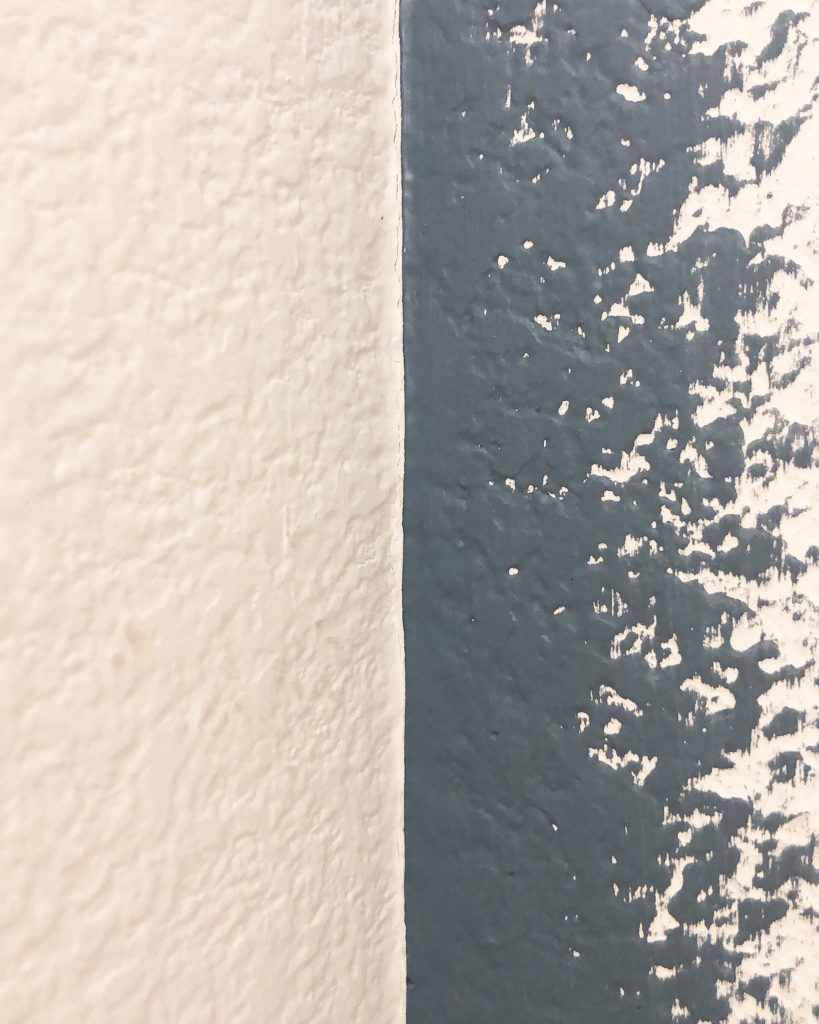
And this was the section with NO caulk!
For more projects and tutorials, follow me @angelarosehome