This post is sponsored by Lowe’s.
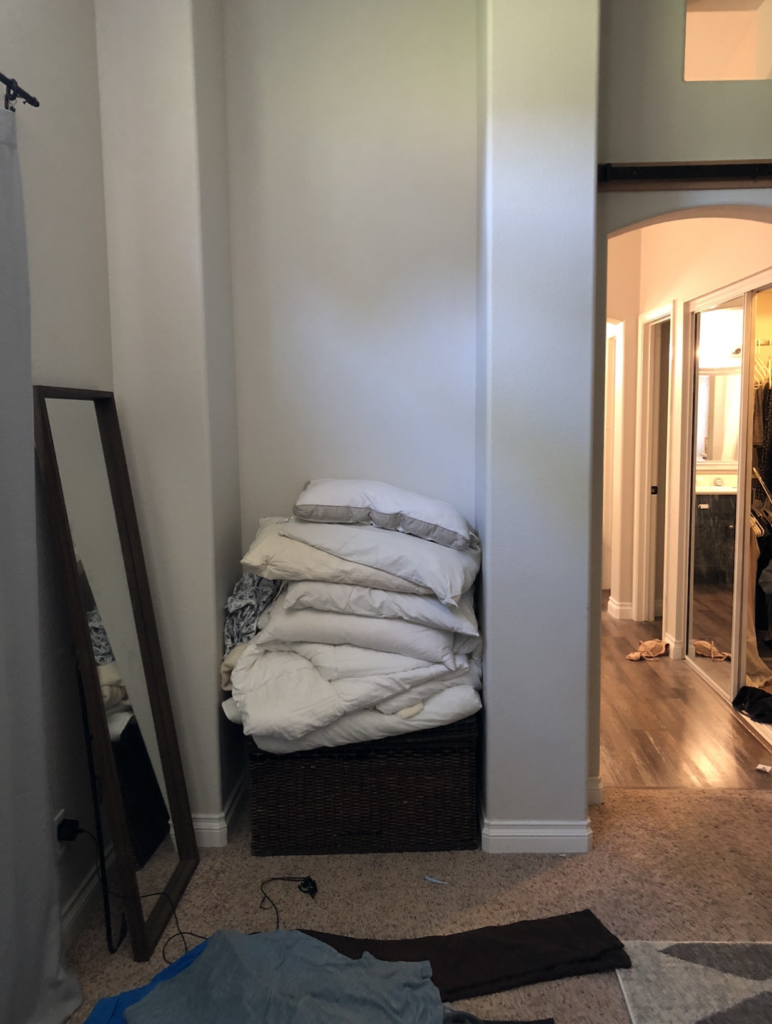
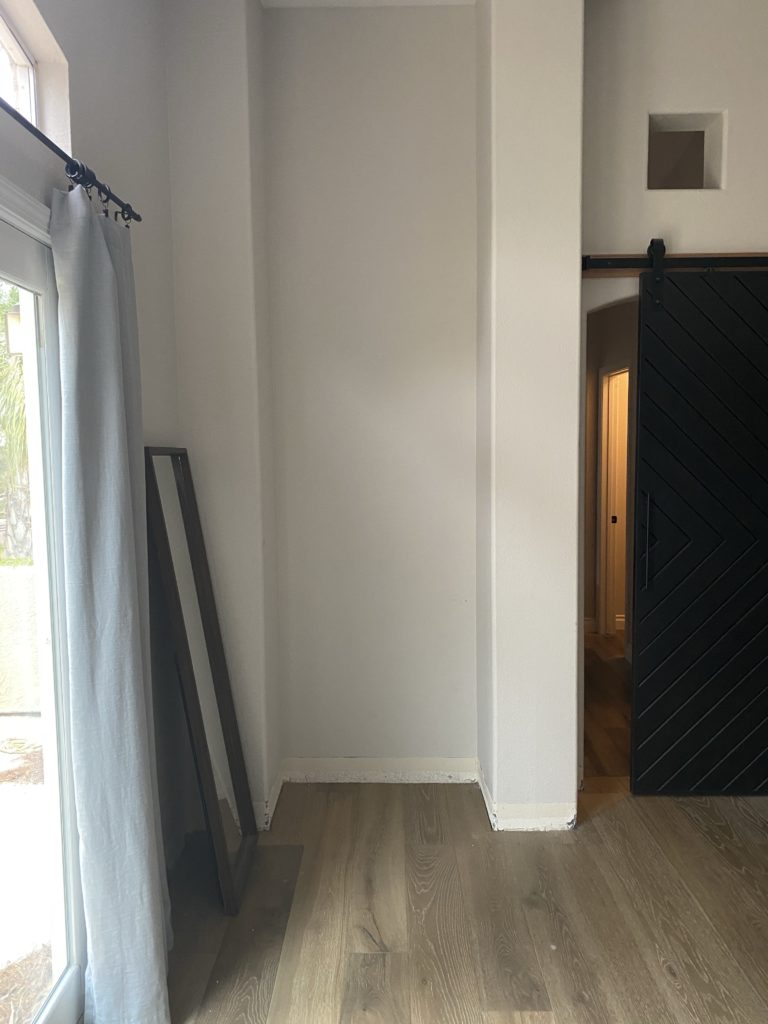
If you’ve been with me for longer than a few weeks, you know that I live in Las Vegas and have been battling with the awkward nooks and niches since moving in a few years ago. In most spaces I’ve removed them, but in my bedroom I have one nook left…and I came up with the perfect idea to work with it! I am about to show you progress on my master bedroom BUILT-IN desk nook with Lowe’s. The main element in this space is going to be some accent trim with a DIY wall, and of course a desk. Ready to see what I’ve been up to?
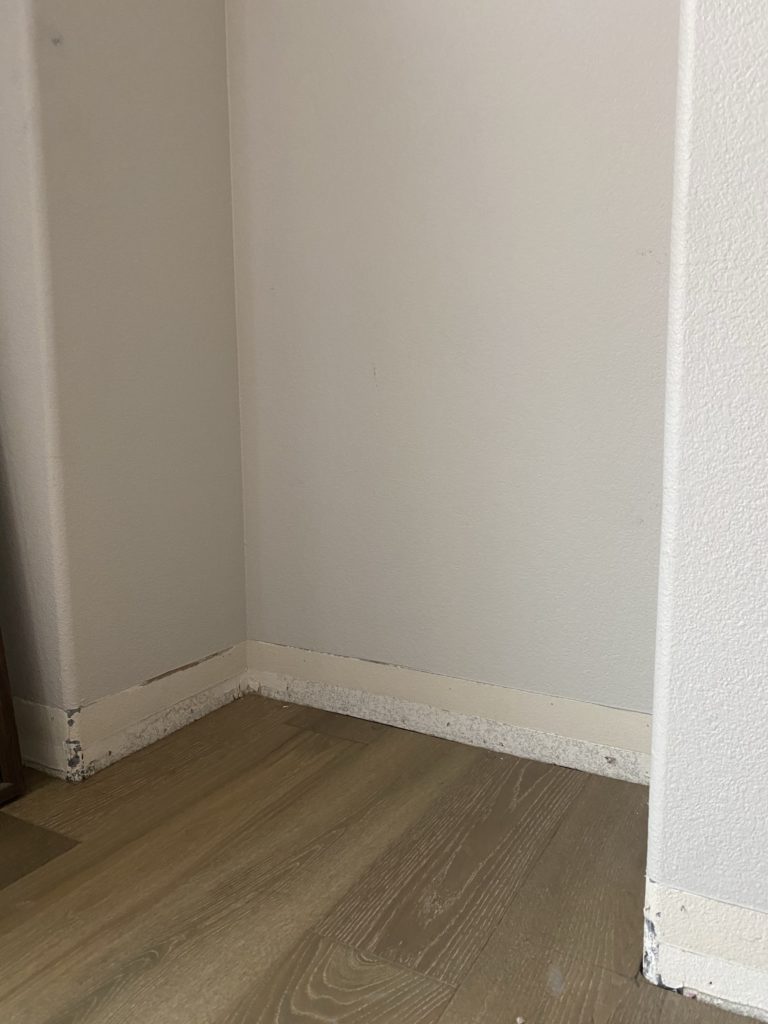
BEFORE
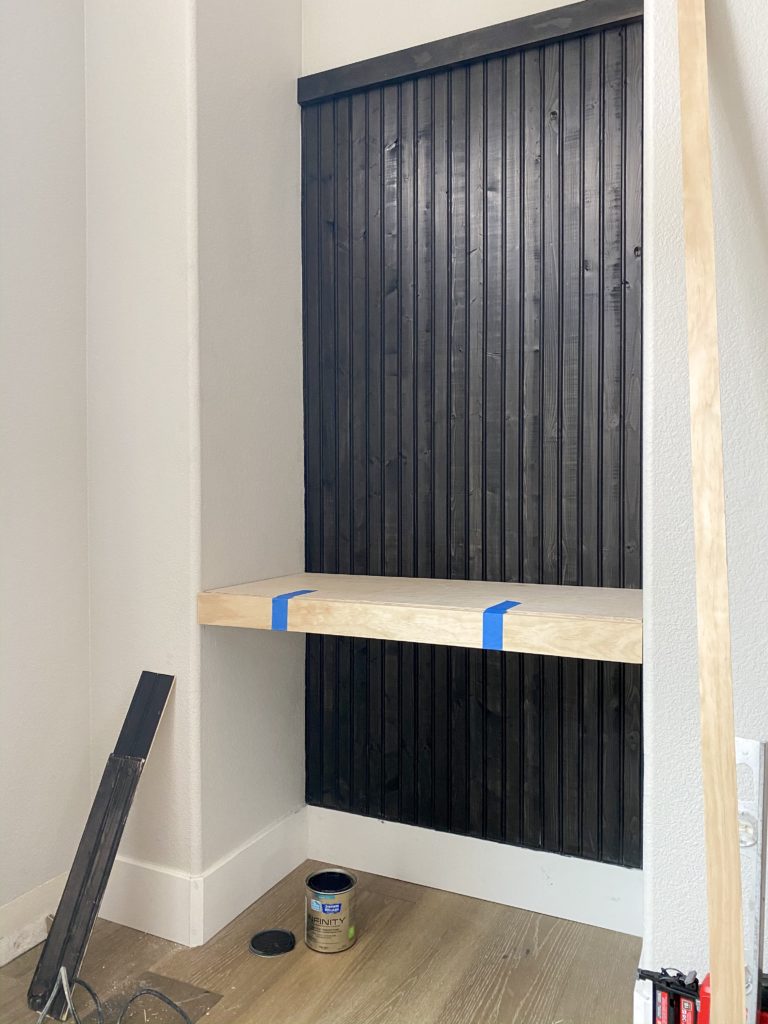
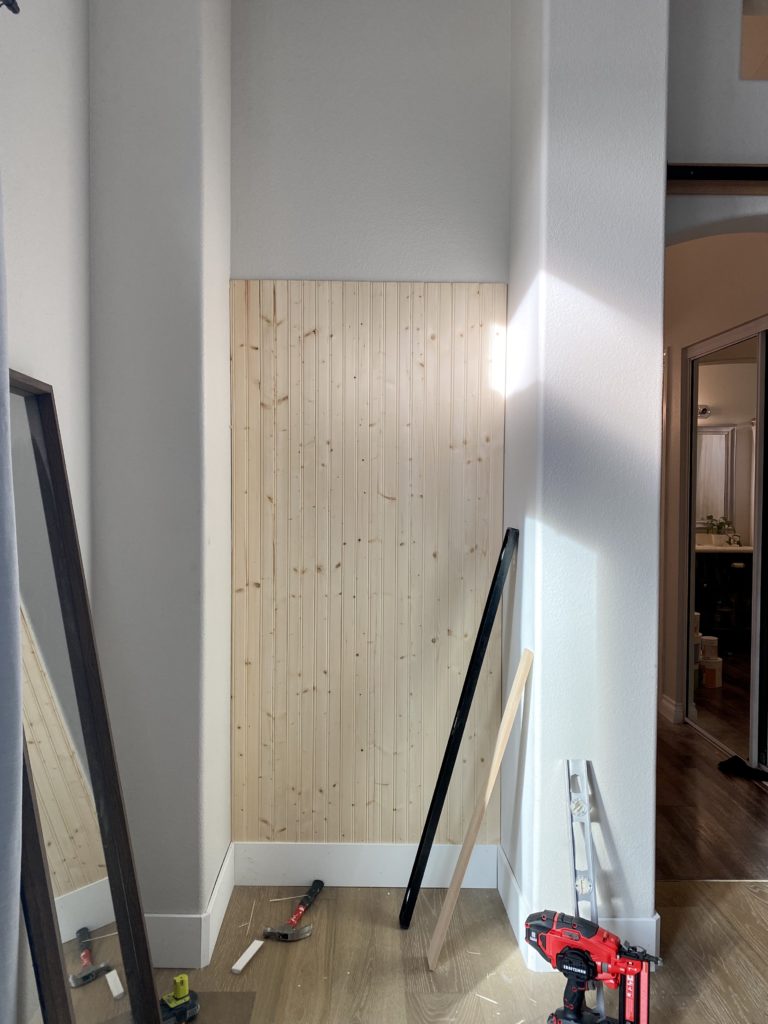
PROGRESS SHOT

TREND ALERT. My main inspiration for this space came from the new trend I am loving (but it’s a look that’s been around for ages): contrast trim. So instead of having white trim, you have the trim be the color and the star of the show and you leave the walls white or a light neutral! I am seeing this pop up everywhere in a really fresh, updated way. It can give an old world feel with coziness and warmth, and I love that it adds in color and visual interest. (I think people may be getting tired of just the all white walls and trim and cabinets…or maybe that’s just me.)
Here are a few ways you can implement contrast trim in your homes:
- Paint your walls white, and then do a contrast color on the baseboards.
- You can also paint the window frames and doors and door frames the contrast color as well.
- Do an accent wall, and paint the baseboards below it a matching color or coordinating color with your accent (this is what I did).
- Do new baseboards and a wall treatment like board and batten around the whole room on the lower 1/3 or 2/3, and then paint the TOP of the wall white, and all the trimwork your contrast color.
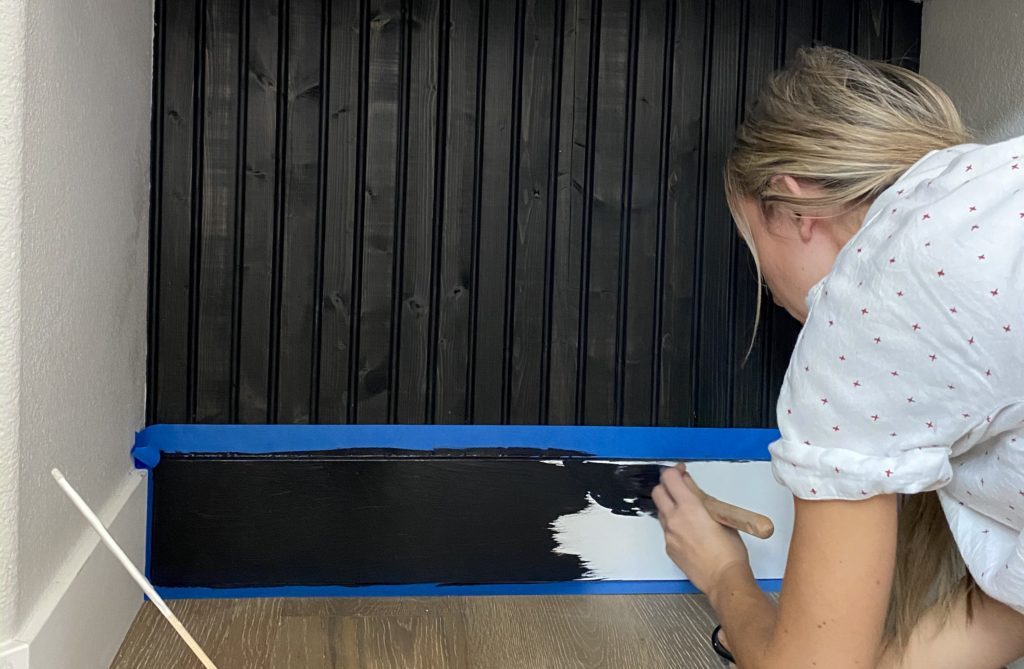
TREND ALERT. I also have been loving the new charred wood look happening now. In this look, the wood looks like it has been burned (or it actually goes through a process where it is), and then you see a flat black look but with the grain showing through. I love the texture and character of this look.
Okay, so here is what I used for my built-in desk nook area:
- Baseboard: I picked this flat Craftsman-style baseboard
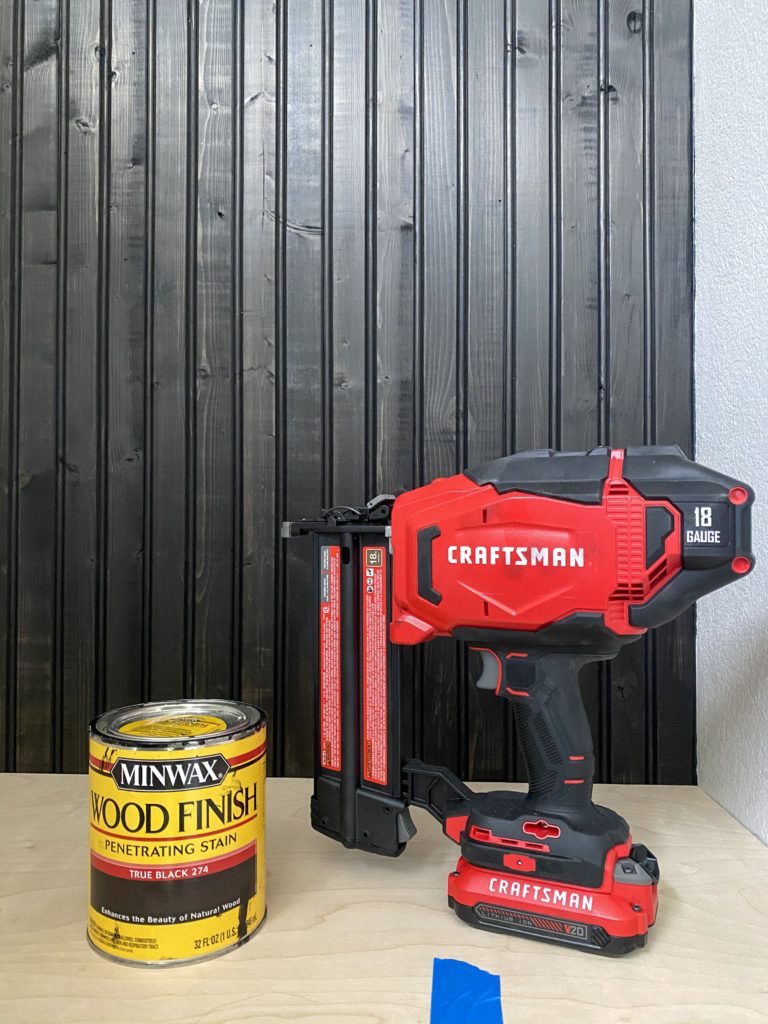
- Beadboard
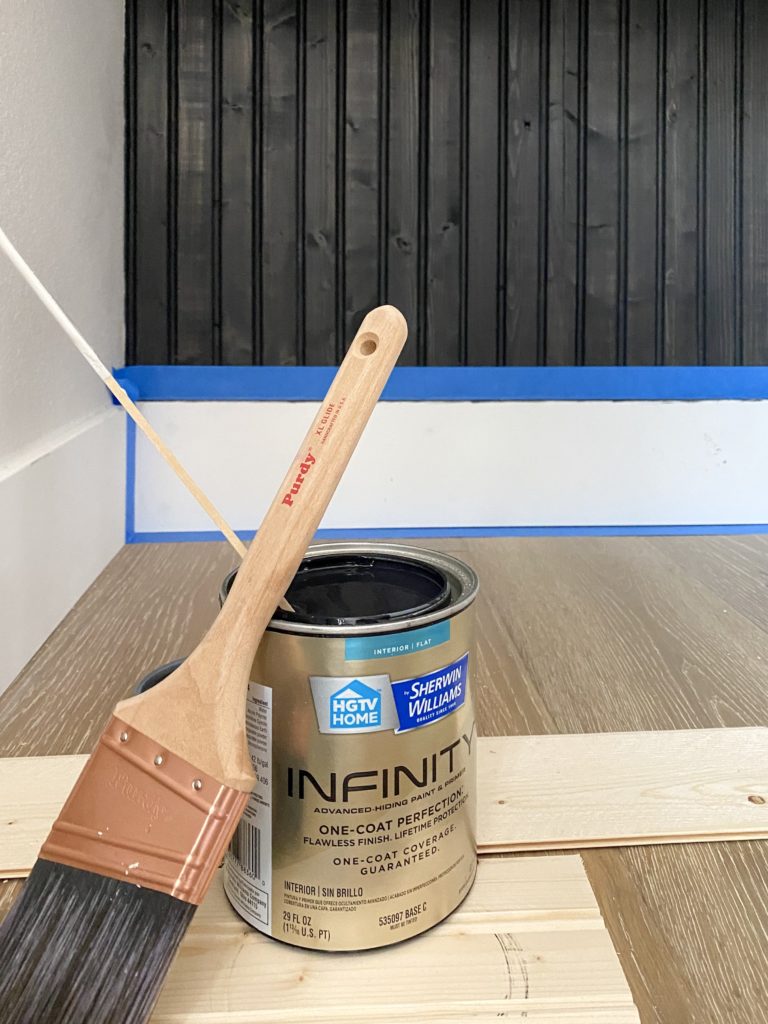
- HGTV Home by Sherwin Williams paint (in Black Magic)
- Purdy brushes (soft for stain, medium for painting baseboard)
- Minwax Black Stain
- 2×4 plywood (to cut down for desk)
- 1×3 select pine board (for front of desk)
- 1x2s for the desk support
- Stud Finder
- Miter Saw
- Nail Gun
- Drill
- Caulk
- Painters Tape
- Level
TIPS for picking contrast trim paint color
Soft and subtle. If you’re looking for a more soft and subtle look, then pick a contrast color that is a shade or two darker than your walls. I like the look when the walls are white or a light neutral, and then the contrast trim is a medium tone of a gray, greige, or beige.
Moody and bold. If you’re looking for more drama, then pick a moody and dark or saturated paint color. This is the look that I love! The more the contrast between the walls and the trim, the more drama it’ll create. My favorite way to do this is with an accent wall.
TIPS for painting trim:
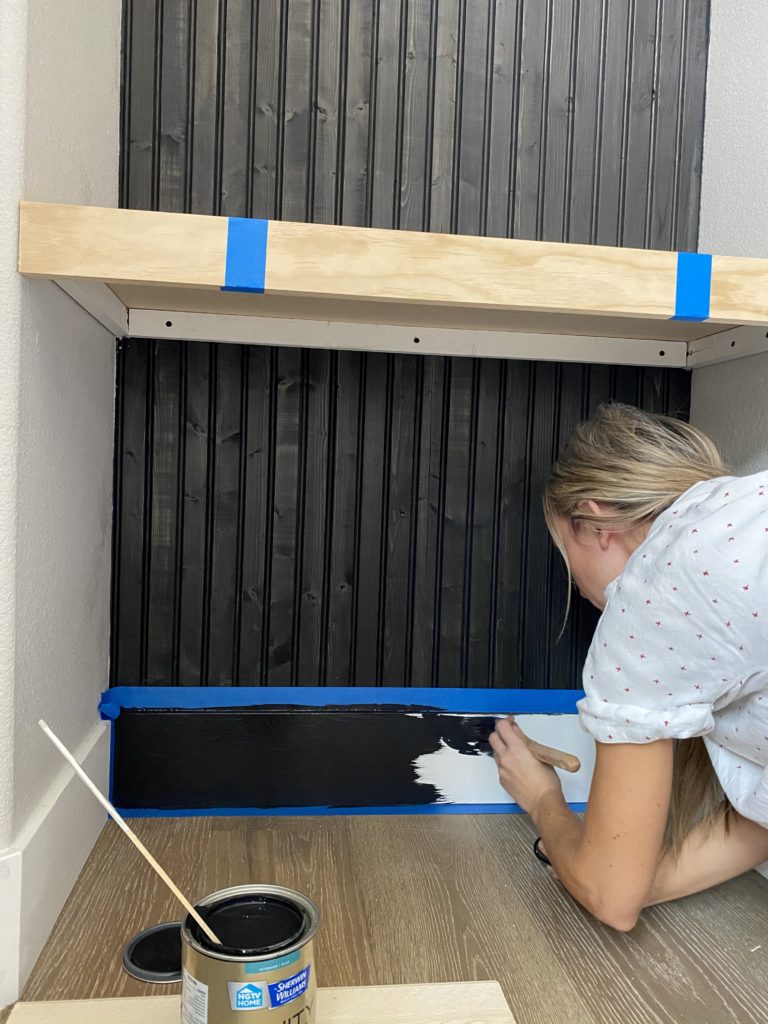
Before you paint trim, make sure you prep them! Caulk the top using a paintable caulk, and fill nail holes with wood filler. Before you paint, sand the wood filler and wipe your baseboards clean. I like to use a medium stiff Purdy brush for my baseboards, or a 1/4 nap roller for the smoothest finish. I used HGTV Home By Sherwin Williams (in Black Magic) for my trim. When you brush the paint on, be sure not to go back and overbrush. The key is brushing, and then letting the paint go and level out. If you have touchups, come back later with another coat.
Beadboard Accent Wall Tutorial
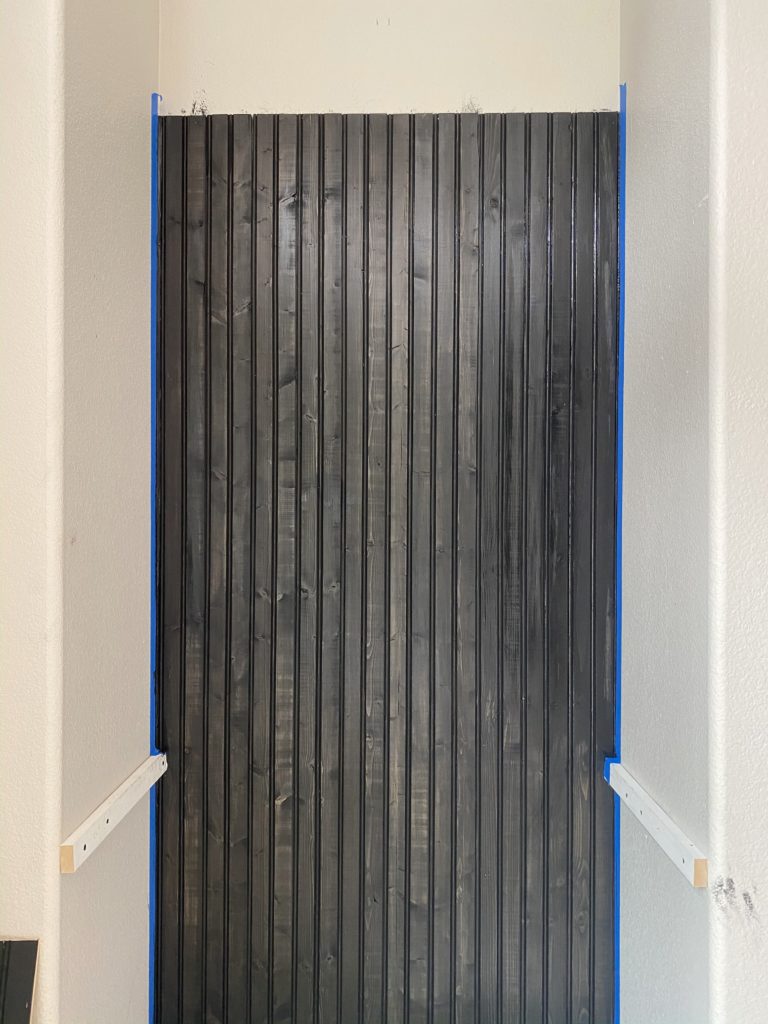
After installing my baseboards, it was time for my accent wall. I decided to go with this pine beadboard because I wanted my wall to have more of a textural feel with wood grain. This beadboard is really thin, which makes it easy because it can be installed directly on top of the baseboard.
STEP 1: Measure and plan.
Measure how high you want your beadboard to go. After cutting the first piece, make sure you have a level to install your first piece straight up and down. TIP: remember your floor and walls are often not level, so don’t be surprised if they seem wonky.
STEP 2: Install beadboard.
I used my 1 1/2 18 gauge nails and nailed in the beadboard. When possible, I nailed in the grooves so that the nails wouldn’t be as noticeable. Each piece has a little tongue and groove, so it’s easiest to start with the tongue touching the wall, so that your next piece connects easier.
STEP 3: Finish off your wall
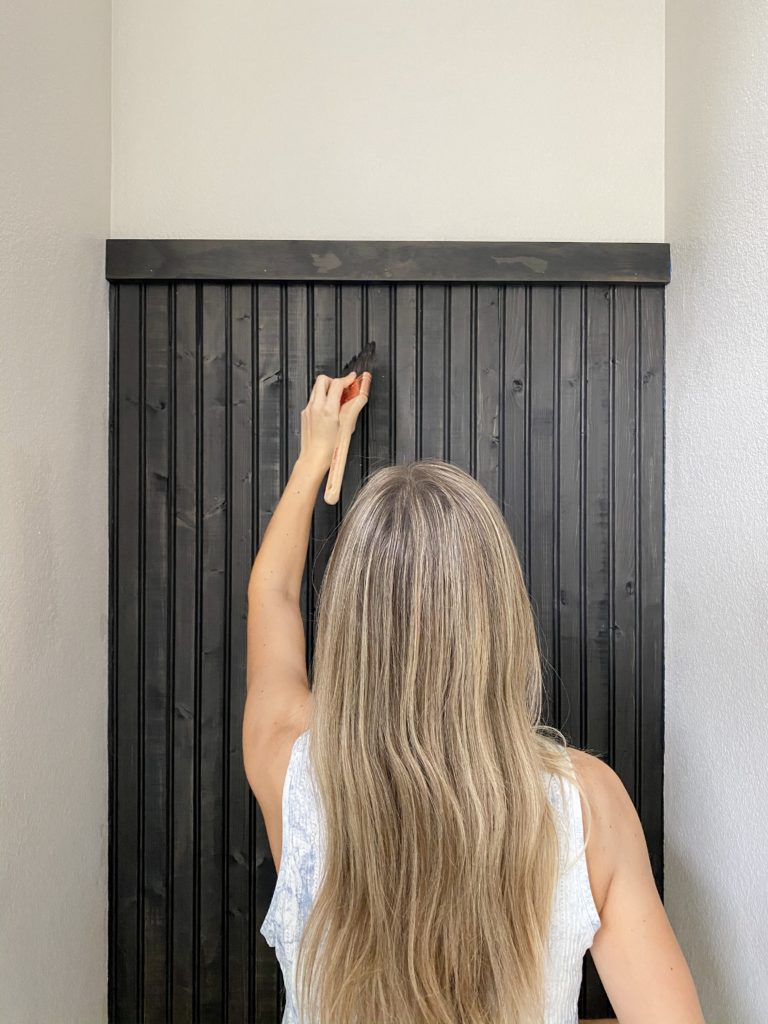
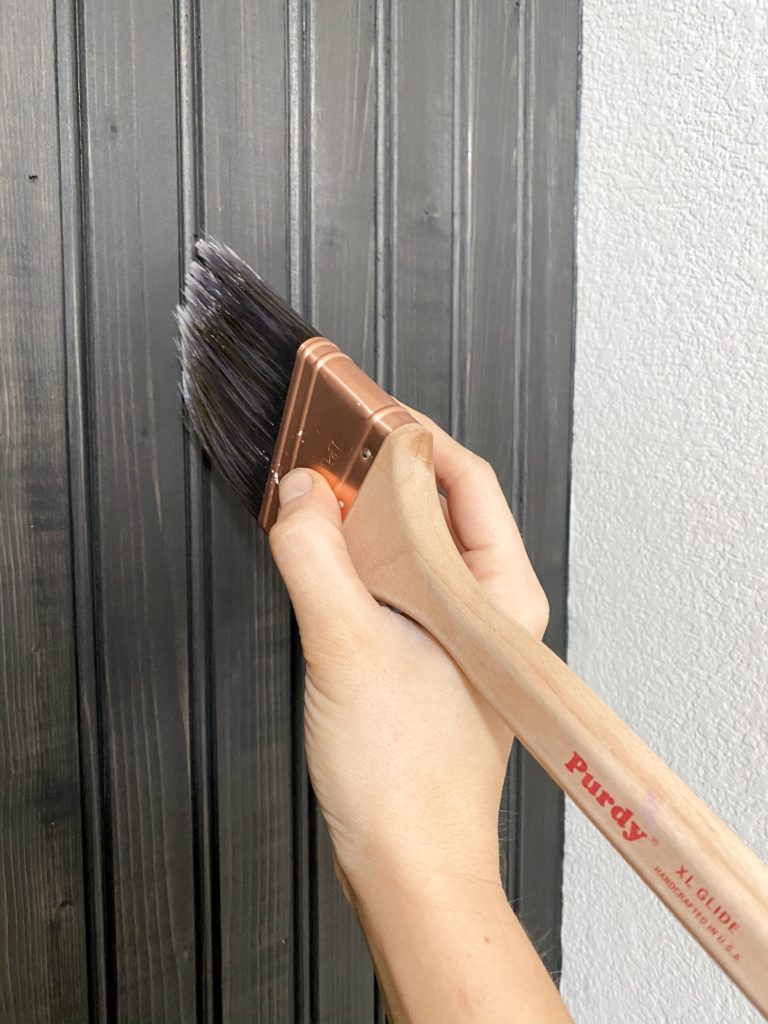
Make sure you caulk the sides, and top and bottom for a finished and polished look. These little steps make a huge difference! For my project, I decided to use Minwax stain in Black so that the wood grain would show through. I used a soft Purdy brush and brushed on my stain and let it sit for a few minutes. I then used a rag to wipe off excess stain to get the desired about of wood grain showing through.
TIP: At the very end, I always go through with a small paint brush to touch up any small area where the paint seeped through or I messed up. It makes a huge difference!
Stay tuned for the desk details, and I will be working on styling out the space in the next week! Follow me on @angelarosehome to see the whole process.
Let’s see that before and (progress) after again!