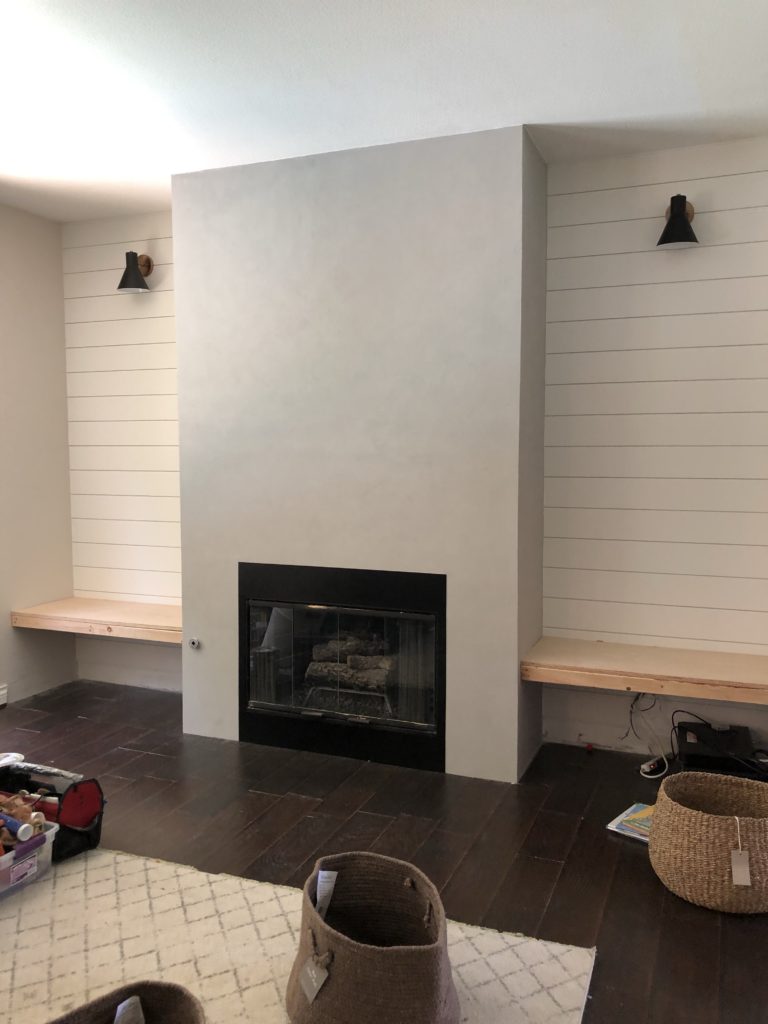
It’s the final week of the One Room Challenge! We’ve got to finish building benches, installing lights, getting pillows and baskets, installing fireplace face….whew.
Ready for a crazy week?

STOP PINNING. START DOING.
It’s the final week of the One Room Challenge! We’ve got to finish building benches, installing lights, getting pillows and baskets, installing fireplace face….whew.
Ready for a crazy week?
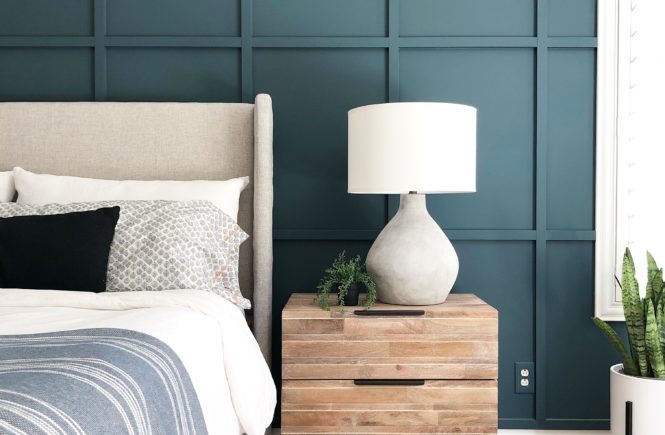
I have totally jumped on this cement bandwagon…and I can’t get enough. There are so many different ways to add this material to your home. Here are my 5 ways that you can add the cement look.
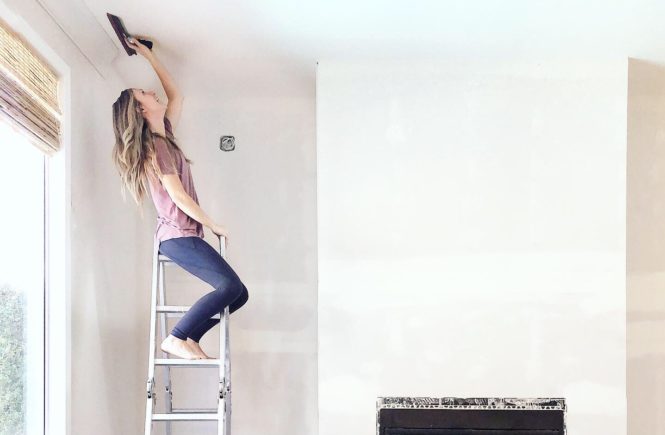
Okay, it’s crunch time and there are only 2 weeks left in the One Room Challenge. This fireplace has come a long way, but I have a lot to get done! I need to order all my finishes this week for them to arrive in time. Here are the items left to order:
We are reaching the halfway point in the One Room Challenge and I am making the final decisions on the fireplace. So here is a (scary) view into my head to see the decisions I am weighing out.
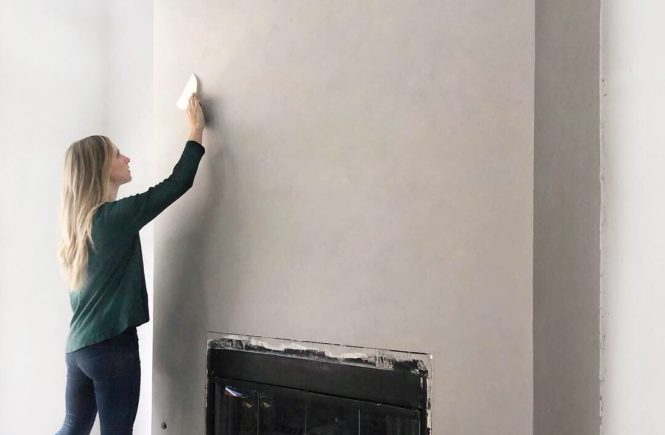
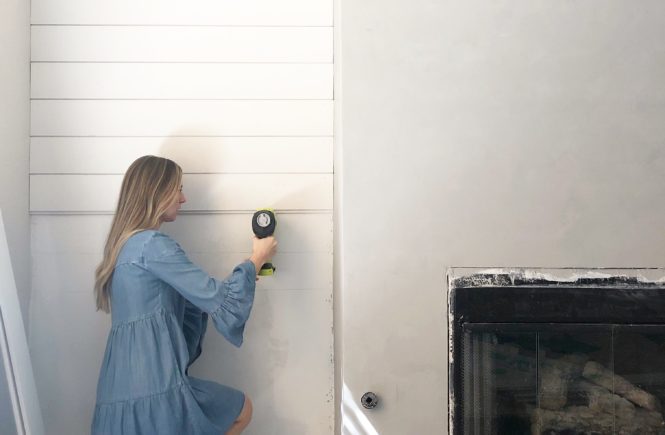
I finally figured it out guys. This is life changing. I figured out a way to DIY a cement look fireplace for less than $100…and it isn’t a faux finish. All contractors quoted me $2,000 to $3,000 for their finishes, and so I am thrilled with the way this turned out. Okay, now let me help YOU achieve this finish also. And follow along with me @angelarosehome (Don’t you just love the One Room Challenge?)
Today is Wayfair Way Day….which basically means better than Black Friday Deals. Since half my house is from Wayfair. I figured I would link all of my favorite Wayfair finds. Snatch them while they are still in stock!
I know how hard it is to find the perfect hardware for your doors that is both affordable and cute! I have searched hours and hours, and here are the pulls I LOVE and have used in my projects. Check out more projects and video tutorials on my instagram account @angelarosehome
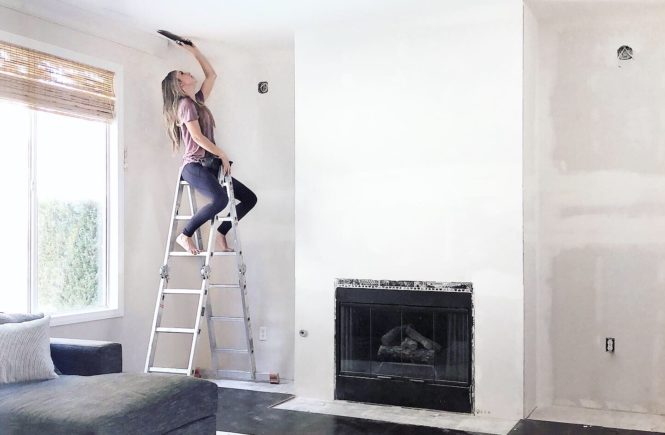
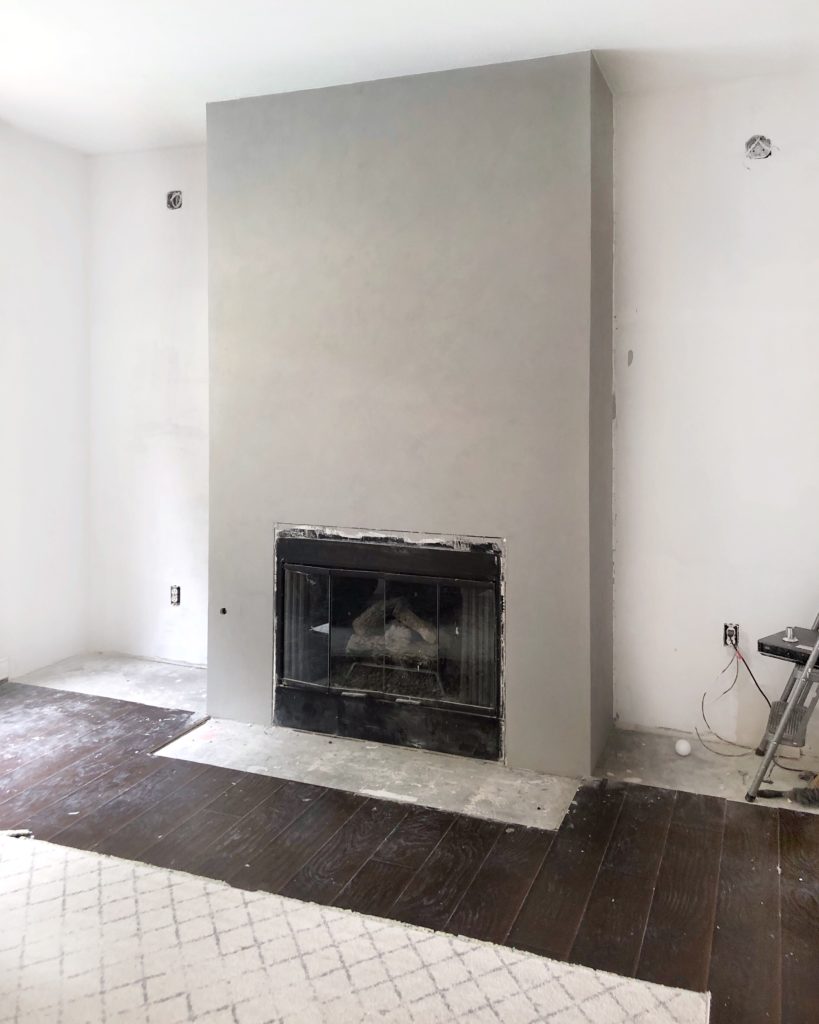
I’m doing it guys! My last One Room Challenge Green Room was so much fun, so I had to enter again. This One Room Challenge victim?…the nichy 90s fireplace/family room! I live in a Las Vegas 90s home which means one thing, lots of niches and odd cut outs, fake mantels, and texture…and I am someone who craves the simplest and cleanest lines. So, of course, there was no working around this, and it all just had to go. (follow the whole video transformation @angelarosehome in Story Highlights Under “Fireplace Reno”…and see who was living in my attic?)

Here is what the space looked like when I started. Sooooo many niches right? And can you even call that a mantel?
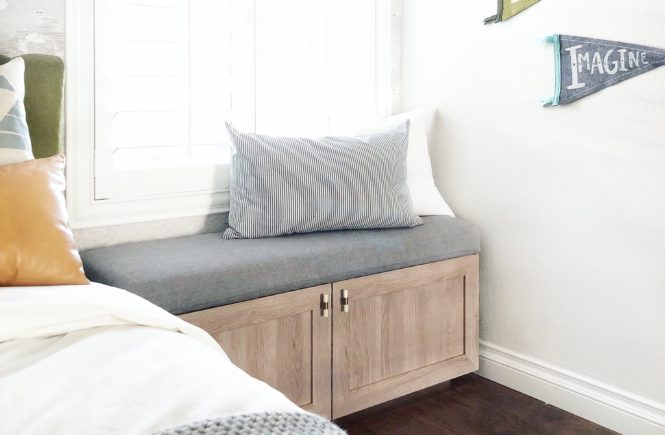
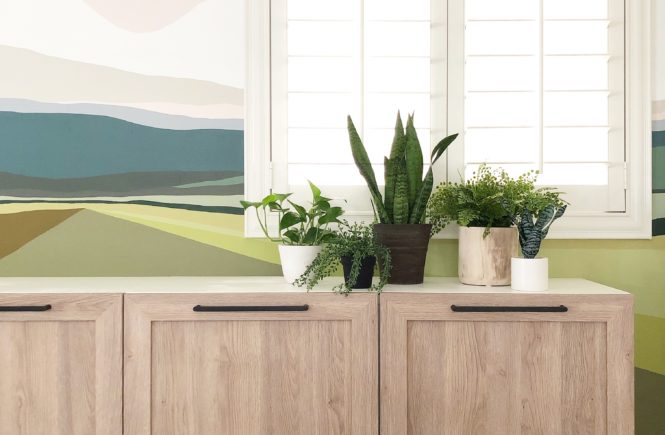
This was a match made in heaven guys. I was wanting a bench seat for this cute corner in the Tent Room…when I came across this IKEA BESTA unit that fit the space perfectly. I knew I wanted a custom look, so with some custom door fronts from Semihandmade…and DIY cushion top…this DIY Ikea Bench Hack may just be my favorite little corner of the house.
Now, let me give you all the details so you can build one too! I’m going to outline for you exactly how to buy IKEA cabinets, add custom doors, and get your own unique look! (follow me @angelarosehome for more DIY and video tutorials)
Happy St. Patrick’s Day. It’s no surprise that I am OBSESSED with all things green…so I thought I would round up my green favorites today. Favorite and best ever green paint colors, favorite green furniture, and favorite green decor…OH MY. Join the craze and greenify your home today!