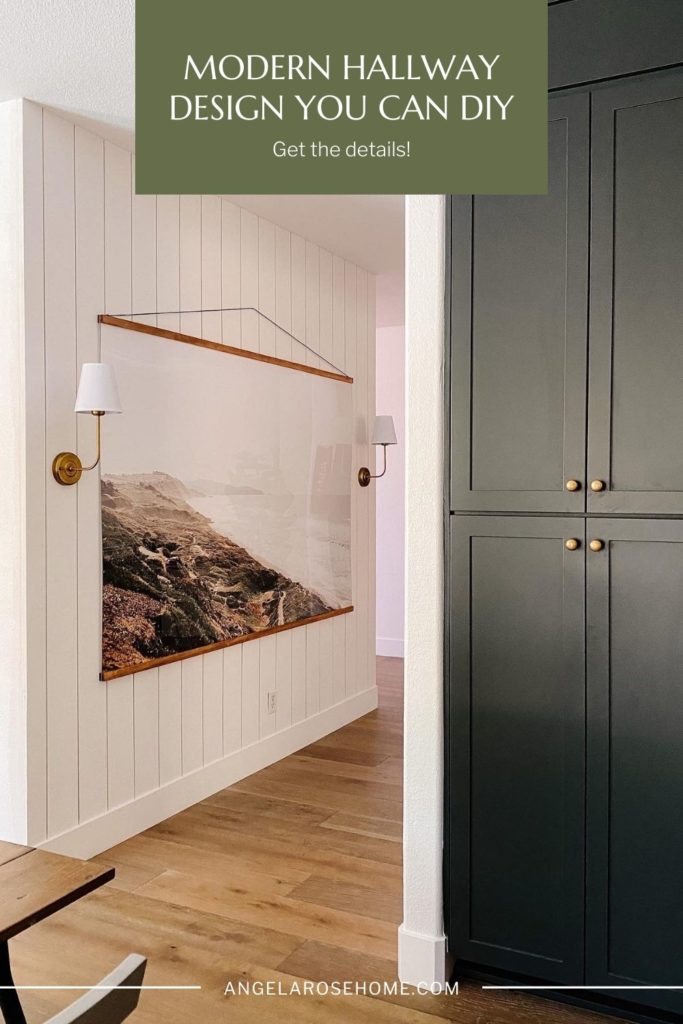
Modern Hallway Design You Can DIY
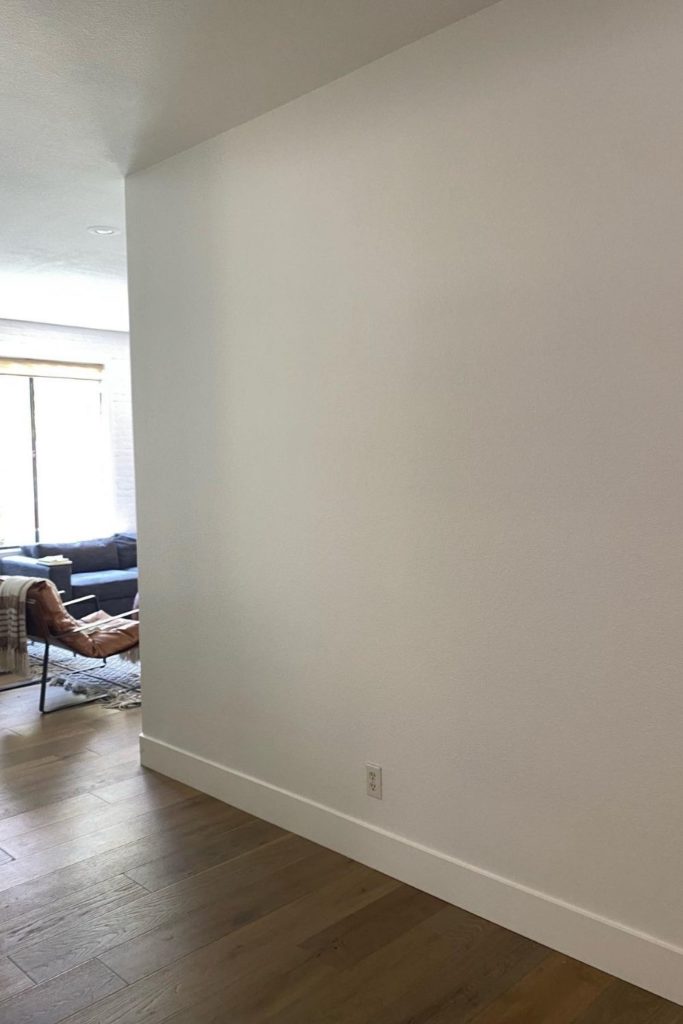
Over the last few years, I’ve spent countless hours renovating the spaces in my home. From an entire kitchen renovation to turning the closet under the stairs into a playroom for my kids (see those transformations here and here). After all of these projects, something was still missing. This small hallway downstairs was feeling bare and neglected. So, I decided to change that. Let me help you catch the vision for the modern hallway design I wanted to create. Keep reading to see how easy it is to take a hallway from boring to fresh and modern!
The plan was to first add vertical shiplap to make the space more interesting and then hang a large piece of art that I would frame myself. Finally, the hallway needed some lighting. Here’s how it all went down.
Supplies I used:
- 6” MDF shiplap
- Large print
- ⅛” Clear plexiglass
- ½” x 1 ¼” trim pine board
- Two Sconces
- Two puck lights
- Leather string
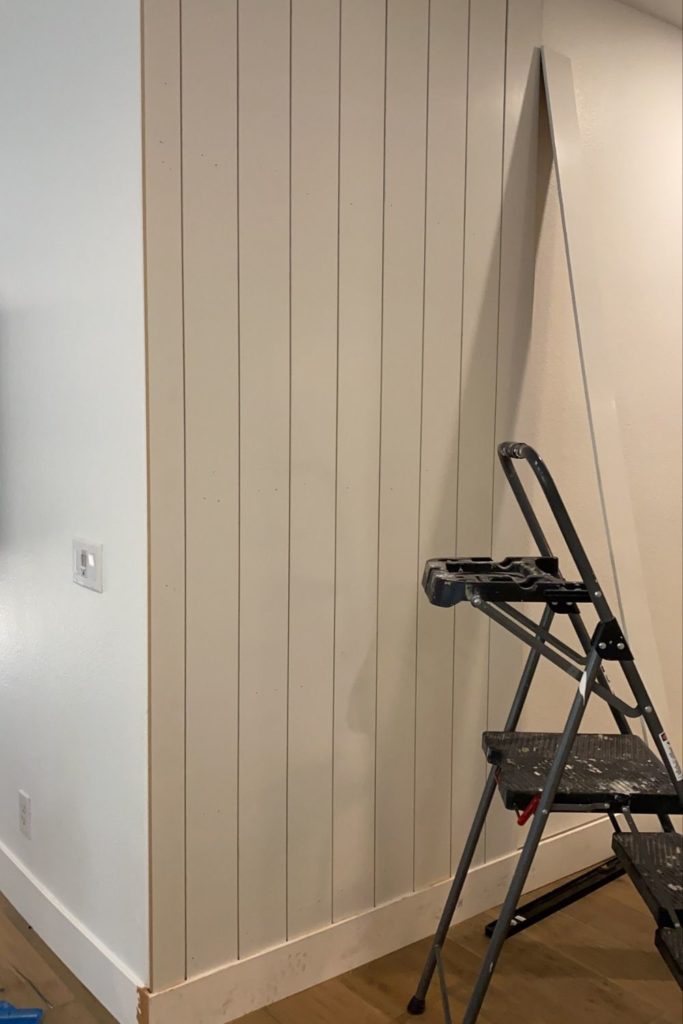
Vertical Shiplap For The Modern Hallway
To get this project started, I took a trip to Home Depot to pick up 6” MDF shiplap. I should start counting how many times I run to the hardware store during a project, because it’s a lot. Anyways, once I got the shiplap boards home I could start putting them up. I grabbed my nail gun and level for this part. The nice thing about shiplap is that it has a lip on the side that makes it so you can nail it to the wall without having to worry about going back to cover up any nail holes. The lip also makes it so the spacing between each board is the same.
If you’re not nailing straight into the studs in the wall, here’s a trick. Shoot in two nails at alternating angles so when the nails go into the wall they make an “X”. This will create a tight hold. If you need to cut out a piece for an outlet, measure and mark the size of the hole you need. Then use a drill to make a hole in each corner and use a jigsaw to connect the dots.
Now, the walls in my house have bullnose corners. So I had to square them off to make the edges look seamless. To do that I squared off the baseboards, brought the shiplap all the way to the edge, and used three coats of drywall mud to fill in the cracks. After that, I added some texture spray and paint to finish it off. All together this wall only took a few hours for me to complete. Plus, the shiplap was already the color I wanted, so that was a bonus.
Framing The Large Wall Art
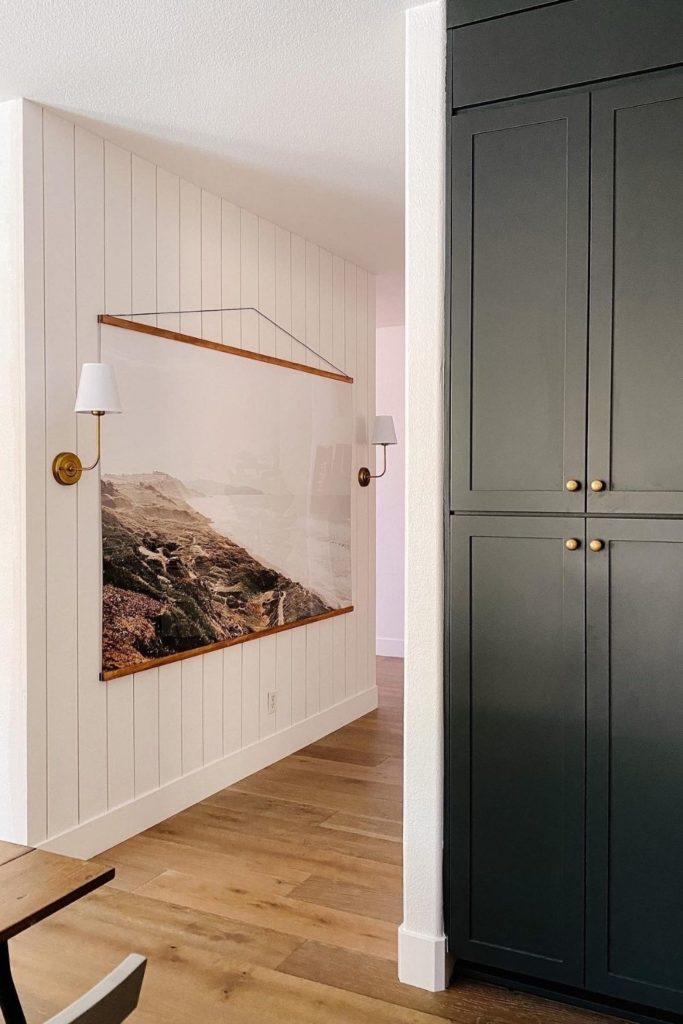
For the art on the wall I really wanted to hang this gorgeous print I got from @juniperprintshop. The print was 55” x 79” which made finding a frame impossible and custom framing very expensive. So, I came up with another solution. I would put wood trim at the top and bottom of the print and use leather string at the top to give it the look of one of those magnetic picture holders.
Here’s how I did it. First, I grabbed some ½” x 1 ¼” trim pine board from Home Depot and stained it the color ‘special walnut’. Then I very carefully used a straight edge and an Exacto knife to trim the edges of my print.
I wanted to sandwich the print in between two pieces of clear plexiglass to protect it from little hands. But before I did that I used a countersink drill bit to make a few holes on the top and bottom edges. Each hole was a foot or so apart from the next. The nice thing about a countersink drill bit is it leaves a little extra space at the top so when you add the screw, it lays flush. Once the holes were drilled I then peeled off the film. It was really sticky so I used a pole to roll it off. With the film off, it was time to very carefully place the print between the two pieces of plexiglass. I had a few extra hands help me with this part but even then it was still frustrating trying to keep all the wrinkles out.
Hanging The Giant Art
Thanks to my helpers, we were able to get the print in and could now hang everything up. I started by nailing the top piece of the print’s trim to the wall. Then we slowly carried in the plexiglassed art and I drilled the screws into the holes I previously made. Repeating these steps, I attached the bottom part of the frame and trim. I also had two more pieces of trim to put on top. I couldn’t nail these into the plexiglass, so instead I just used some double-sided tape to stick each piece on. By attaching the art directly to the wall, I don’t have to worry about it getting knocked off the wall or having it be crooked when people walk by.
For the final touch on the picture frame, I grabbed some leather string. I put a nail above each side of the frame and one a little higher in the center. Then I attached the leather string to the nails to make the print look like it was hanging.
Adding Sconces And Puck Lights
Now, I need to tell you how I hung these cute sconces on either side of the frame. I didn’t have my wall wired for lights but let me share this hack I tried. First I took the screws off of the sconces and removed the mounting plate. Then I attached the mounting plates to the wall. I had to use self-tapping screws here. They act like a pre-drill and go into the wall a lot easier. Once the mounting plates were on, I attached the sconces and put the screws back in.
Now, what’s the big hack to make these light up without wiring? Puck lights! I used one in each sconce. You can attach them a lot of different ways like wire, super glue etc. Once the lights are attached, you can turn them on and off with the remote they come with.
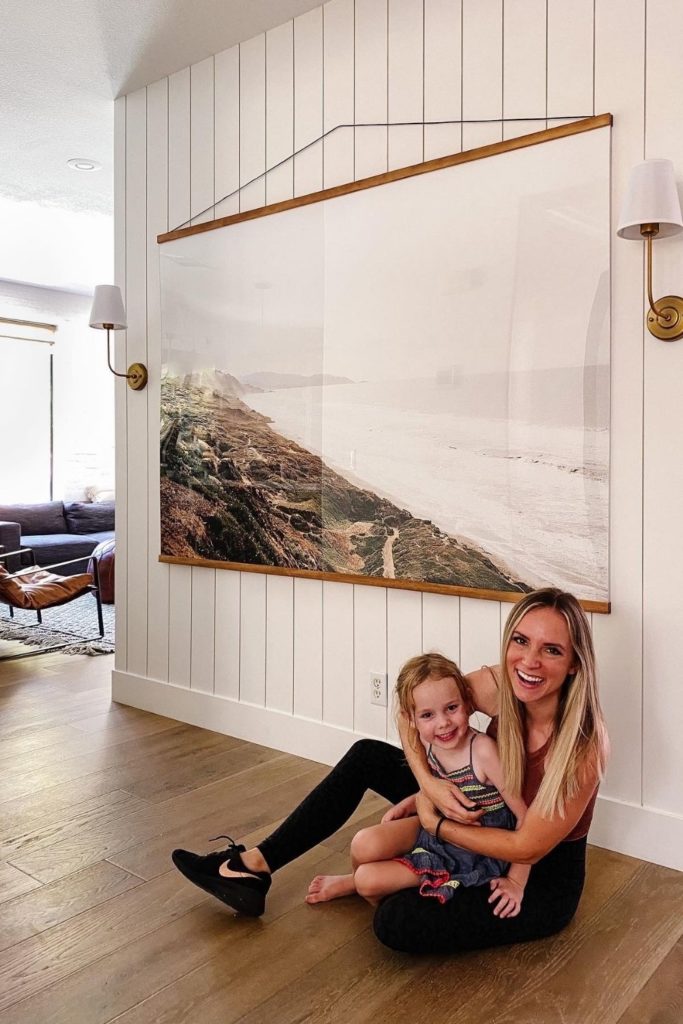
Modern Hallway Design Reveal
This modern hallway design really tied together all the spaces in the downstairs of my house just perfectly. Was it worth it to shiplap the entire wall only to cover it with a giant print that was frustrating to frame? I say YES! I didn’t even realize how sad this blank wall was making me until I finished this project. Now I love it. So if you’re wanting to do some DIY in your home…Stop pinning. Start doing. It’s so worth it. If any of my projects inspire you to pick up the power tools, make sure to share your projects with me over on Instagram.