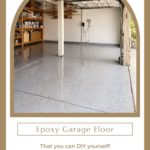
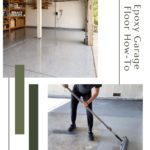
Epoxy Garage Floor DIY Tutorial
After years of DIY-ing projects in my garage (and lots of painting without drop cloths), the floors were really becoming an eyesore. I’ve wanted to epoxy my garage floors forever and finally decided to do it. After all, this is the space where I get creative so why not make it just a little more magical? Are you wanting to turn your garage into a nice work area too? Then let me take you through the process with this epoxy garage floor DIY tutorial so you can upgrade your space as well!
Supplies Needed:
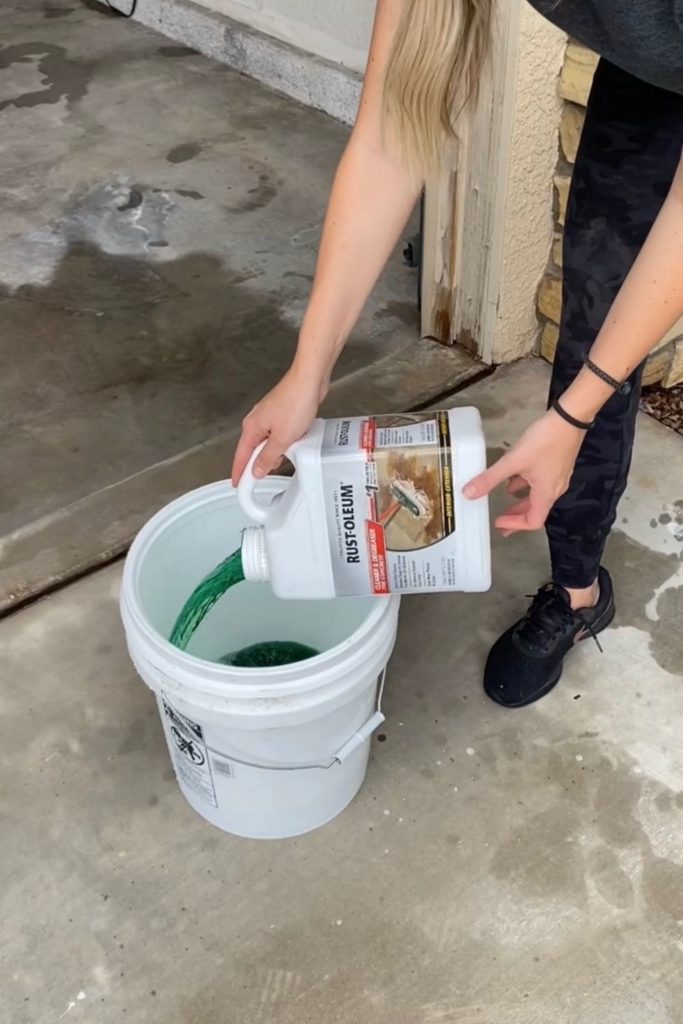
- Cleaner and degreaser
- Concrete repair kit
- Recoat primer
- EpoxyShield kit
- Clear high gloss
- Paint roller
- Stiff bristled broom
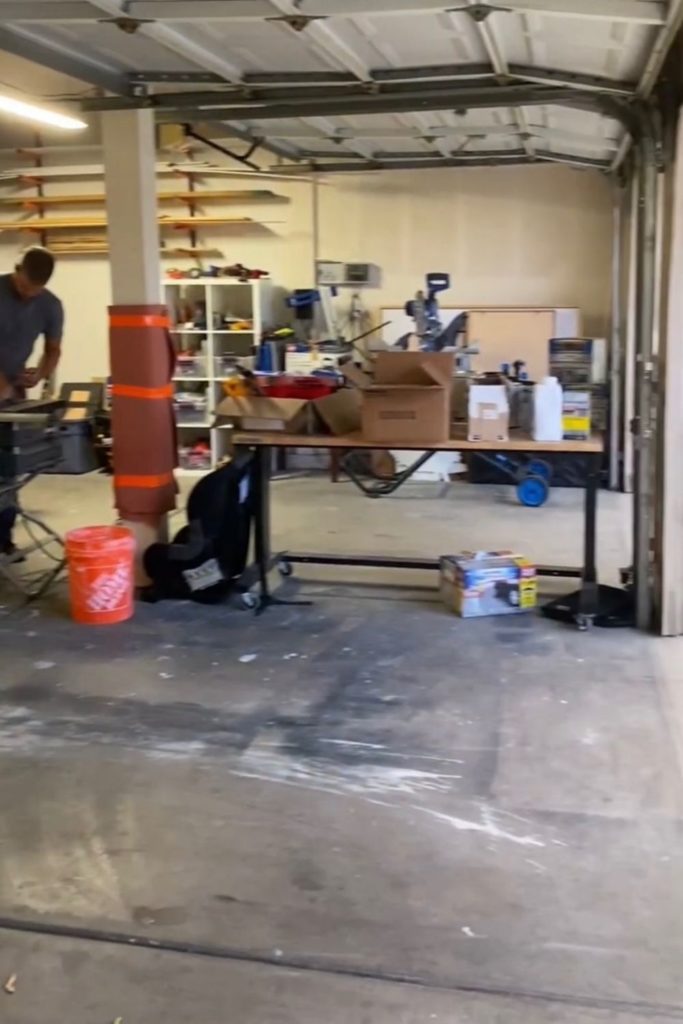
Step #1 Prep For Epoxy And Clear Out The Garage
The first and not so fun step was cleaning out the garage. I had to clear away all my tools and other miscellaneous things. Wouldn’t it be nice if cleaning went at timelapse speed? If only! Anyways, after the garage floor was clear it was time to grab a power washer and spray away all the dirt and paint. Honestly, this part was pretty satisfying. Once the power washing was done, It was time to tackle any tough stains or paint marks. To do this I poured some cleaner and degreaser into a large bucket and then wet the floor with the solution using a stiff bristle broom. I let it sit for twenty minutes before coming back through and scrubbing with the broom again. After fighting those tough stains, I used a hose to rinse the chemicals out and voila! The floor was clean.
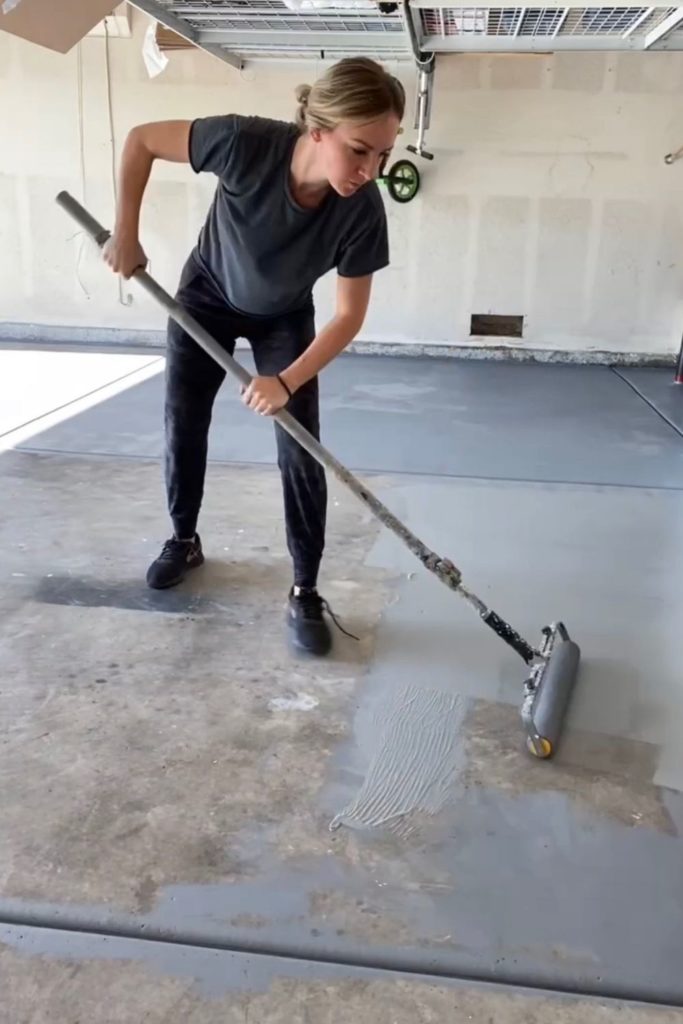
Step #2 Repair And Prime The Cement
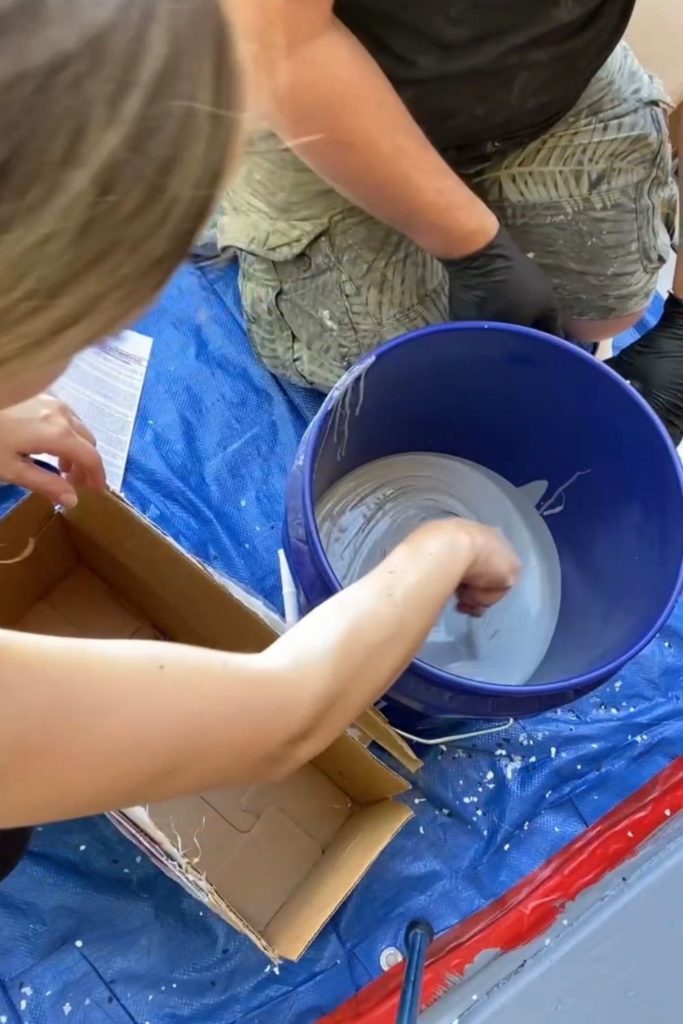
Once the garage floor dried, I could move on to the next step which was repairing any cracks or holes. I used Rust-oleum’s concrete patch and repair kit for this. The kit comes with everything you need which is nice. Just use the scrapper to evenly fill in and coat the cracks with the epoxy. After repairing the floors, I let everything dry again until the next morning. Then I started to prime. For this part, I used some recoat primer. This primer is really great because it makes it so you don’t have to grind your floors first. I love that! To apply the primer, I poured a little on the ground and spread it out with a paint roller. If you live somewhere hot like Las Vegas, dry time will be a lot less.
Step #3 Epoxy The Floors (the fun part)
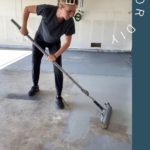
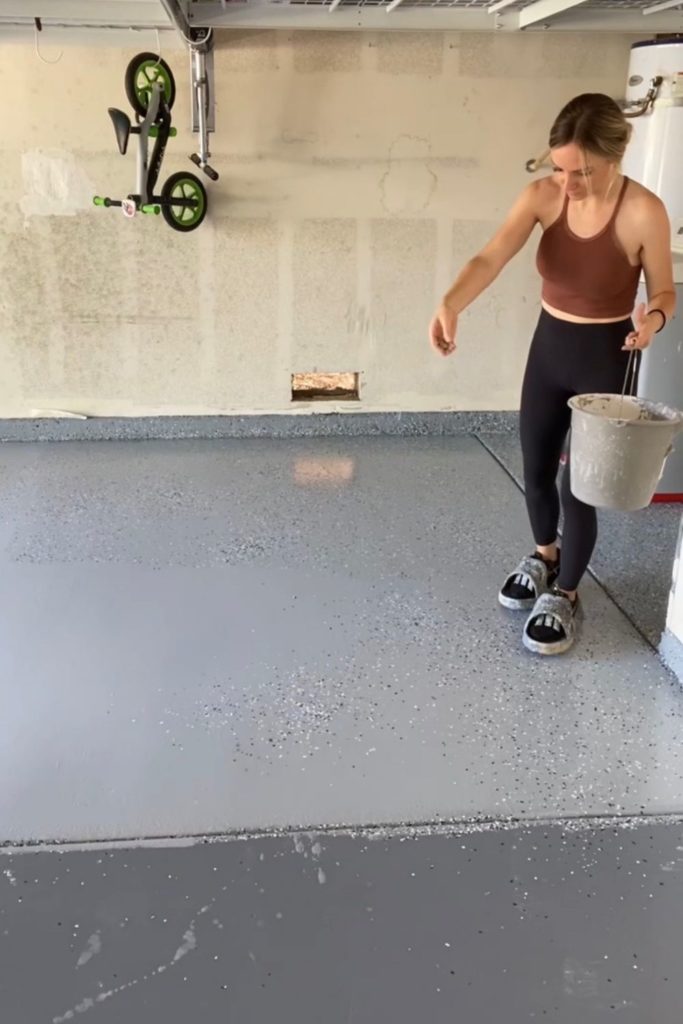
With the primer on and dry, I could now apply the epoxy (the really fun part)! I would definitely recommend some helping hands for this part. Especially if you live somewhere hot where the epoxy will dry faster. You’ll want to have one or two people pour the epoxy and spread it out evenly around the garage floor. You can use paint rollers for this. The kit will also have more detailed instructions. While that’s happening, someone else will need to sprinkle the colorful flakes. If you feel like you’re feeding chickens while sprinkling the flakes, you’re probably doing it right. This was my job! I wore some fun shoes with spikes on them to make extra sure I wasn’t leaving any footprints on the fresh epoxy. But, you totally don’t need fancy shoes.
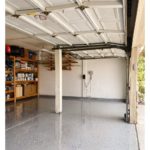
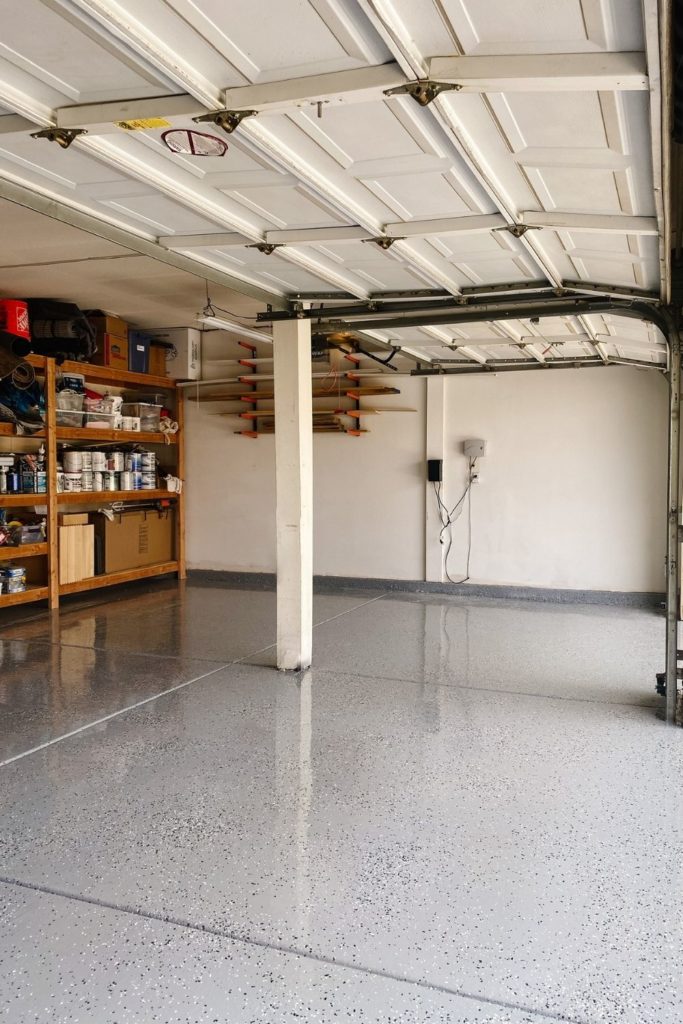
Once the epoxy dries, paint on that top clear coat and you’re done! Just give the floor about 24 hours before you start walking around on it and 72 hours before you park any cars in the garage. All the products I used for this project are from Rust-oleum and I’ve loved how the floor has held up.
Epoxy Garage Floor DIY Tutorial
Now, what do you think of this epoxy garage floor? Are you loving it? Because I sure am! Are you ready to turn your garage into a super cool workspace too? If so, I want to see! So make sure you tag me on Instagram if this post inspires your next project.

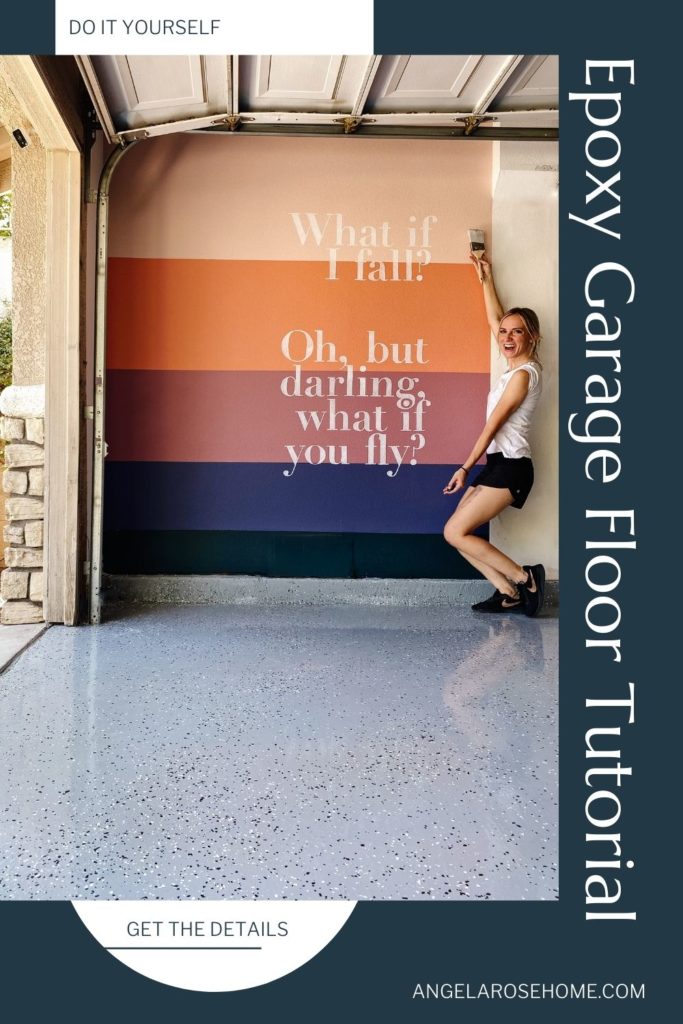
For more ideas on how to turn your garage into a happy space, see this blog post! I’ll show you how I painted a giant quote wall in my garage! We battle a lot of anxiety in this house, me included…and this quote really spoke to me for how I want to set the tone for my family this year. It’s not until we actually take that leap (and potentially fall) that we realize we can fly. So take a chance. Stop pinning. Start doing. You’ve got this!