DIY Wood Project Tips for Beginners
When it comes to DIY projects it’s so helpful to get to know your materials. And one of my most used materials is wood! Over the years I’ve learned so many tricks when working with wood that have saved me time, money, and stress. No matter how big or small your project is – staining a shelf or building a whole kitchen table – there’s a lot to learn. Let’s dive into my most important DIY wood project tips for beginners.

My Favorite Place to Buy Wood
I have bought wood from Lowes, Home Depot, and even a local lumber yard. But the place I keep going back to is my secret favorite section at Lowes. In the lumber section, there is a section with precut 2 ft. x 4 ft. plywood sheets. This precut section has been a game-changer for me! Before I knew about it I would buy the giant 4 ft. x 8 ft. sheets, but they’re impossible to carry out by myself so I always had to bring someone with me to help. This is why I love the precut section when I need to carry everything out on my own. If you’re having trouble finding it, ask an employee where to find the precut 2×4 plywood sheets and they should know!
Ordering online at Home Depot is also an awesome option. Especially if you’re working on a project with big pieces of wood that you can’t carry out on your own or fit in your car. You can order several different cuts of wood through the Home Depot website and they’ll ship them to you for free!

Picking Out Wood for Your DIY Project
One of the easiest ways to ensure your DIY project goes smoothly is by picking out straight pieces of wood. To do this, place the board you’re inspecting on a flat surface (laying it on the floor of Lowes or Home Depot works for me). Check along the edges of the board. If you notice any part of the wood is raised off of the ground, then it’s warped. You want your boards to be laying completely flush against the floor. Another easy way to check if your wood is flat is to hold the board you’re inspecting down and at an angle so it’s resting one side on the floor and one in your hands. Get up close and look straight down the board to see if there are any warps or curves. Again, you want your boards to be completely straight.
It’s also important to be aware of the color of wood you are purchasing for your project. Different undertones will stain differently. If you’re using multiple pieces of wood you’ll want to make sure they all have similar undertones and colors so they will all match when you stain them.
If you want to learn more about what type of wood you should use for your project check out my blog post here.
Tips to Protect Your Wood From Damage
To keep wood from bowing or cupping while you’re working on your project you’ll want to store it somewhere cool and dry. Wood can also get warped and torn up during the cutting process and you want to avoid that. Check out my beginner DIY tips for protecting your wood projects from damage:
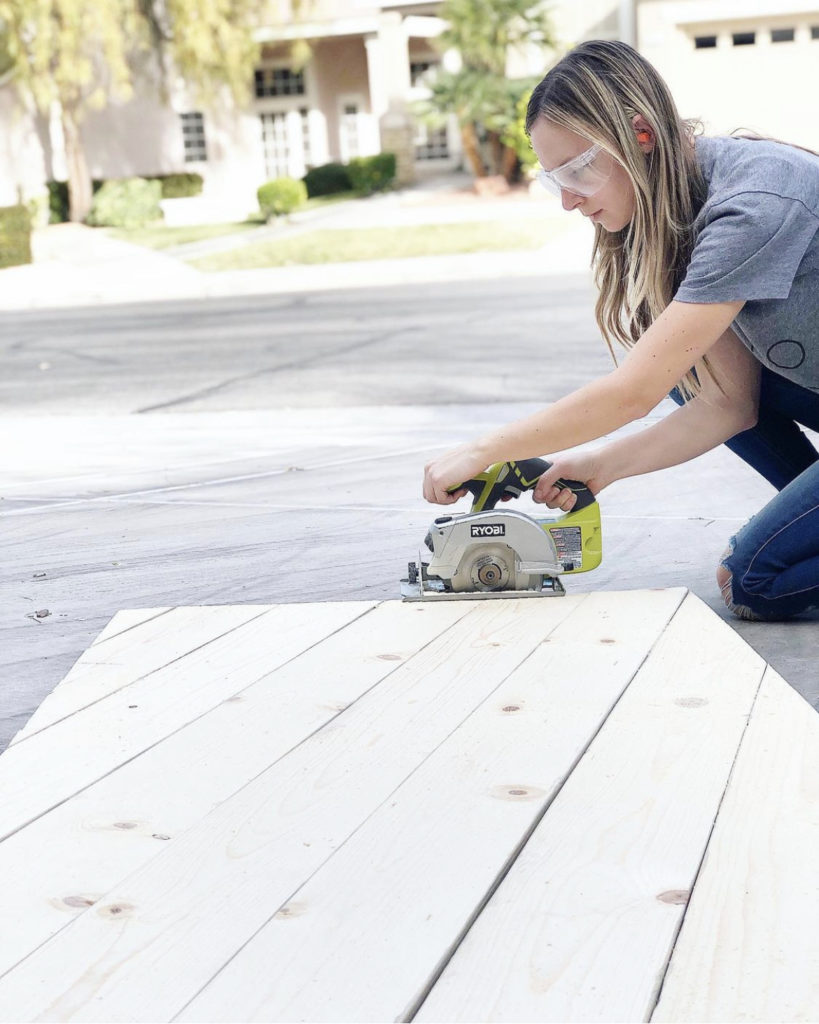
- Always make cuts with the nice side of the wood facing down. This will keep the edges of your wood clean and free from splinters sticking out. There have been a few times where I accidentally had the nice side of the plywood facing up and the blade always ends up trashing the edge of the plywood.
- It’s also helpful to start your saw and let it fully begin spinning before you make a cut. Wait until the blade of your saw is at full speed and then push forward pressing it against the wood.
- Use a straight board as your guide when trying to make long straight cuts. To do this, place the straight reference board on top of the board you are cutting. Measure it so it’s laying straight and clamp it an inch away from where you are going to cut. This makes it so I can press the saw right up next to the reference board and use it as a guide. This makes my cuts nice and straight. For a demonstration on how I do this check out my Instagram highlight here.

Preparing Wood for Stain
I know at this point in a project we all just want to jump right into the staining, but DON’T! Because preparation is the most important part of staining. It’s true what they say, “fail to plan, plan to fail”. To achieve the best staining end result you first need to sand your boards and prep them with wood conditioner. This is one of my most import DIY wood project tips for beginners.
When you sand wood you always want to start with the lowest number of grit and then work up to the higher numbers. A low number such as 80 will remove most unwanted texture and roughness and then I usually suggest using a medium grit number like 120. I always finish off sanding by using a 220 before I move on to wood conditioning. If you’re looking for a good sandpaper brand I recommend Gator and you can get it here.
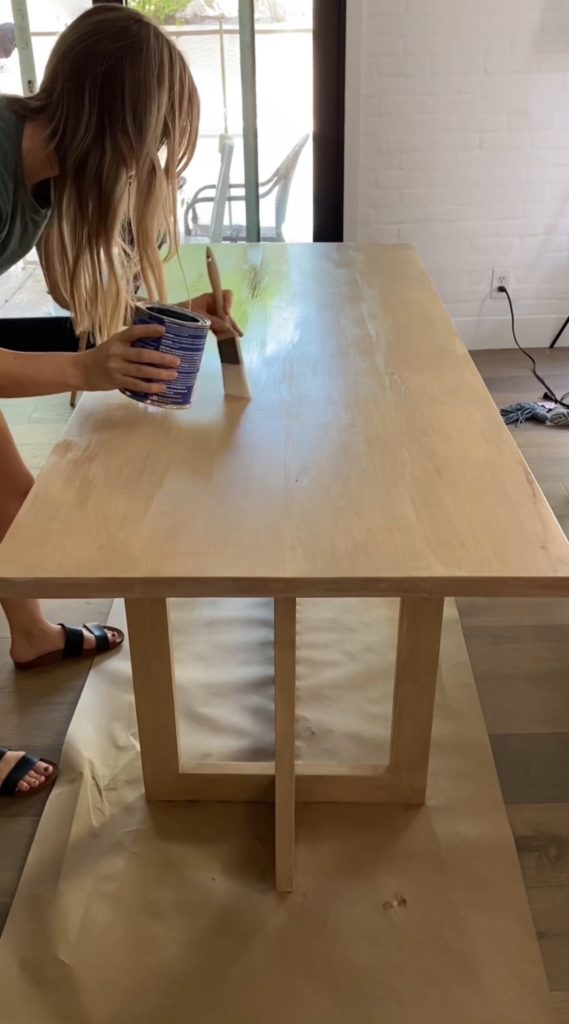
For wood conditioners, I always suggest using a water-based solution. Minwax pre-stain is my go-to. Conditioning your wood will help your stain go on evenly and keeps it from being blotchy. Apply wood conditioner with a clean rag making sure to cover the entire area you are staining in an even layer. Wipe off any excess conditioner and then let the rest soak in for 10-15 minutes before you apply stain.
Tips for Staining Wood
Getting the perfect stain color can be a long and frustrating task if you’ve never done it before. If you have a specific color in mind I suggest testing it out on a spare piece of wood first. If you don’t have any extra wood you can test it on the underside of a piece you’re using that won’t be visible later. Different species of wood have different undertones and will stain differently so you’ll want to know what yours looks like before you stain your entire project. But don’t worry, if you aren’t happy with the way a stain looks you can always sand it off and try again!
One of my hacks to getting a perfectly natural-looking stain is to apply the product lightly. I dip a clean rag into just a little bit of stain at a time. I immediately wipe it off as I go. This makes it so the stain doesn’t sit on the wood for too long and darken it more than I can control.
The Magical Angela Stain Combo
If you’re at all nervous about picking out a stain for the first time, save yourself the stress and try out my favorite stain combo! I layer Minwax Early American and Minwax Weathered Oak on top of one another and the color always turns out perfect. If my wood looks super yellow I’ll also use Minwax Simply White as my first stain to help pull the yellow out of it. But usually, I can just start off by applying Early American. To start I use a clean rag and dip it into my Early American stain. I rub it on evenly and then let it dry for 2-4 hours. Once it’s finished drying I go in with the shade Weathered Oak and do the same thing. This color combo is seriously magical! If you try it, tag me on Instagram @angelarosehome so I can see!
To seal your stain I always recommend using a topcoat. This will help protect the wood from scratches, stains, and water damage. General Finishes High Performance in Satin is my go-to topcoat for most wood projects.
DIY Wood Project Tips for Beginners
Who knew there was so much to learn about wood? I find so much joy in picking out the perfect piece of wood and finding a magical stain combo! I love learning and sharing new ways to get DIY projects done efficiently and beautifully. And I would love to hear if you have any helpful DIY wood projects tips for beginners. You have to leave a comment on my latest Instagram post if you do! Thanks for learning with me on this crazy, beautiful, messy DIY journey. And as always, don’t forget to Stop Pinning and Start Doing!