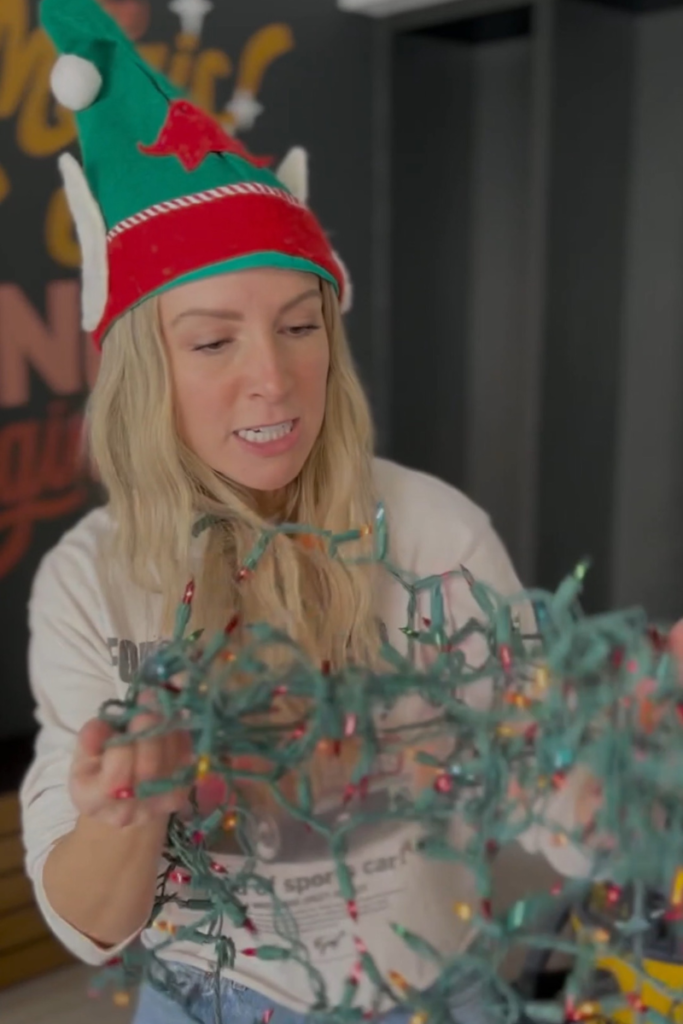
Tell me, did you survive the holidays? If you have been following along with me on social media, you know that this holiday season had its ups and downs. With all of the things that happened for our family in 2022, I was feeling pretty lonely and didn’t have much Christmas spirit. I was thinking the kids and I were going to keep things low-key and easy because I really didn’t have the bandwidth to do much of anything. But in the end, we made a full-blown mini Hallmark movie. Crazy how things change so drastically! The season ended up having an overpouring amount of Christmas spirit so I wanted to share the biggest (and best) thing I learned this holiday season.
 How to Create DIY Christmas Magic
Going into the Christmas season, I knew that I wanted to do something in terms of outside decorations so the kids could see them when they drove by the house. BUT, I knew it wasn’t going to be a lot. To keep things simple, I decided to create a projector image display in my master bedroom window. I’ve seen other people do it but hadn’t tried it myself. You may be thinking, “Simple? How is a projector image display simple?” The project only requires a few supplies. Plus, it doesn’t take much time to create. In case you want to add a projector image display for your next holiday, here’s how to do it.
Supplies you need to create a window projector image:
- Projector
- Flat sheet or projector screen
- Image/movie that you want to display in your window
Projector Project
I promise, as fancy as a window projector image sounds, it is actually a simple project that looks super cool! First, set up your projector screen in the window you want the image to be in. Don’t have a projector screen? No worries! You can also use a white flat sheet from your closet. Either way, make sure your “screen” fills the whole window. Once the screen is set up, hook up your projector in the room behind the screen. I love my Laser projector, but you really don’t need anything fancy. Promise! Remember this is a simple yet fancy looking project.
Now that you are set up, it’s time for the hardest part…picking the image or movie you want to project. There are so many options out there!!! Ultimately I went with a scene of Santa’s workshop that I found at AtmosFX. Once you’ve picked your image, just display it from the projector onto the screen. That’s it!
While my kids really enjoyed seeing Santa’s workshop in my window, I quickly realized that I moved into a neighborhood that goes ALL OUT for Christmas. I’m talking, Hallmark movie status! You all know I LOVE Hallmark movies, but I wasn’t quite sure I was ready to jump into one. There was just no way that I was going to be able to handle any other DIY Christmas projects for the outside of my house on my own.
I got a text from a neighbor that said, “We are in the front…can you come outside for a minute.” My neighbors checked in and told me that the previous owner of the house started the traditions that brought the neighborhood together and that they were willing to help me. She would string lights from house to house and from tree to tree. Literally connecting people together. She was also known for sponsoring Susie’s magical mailbox that helped families in the community. Not only did I not have then energy to decorate my house, but how was I supposed to live up to that?

I thought a simple no this year would do, but after a lot of talking and thinking I realized had to do something, Yes, the holiday season was going to be different for my kids and me, but I needed to take action (even if that meant I had to fake it ‘til I made it). Here’s how the timeline of that day went:
10am-Went outside to make a plan
11am-Got overwhelmed
12pm-Neighbors texted me to meet them in the street
1pm-Neighbors referred me to an electrician neighbor
2pm-He met met me at my house
3pm-He went shopping for everything I needed
5pm-He met me at my house and told me his crew will be there at 7 am the next day to start
That same day I got a last minute opportunity to take my kids out of town to make some magical memories. I wasn’t sure what to do, but my AMAZING neighbors said to take the opportunity while they finished stringing lights. I mean what neighborhood did I move into?!?
While we were on our trip I kept feeling like the Hallmark movies I love so much were actually my real life now. All of us started speculating on Instagram about what this whole situation would look like if it were made into a movie. You guys were FULL of great ideas! Amidst all the fun DM’s I got this message from a neighbor that gave me an idea.
“We’ve lived on this street for 17 years and you’ve kind of summed it up…it’s like living in a real-life Hallmark movie. Where neighbors are friends and we watch out for each other (which is a little unusual in this day and age-in a good way). As much as we truly miss Susie, we are happy to have you here starring in the latest season.”
I decided with the help of my friends, family, and neighbors that we were going to make our own mini Hallmark movie and create new memories that way. Kids wrote and rehearsed their own lines. I wrote and recorded a song (or two) in my bathroom. Even a few of my film friends came out from LA. And, my neighbors not only pitched in to help me decorate but to also be in the mini movie.
For the movie and real life, I needed to match the level of Christmas spirit of my neighbors. My front yard needed something eye-catching so I took my kid’s pictures of what they thought the front of our house should look like and made a plan.
GIANT PRESENTS
Giant gift boxes were the final touch for our outdoor Christmas decorations. I wanted to share the process so you could build them too.
What you need to build giant gift boxes:
- PVC pipe and connectors
- Sheets and/or fabric
For this project, we built 3 boxes. An 8ft box, a 5ft box, and a 3 ft box. There are a ton of ways you can build a box, but for this project, we used PVC pipes.
First, cut your pipes to length. Boxes are square so I cut the 8ft boxes to be 8 ft long, 5ft boxes to be 5 ft long, etc. You can change up your dimensions to fit your yard,. You just want to make sure you have 12 poles the same length so that you can build a cube/box shape.
Next, create a cover for your box/cube. I decided to sew together bedsheets to create a giant fitted piece of wrapping. It had been 10 years since I’ve sewed something even though my mom is a professional seamstress. For this project, 4 sheets = one 8 ft tall present. I was going to sew fitted covers for the smaller boxes too, but we were running out of time before we started filming so we ended up problem-solving in the moment.
To finish off the presents, decorate them whatever way you want. I used strips of fabric to create ribbons and then finished off with giant gift tags. You don’t have to finish your gift boxes the way I did. Be creative! It is so fun to make them each unique and different. Kind of like each of our awesome personalities.

MINI HALLMARK MOVIE
With everyone’s help not only did we sprinkle Christmas magic on our house (and in my heart), we also made a movie!!! Think Hallmark will like it? If they do and want to make an even bigger movie, I’m totally willing to volunteer to be in it! But even more importantly than Hallmark liking our movie, I hope you do! The whole process taught me that I don’t have to do everything on my own. That realization was a bigger gift than the 8 ft gifts we built for our yard.
The Biggest (and Best) Thing I learned This Holiday Season
DIY literally means “Do It Yourself”, but the best thing I learned this season (and the best gift I received) was learning that as a DIYer is that you don’t always have to do it yourself. I had so many amazing neighbors, friends, and family members jump in to help me make this season special for my kids and me. For that, I will ALWAYS be grateful! So while I jump back into my DIY projects, I am going to remember that I can ask for help on projects when I need it. This year is going to be a big year so make sure you are hanging out with me on Instagram and TikTok so that you can follow along. Together let’s stop pinning and start doing.
Disclosure: I only recommend products I would use myself and all opinions expressed here are my own. This post may contain affiliate links that at no additional cost to you, I may earn a small commission. Read the full privacy policy here.