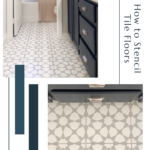
3 Ways to Stencil Your Tile Floor
Are you ready to say goodbye to ugly, outdated tile without demolishing the whole floor? I sure was when I painted the floor in my laundry room and two of my bathrooms. So I put together my favorite 3 ways to stencil your tile floor. I know it can feel overwhelming to take on a task like updating your floors, but this guide is here to help make it so simple. And for less than $100! Seriously, not only is painting and stenciling your tile floor easy, it’s also the most affordable way to renovate them.
Let’s make ugly tile cute, shall we? You ready? Let’s go!
Prepare Your Tile Floor for Painting
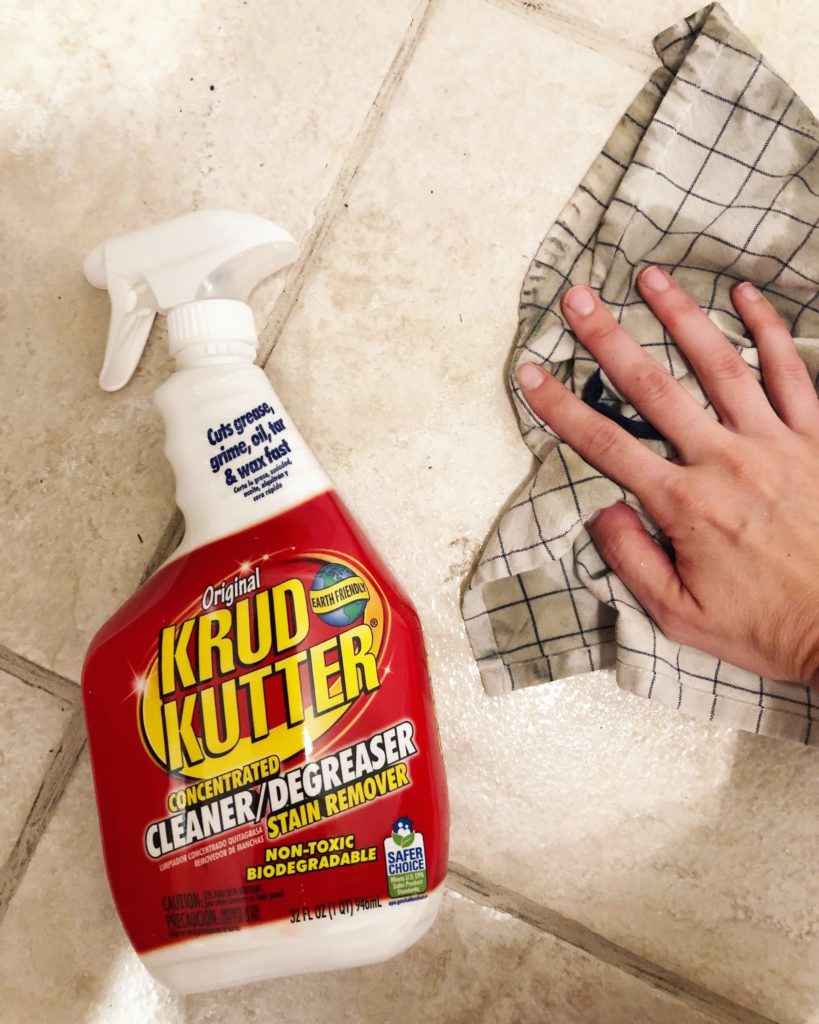
First up you’ll want to clean and clear off your floors. Move any furniture in the space to another room and sweep, mop, and/or vacuum the area. I clean my floor with Krud Kutter and use a clean towel to wipe it all off. Here’s a helpful tip for cleaning your floor; I always find that there are little pieces of debris that show up on the floor. So right before I start and in between paint coats I turn on my blow dryer and blow all the little pieces off. I find a broom adds little debris sometimes, but a blower dryer always does the trick!
The 3 Ways To Stencil Your Tile Floor
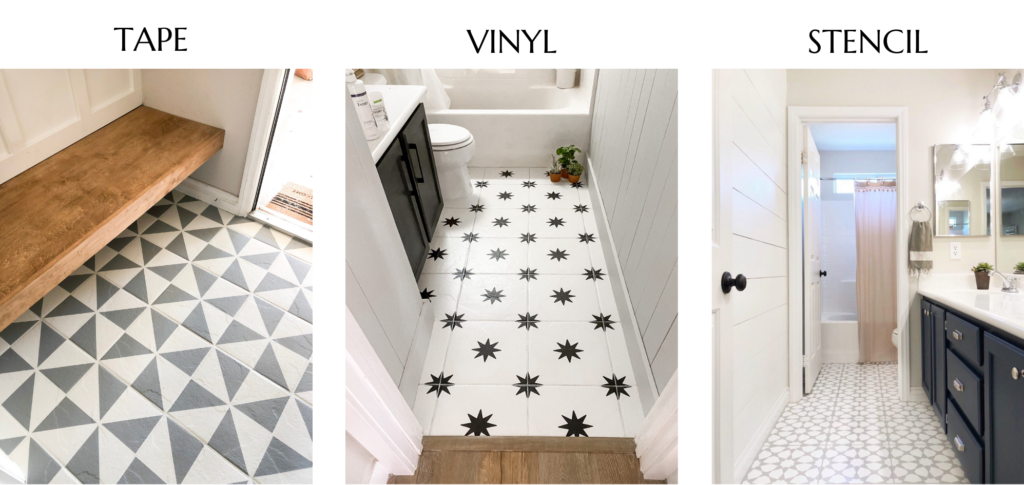
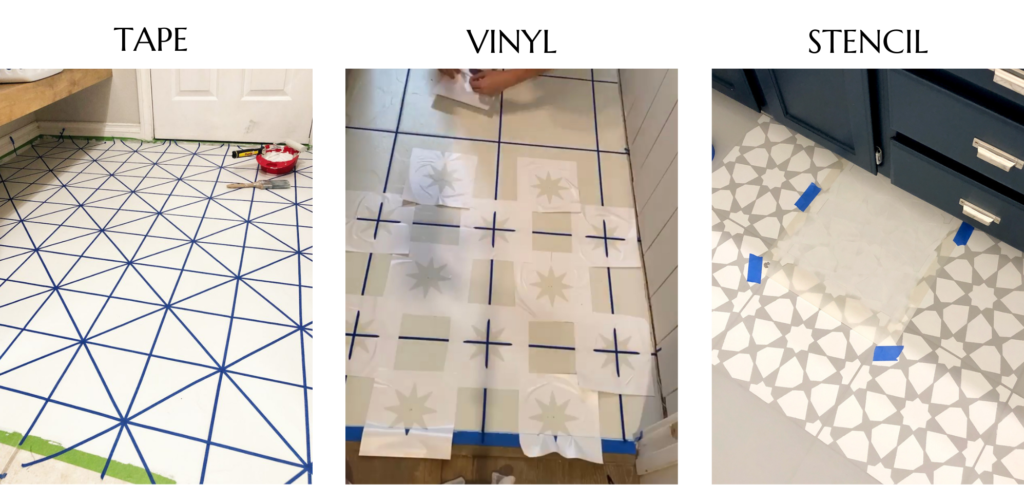
It’s time to decide which of the 3 ways you want to stencil your tile floor! Here are my top options:
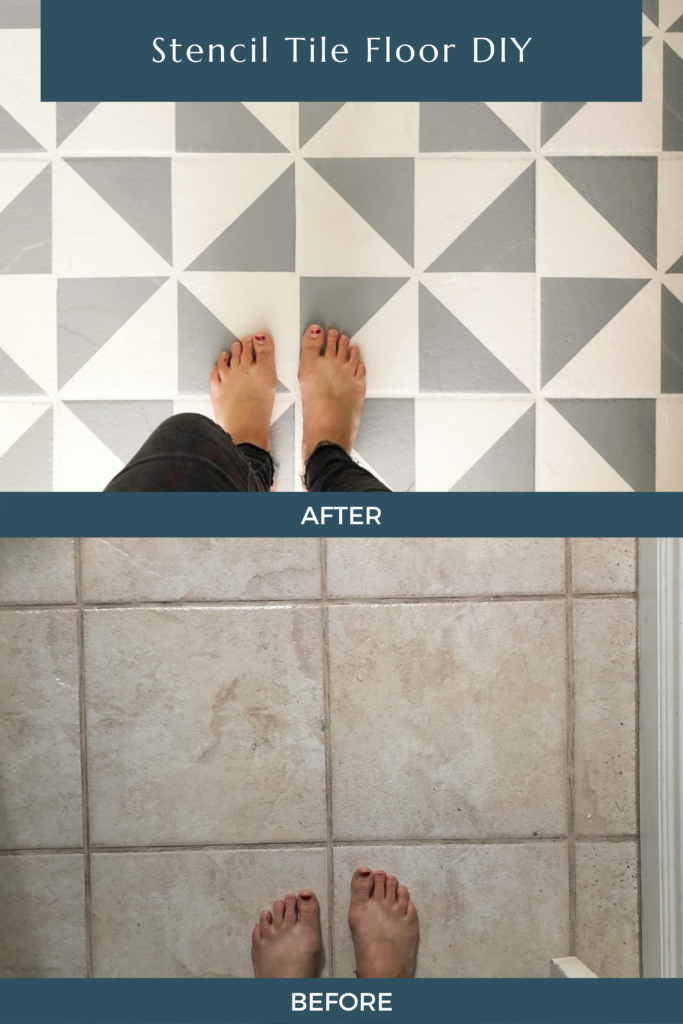
- TAPE – Best for large geometric patterns or lines. All you need is painter’s tape! I used this ¼ in blue tape on my floor.
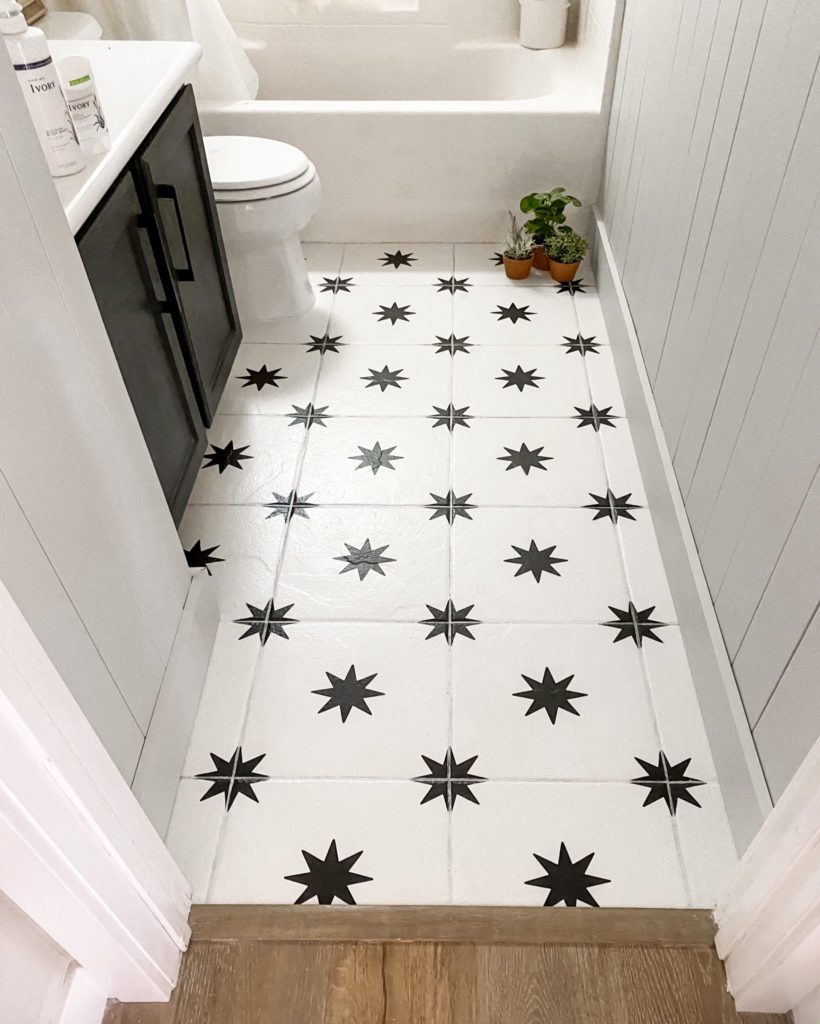
- CRICUT VINYL – Great for custom and individual shapes. I ordered this vinyl sticker pack from Amazon and used a Cricut to cut out the perfect shape. This makes the rest of the process so quick and easy.
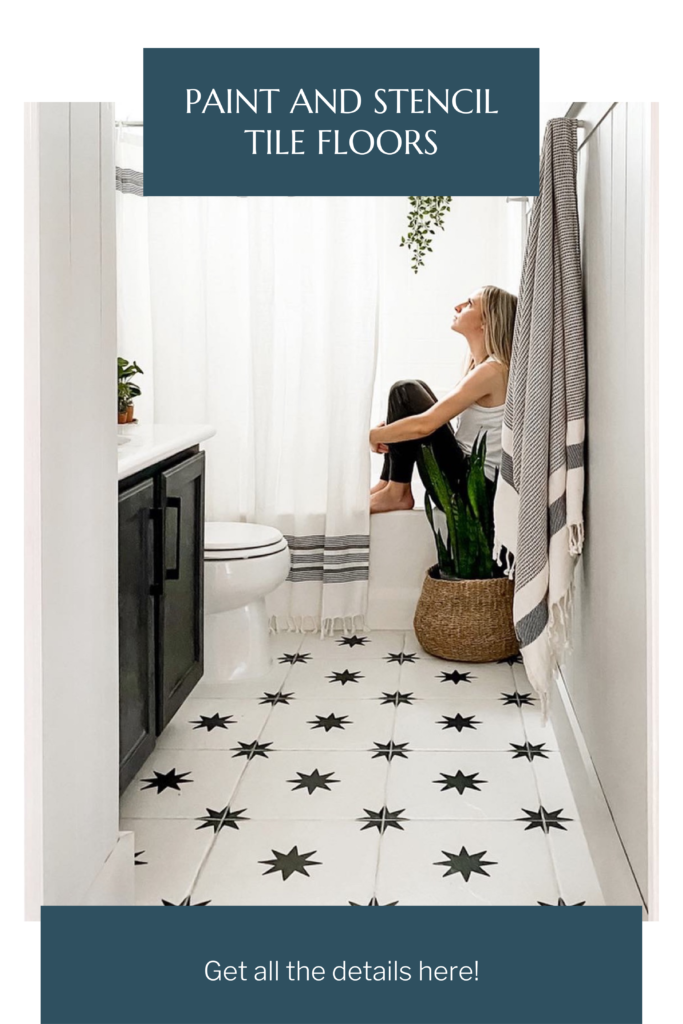
- PRE-MADE STENCIL – These are often used for smaller patterned shapes. Etsy is a great place to find these. Here is my favorite shop to purchase them from. Be sure to measure your tile exactly (to the 1/16 of an inch!) and you can request to have the stencil cut to the exact size of your tile.
Once you’ve picked which type of stencil you want to use it’s time to get creative! To help me visualize the pattern I’m going for I like to get my tape or stencil and lay it out on the floor. This is an easy way to visualize many different patterns before I open a can of paint.
Painting Your Tile Floors
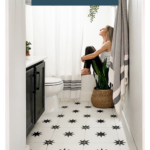
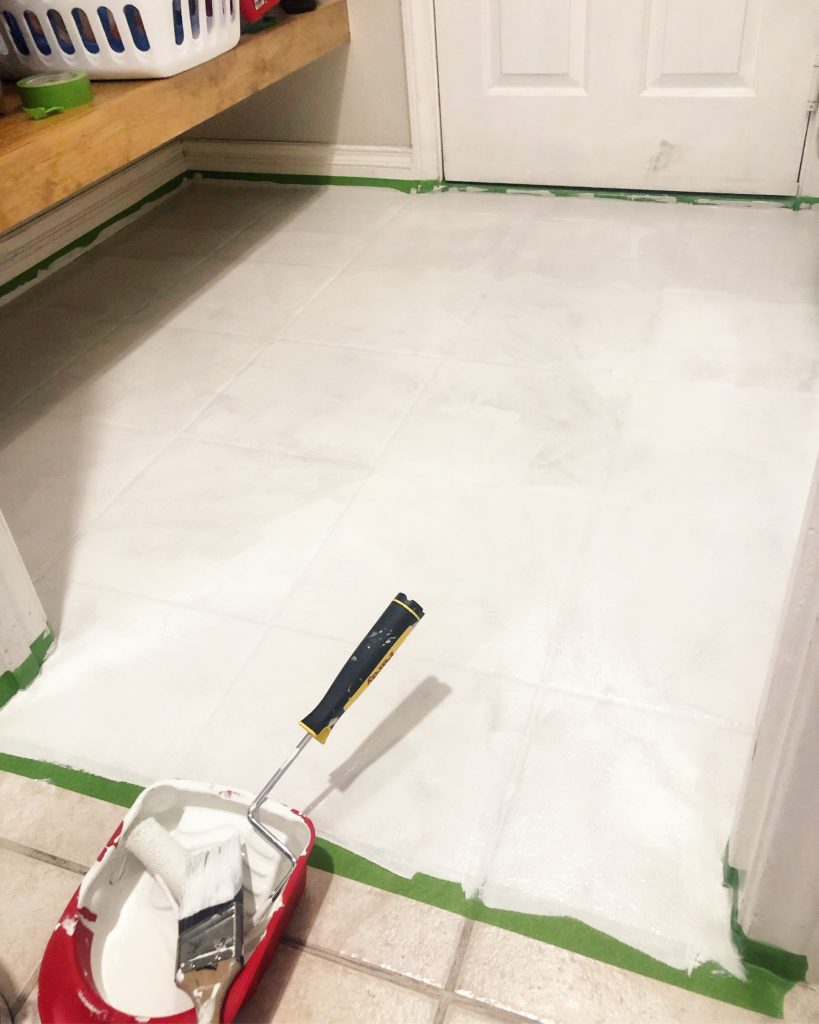
Once your floor is clean and you’ve picked your pattern it’s time to lay your first coat of paint. I always go for a base coat of Rust-Oleum RockSolid Home Interior Floor Paint. It is the best and longest-lasting paint I have ever used. Plus, this paint can go on tile, vinyl, linoleum, concrete, and wood and you don’t need to prime it or sand it. I’ve tried other paint options that have ended up chipping and peeling so now I stick with Rust-Oleum. I used the color “Steam Gray” in the laundry room floor pictured below almost 3 years ago and it still looks perfect!
Before you start painting, tape off your baseboards or walls using painters tape. Now you should be all ready to roll on the first coat (I always paint two coats). I use a ⅜ nap roller brush for the base coat and ¼ nap for the final topcoat. Start from the back of the space and work your way out, don’t paint yourself in! Check out my blog post on how to paint floors for more tips and tricks on this part.
Now get to work and enjoy your painting therapy, it’s a thing!
IMPORTANT – Once your first coat is finished, let it dry for at least 6 hours.
DIY TRICK – Wrap aluminum foil around a wet brush or roller to keep it wet for a few hours until you need it again for that second coat.
After your first coat of paint has dried, roll on the second and wait for another 6 hours. If you need a way to help remind your kiddos to keep out try taping an X across the door.
Measure the Floor and Lay Out your Stencil
Now it’s time to lay down your vinyl or tape off your floor. I know this might seem hard, but it isn’t. If you’re taping your lines do it in this order: all vertical lines, all horizontal, all diagonal lines. For me, it usually only takes about an hour to tape off everything.
If you’re using a vinyl sticker you’ll want to measure your floors at this step. Find the center of each tile and mark it so you know where to place the sticker. Cut out each sticker and then lay them where you have marked.
Here are a couple of tricks to easily cut out and lay down your vinyl sticker stencil:
- Cut the excess edges off so the sticker isn’t huge.
- Use a tack to separate the vinyl from the backing.
- Try to line it up perfectly and then plop it down all at once.
If you are using a stencil you will need to tape down the edges each time before you paint. To speed things up, I recommend buying two stencils so you can paint one while the other dries.
I am never quite sure if the paint and pattern I imagined in my head are going to turn out when I start this step, and that’s part of the fun. And I know if I hate it, I can paint over it and try something else. I always tell my kids… there are things in life to stress about.. and there are things in life to NOT stress about. Paint on a floor is not something to stress about. It’s going to be okay.
TIP: Use a small roller brush and paint your base color over the top of your tape pattern or stencil to fill in any gaps and seal the edges. This will give your design nice crisp lines. Again, let that paint dry before you move on to the next step
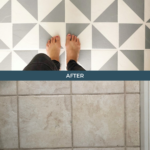
Painting the Pattern on The Tile Floor in 3 Ways
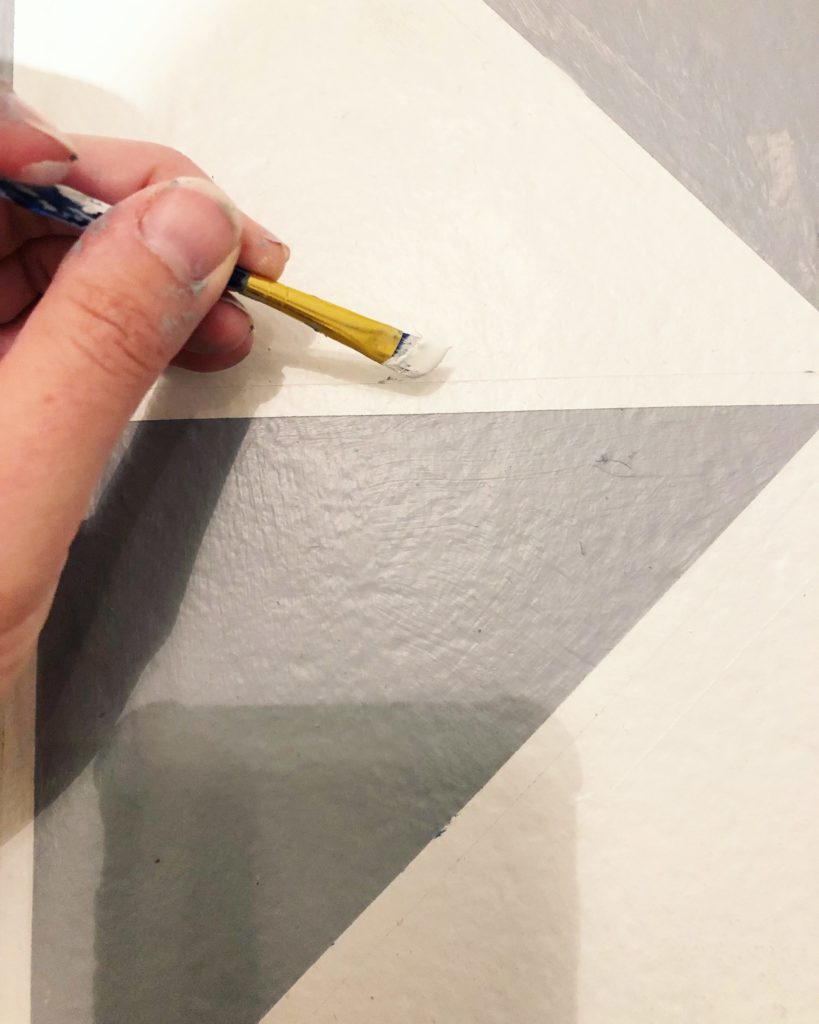
This part is the quickest if you are using tape or vinyl. It will probably take you less than 10 minutes! Using the paint color you’ve chosen for your stencil, roll over each shape and then let them completely dry (at least 6 hours). Now you can pull your tape and peel up each stencil to see how they look. Most will be perfect, but if any bled, don’t worry! You can easily grab a little touch-up brush and fix any imperfections.
If you are using a stencil, this step may take a little while because you are going to need to let each stencil dry for 1-2 hours before painting the tiles around it. Use a roller to paint on your stencil color in THIN coats. To make sure your paint isn’t too thick, roll off excess paint from your paint roller onto a paper towel. This is important! A thick application will bleed under the stencil, whereas thin coats make nice clean lines.
You can use a blow dryer on the cool setting in between coats to speed up this drying process if you need to. Make sure not to overlap any wet parts. Paint all the full tiles first and then move on to any edges or tricky areas. This is where you might have to get a little creative! To get these tricky areas I bent the stencil up against walls and cut it down to fit smaller areas.
Protecting Your Painted Tile With a Top Coat
Now that your floor looks amazing, let’s make sure it lasts. The final step is to paint on a top coat. Be sure to wait 1-2 hours for the stencil coat to dry before applying the top coat. I use a ¼ nap roller for this and I also recommend using Rust-Oleum’s TopCoat Step 2 of 2. Use the matte finish if you’re like me and you want to avoid shine.
I’ve learned the hard way that using quality paint products will make a big difference in the longevity of a painted floor. And you want your floors to last after all of that hard work! Be sure to let the top coat dry for 24 hours before light foot traffic hits it and 7 days for a full cure (furniture can gently be placed on the floor after a few days). I also recommend keeping abrasive cleaners off of the floor. A Swiffer and/or mild soap and water should clean them up just fine!
If you really want to go extreme to make sure your floor will last you can apply a second layer of top coat for additional durability. Just be sure to wait until the first coat is dry to the touch (1-2 hours) before applying the second coat. It’s also important that you apply the second coat within 24 hours. If you have any more questions about your floors the Rust-Oleum FAQ page is a great resource you might want to check out.
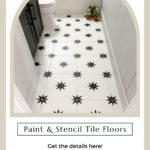
Top 3 Ways to Stencil Your Tile Floor
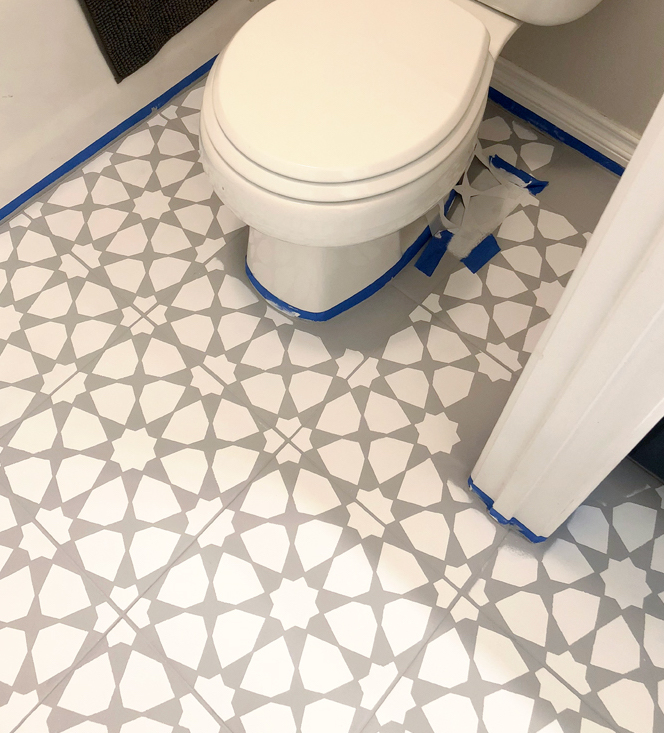
Isn’t the power of paint unbelievable? It doesn’t matter whether you decide to use tape, vinyl, or a stencil on your tile floors, painting them will make a huge impact on the look and feel of your home. My painted floors have lasted for years and are still some of my favorite rooms in our house. It’s a quick project with a huge impact!
I’m so excited to share this with you guys and I can’t wait to see what you’ll do. Make sure to follow and tag me on Instagram @angelarosehome so I can see your projects!