DIY can seem overwhelming, but it doesn’t have to be. You just need the tools (real tools and informational tools) to get started. Let’s take the stress out of DIY with tips that everyone needs to know.

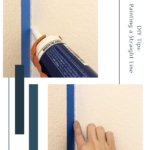
DIY Tip #1 – Paint a Straight Line
Every wall has some sort of texture. Which means paint bleeds under painter’s tape when you are trying to keep your lines straight. Have you been there before? I used to have problems with paint bleeding under my tape, too. That is until I came up with my own solution for keeping my lines crisp.
You will tape off your areas like normal, but then there is an extra magical step to take before painting that is going to change your painting game. Use a small amount of caulk along the edge of your painter’s tape, where you are wanting to have a crisp line, and spread it with your finger to create a seal along the edge. The caulk makes sure that all the little cracks are filled in and that paint won’t bleed under the tape. You can also do this same process with the paint color you are going to be using on the wall. Once it has dried, paint as normal. When it is time to remove the painter’s tape you will have a crisp straight line every time!
DIY Tip #2 – Power of a Nail Gun
Nail guns are one of my top 5 tools that every DIYer needs. Using a nail gun is so much faster than using the old school method of a hammer and nails. Yes, using a hammer will work, but using a nail gun is so much faster. It only takes 1-2 seconds to drive a nail when using a nail gun. Plus there is more power which lets you save your energy for the fun parts of your DIY projects. And, you don’t have to worry about accidentally missing and hitting your fingers. Nail guns are accurate, speedy, and full of power. So, if you don’t have one yet… it’s time….think of your fingers.
There are so many great nail guns out there, but my favorite is the Ryobi Airstrike. You don’t have to worry about a compressor or hoses because this nail gun is powered by an ion lithium battery. It is the perfect cordless power tool and I LOVE using it for my DIY projects.
DIY Tip #3 – Measure Twice, Cut Once
Have you ever heard the phrase, “measure twice, cut once”? If you haven’t, let me tell you all about it! If you already know what I am talking about, just nod along while you read because this DIY tip is where it is at!
DIY projects can be stressful, especially when you are pushing yourself to try something new. If you slow down just a little bit and measure twice before cutting, you are going to be so much happier. It may seem like an unnecessary step to some, but once you have made a cut you can’t go back. When cuts are wrong, I usually end up back at the store to buy more supplies. Which wastes my time and money. Plus it is stressful.
Essentially, if you don’t make sure things are right (measuring twice) you will most likely have to do the process over (cut twice). So trust me, take an extra second to make sure you have everything just right. Your projects will go so much better and you will be less stressed when you measure twice and cut once.
DIY Tip #4 – Puck Light Hack
You guys, this tip about puck lights changed the game for me. I know it will for you too! When I was updating my hallway, I realized that I needed some additional lighting to bring everything together. There was no way I wanted to re-route the electrical. And that is when I found this puck light hack.
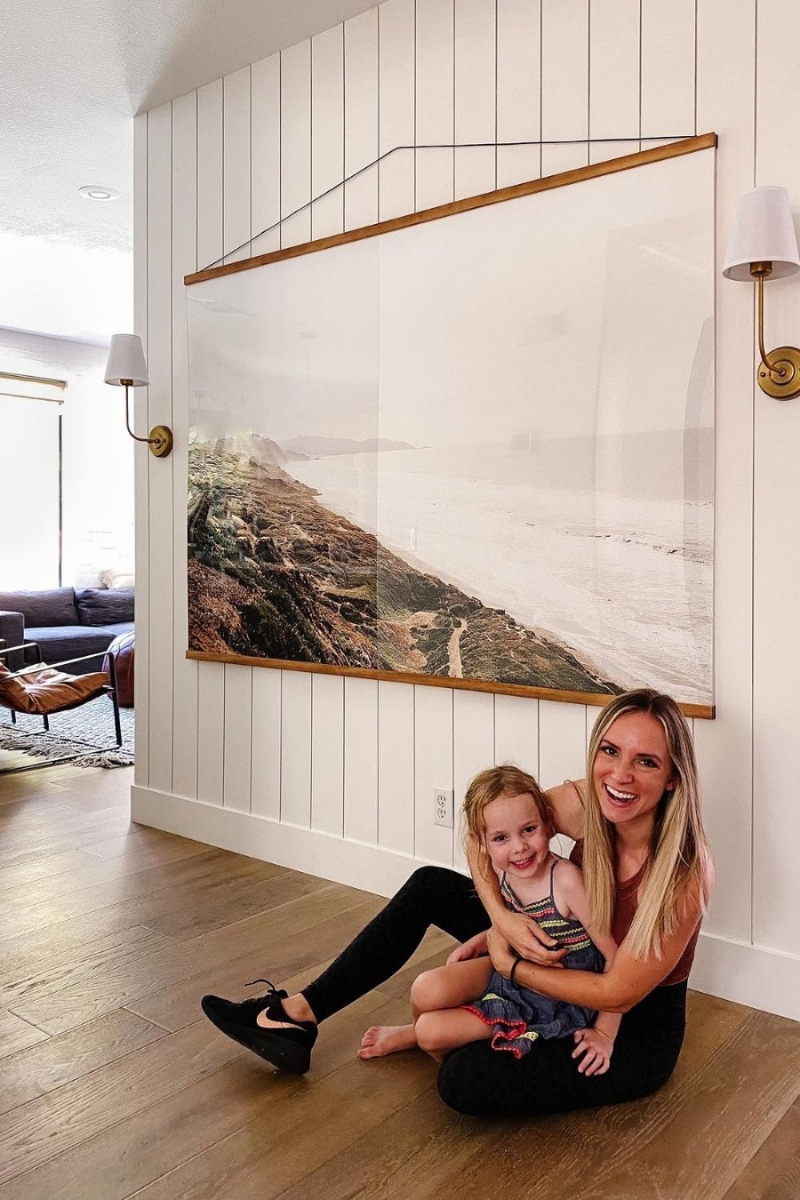
Puck lights are awesome because they are wireless lights that you can use in different light fixtures. They are controlled with a remote and you can’t tell that the light isn’t hard-wired in. Here’s how you install them.
First, take the screws off of the light fixture and remove the mounting plate. Then attach the mounting plates to the wall. When I installed sconces in the hallway, I had to use self-tapping screws. They act like a pre-drill and go into the wall a lot easier. Once the mounting plates are on, attach your light fixtures and put the screws back in. After that, you add the puck lights into your light fixture. You can attach them in a lot of different ways like wire, super glue, etc. Once the lights are attached, you can turn them on and off with the remote they come with. It is that simple!
Take the Stress Out of DIY – Tips That Everyone Needs to Know
DIY-ing is so fun. I love dreaming up projects and then making them happen in real life. But, it doesn’t mean they aren’t stressful. We just have to find ways to take the stress out of DIY which is why I shared the tips that everyone needs to know. Now you can stop pinning and start doing. Follow along with my latest DIY projects on Instagram and TikTok. I am always working on something new and would love to have you along with me.
Disclosure: I only recommend products I would use myself and all opinions expressed here are our own. This post may contain affiliate links that at no additional cost to you, I may earn a small commission. Read the full privacy policy here.

