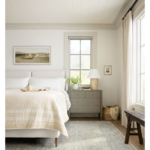
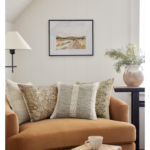
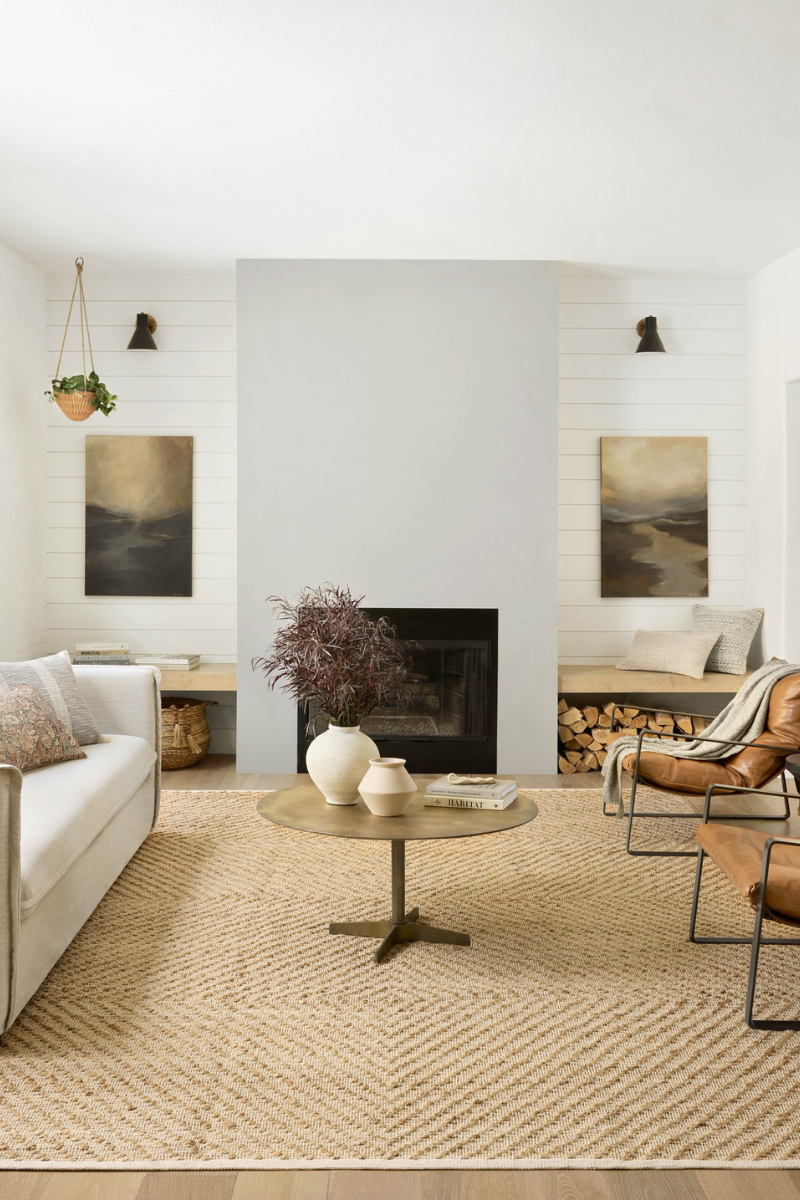
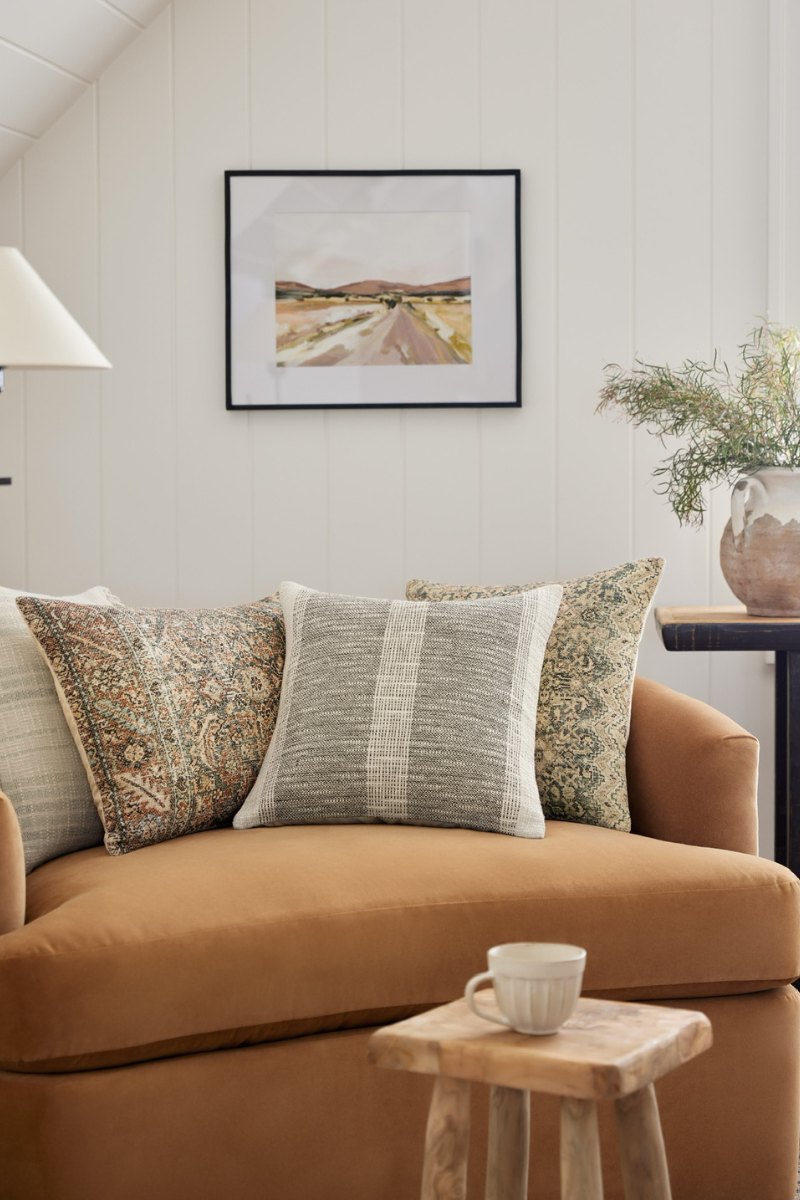
One of my favorite ways to wrap up a DIY transformation is with pieces of artwork. Artwork is super affordable to DIY and it looks so cool. Then once you are done figuring out what kind of artwork you want, all you have to do is hang it! Do you know how to hang photos the easy way? So many things in life are complicated, hanging pictures doesn’t need to be complicated too. So, whether you are looking to hang a gallery wall or large-scale artwork, I’ve got the best hack for how to hang photos the easy way.
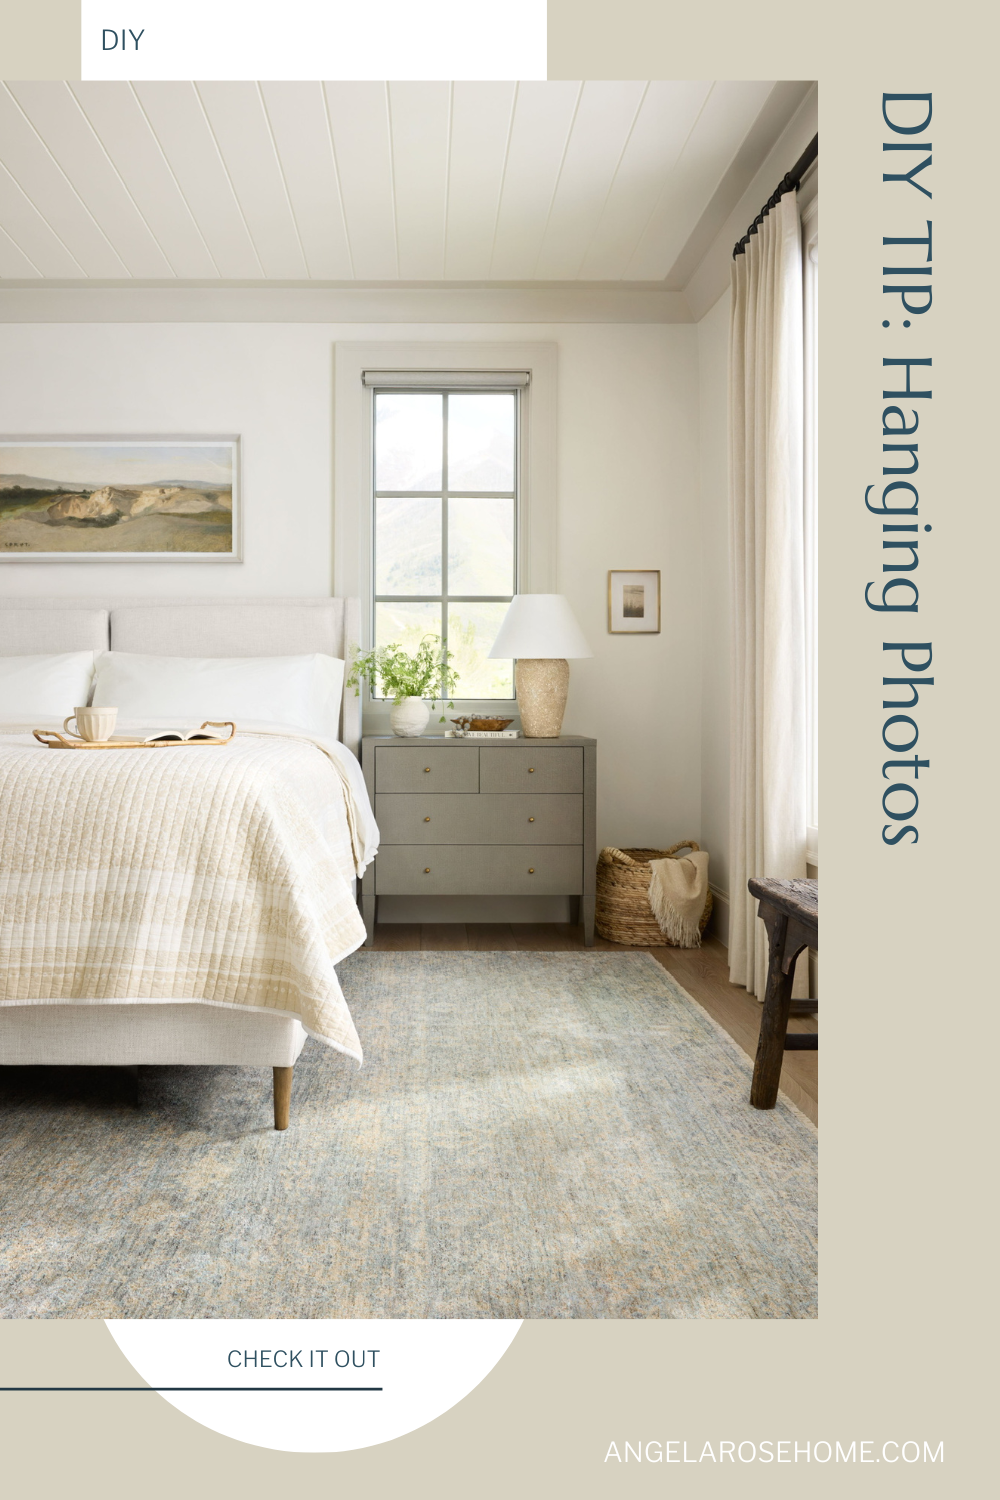 Not only is this way of hanging photos super easy, but the material list is also super easy to gather up. In fact, you probably have most of the list at your house already!
Materials You Will Need:
- Painter’s tape
- Pencil
- Nails
- Hammer
- Level
You’ve gathered your materials and it is time to hang. I feel like we are doing these DIY projects together so it’s like a double hang…we are hanging out AND we are hanging photos.
Step 1- Apply Painter’s Tape to the Back of the Picture
On the back of your photo, apply the painter’s tape. You will want to line up the top of your tape with the keyholes. It is an easy way to make sure that everything stays lined up.
Step 2- Mark Keyholes
Once your tape is lined up on the back of your picture, it is time to mark the keyholes. You’ve already covered the keyholes with tape so carefully run your fingers over the tape to find the exact spot of the keyholes. Then, grab your pencil and mark the spot.
You could also poke a hole in the painter’s tape, but some pictures have uniquely shaped keyholes. I tend to just mark the keyholes with a pencil so I know the shape. I find it makes it makes it easier to know where exactly to place the nail.
Step 3- Tape the Distance From the Keyhole to the Top Edge of Your Photo
You could grab your tape measure for this next step, but I like keeping things simple. To measure the distance from the keyhole to the top edge of the photo, I use some more painter’s tape. Just line up your new piece of painter’s tape with the top edge of the marked tape piece and cut (or rip) the tape at the top of the photo. Doing this will help you hang your photo at exactly the right height.
Step 4- Stick Painter’s Tape to the Wall
Now it is time to transfer the painter’s tape to the wall. The best thing about hanging a photo this way is that there are no holes involved while you are trying to find the perfect spot for your photo. You can keep moving the tape around until everything is just right!
I like to start with the smaller pieces of painter’s tape from step 3. That way you can find the height of where you want your photo to hang. Once you know where you want the top of your photo to be, stick the marked piece of painter’s tape to the wall.
PRO-TIP: Use your level to make sure your picture is hanging straight. There’s nothing worse than having a crooked picture once you’ve put holes in your wall.
Step 5- Hammer in Hanging Nails
You have everything lined up. All that is left is to hammer in your nails. Don’t remove your painter’s tape, just hammer right into the tape. Simple, right? I like to make sure that I am hammering in the nails at an angle so they catch the keyholes easily. Once your nails are in, just remove the tape!
PRO-TIP: If you are worried about putting holes in your walls, you can also do this same process with hanging strips. Hanging strips are a great option for renters.
List of Steps to Hang Photos the Easy Way:
- Apply painter’s tape to the back of the picture
- Mark keyholes
- Tape the distance from the keyhole to the top edge of your photo
- Stick painter’s tape to the wall (make sure it is level)
- Hammer in hanging nails (or apply hanging strips)
- Hang your photo
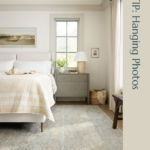
How to Hang Photos the Easy Way
Now that you know how to hang photos the easy way, where are you going to hang your first picture? I love seeing the cool projects you are doing! It’s like we are hanging out together doing what we love. If you aren’t hanging out with me on social media, make sure you are following me on Instagram and TikTok. I am always sharing DIY tips while I am tackling projects in my home. Remember, DIY is all about finding things that work for you so let’s stop pinning and start doing.
Disclosure: I only recommend products I would use myself and all opinions expressed here are my own. This post may contain affiliate links that at no additional cost to you, I may earn a small commission. Read the full privacy policy here.