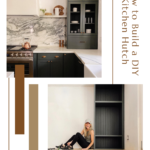
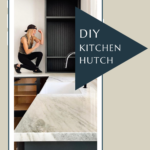
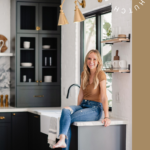
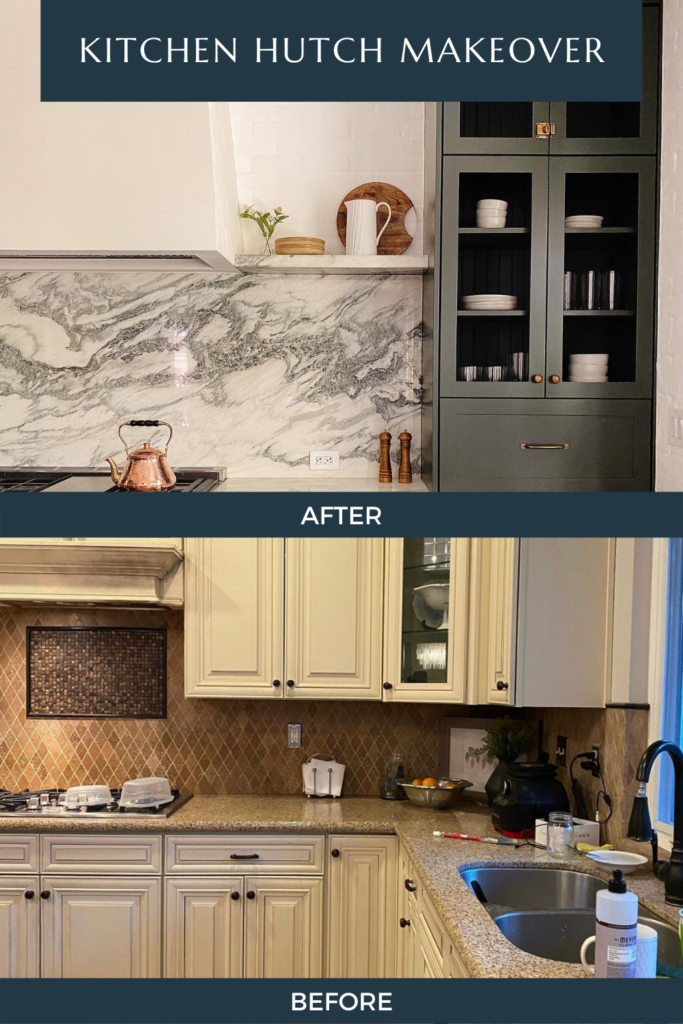
DIY Modern Kitchen Hutch
It’s official: the kitchen hutch is back and I am here for it! If you have limited space or find yourself craving storage behind doors you are going to love this DIY modern kitchen hutch. While floating shelves have been super popular the last few years they lack practical storage. This is why countertop hutches have earned a place as one of 2022’s most stylish AND functional trends. And if you’re working with a small or unique space you are going to love the customization of this DIY project. I’m so excited to share this with you and help you on your way to building your dream designer kitchen on a budget!

Types of Kitchen Hutches
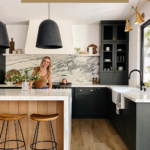
Before you begin building you’ll need to decide what kind of hutch you want in your space. This will depend on how much room you have in your kitchen and what your top priorities are. For my kitchen, I decided on a countertop hutch. A countertop hutch is great if you don’t have a lot of square footage to work with. But if you have an open wall in your kitchen or dining room, you might want to consider a larger hutch that stands alone on the floor.
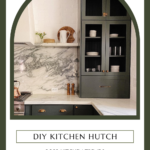
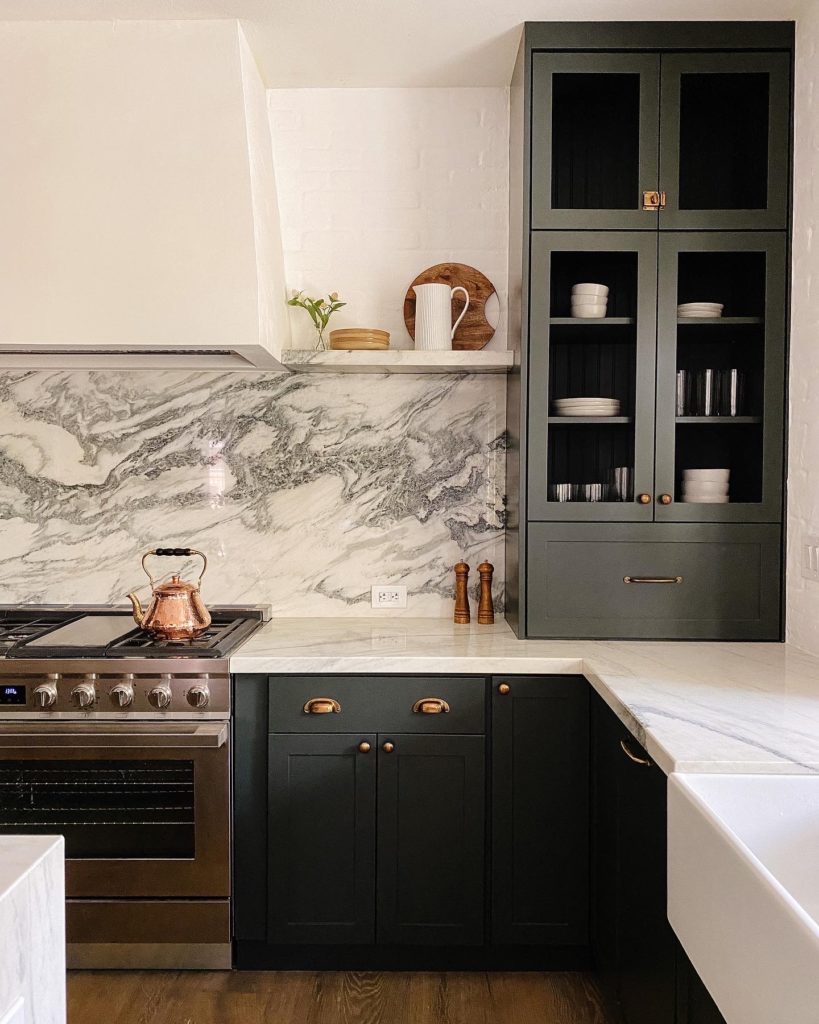
It’s also important to know what the purpose of your hutch is. I wanted mine to be functional, but also decorative. I decided to use glass doors so you could see my plates and bowls, but also have a big built-in drawer to hide my bigger appliances in. If you’re wanting more hidden storage then I would recommend using solid cabinet doors and adding lots of shelves and drawers.
Measuring Your Kitchen Space and Buying Wood
Once you’ve decided on the type of hutch you’re going to build you need to measure your space. The 3 measurements you will need are the:
- Height
- Width
- Depth
It’s important when you’re measuring to keep in mind what kind of cabinet doors you are going to use. The cabinet doors will determine the width of your hutch. You will also need to decide if the doors will sit on top of the frame or be inset. Whichever you choose, make sure that the cabinet doors will have plenty of room to open and close, especially if the hutch is butting up against a wall.
On my hutch, I used pre-made cabinet doors and drawers from my line with Nieu. You can choose solid doors or doors framed out for glass windows (they don’t come with the glass). You can purchase the same ones I have at Nieu.com and use my code ANGELAROSEHOME5 for 5% off!
The wood I used for this project and all of my other kitchen cabinets is three-quarter-inch birch plywood. If you want to know how I pick out wood for my DIY projects you can read about that here.
How to Build a DIY Modern Kitchen Hutch
To build your own DIY modern kitchen hutch you will need:
- Nail gun
- Screwdriver
- Kreg Jig
- Paint Sprayer
- ¾ Inch Birch Plywood
- Face Frame Poplar Wood
- Sheet of Bead-board
- Sherwin Williams Paint
- Nieu Cabinet Doors
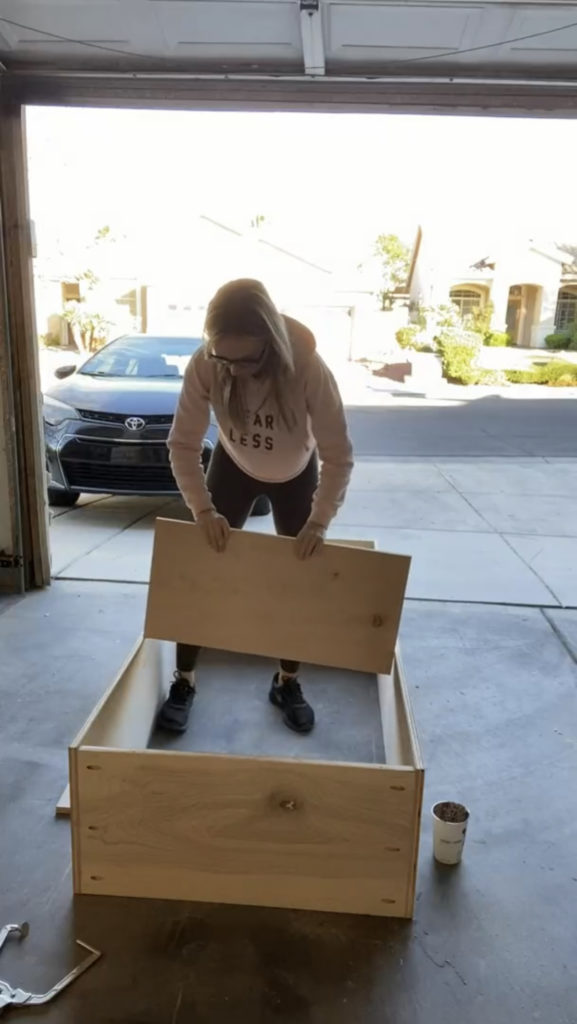
Step #1 Building the Hutch Frame
First, you’ll want to layout your frame on the ground. Double check all of your measurements and make sure that your cabinet doors will fit onto the frame perfectly. You’ll also want to either pick out a bead-board backing that will perfectly fit the frame or cut one to fit. Once you’ve checked that everything is measured and cut correctly it’s time to screw the frame together.
To screw the frame together I used a Kreg Jig to make pocket holes. A Kreg Jig allows you to easily join two boards together and keep the screws hidden. I apply a screw about every 6 inches along the joints. You can see exactly how I do this on my Instagram story here.
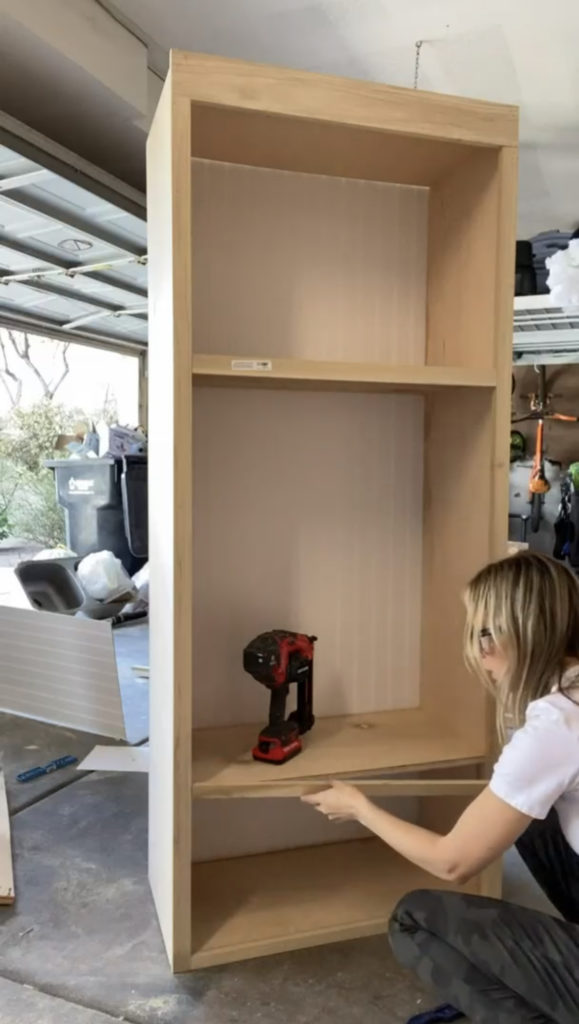
After you’ve screwed all four corners of the frame together you can add your shelves. I also use the Kreg Jig to screw each shelf into the frame. My hutch only has two shelves, one above the longest cabinet doors and one below. This is the fun part because you can add as many shelves as you like! More shelves = more storage!
Step #2 Adding a Bead-board and Face Frame
Adding the bead-board to the hutch is simple. All you have to do is line it up, and nail it into the frame from behind. You can also nail it to the shelves if you want to make sure there is no gap between the two. I like to place a nail about every 6-8 inches.
If you guys know me, you know I love to trim out everything. Adding a face frame to the raw edges of the cabinet box will make the whole hutch look high quality and beautiful. I chose to use hardwood Poplar strips for this because they’re so durable. Measure and cut each piece and then all you have to do is nail them to the raw edges of the frame.
Pro Tip – If you’re having trouble perfectly fitting a trim piece to a shelf, you can use a slim piece of cardboard from a cereal box as a shim in between the shelf and face frame.
Step #3 Painting the Kitchen Hutch
One of the awesome thing about using Nieu cabinet doors is that they are all painted with a Sherwin Williams paint color that you can pick up from your local paint store. My cabinets are the color Dream Dusk, so I used the same paint color to paint my modern kitchen hutch. You can hand paint your hutch with a roller and a brush. But I used a paint gun to spray mine and saved some time.

Step #4 Installing Modern Hutch Doors
Before I installed the cabinet doors and drawer, I first placed the cabinet box on my counter and secured it to the wall. It was a lot lighter and easy to maneuver than it would have been if I had first added the doors. Once the hutch was secured to the wall I attached the cabinet doors and drawer. Nieu cabinet doors are so easy to install because they come with all of the directions and hardware you need. You can check out my blog about how I built the rest of my kitchen cabinets and installed Nieu cabinets to all of them here.
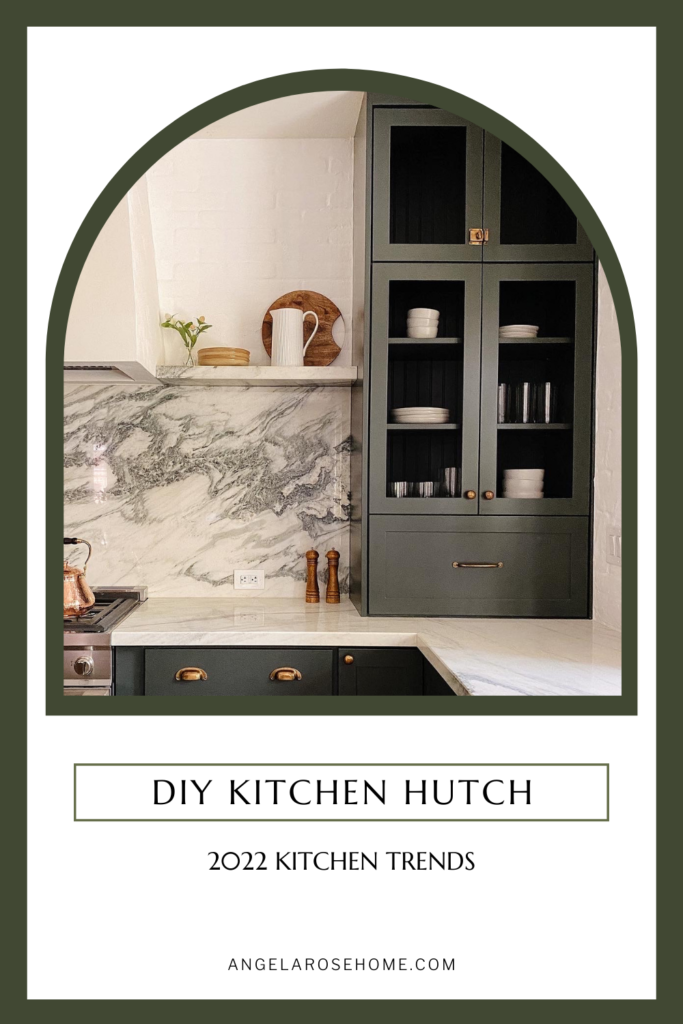
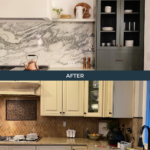
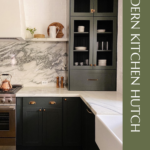
DIY Modern Kitchen Hutch
Isn’t it amazing what we can do when we stop pinning and start doing? I am so proud of my DIY modern kitchen hutch! It’s so cute and practical and the perfect storage addition to my kitchen. If you build one of your own you have to tag me on Instagram @angelarosehome so I can see it! And if you want to see the rest of my DIY kitchen you can read my blog about that here.