Modern Staircase Renovation Tutorial
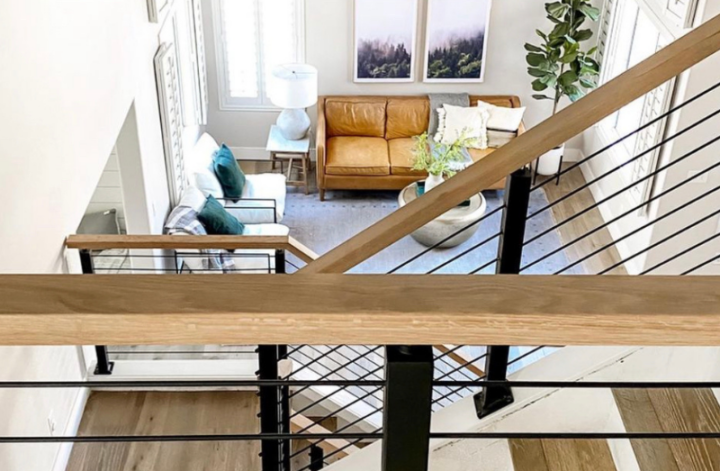
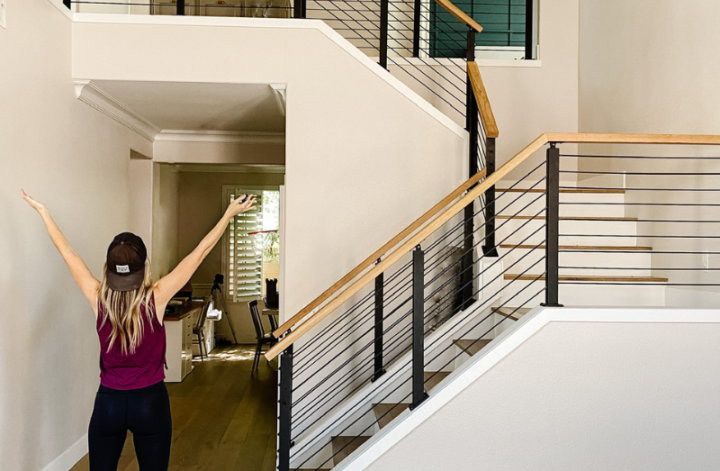
The first time I walked through my house I can remember looking up at the giant bulky staircase and thinking, I’m going to knock that out in a day. Now it may have taken more than a day to complete, 3 months to be exact, but I finally did renovate that awkward staircase! The original staircase surrounded a large wall structure that blocked the entire view of the living room from the loft. And I felt like it was dating my house. So I picked up my tools and got to work! And this modern staircase renovation tutorial turned out to be one of my favorite projects ever!
This was an intimidating project to start and it took me almost 3 months to finish. I poured my whole heart, mind, and body into this staircase transformation! Hours were spent knocking it down, building it up, trimming it out, and installing the new railings. And it was all worth it! Because now I really love my stairs and I get to enjoy them every day. I’m a DIY nerd, I know. I love all the little things! If you’re looking for the courage to make a change in your home, I am your biggest cheerleader. You can do it! Now let’s renovate these stairs.