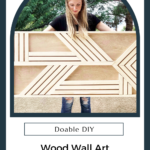
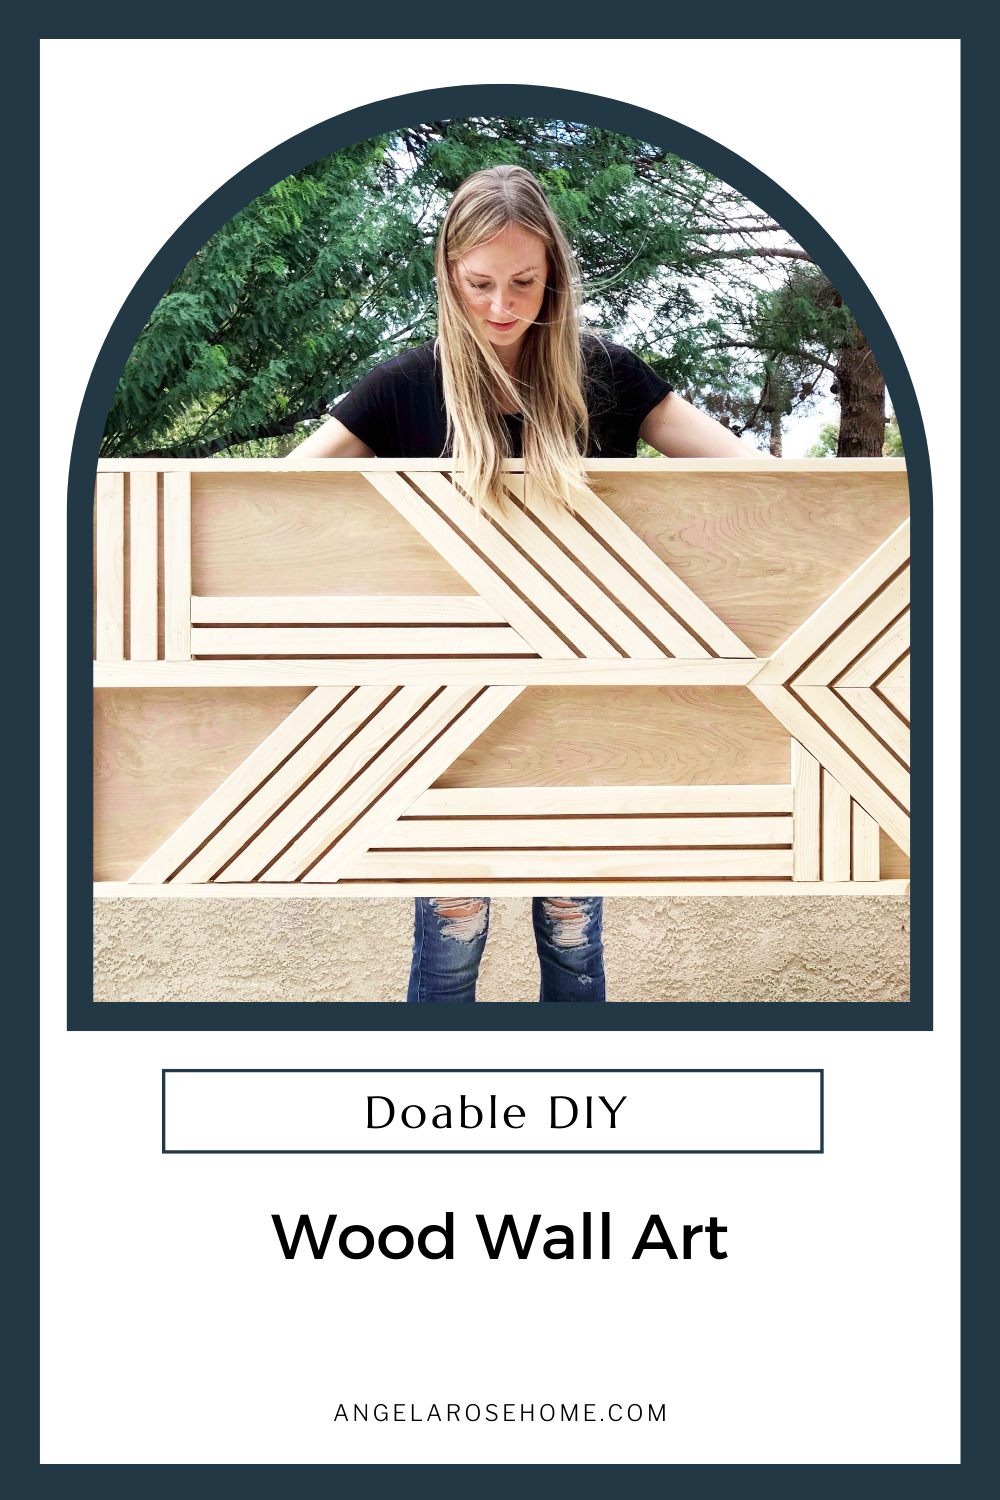
What type of art do you like on your walls? Or is that why you are here….are you not quite sure? I love large-scale art on my walls. I’ve got everything from portraits to printables decorating my home, with lots of other things in between. So, I decided it was time to combine two of my loves, large-scale art and wood, to create some doable DIY wood wall art.
What You’ll Need to Create Doable DIY Wood Wall Art
Material List:
- 2’x4’ Piece of underlayment plywood
- 5-6- 1×2 Common pine boards
- Wood glue
- Nail gun
- Finishing nails
- Clamps
- Skillsaw
- Miter saw
Get Ready to Create Your DIY Wood Wall Art
I love using wood for my DIY projects. Obviously, not all projects need wood, but if you are using wood, do you know which kind you need for each project? For this DIY wood art project specifically, you are going to need plywood and common pine boards. But other projects, like accent walls or board and batten, work better with MDF.
Trip to the Store for Wood Wall Art Supplies
When you are in the plywood section of your hardware store do you know what you are looking for?
There are 4 main types of plywood that you will find in the store: sanded, hardwood, sheathing/structural, and project panels. Sanded plywood is used for projects where the wood is going to be seen. Think cabinets, shelves, and paneling. Hardwood plywood is used for load-bearing projects. It gets its name because this type of plywood is made from varying hardwoods like birch, maple, and oak. Then you have sheathing or structural plywood. It is strong and budget-friendly. You would use it on a project with flooring, beams, or even framing. Lastly are the project panels. This type of plywood is ready-to-use. They are pre-cut boards that are great for quick and easy projects.
When making my DIY wood wall art, I went to the plywood aisle and went to a special section they have off to the side. Did you know most hardware stores have a section of pre-cut wood? That is where I went. I love this section! Since the boards are cut into smaller pieces, it is so much easier to get home and you don’t waste time or money with a bigger board you don’t want.
For this project, I went with underlayment plywood (hardwood plywood) from my special pre-cut section because it had a smooth surface and was already ready to go. For my space, the 2’x4’ precut board was a perfect size. Keep in mind you may want a different dimension than I needed. Isn’t that the coolest part of DIY? It’s making things exactly the way you need them to be that has me hooked on doing my own projects.
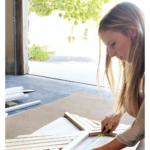
While I was at the hardware store, I also grabbed 5-6 1×2 common pine boards. It is really important to make sure your boards are straight and without knots. To make sure your boards are straight, stare down the length of the wood board to make sure there aren’t any bends. If your boards aren’t straight, your wood art will not lay flat the way it needs to.
Plan Out Your DIY Wood Wall Art So You Can Get Creating
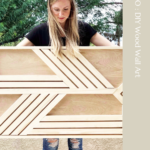
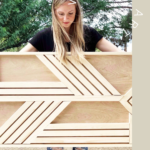
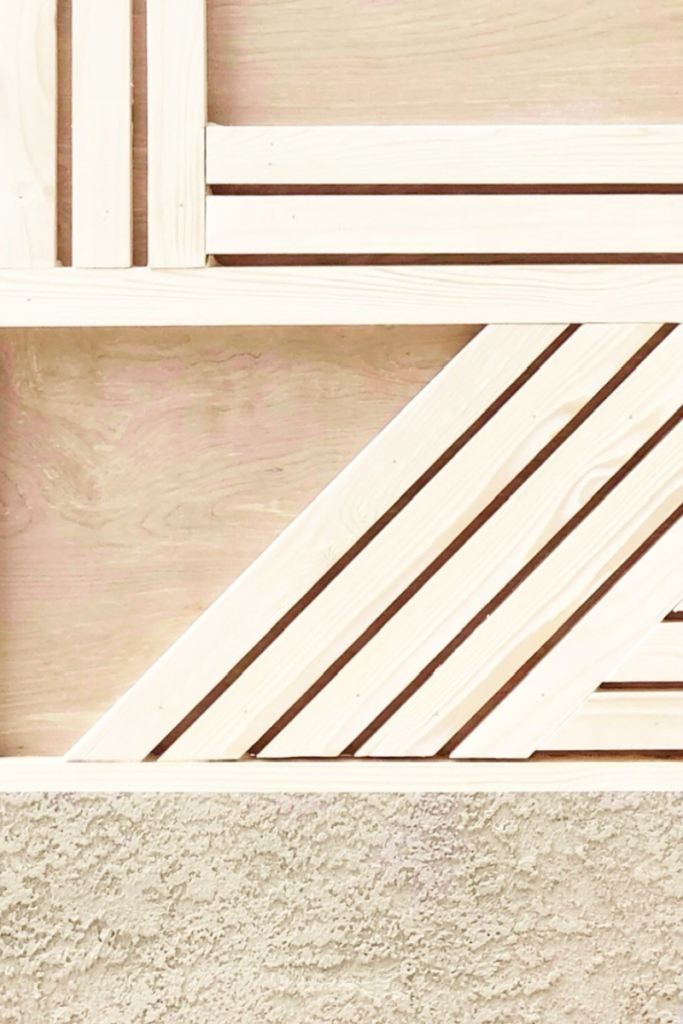
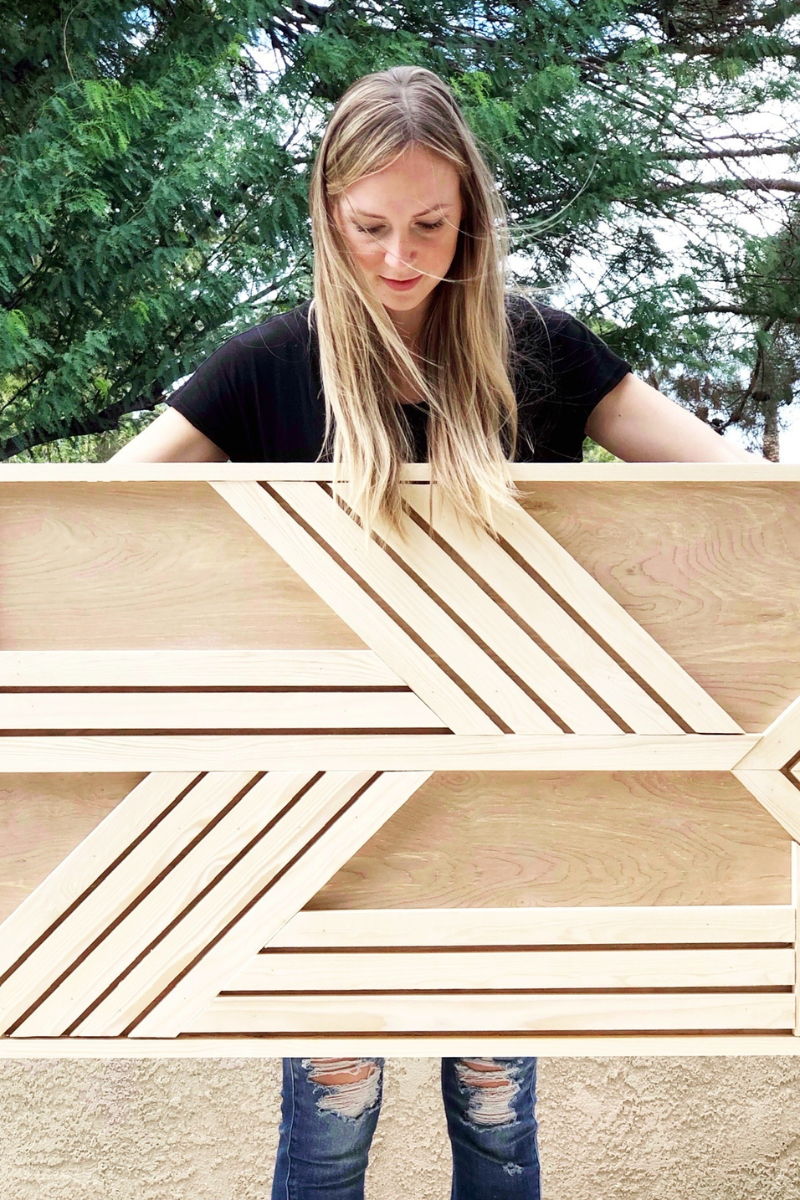
To create my wood wall art, I created zones or sections. Doing this will really help you plan out your art piece. Each zone has a group of 1×2 common pine boards that faces a specific direction at a specific angle. To get the look I wanted, I created 8 unique zones. Keep in mind, that your custom DIY wood wall art is going to be different than mine because we have different preferences.
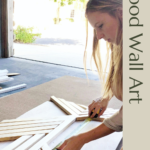
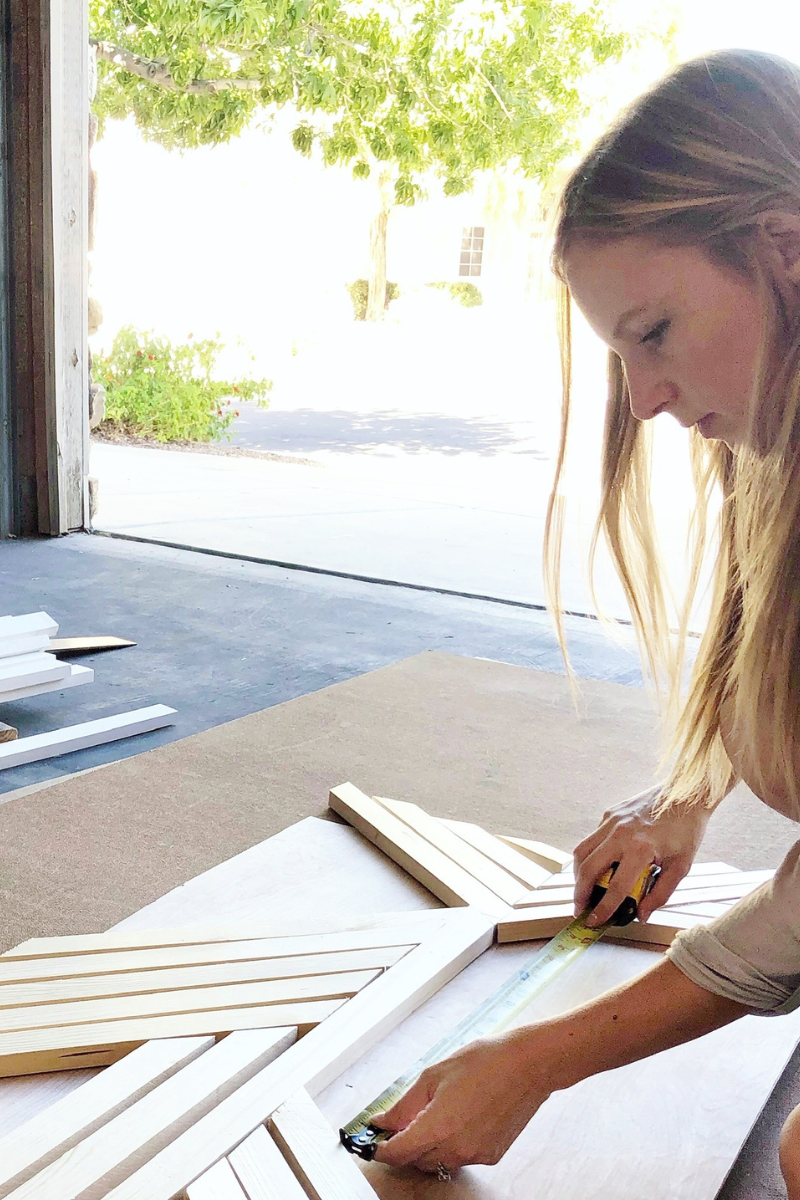
Cut your 1×2 common pine boards to the right size and angle with your miter saw. Miter saws are great for cutting angles! The cool thing about this project is that you will have very few boards that need to be exactly the right length. Angles will need to be exact of course, but the length might not matter depending on which zone you are in. I know I sound crazy, but I promise I have a plan!
Time to Put Your DIY Wood Wall Art Together
Your boards are cut and now it is time to put it all together! Starting in zone 1, apply wood glue on your common pine boards and then place them on your underlayment hardwood plywood background. Next, grab your nail gun and add a few finishing nails to keep everything right where you want it. Sound easy? It is! Keep working through your zones by gluing your common pine boards to the underlayment and then adding finishing nails.
Remember how I said lengths don’t have to be precise? Don’t worry about the boards that will hang off your piece of underlayment. Once all the boards have been attached, you can trim the extra edges with a skillsaw all at once. To do this, clamp a board to the edge of your art piece to create a guide for your skillsaw. Follow your guide and cut off the extra length to make a smooth edge. If this sounds way too stressful, you could always use your mite saw to cut the edges as you go.
Photo Frame Finish
Once all of your edges are even, you are going to frame out your art piece to finish it off. Grab your remaining common pine boards to create the frame. You will want the frame to be the same depth as the boards in your art. To do this you may need to shimmy the “frame” board up a bit which will create a recessed back, but no one will see it. To attach the frame boards, all you need are wood glue, a nail gun, and finishing nails. As we did before, apply the glue and then secure the board with your nail gun, and finishing nails. Simple right? If you have any questions, check out my process HERE.
Doable DIY Wood Wall Art
Creating doable DIY wood wall art is so fun and makes such a big impact in your home. Your wood wall art is going to be magical! I just know it. DIY magic happens all the time when you stop pinning and start doing. So, are you ready? Grab your supplies and get creating. And don’t forget to come hang out with me on Instagram and TikTok while I am tackling my latest projects.
Disclosure: I only recommend products I would use myself and all opinions expressed here are our own. This post may contain affiliate links that at no additional cost to you, I may earn a small commission. Read full privacy policy here.