You guys, nothing brings out my inner nerd more than making fun themed spaces for my kids. It makes me so happy! Remember the DIY Hogwarts Great Hall? And the Giant Lite Brite? And did you see the way I geeked out over my dad’s Eclipse photos? I’ve always been fascinated by space!
Over the last two years, both of my boys have become OBSESSED with outer space. As in, they put together their own space presentations for Aubrey and me. It’s the best!
Hence, the reason for this under the stairs space closet!
I would have been over the moon (pun intended) to have a freaking SPACE CLOSET in my house when I was a kid. As soon as I saw this space in our new house, I knew it would be the perfect place to build a cozy space-themed room for my kids. Even when they throw curveballs at me like adding space unicorns 🚀🦄.
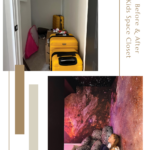
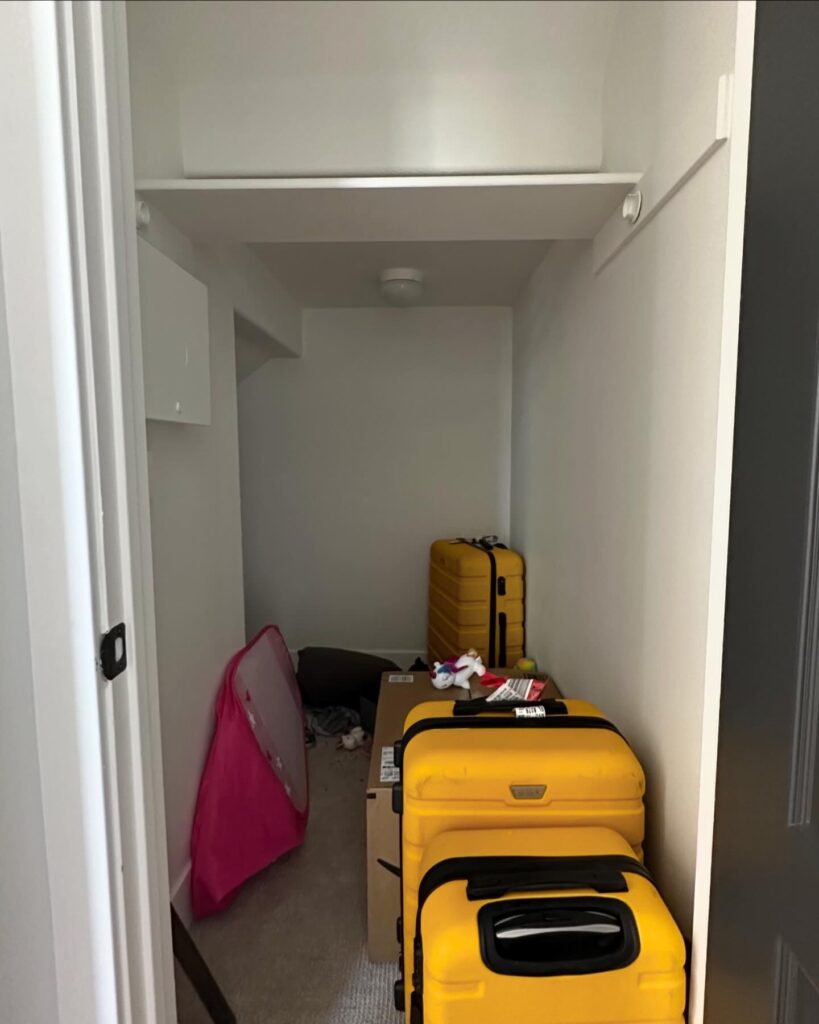
Here’s what the closet looked like before. Pretty plain and boring, huh?
I’m sharing all the details of this DIY Kids Space Closet with you. So you can make one for your kids and bring out your inner child!
How to Make a DIY Kids Space Closet
Step 1: Wallpaper Mural
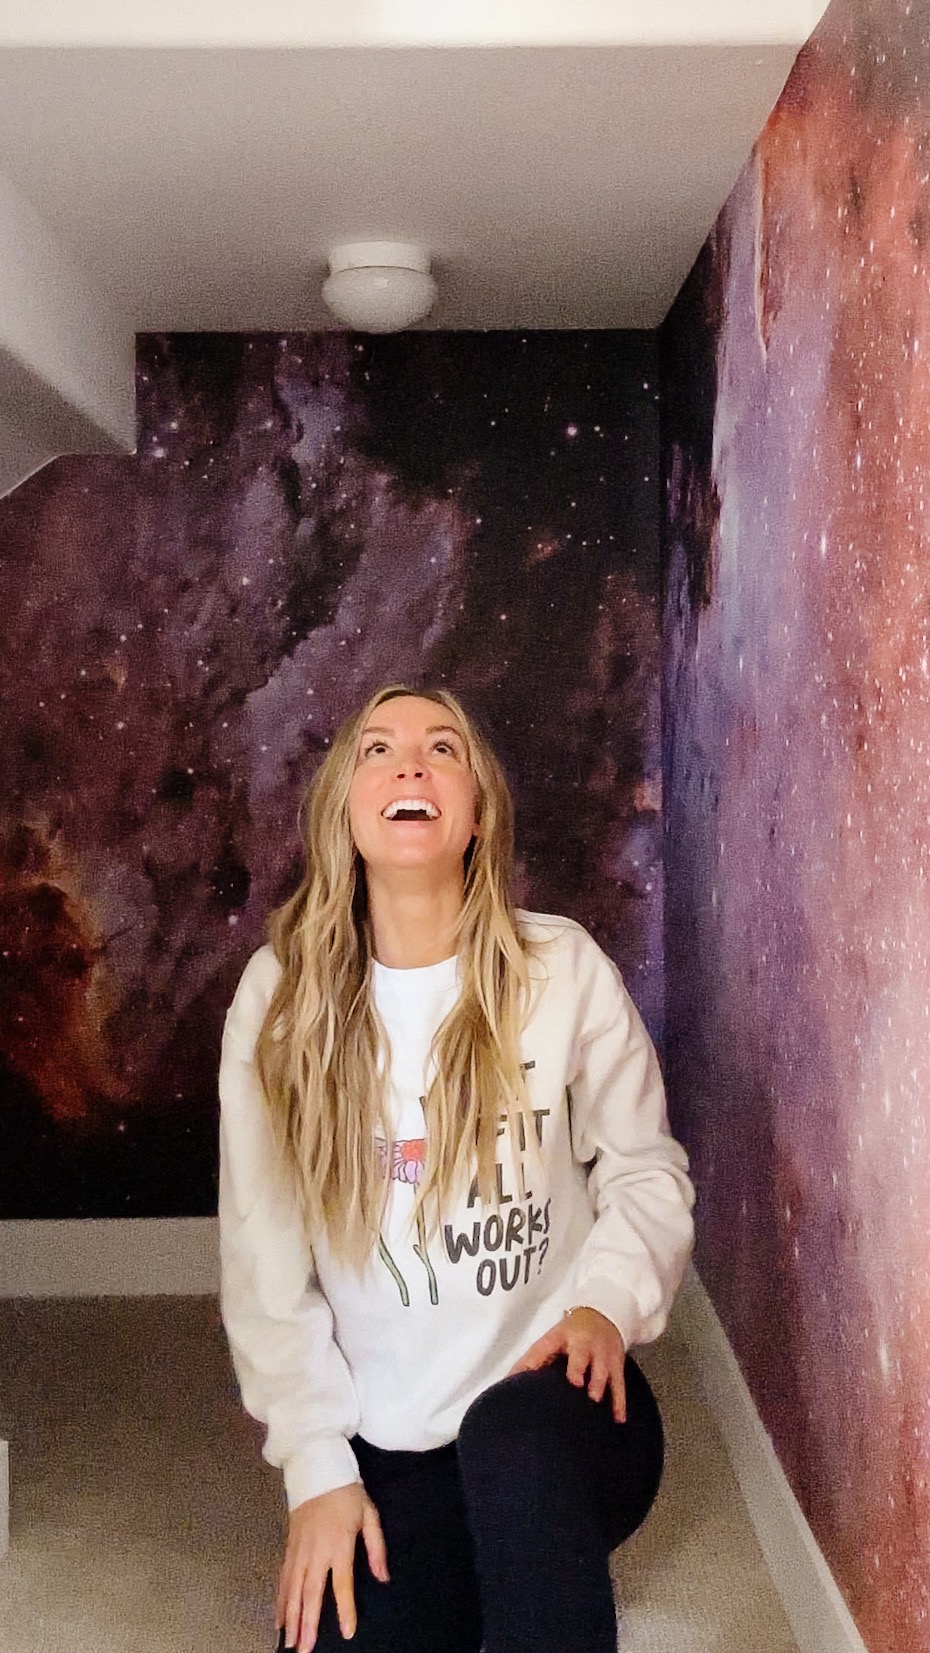
First, hang the nebula cloud mural along two walls. You’ll want this to take up about half of the wall space, but not all of it. I decided to paint the rest of the walls black (we’ll do that later on). Use peel and stick wallpaper like I did for easy application. Just make sure to line up each section with the one before.
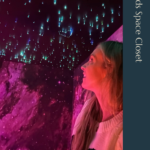
Step 2: Fiber optic lights
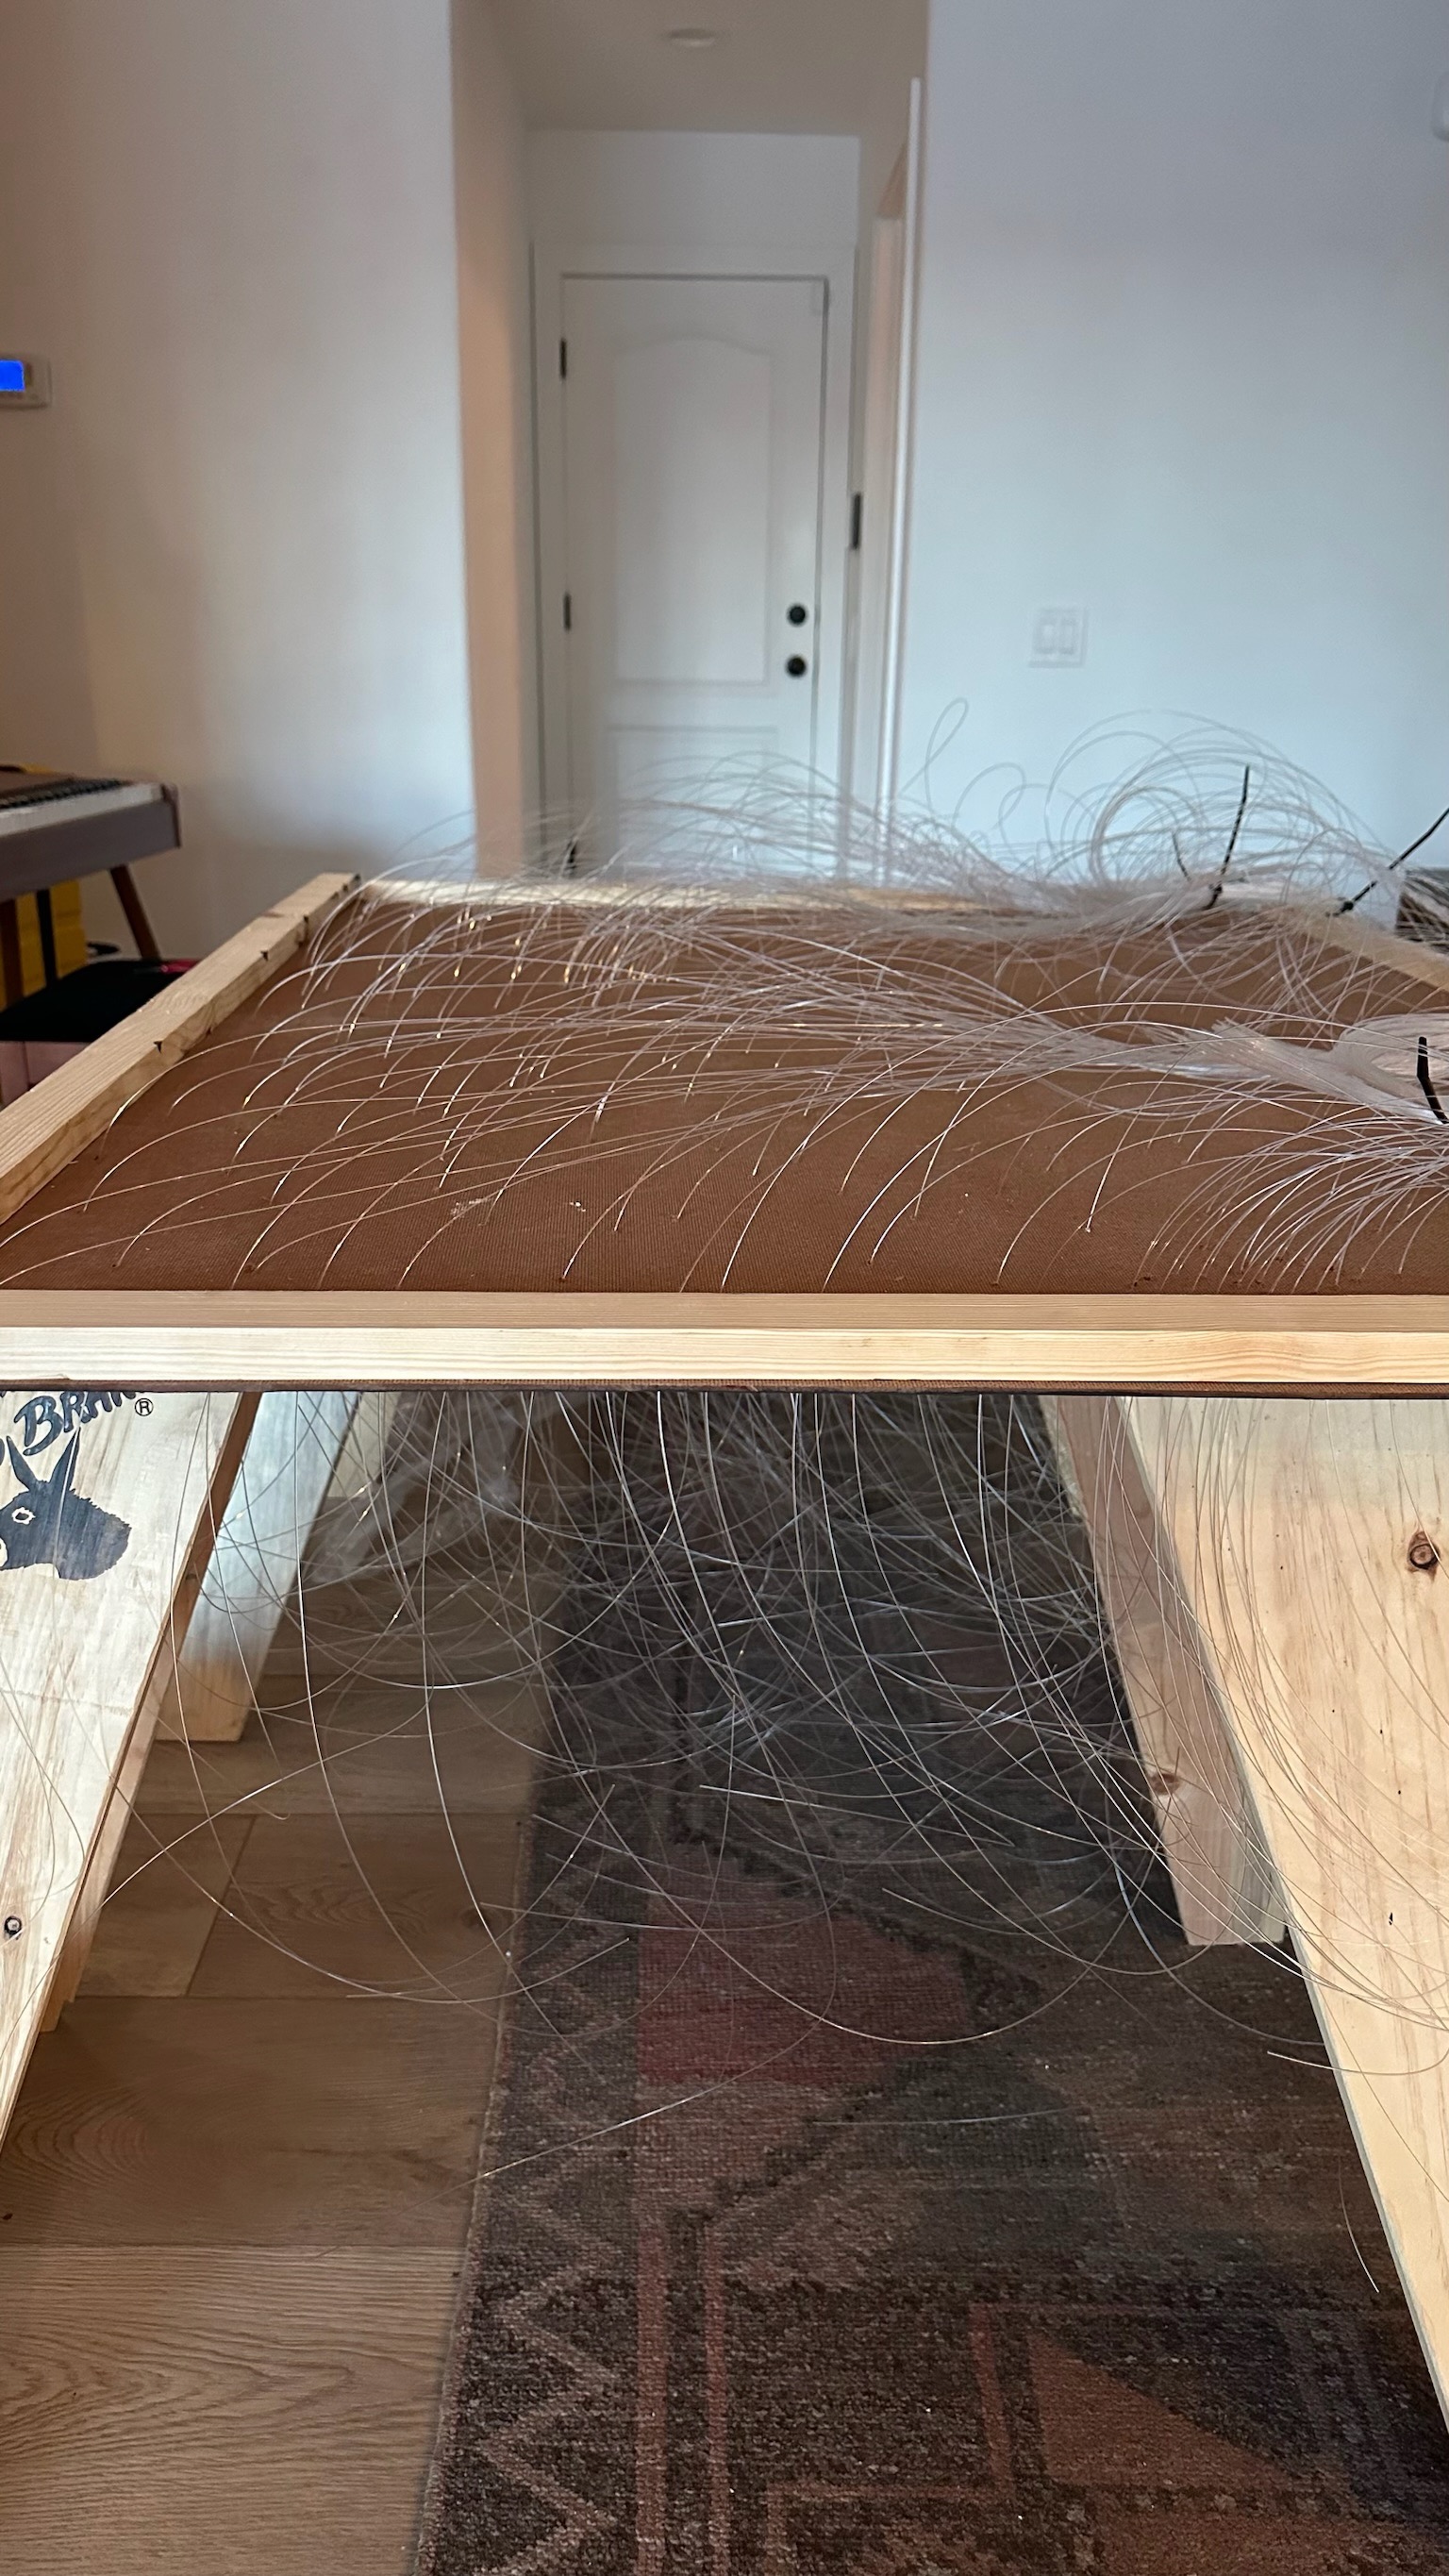
For step 2 of this build, you’ll make your constellation ceiling. This part is a little tedious. First, cut the ceiling board to size and drill a million holes (or maybe just 400). I made some fun constellations like a heart and the first letter of each of my kids’ names. Next, pull fiber optic strands through each hole. Dab hot glue on the back to keep them in place. Then hang your board by drilling it into the ceiling. Tip: use your head as an extra hand. Or go grab a friend. But I’m too impatient for that. Finally, trim the fiber optic strands so they don’t hang down too far. Leave roughly ½-1 inch of the strand hanging down.
View this post on Instagram
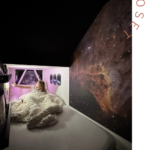
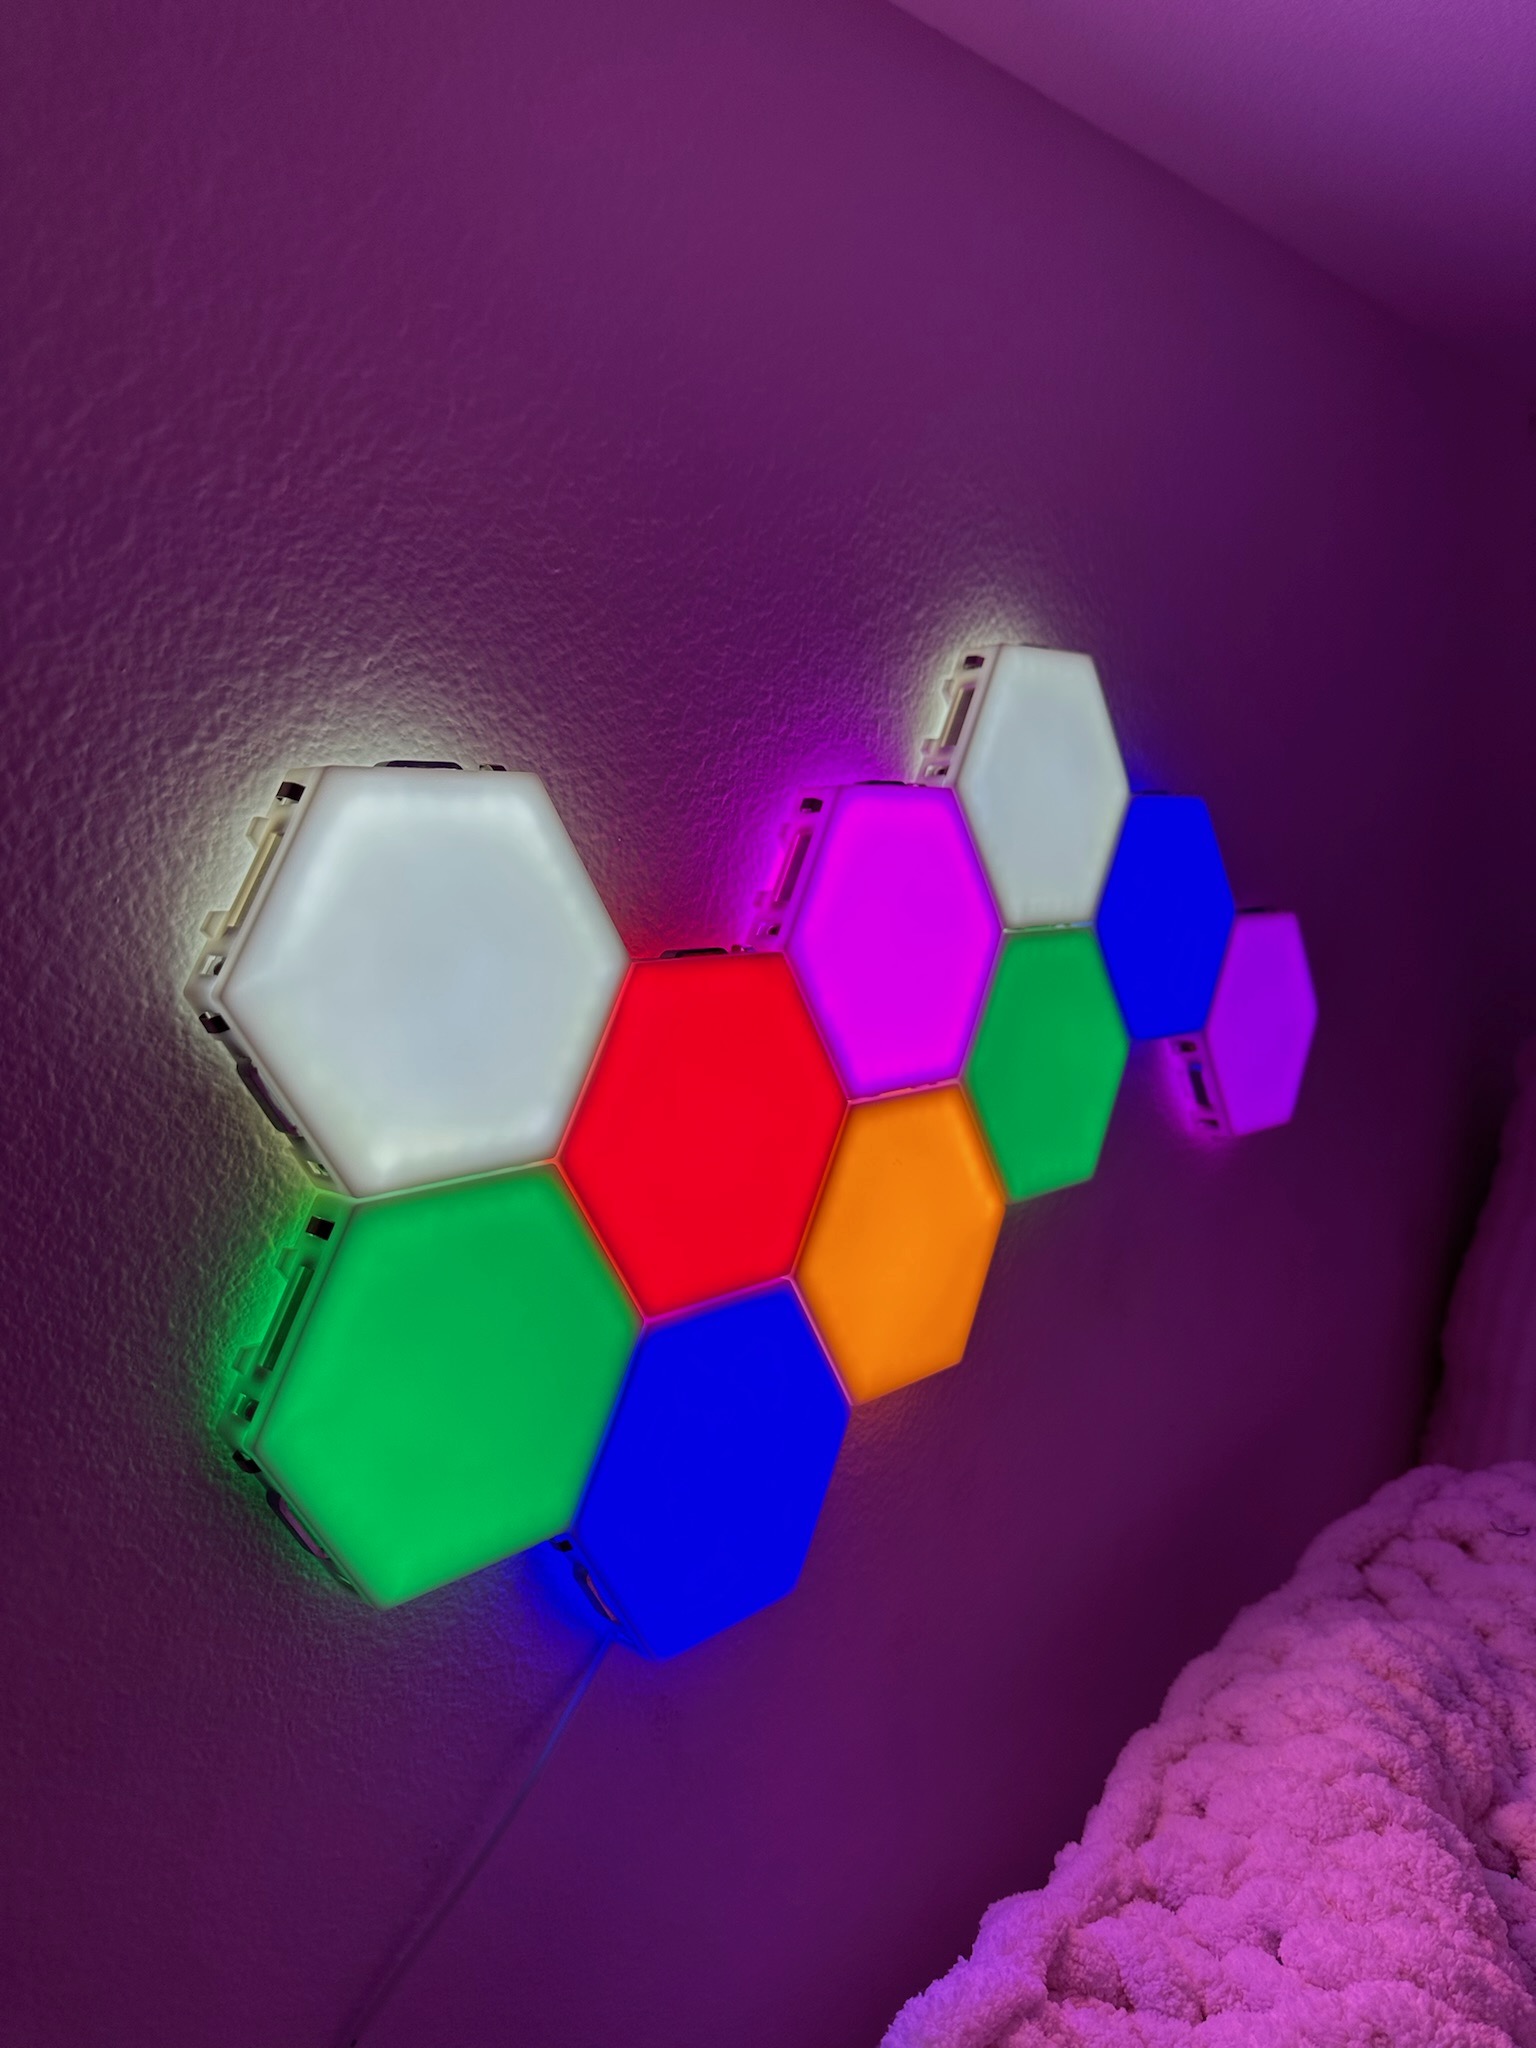
Step 3: Sconces and tap LED lights
Once the ceiling is in, add your other lights. I found these beautiful sconces and tap LED lights I had to have. Put one sconce by the front and another tucked around the corner. The tap lights were perfect for the spaceship area in the back.
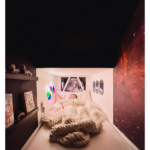
Step 4: Cozy Corner
Now you’re going to measure the nook in the back and figure out which size mattress you need. I was shocked that a folding twin size mattress fit perfectly in my space! You can also buy craft foam and cover it if you need it to be a custom size. Add in some fun pillows and a cozy blanket.
Step 5: Paint the Walls Black
Now it’s time to paint the walls black! I left the back spaceship area white for some contrast. Use painter’s tape to tape off your mural, lights, and anything else you want to protect. Be sure to do two coats of paint. Even if the can says it only requires one coat. Tip: paint your outlets (and even the screws!) to match your walls. Game changer!
Step 6: Build Book Ledges
Here’s where we build our little book ledges for the spaceship area. I made two ledges for my space. This is what you’ll do:
- First, cut the boards using a saw. Each shelf will have three pieces: a bottom, back, and front.
- Then, assemble each shelf with wood glue. Some people like to use nails, but wood glue is actually stronger!
- Hold the shelf in place with clamps. Once it’s dry, remove the clamps and make sure it all stays together.
- Use spray paint to paint each shelf black to match the room. Let it dry.
- Position the shelves where you want them and use a level to make sure they’re straight.
- Screw the backs of the ledges into the wall.
You can find the video tutorial on my Instagram highlights under Space Closet.

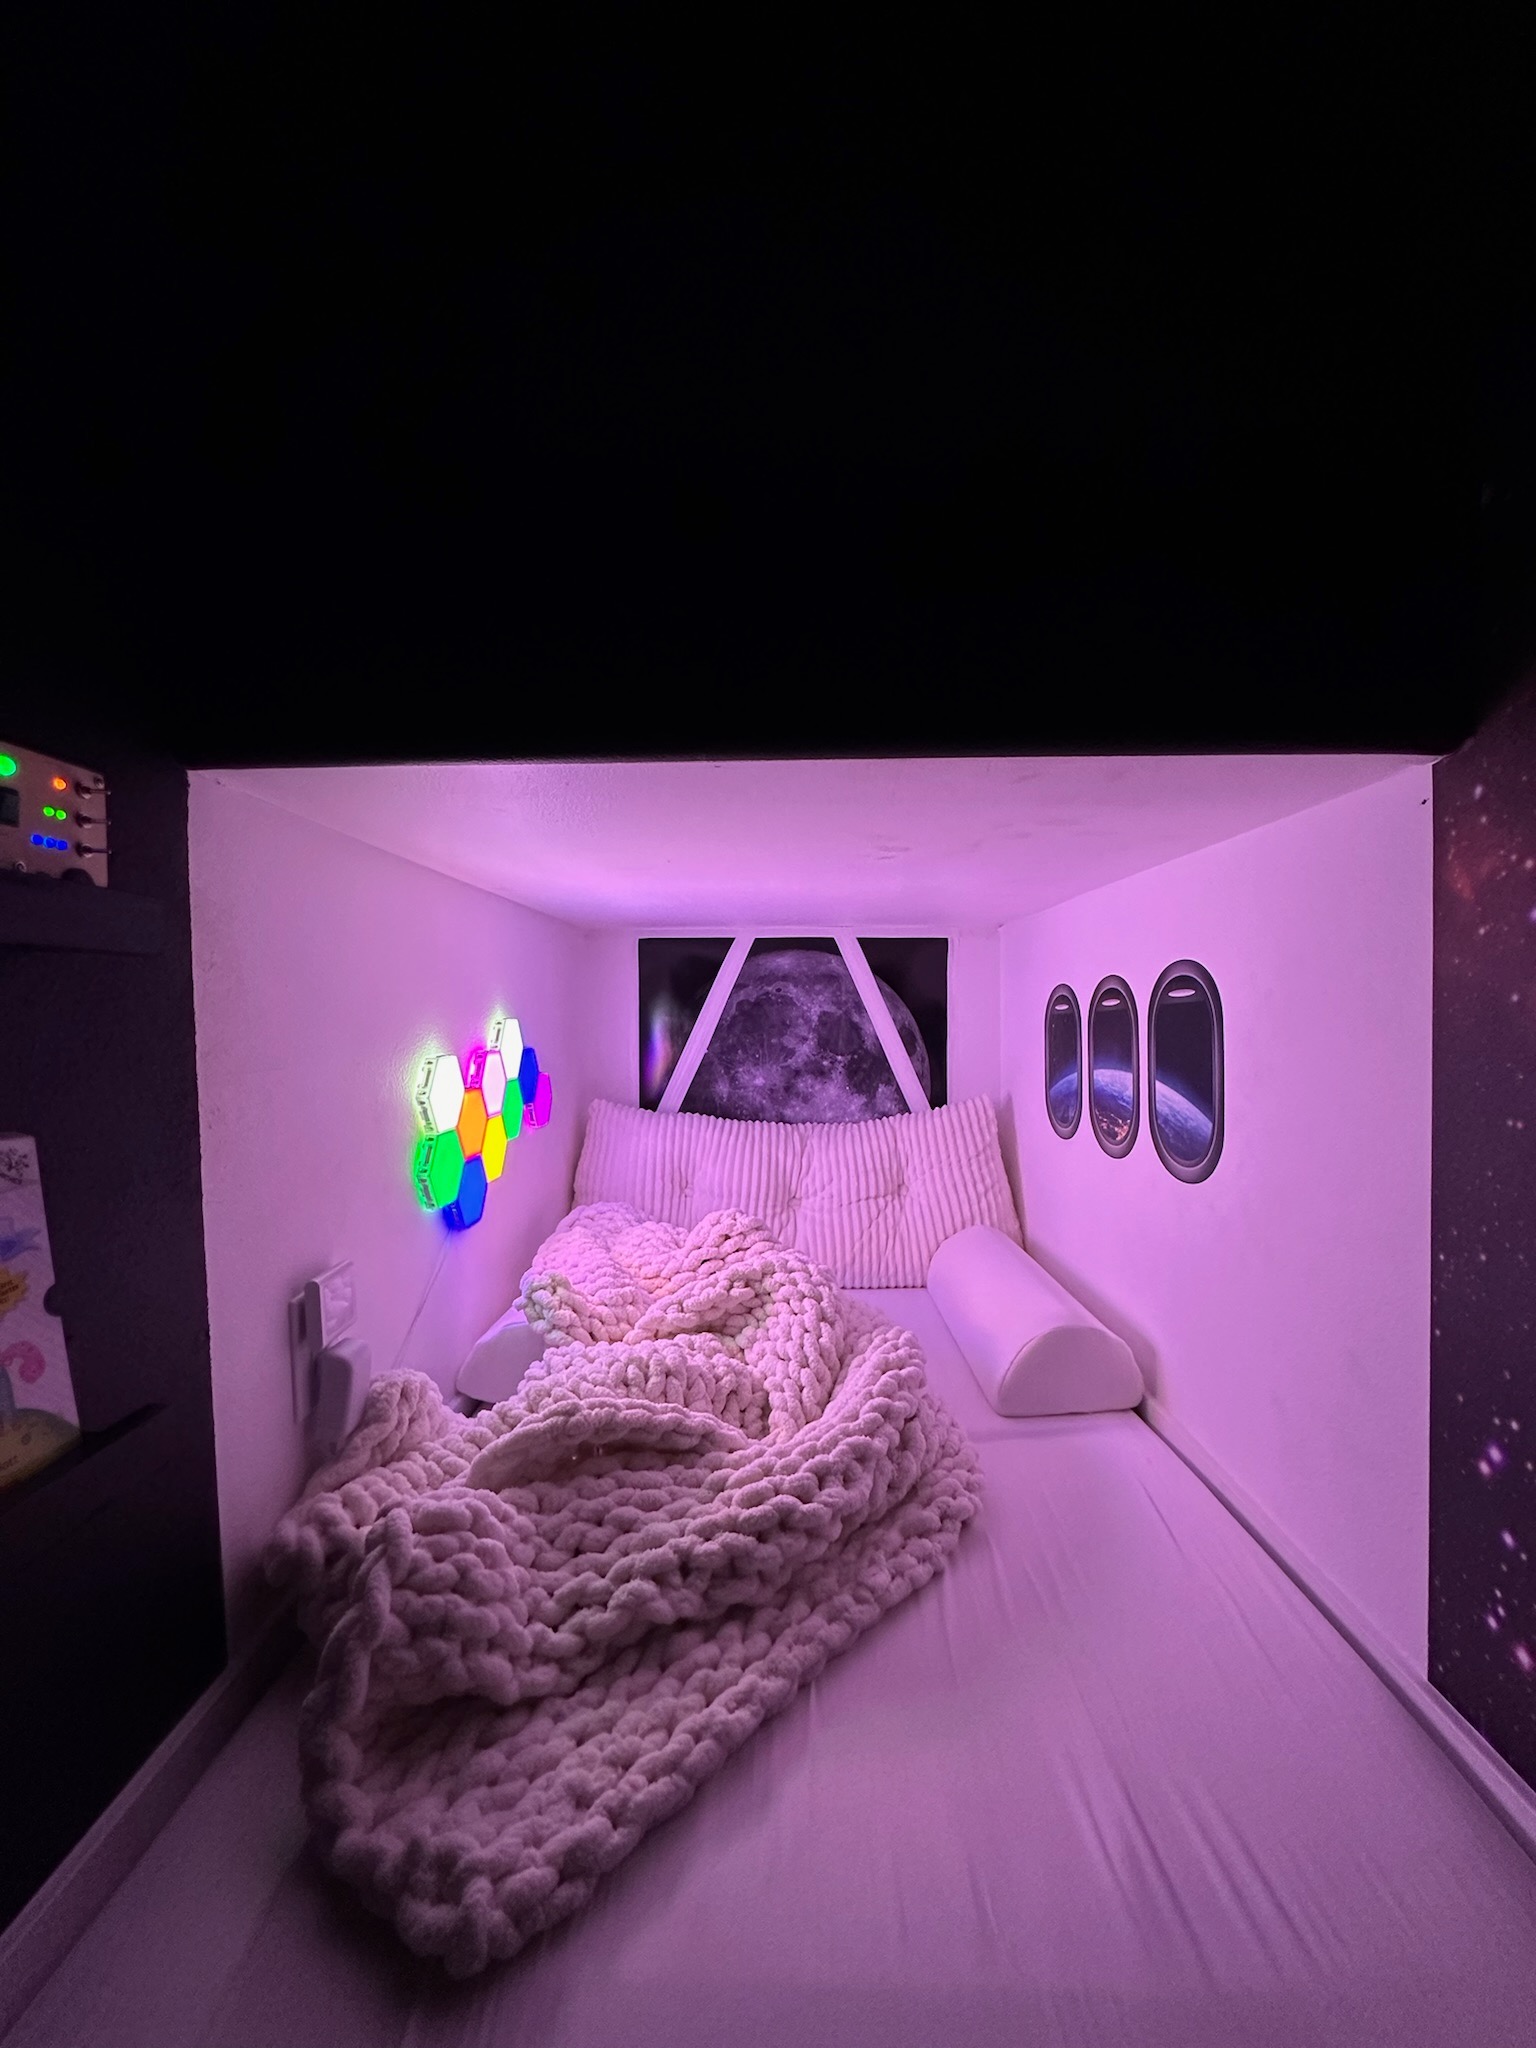
Step 7: Add decals and other accessories
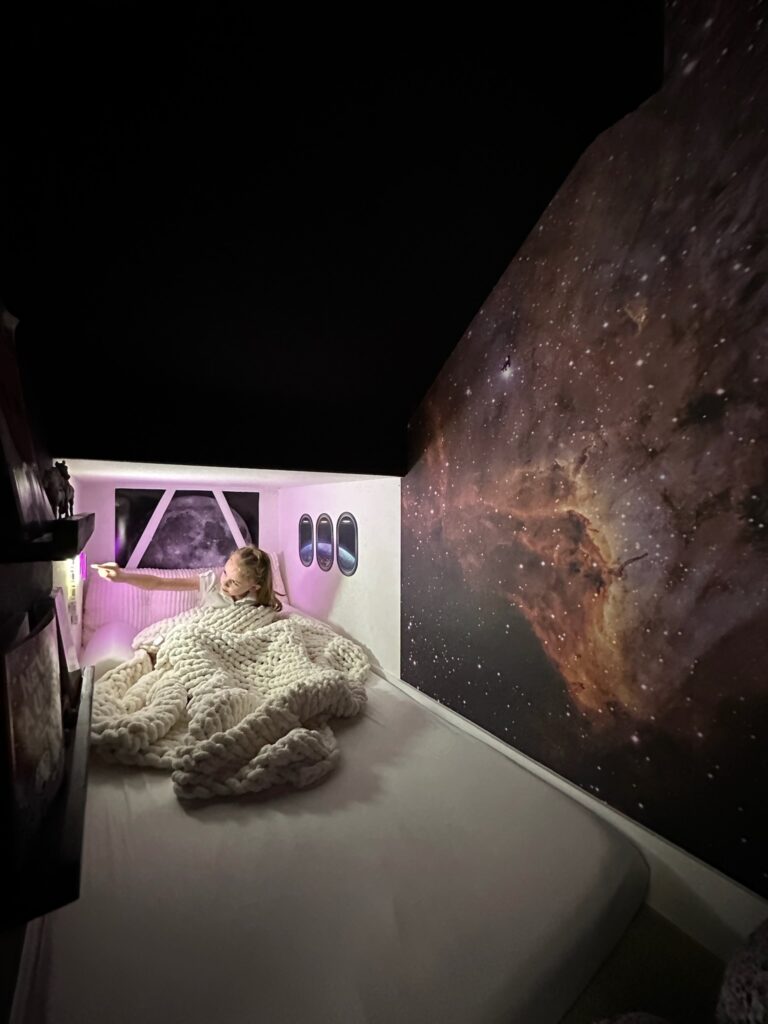
Lastly, finish off your room with more pillows, decals, books, a control panel, and other fun accessories! Let your kids get involved and decide what they want in the room. We decided to have the moon on one wall and the Earth on another.
You can find all the links to the items I used here.
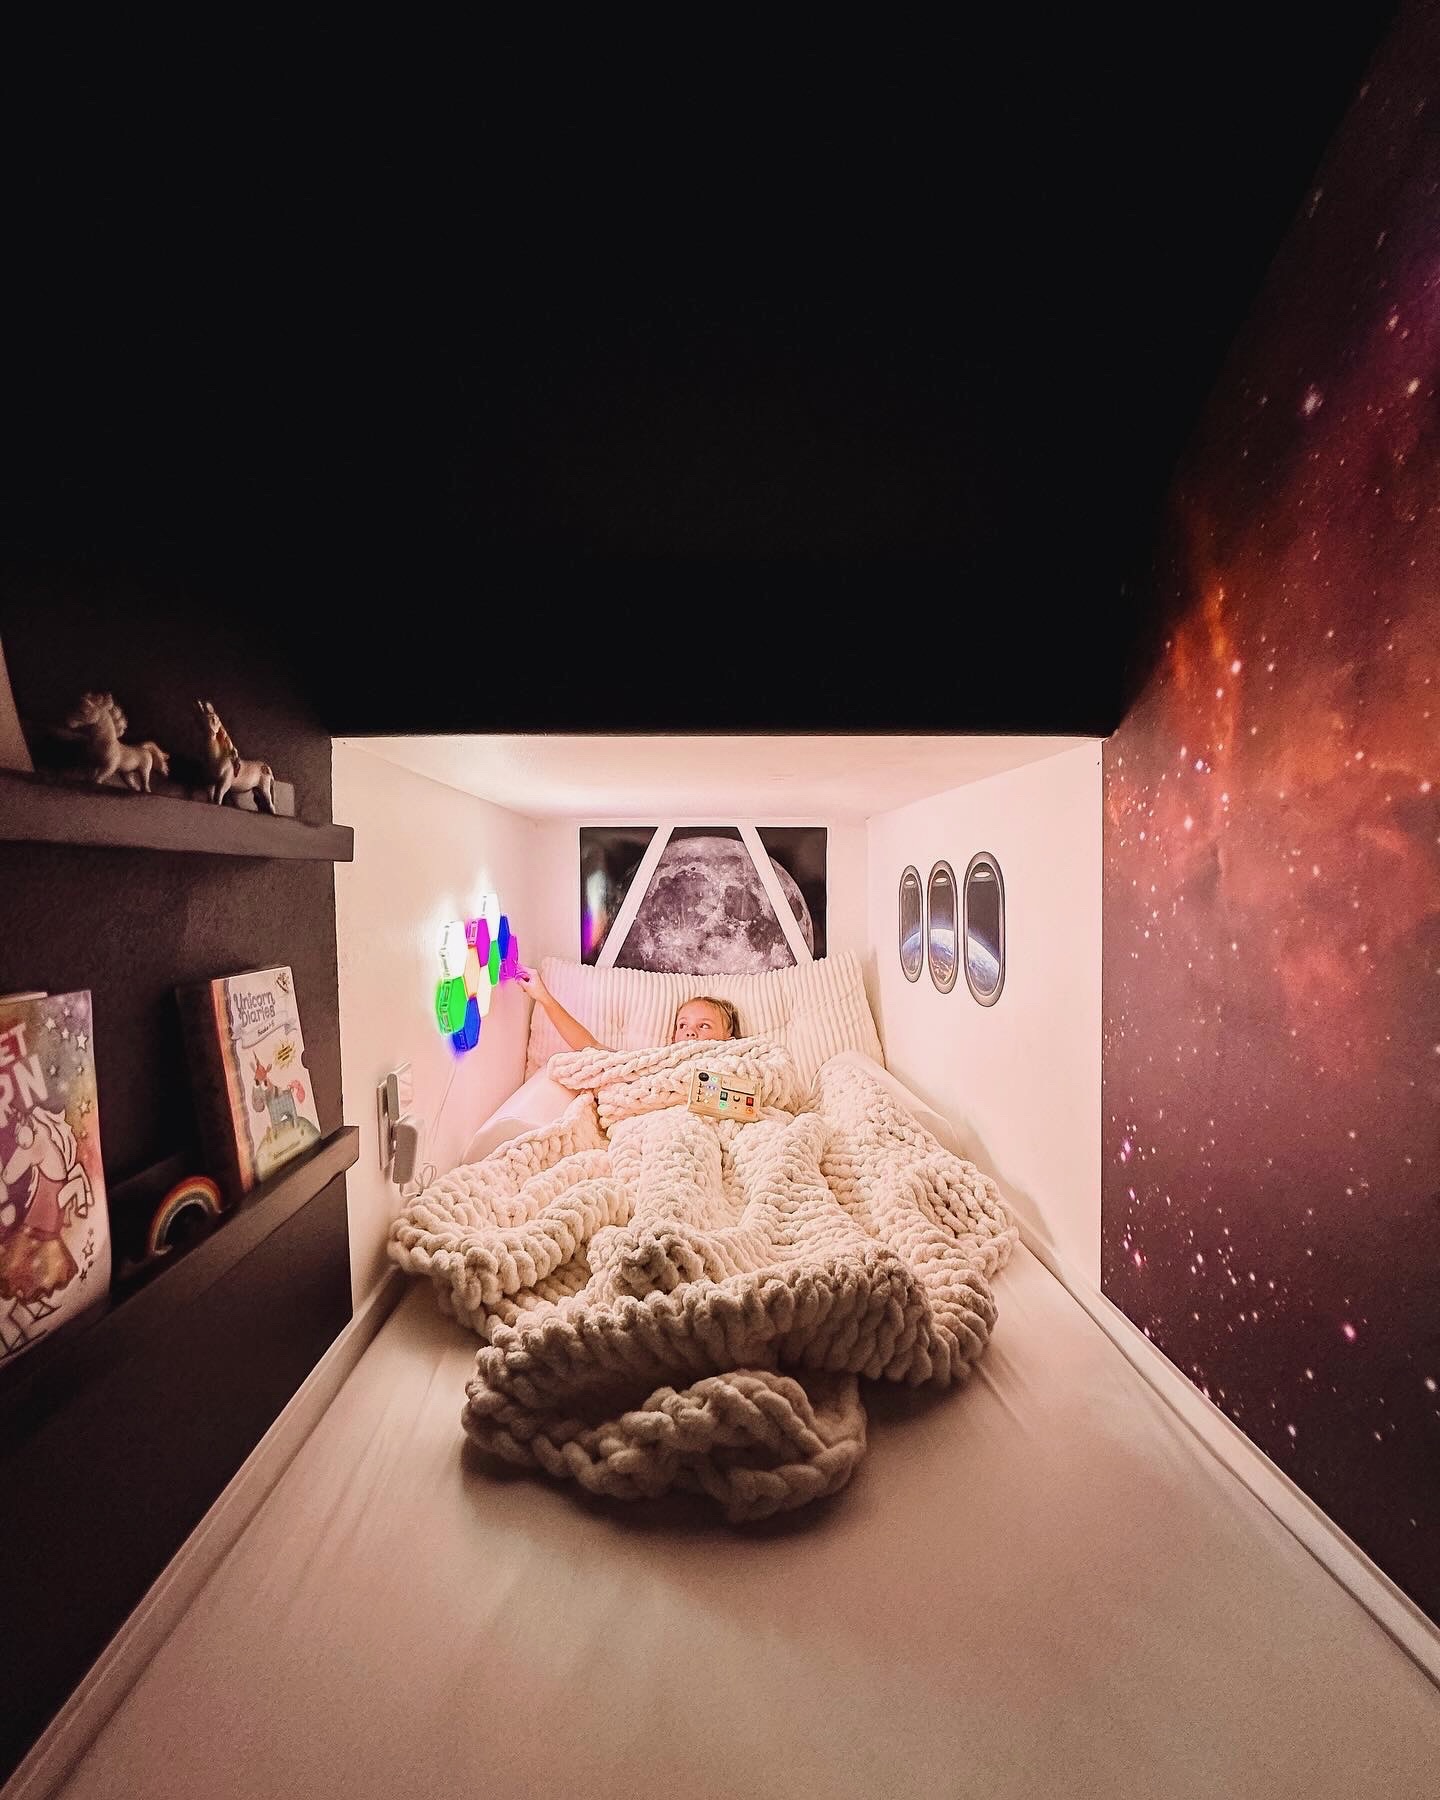
DIY Kids Space Closet
This was such a fun build and I don’t know who is enjoying it more – me or my kids! I love making spaces that they will enjoy for years to come. If you make your own DIY Kids Space Closet, be sure to tag me on Instagram!
Follow me on Instagram and TikTok so that you can see all my latest DIY projects and building tips. Whether you’re a beginner or a more advanced DIY-er, I’d love for you to follow along!
Disclosure: I only recommend products I would use myself and all opinions expressed here are my own. This post may contain affiliate links that at no additional cost to you, I may earn a small commission. Read the full privacy policy here.