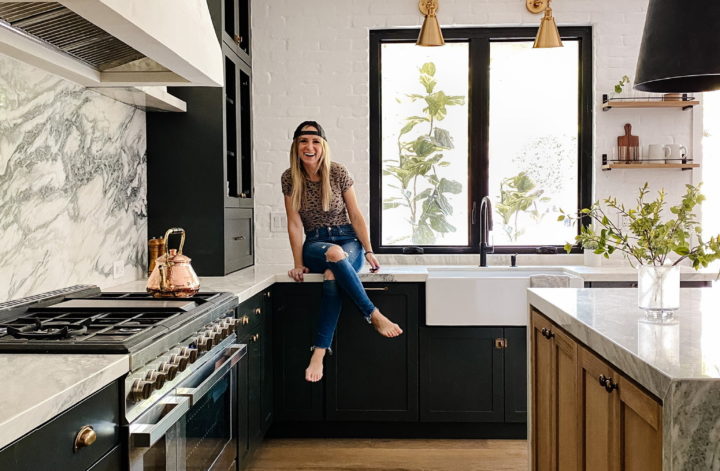
Recently I finished my DIY kitchen renovation. I absolutely love how it all turned out! Kitchen renovations are not easy, and mine was no exception. I didn’t completely take all my cabinets out, but I did put new fronts on them. You can see that process here. As part of my kitchen renovation, I tore out my old kitchen island and installed a new modern waterfall kitchen island. Let me show you how I did it.
Modern Waterfall Kitchen Island
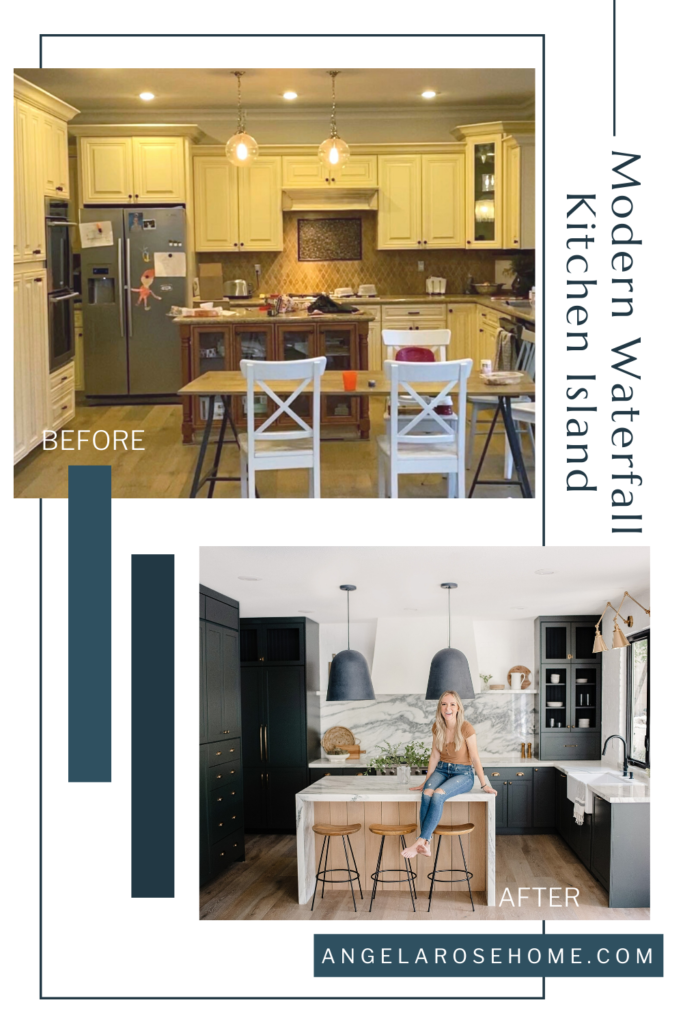
Tearing Out the Old Island
The first step for installing my new kitchen island was to tear out the old island. It was a nice island, but the style wasn’t my favorite. Also, the glass-doored cabinets weren’t my favorite for storage or for life with young kids. The biggest reason I tore out my old island was that I wanted a place to pull up stools for quick snacks with the kids in the kitchen. My new waterfall kitchen island solved these issues!
Measuring and Creating the Kitchen Island Base
After I got the old island out of my kitchen, I used painter’s tape to measure out the space that my new island would take up on the floor. It’s important to really visualize how big your island is going to be in your space.
*Pro tip– Did you know there is a standard measurement that you should aim for between a kitchen island and your counters? 42 inches is the usual measurement. This will give you enough room to walk comfortably around your island without feeling too squished.
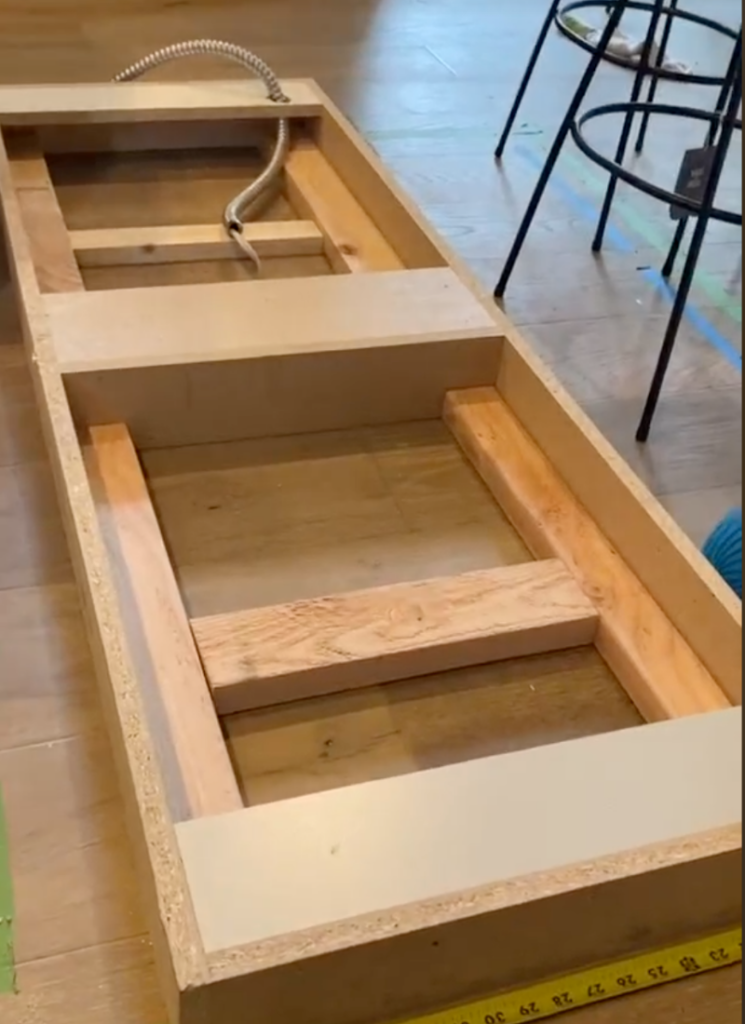
Once I had my measurements, it was time to build the base. I used 2x4s to build a secure base for my island cabinets. The base raises the cabinet bases off the floor, giving you a toe kick and allowing cabinet doors to open and close. The 2x4s also help to keep the island square. Be sure to screw your 2×4’s into the floor to keep the base from moving.
Don’t forget! This is the time to account for any water lines or electricity you want to run to the island as well. It’s a lot easier to do that without the cabinets in the way.
Installing the Cabinet Boxes in my Waterfall Kitchen Island
Once you have your base built and secured, you can install your cabinet boxes. I had a friend make my cabinet boxes for my island, but a great similar option would be to purchase cabinet boxes from Ikea. I placed 2 double-wide boxes next to each other and screwed them into the base I created. Don’t forget to also screw them to each other so they don’t shift.
Preparing for the Waterfall Countertop
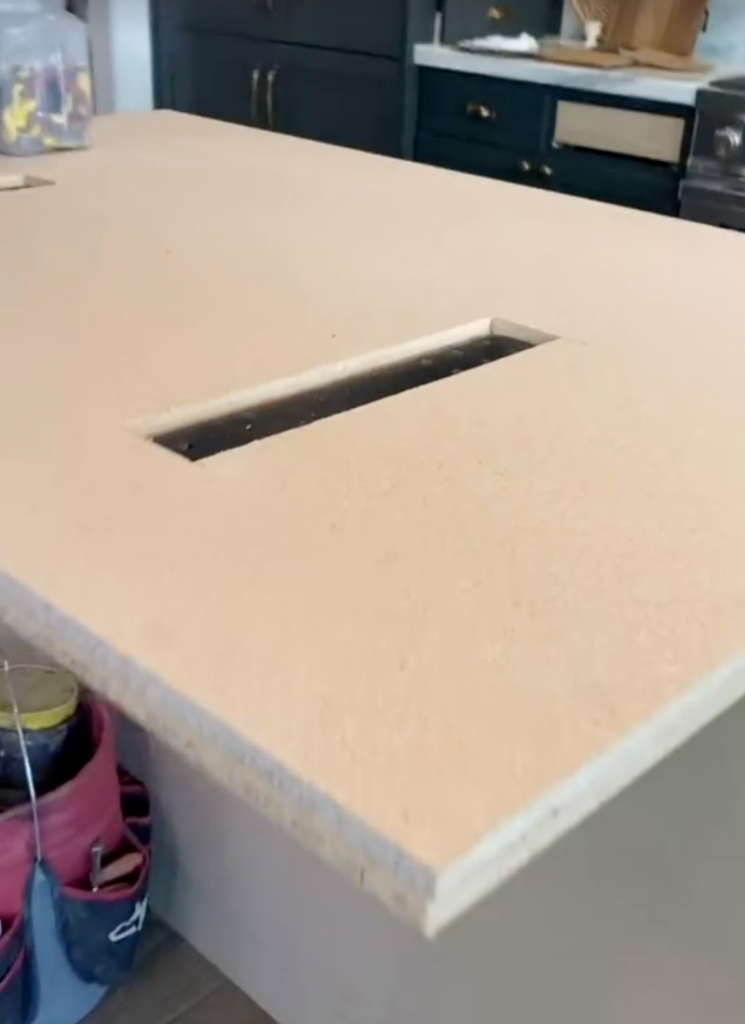
The next few steps are best left to the pros. But I’ll still show you the process. I thought it was fascinating! Before the stone countertop can be installed, the pros will install support boards and dummy counters that will support the stone slab counter.
Because I am installing a waterfall counter with a large overhang to slide stools under, we needed some extra supports. As you can see from the image below, they doubled the thickness of the MDF dummy counter and also used two metal brackets to strengthen the overhanging edge of the island.
Waterfall Counter Installation
Like I said earlier, this is a step best left for the pros. Installing a waterfall countertop is a bit like a puzzle. There are 5 pieces total on my island countertop. The top piece, the two waterfall sides, and 2 inside waterfall pieces. Thanks to the mitered edges, all of these pieces will fit together seamlessly once they are installed!
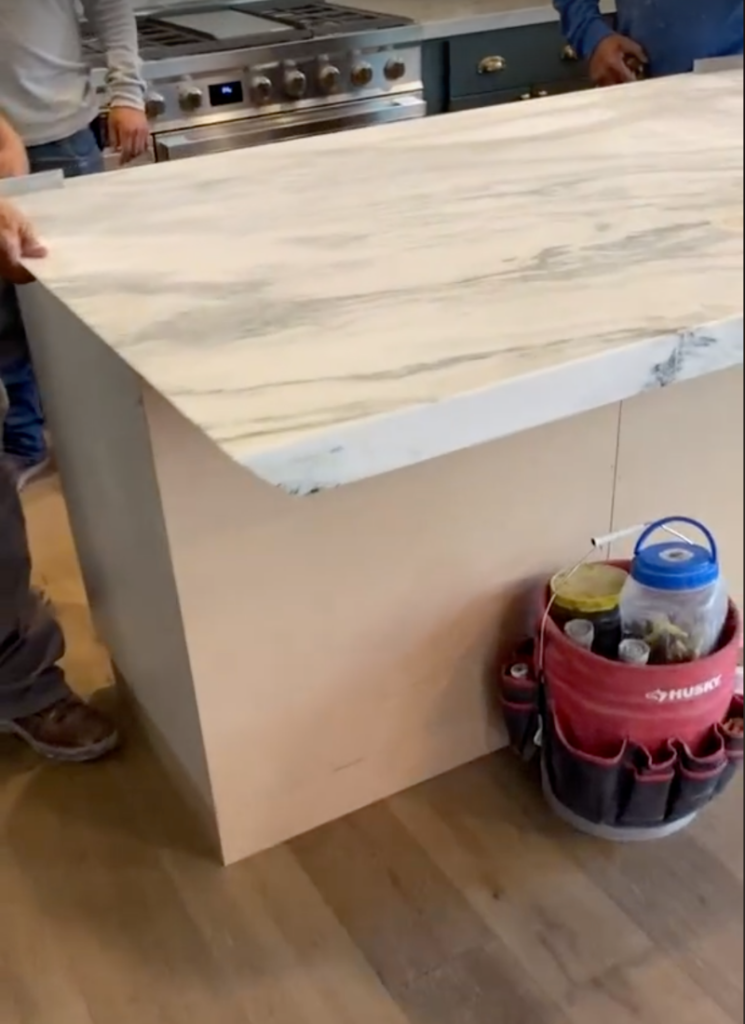
First, the installers put down silicone on the top of the dummy counters. Then they placed the countertop down onto the silicone and let it settle. Once the top countertop is secure, they were able to install the side pieces. I wish I had gotten pictures of this part, but you’ll have to trust me when I say that I’m glad they knew what they were doing! After all of the pieces are installed, the counter installers came back and sealed the seams to protect the stone and also to help everything look flawless.
Customizing my Modern Waterfall Kitchen Island
I am obsessed with how the countertop looks on my new kitchen island, but you know me, I needed to add my own touch to this project! I decided to add some oak planks underneath the island where my kids’ stools will be. Don’t you love how the rough wood looks against the smooth, polished stone? And I really love that you won’t be able to see the scuff marks from my kids’ kicking against the island!
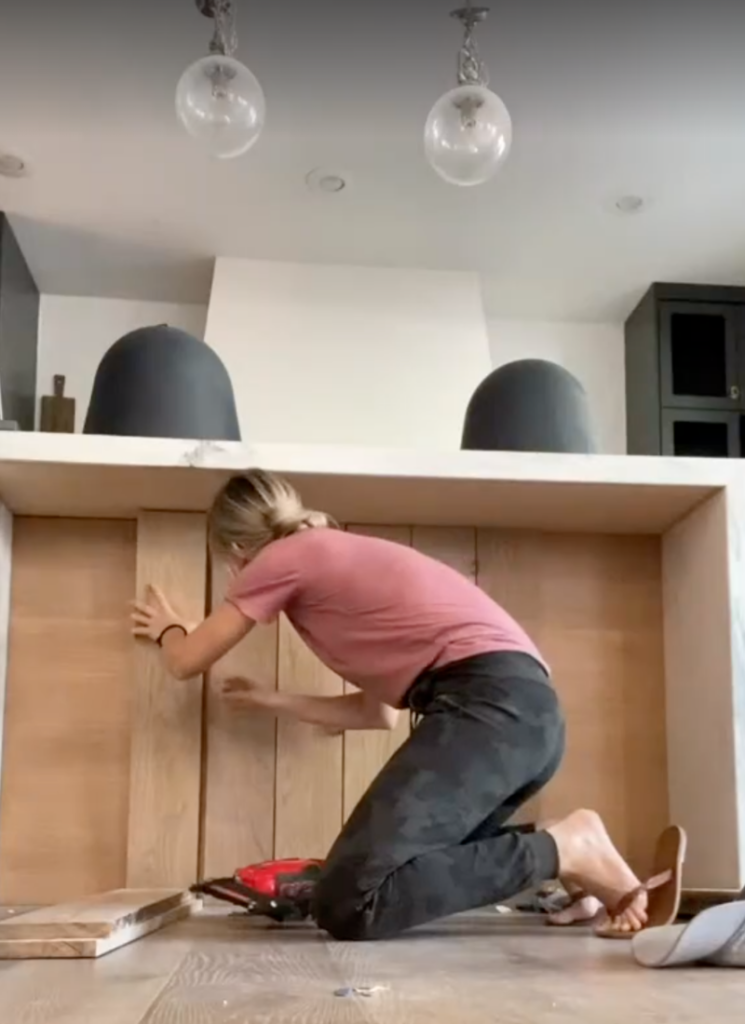
To install the wood planks, first I cut them to the correct length and then I used a nail gun and level to install the boards onto the backs of the island cabinet boxes. I started in the middle of the island so that the end boards would be the same width. To keep the spacing minimal and also even, I used a ⅛ inch spacer between the boards. Once the boards were all installed, I breathed a huge sigh of relief. It was done!
Why I Love My Modern Waterfall Kitchen Island
I love how this kitchen island turned out! It’s the perfect finishing touch to my kitchen renovation. One of my favorite things about DIY is being able to customize my living spaces to fit my personal aesthetic. This kitchen was no exception. It’s amazing what you can do with some sweat, a few tools, and a lot of ideas! Our modern waterfall kitchen island has become one of our favorite places to hang out. The kids love to eat snacks and breakfast at the island and I love that I can talk to them while prepping lunches or washing dishes. For all of the sources for my kitchen renovation, be sure to check out this post!
To keep up with more of my DIY projects, follow me on Instagram @angelarosehome.

