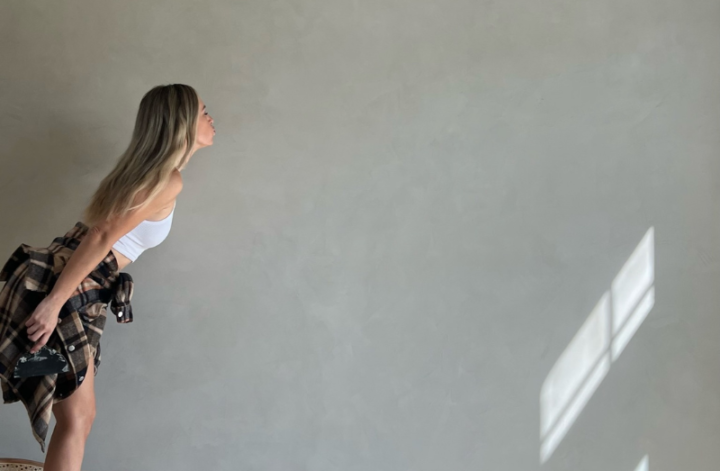
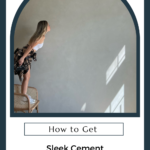
Have you ever found a photo of something that looks so incredibly cool that you NEED to have the same look in your home? No, just me? Well, I love finding a good inspiration picture. In fact, I have a lot of inspiration pictures for my entry dining room that I am currently in the middle of renovating. Those pictures are why I transformed my sliding glass door. And, they are why I had to figure out how to get sleek cement looking walls. Have you seen the walls I am talking about? I’m sharing my process of how to get sleek cement looking walls, so you can have them too!

What You Need to Get Sleek Cement Looking Walls:
- 6 inch putty knife
- Roman Clay by Portola Paints
Sounds simple? The supply list is super simple. You don’t need much to accomplish this amazing look. The catch is that the project takes a whole lot of elbow grease to get your wall exactly how you want it. But, that has never stopped us from our DIY projects before, right? I promise you, the extra effort is SO worth it!
First Step, Pick Your Color
Portola’s Roman Clay is an amazing product. I love that it is made of natural ingredients, is smooth to the touch, and you can achieve so many different looks. Not to mention, it comes in a ton of colors!
There are so many colors to choose from, that I had a hard time deciding. If you were hanging out with me on Instagram while I was trying to decide, you might remember the different swatches I was comparing. Portola knows it can be hard to choose, which is why they will actually send you samples in the mail. That way you can compare the colors you are deciding between in your actual space with natural light.

For my entry dining room, I landed on the most perfect color of Roman Clay. Thumper by Portola Paints is an earthy, medium toned beige with a hint of my favorite color….GREEN! I was a bit nervous about the color before putting it on the walls, but in the end, it was the perfect choice!
Before You Start
Before you start giving your walls a sleek cement look, make sure your walls are prepped. You do this by priming your walls. I like using Kilz premium paint. Ideally, your walls will be smooth, but if they aren’t, you can call Portola. They will talk you through the process and explain the steps for preparing textured walls.
Achieving the Concrete Look
The application of the Roman Clay isn’t very hard, but a little practice goes a long way. I suggest WATCHING THE TUTORIAL video from Portola Paints. I watched this whole thing and studied it before attempting my first cement looking project. Were you here when I gave my fireplace a cement look?
After you’ve studied the video and are ready to jump in, I recommend starting with a small portion of your wall, or even a spare board lying around from another project. That way you can get your own personal technique down.
To get the look, all you need is a 6 inch putty knife. Get your Roman Clay product on the wall with your putty knife and move it around. Seems pretty vague, right? I’m telling you, watch this video or check out my fireplace tutorial video! They will show you how you can apply the product in different angles and thicknesses to get the look you want.

The key is to only apply a thin coat every time. That helps build depth, texture, and makes the walls more interesting. For me to get the look I saw in an Anthropologie ad, I ended up needing to do 3* of Roman Clay.
Fun Fact: We are used to paint going on to walls lighter and then drying darker. Roman Clay is the opposite. Every layer you apply becomes lighter and lighter.
WARNING
During this project, I can almost guarantee that you will go through the steps of DIY doubt. Do you know what I mean by DIY doubt? Here’s how DIY doubt usually goes for me…Before I start a project, I’m super excited. I can picture how the project will turn out in my head and know it is going to be awesome! Then, I get going. But, mid-way through the project I am not sure what I envisioned will actually turn out. The key is just to push through! I promise you, by the time the project is done, things are always better than what I dreamed up initially.
In regards to this project, here’s how DIY doubt will probably look while you are creating your cement looking walls:
Hour 1 of Roman Clay- Excited about the idea
Hour 3 of Roman Clay- Hoping it works out
Hour 9 of Roman Clay- Regretting that you started
Hour 20 of Roman Clay- Feeling like it might work out
Hour 25 of Roman Clay- In love with the end product
DIYing can be a wild ride. But, I’ve never regretted the process once a project is complete. You just have to push through the doubt and keep going. It’s just like my motto: Stop pinning. Start doing. DIYing takes action! So keep doing, and I promise, you are going to love your cement looking walls (or any other project you are doing).
Tying it all Together
After my walls were looking sleek, the project just didn’t feel done. My baseboards were creating a visual stop between my Hewn flooring and my cement looking walls. Luckily, I found a perfect paint color match! Once I painted the baseboards to match the concrete looking walls, the whole space was tied together. Seriously, painting the baseboards made all the difference! Now I have to decide whether or not to paint the ceiling or give it the same cement-like treatment. What would you do?

How to Get Sleek Cement Looking Walls
The moral of the story is…you can see a picture that inspires you, and then transform it into your own DIY project. That’s what happened to me with these walls. I had some really cool inspiration pictures which motivated me to figure out how to get sleek cement looking walls. If you are looking for other DIY inspiration, follow me on Instagram and TikTok. I am always working on something.

