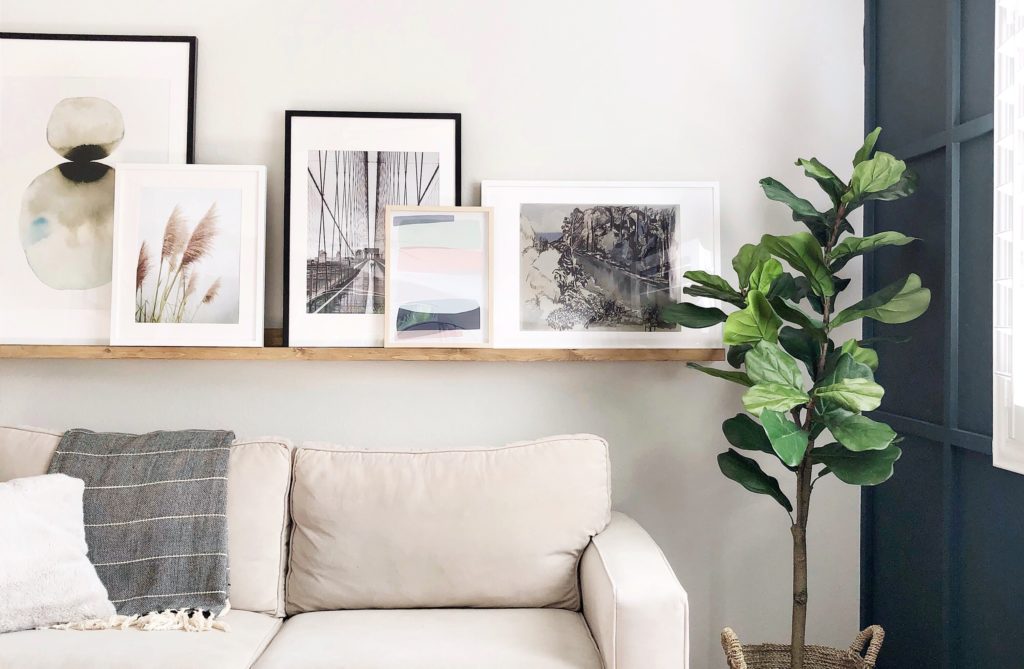
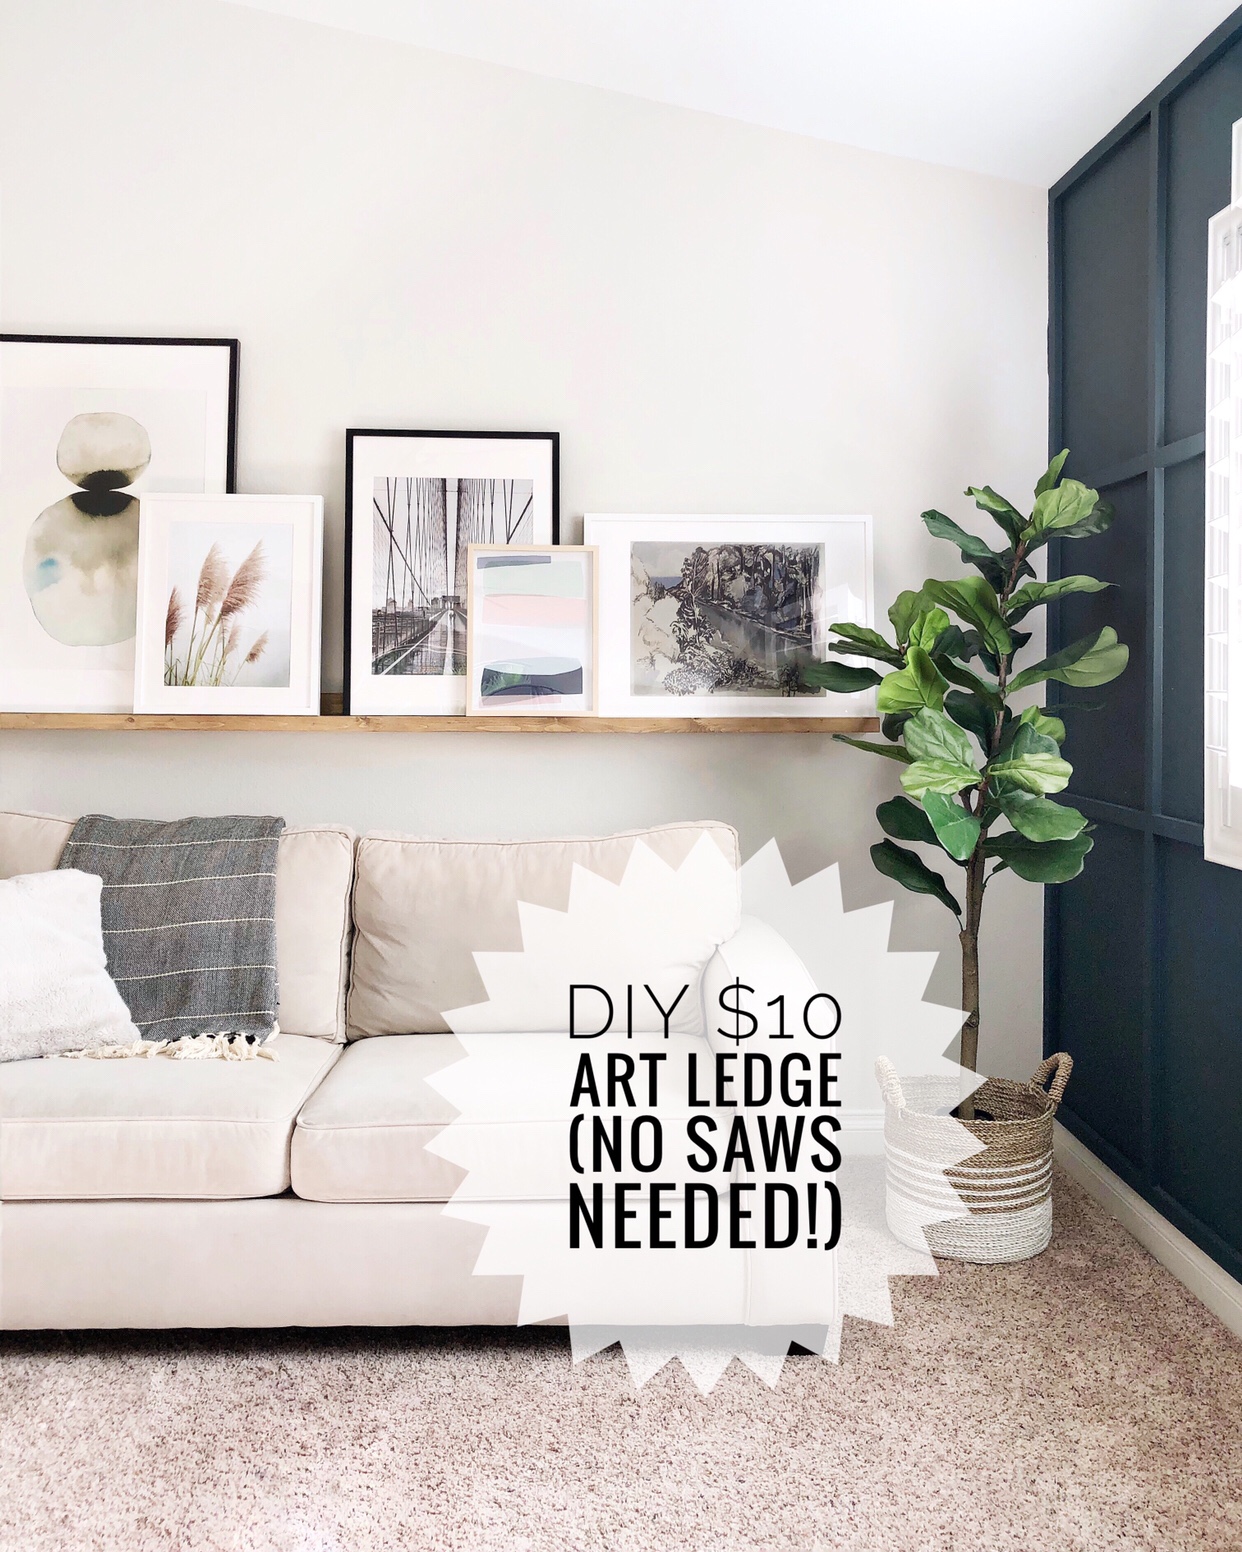
When I first saw the art ledge from Chris Loves Julia, I knew I loved it and needed one. The only problem was, their instructions involved a table saw to cut down one big piece of wood, which I didn’t have. Most people are in the same boat as me, so I decided come up with a way to do long art ledge, but with just a drill. It’s easy, I promise…just 3 pieces of wood! (You can also see this and many other DIY video tutorials @angelarosehome in my story highlights)
Here’s what you need:
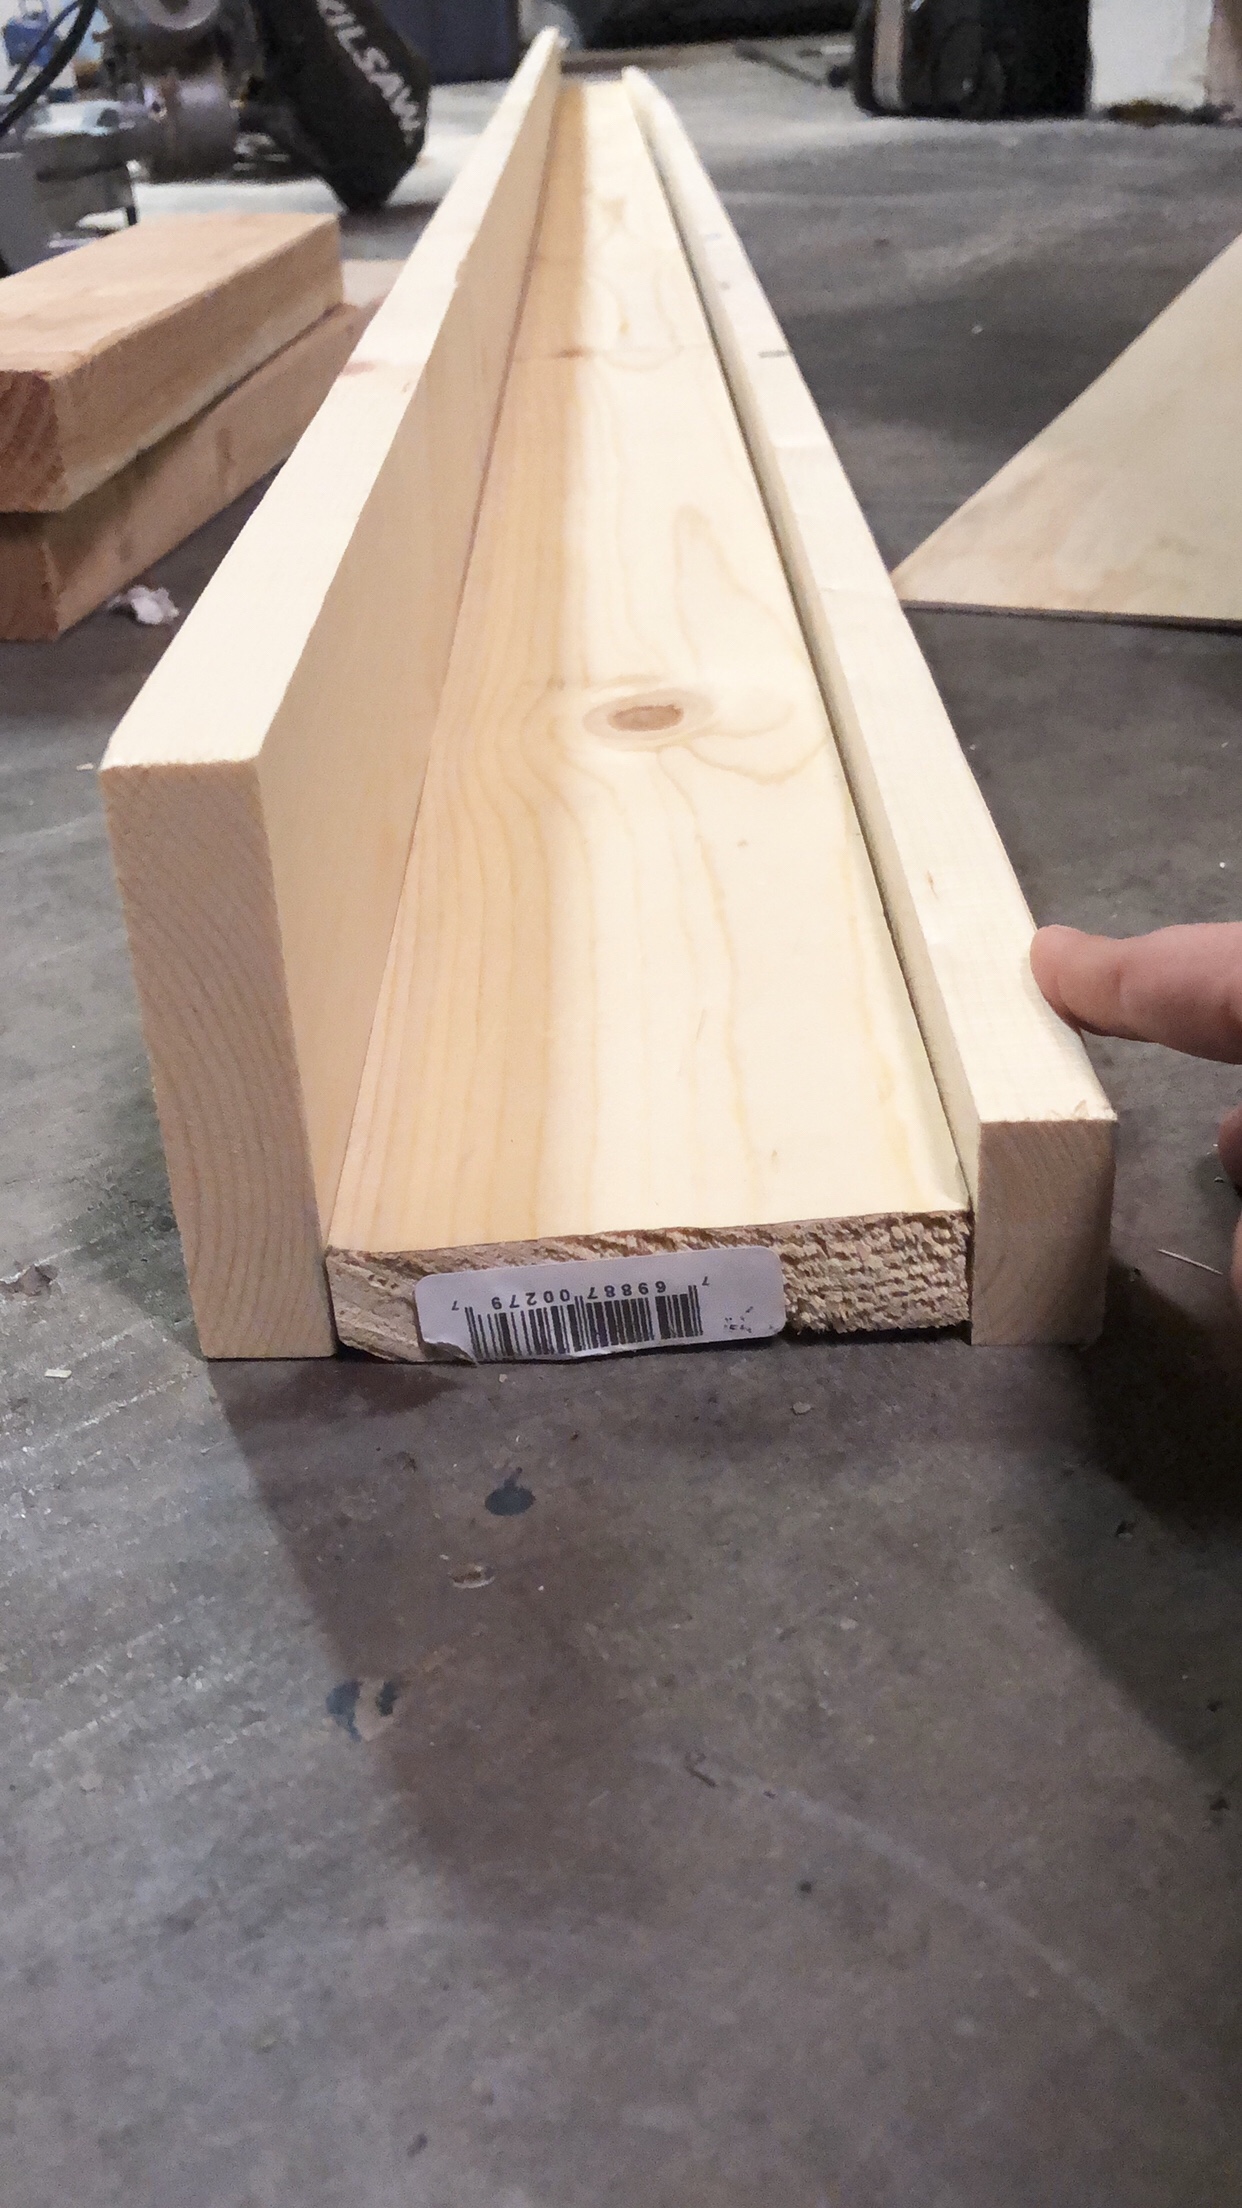
(2) 1×4 boards (cut to desired length)
(1) 1×2 board for the front lip (cut to desired length)
wood glue
1 1/4 finish nails (optional)
1 1/2 in screws
2 in screws
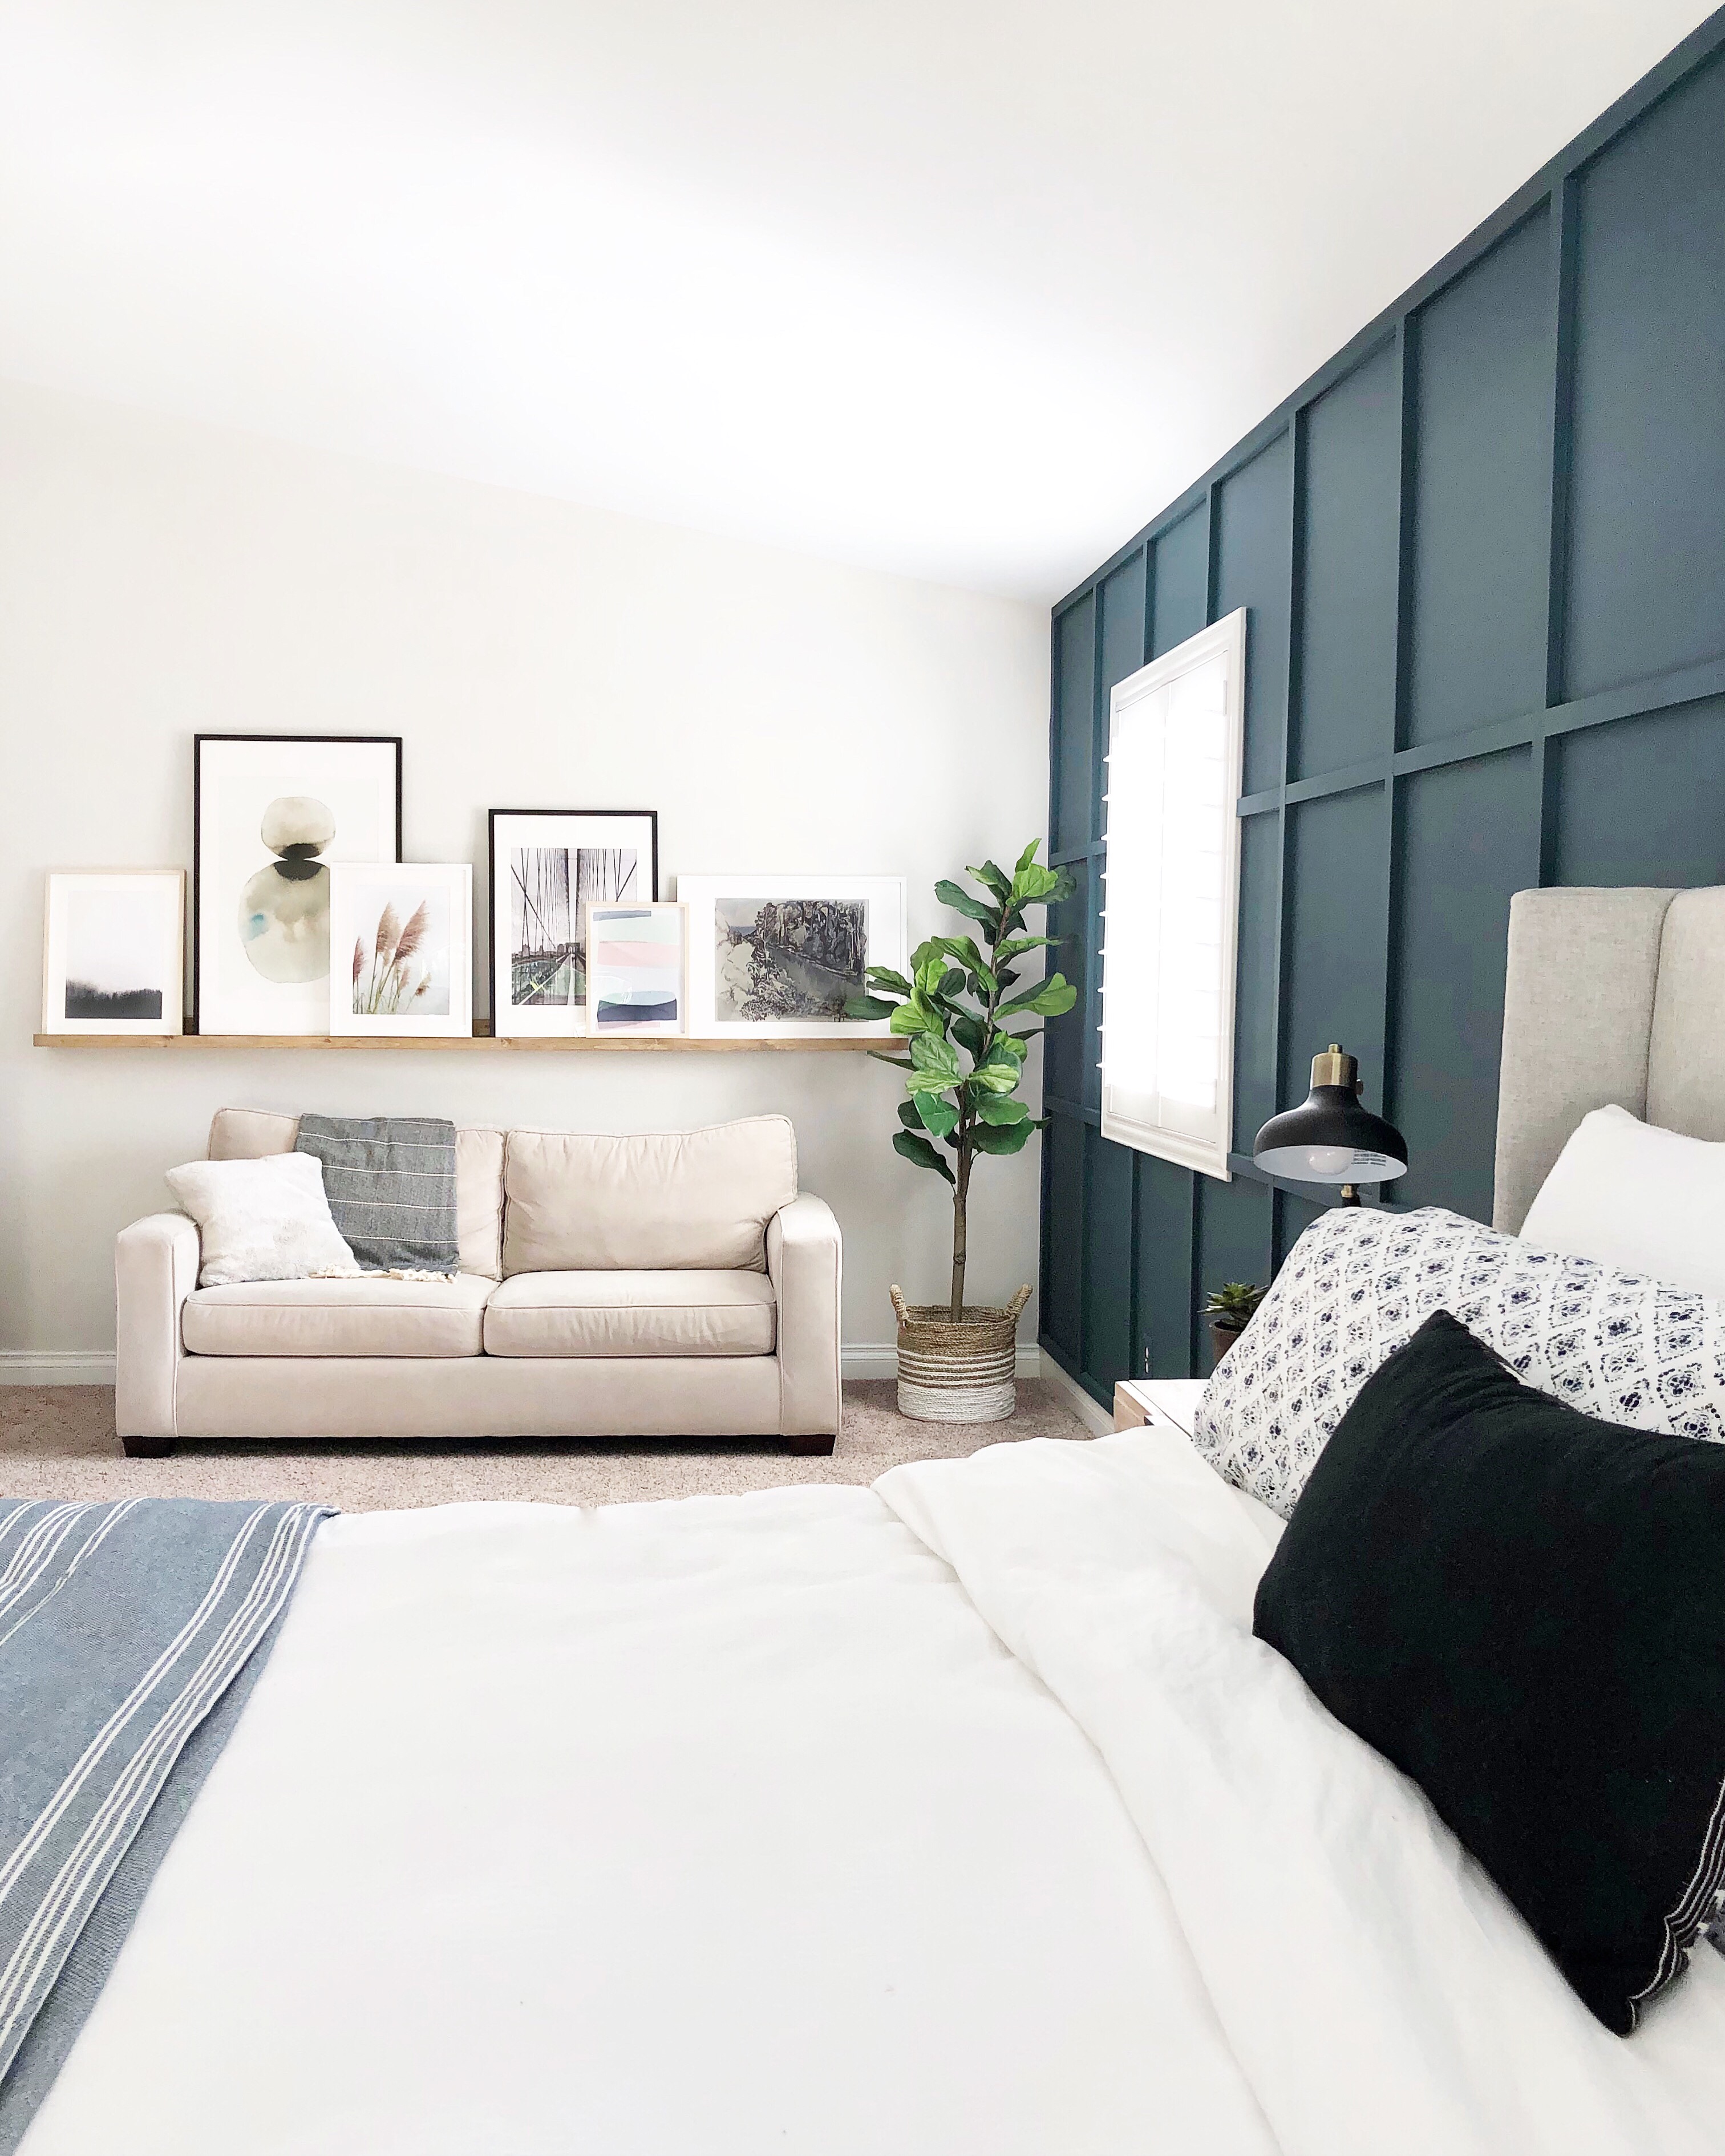
*This is what’s cool. You can make this thing as long as you want! Mine is 9 ft long!
Step 1:
Pick up your (2) 1×4 boards and (1) 1×2 board. Make sure you get straight ones by looking down them from one end.
Step 2:
1×4 will be the base, with a 1×4 on the back (which will be the part that screws into the wall), and the 1×2 will be the front trim piece. Using wood glue, glue the pieces together like below and then CLAMP it together in 4 places. Make sure to have your boards lined up flush because once it’s glued…it’s not moving. *You can choose to put some finish nails in the front 1×2 trim piece, but I just left it with the glue only.
 Step 3:
Once your glue is dried, predrill some pilot holes along the backside every 8 or so inches going into the back board and base. Screw your 1 1/2 inch screws into your predrilled holes. This is going to make sure your base and back are secure and strong!
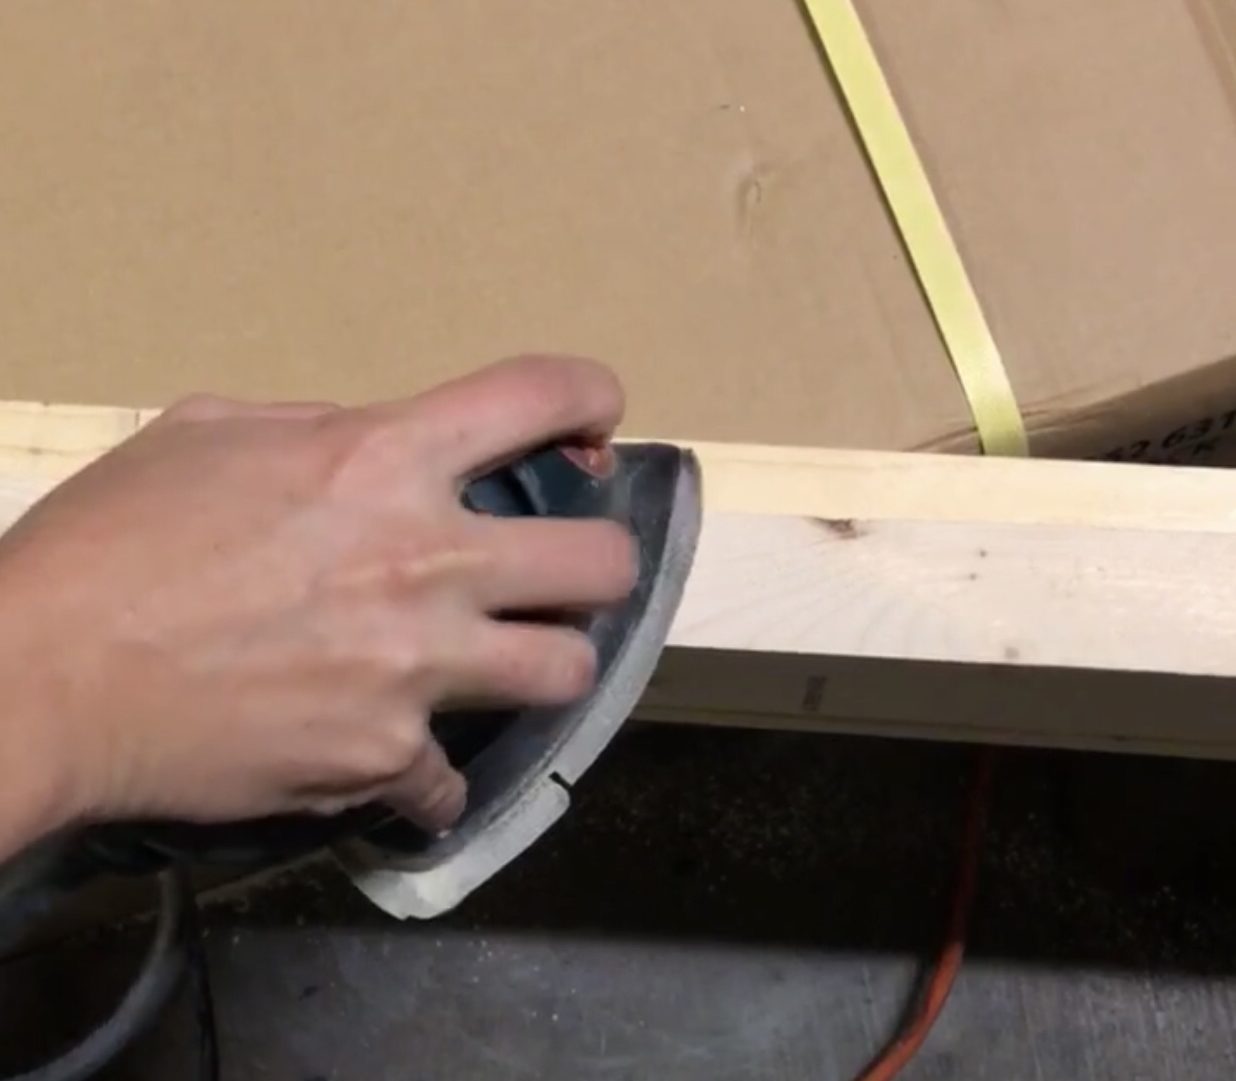
Step 4:
Sand, wood condition and stain/paint your boards. You can sand at the beginning or wait until this step. Keep in mind that the inside and back will not be seen really since your pictures will be blocking most of it ;). So, focus your attention on the front piece. Use wood conditioner to get a more even coverage. I used Early American and Weathered Oak to achieve my stain color.
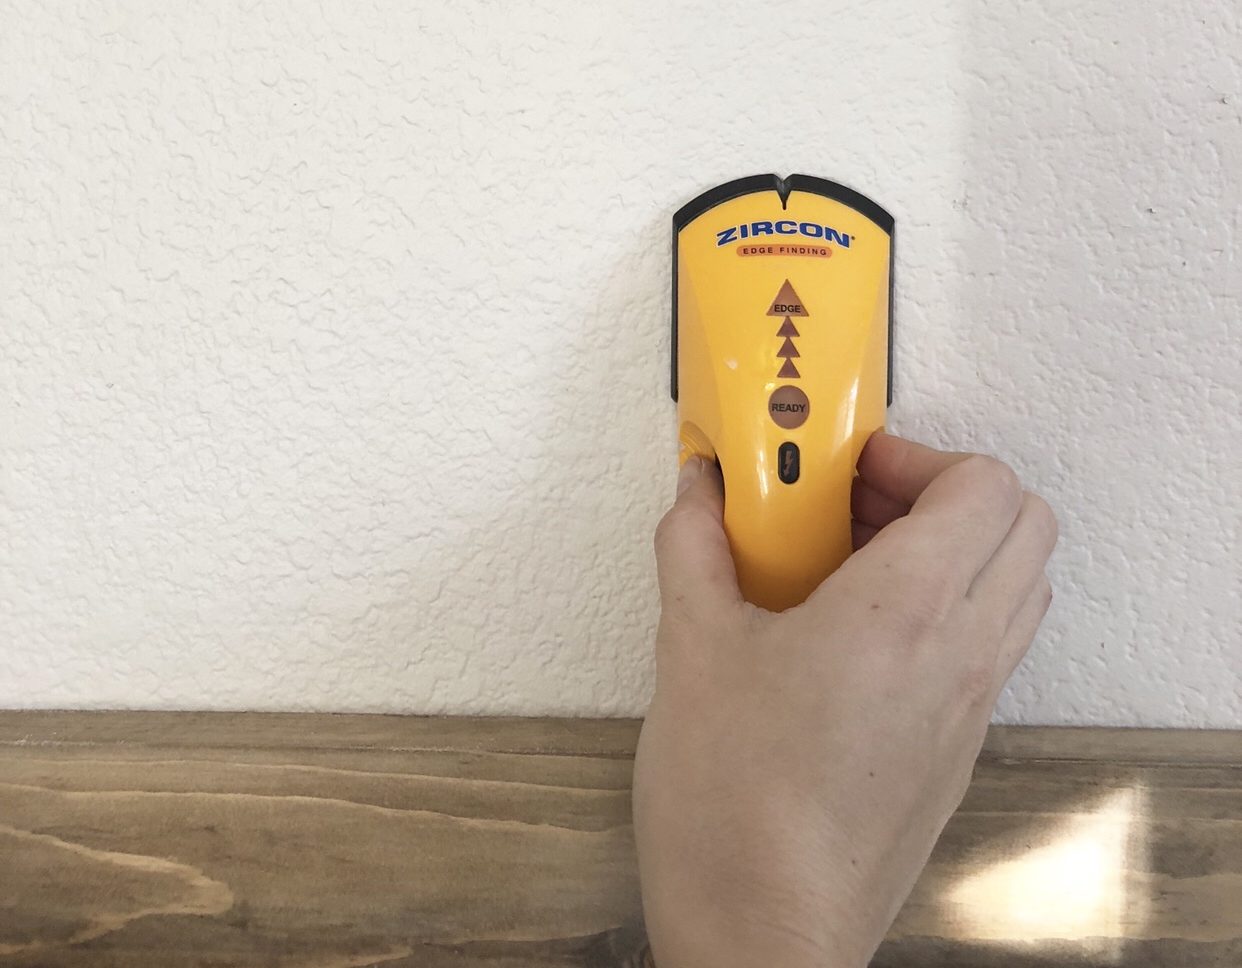
Step 5:
Locate and mark the studs on the wall where you want to hang your ledge. Predrill on your back board where your screws will go (they are going into the studs). Make sure your ledge is level, and screw 2 inch screws into your studs! If you hit the studs, your shelf should be secure.
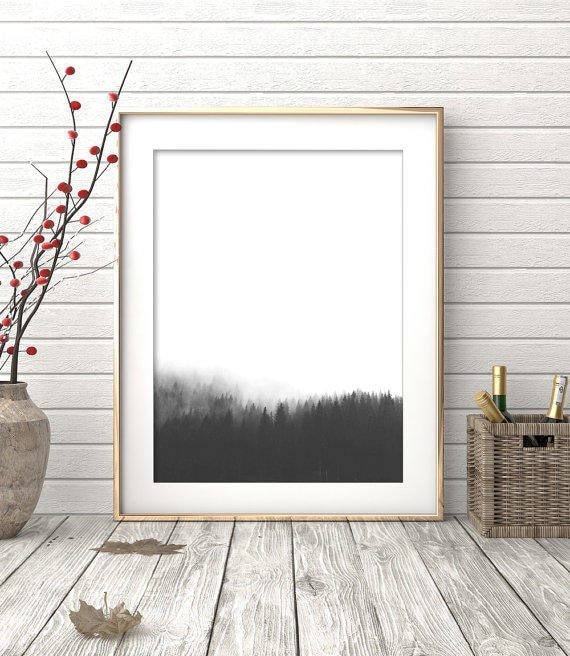
Step 6:
Now just pick our your favorite art and frames! I would love to see your finished project. Tag me @angelarosehome so I can see.
***My art is all from Ikea, except for this Forest Print
***You can shop all other room sources in my Shop My Home under Master Bedroom.


