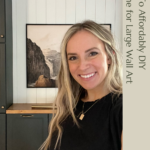
When I was building my hallway cabinet storage I couldn’t find a frame that I liked. If you were following along, were you surprised? It’s got to be just right, you know? This is why I decided to figure out how to DIY a frame for large wall art so that I could make my DIY dreams come true.
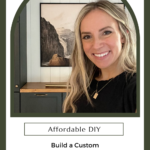
Framing large art is expensive, but I am going to show you a way to affordably DIY a frame for large wall art. And it is super easy too! First, we need to talk about the tools and supplies that you will need for this DIY frame.
Tools and Supplies:
- Table saw
- Miter saw
- Nail gun
- Double-sided tape
- Paint/stain
- Backer board (I used Eucaboard)
- ½ in wood trim

Step 1: Create a Backing for Your Print
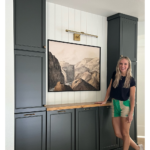
When I found a print from juniperprintshop for my hallway storage, I knew it needed frame to highlight its beauty. I couldn’t find a frame I was in love with so I decided to build my own glass-free frame right onto my wall. When you have a print is on the wall, you don’t want any texture to show through so the first thing we need to do is to create a backing for the print. To create a backer board, cut a piece of smooth plywood to the same size as your print. I love using Eucaboard for projects like this because it has such a smooth texture.
Typically you would use your table saw to cut one piece of wood to the right size. But in true Angela Rose fashion, I decided to be a little more complicated. If you’ve been DIYing with me for a while this probably isn’t surprising. I already had some Eucaboard on hand that I wanted to use. The problem was that I didn’t have any one piece that was the right size. Instead of running to the store to get a fresh piece of wood, I decided to use both my table saw and miter saw to cut 2 smaller pieces of wood and then piece them together.
DIY INSIDER SCOOP: We are talking about making an affordable frame, but if you don’t already have a table saw or miter saw with your go-to tools the cost of this project could add up quickly. Did you know that Lowe’s and Home Depot will actually cut boards down to size for you? All you have to do is ask someone working in the wood department for help. Just make sure you know the dimensions of your cuts so it makes the process easier. Plus, having the boards cut at the store is really convenient for transporting your wood home.
Installing the Backer Board
The next step in creating a backing for your print is installing the backer board before attaching the print. To do this, use your nail gun to drive a nail through the middle of your board into the wall. This attaches the backing board to your wall and holds everything in place so that you can easily tilt the board until it is perfectly level. It’s like having someone helping you! Once the board is level, use your nail gun to secure the board in place. I started with the corners and put a nail about every 2 inches. Since this board isn’t heavy you don’t have to worry about fencing a stud or anchoring it to the wall.
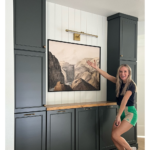
Step 2: Mount Print with Double-sided Tape
I learned this double-sided tape mounting tip from Jenny Komenda who is the owner of juniperprintshop which is where I got my print from. Highlighting the print without a glass barrier is unique because you don’t have a glare and you can really appreciate the print’s velvety finish.
I already mentioned this project was easy, right? Well, it doesn’t get much easier than double-sided tape. Apply your sticky double-sided tape to the back of your print. Then, attach your print to the backing that you nailed to the wall. Once the print is up, smooth it out starting in the middle and out to the sides working from top to bottom. This gets rid of any bubbles and makes sure your beautiful print isn’t going anywhere. Check out a close-up of this technique here.
Step 3: Trim out the Print
The last step in creating an affordable DIY frame is to frame out your print. I wanted the look of a thinner frame so I decided to use ½-inch trim pieces, but you can use whatever thickness you like the best. That is why I love DIY! We get to stop pinning and start doing projects exactly the way we like them. The same goes for the color of your frame too. I believe every room needs a little black to ground it. So after cutting the trim to length, I painted the pieces of trim black, but you can use whatever color that works for your space.
To cut your trim boards, use your miter saw to cut the trim to the length of your print. I had the top and bottom trim pieces longer so that the side pieces fit perfectly in between them. The best part about this frame is that there are no fancy cuts. It is simple and straightforward. The boards will meet up with each other and can be nailed into place once they have been painted or stained.
PRO-TIP: If you are worried about getting paint on the garage floor or driveway, prop your trim boards up on a scrap piece of wood so it elevates it off the floor/ground.
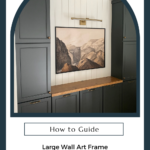
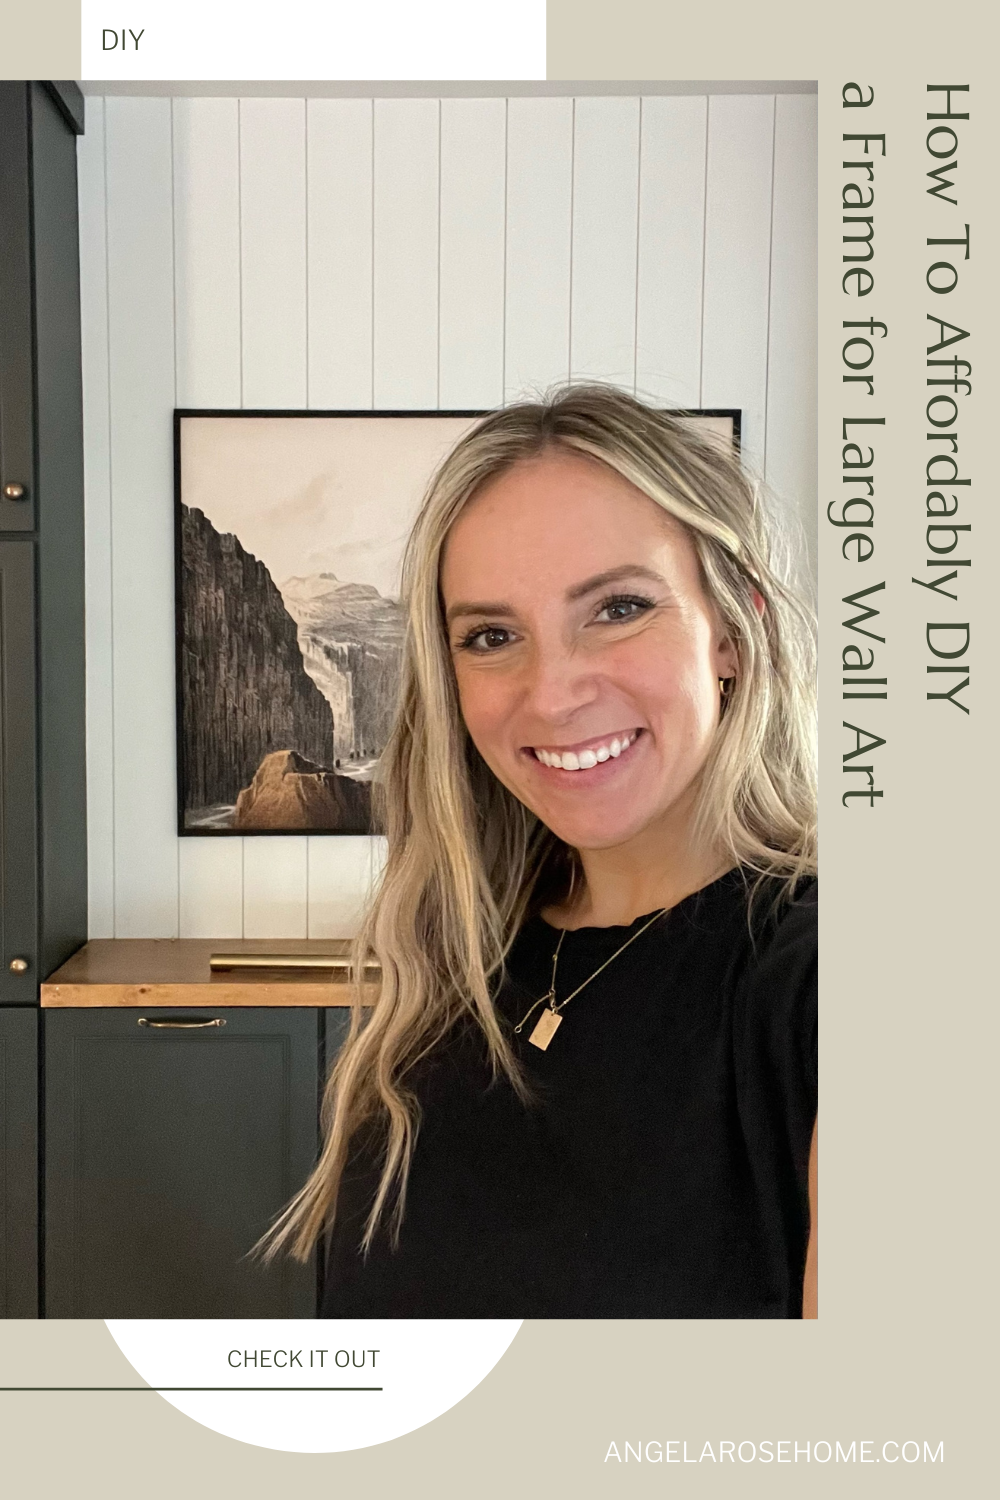
How to Affordably DIY a Frame for Large Wall Art
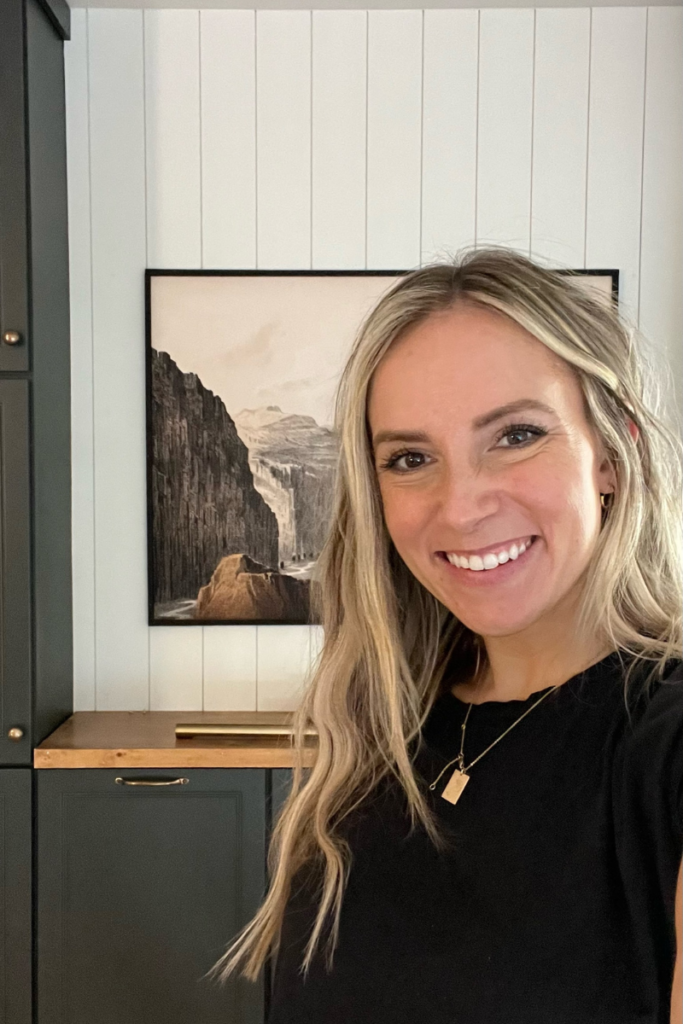
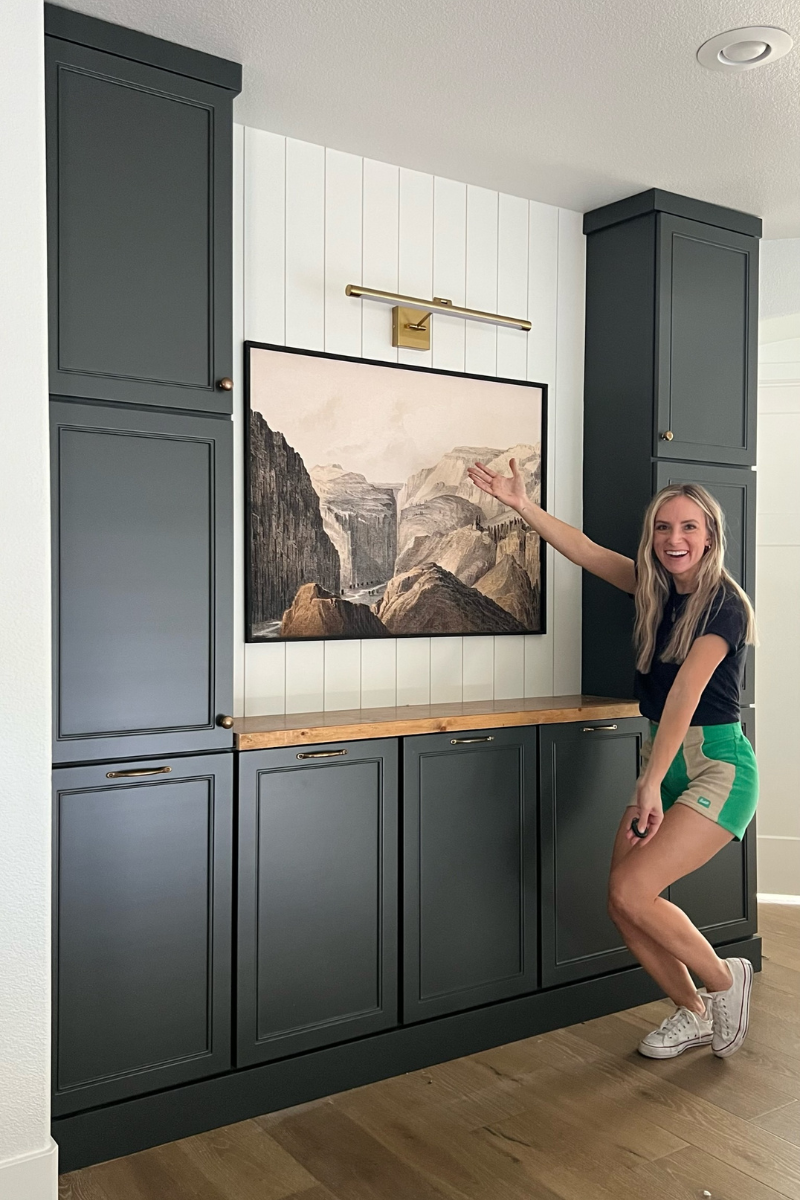
I am obsessed with how this large wall art frame turned out! Especially once I hung the picture light to finish off the space. When you pick art for your home you want it to stand out, but the best frames are always so expensive which is why I had to share how to affordably DIY a frame for large wall art. If you haven’t found the perfect print yet, make sure you check out juniperprintshop. Jenny has so many cool prints that will fit into any space you are looking to update. I’m always busy with some type of DIY project so come hang out with me on Instagram and TikTok for other DIY ideas.
Disclosure: I only recommend products I would use myself and all opinions expressed here are our own. This post may contain affiliate links that at no additional cost to you, I may earn a small commission. Read the full privacy policy here.