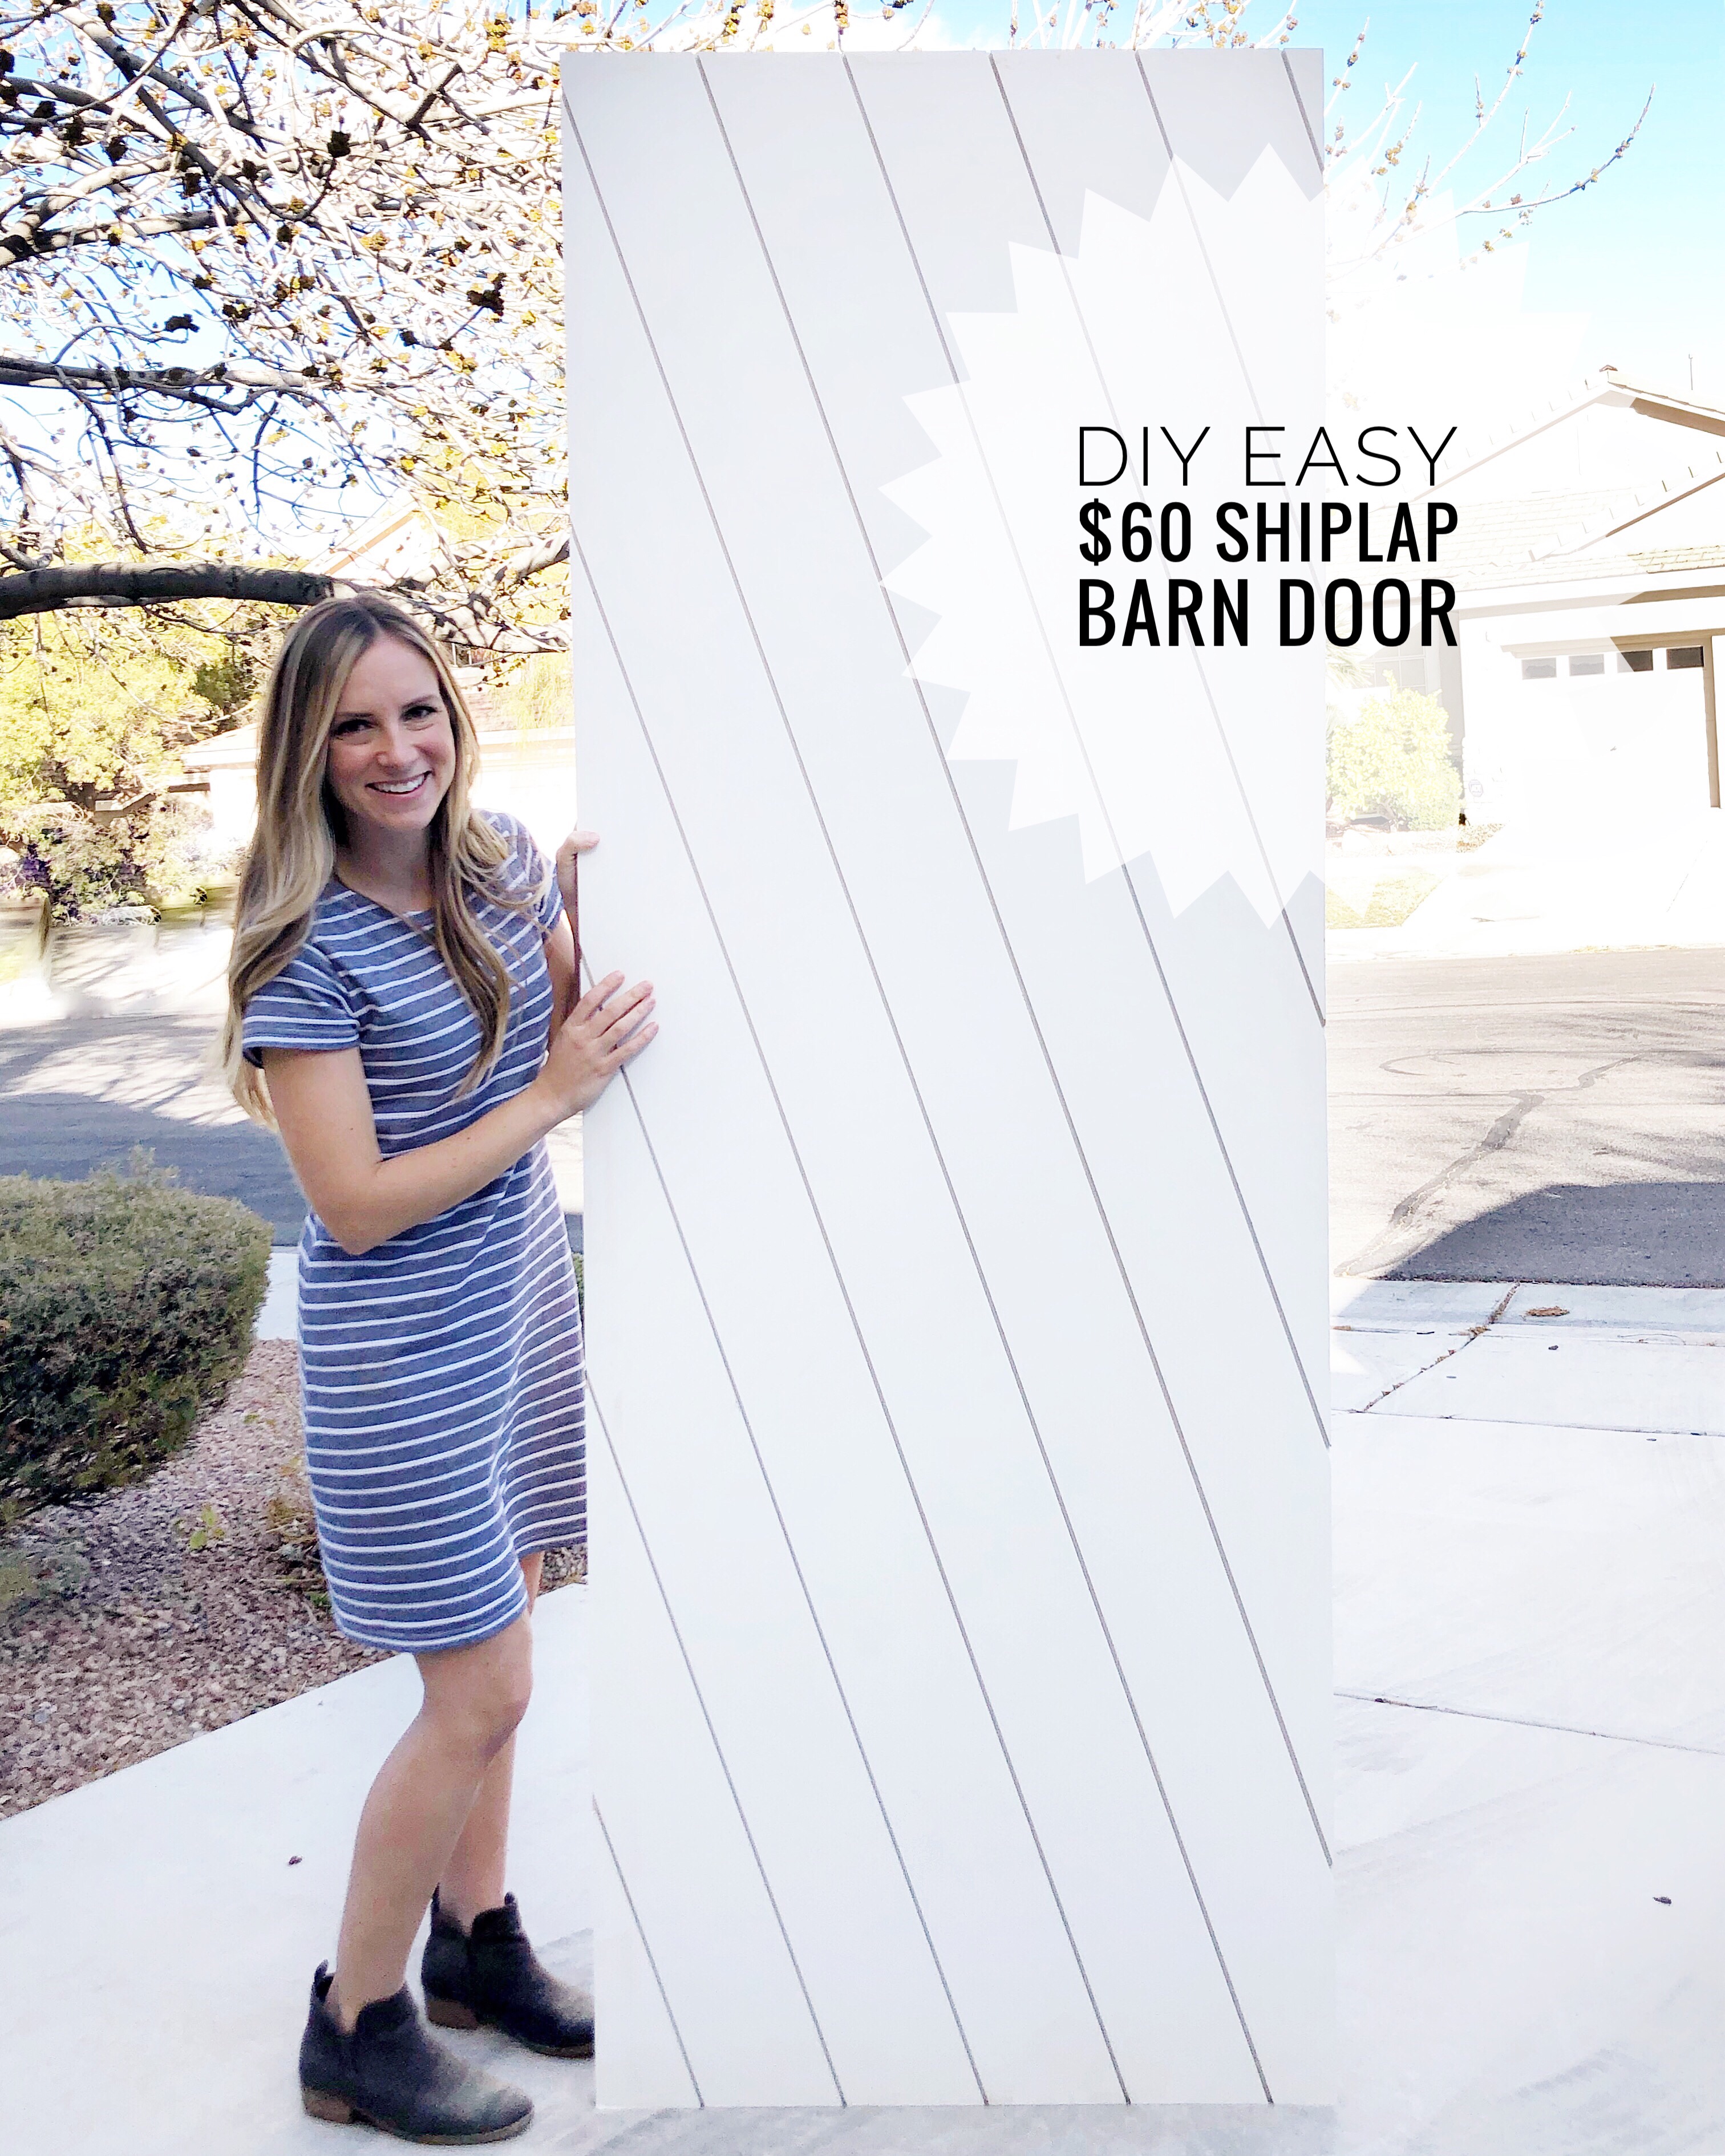
I know I may be overly excited, but this way to make a barn door is REVOLUTIONARY and the best way ever. The DIY Easy Shiplap Door only cost me $60 and I did it in under an hour. Yes, you read that right. One hour! And, if requires no finishing work of puttying and sanding…win win win. (You can check out more video tutorials, including this project on my instagram page @angelarosehome). Let’s build this DIY barn door now shall we?
Here’s what you need:
3/4 mdf sheet cut to the size of your door (I had Home Depot cut mine…it’s heavy!)
6-8 8 foot mdf shiplap planks *
3-4 12 foot mdf shiplap planks *
*I ordered these online from Home Depot and just picked them up in store. If these aren’t available at yours, you can often ship them to home or find them in the 6 or 10 pack.
Wood glue
5/8 finish nails
Paint Sprayer (here is the one I use!)

OPTIONAL:
1 1/2 inch x 1/4 inch wood trim piece (to wrap around for trim)
Hardware(this is the affordable hardware I get and love)
*Handle tutorial coming soon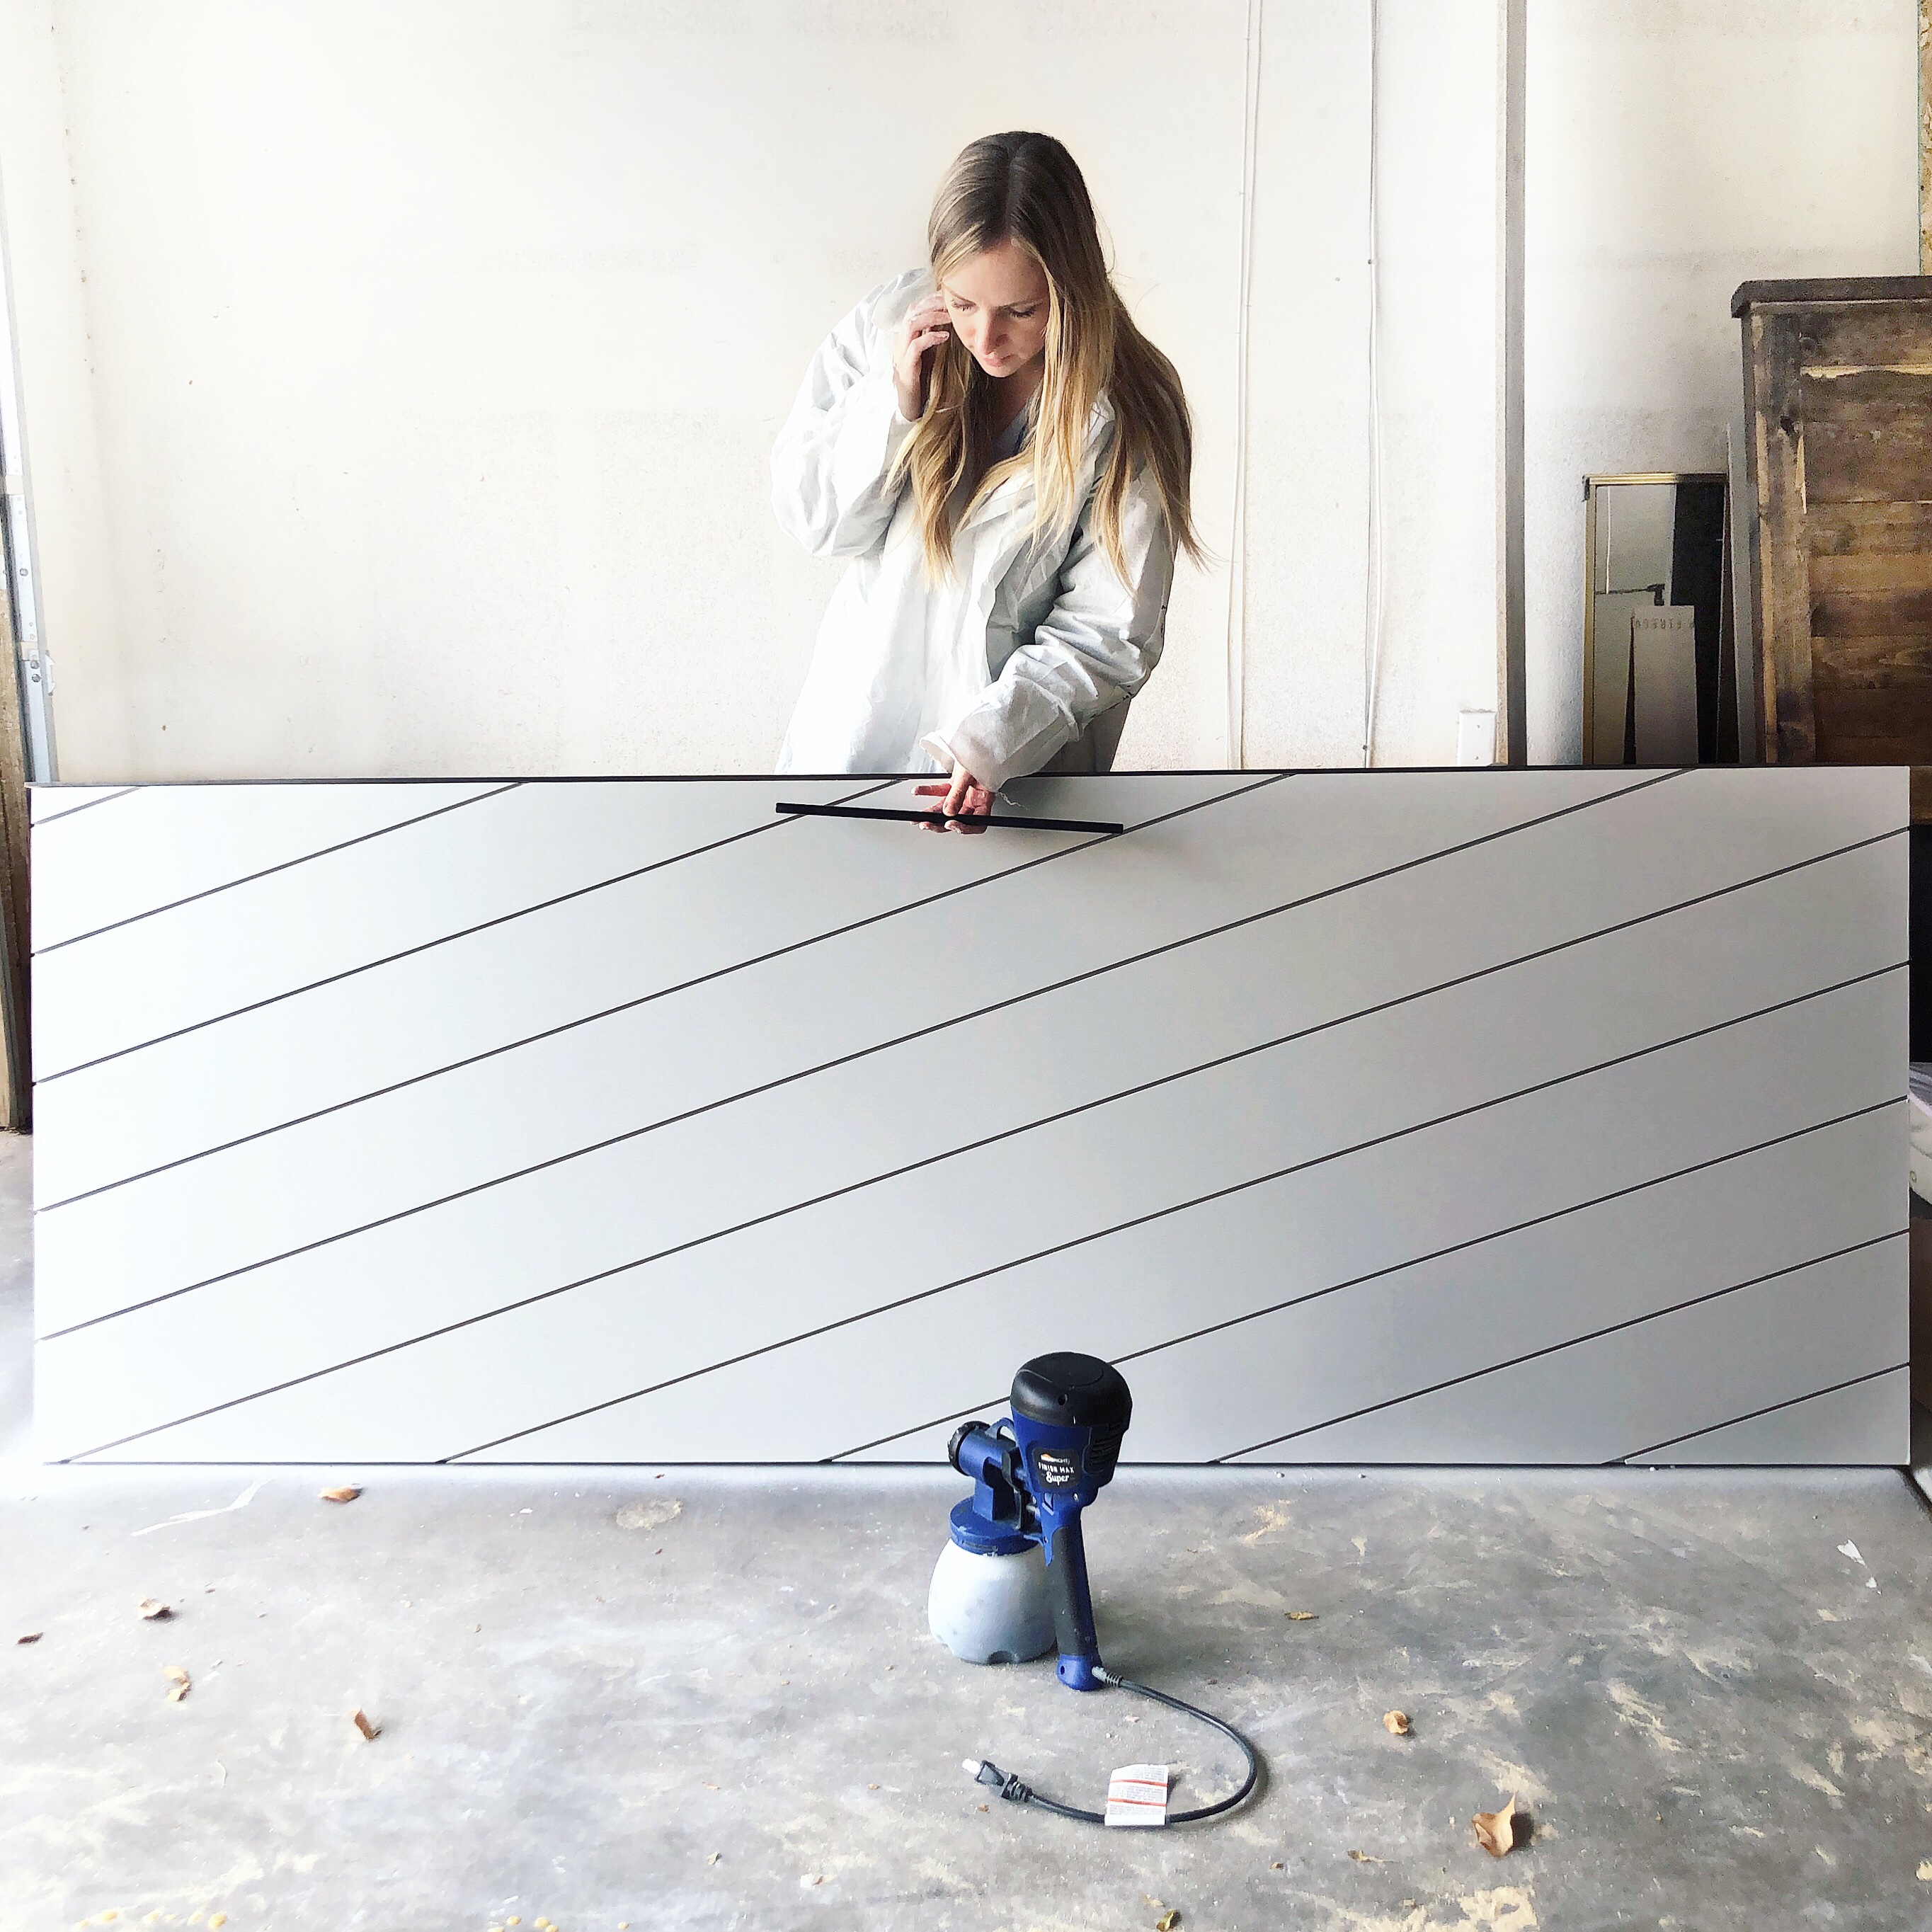
STEP 1: Measure for your door and get your materials.
When measuring, make sure you allow enough for door to overlap on both sides of opening and extend above opening a couple inches as well. Have your 3/4 in mdf cut at your local store to the door size (if you want to add the trim at the end then make sure to accommodate for that). Also, make sure you get mdf shiplap boards in both the 8 foot length and at least 3 in the 12 foot length. The diagonal lines require longer boards than the 8 foot!
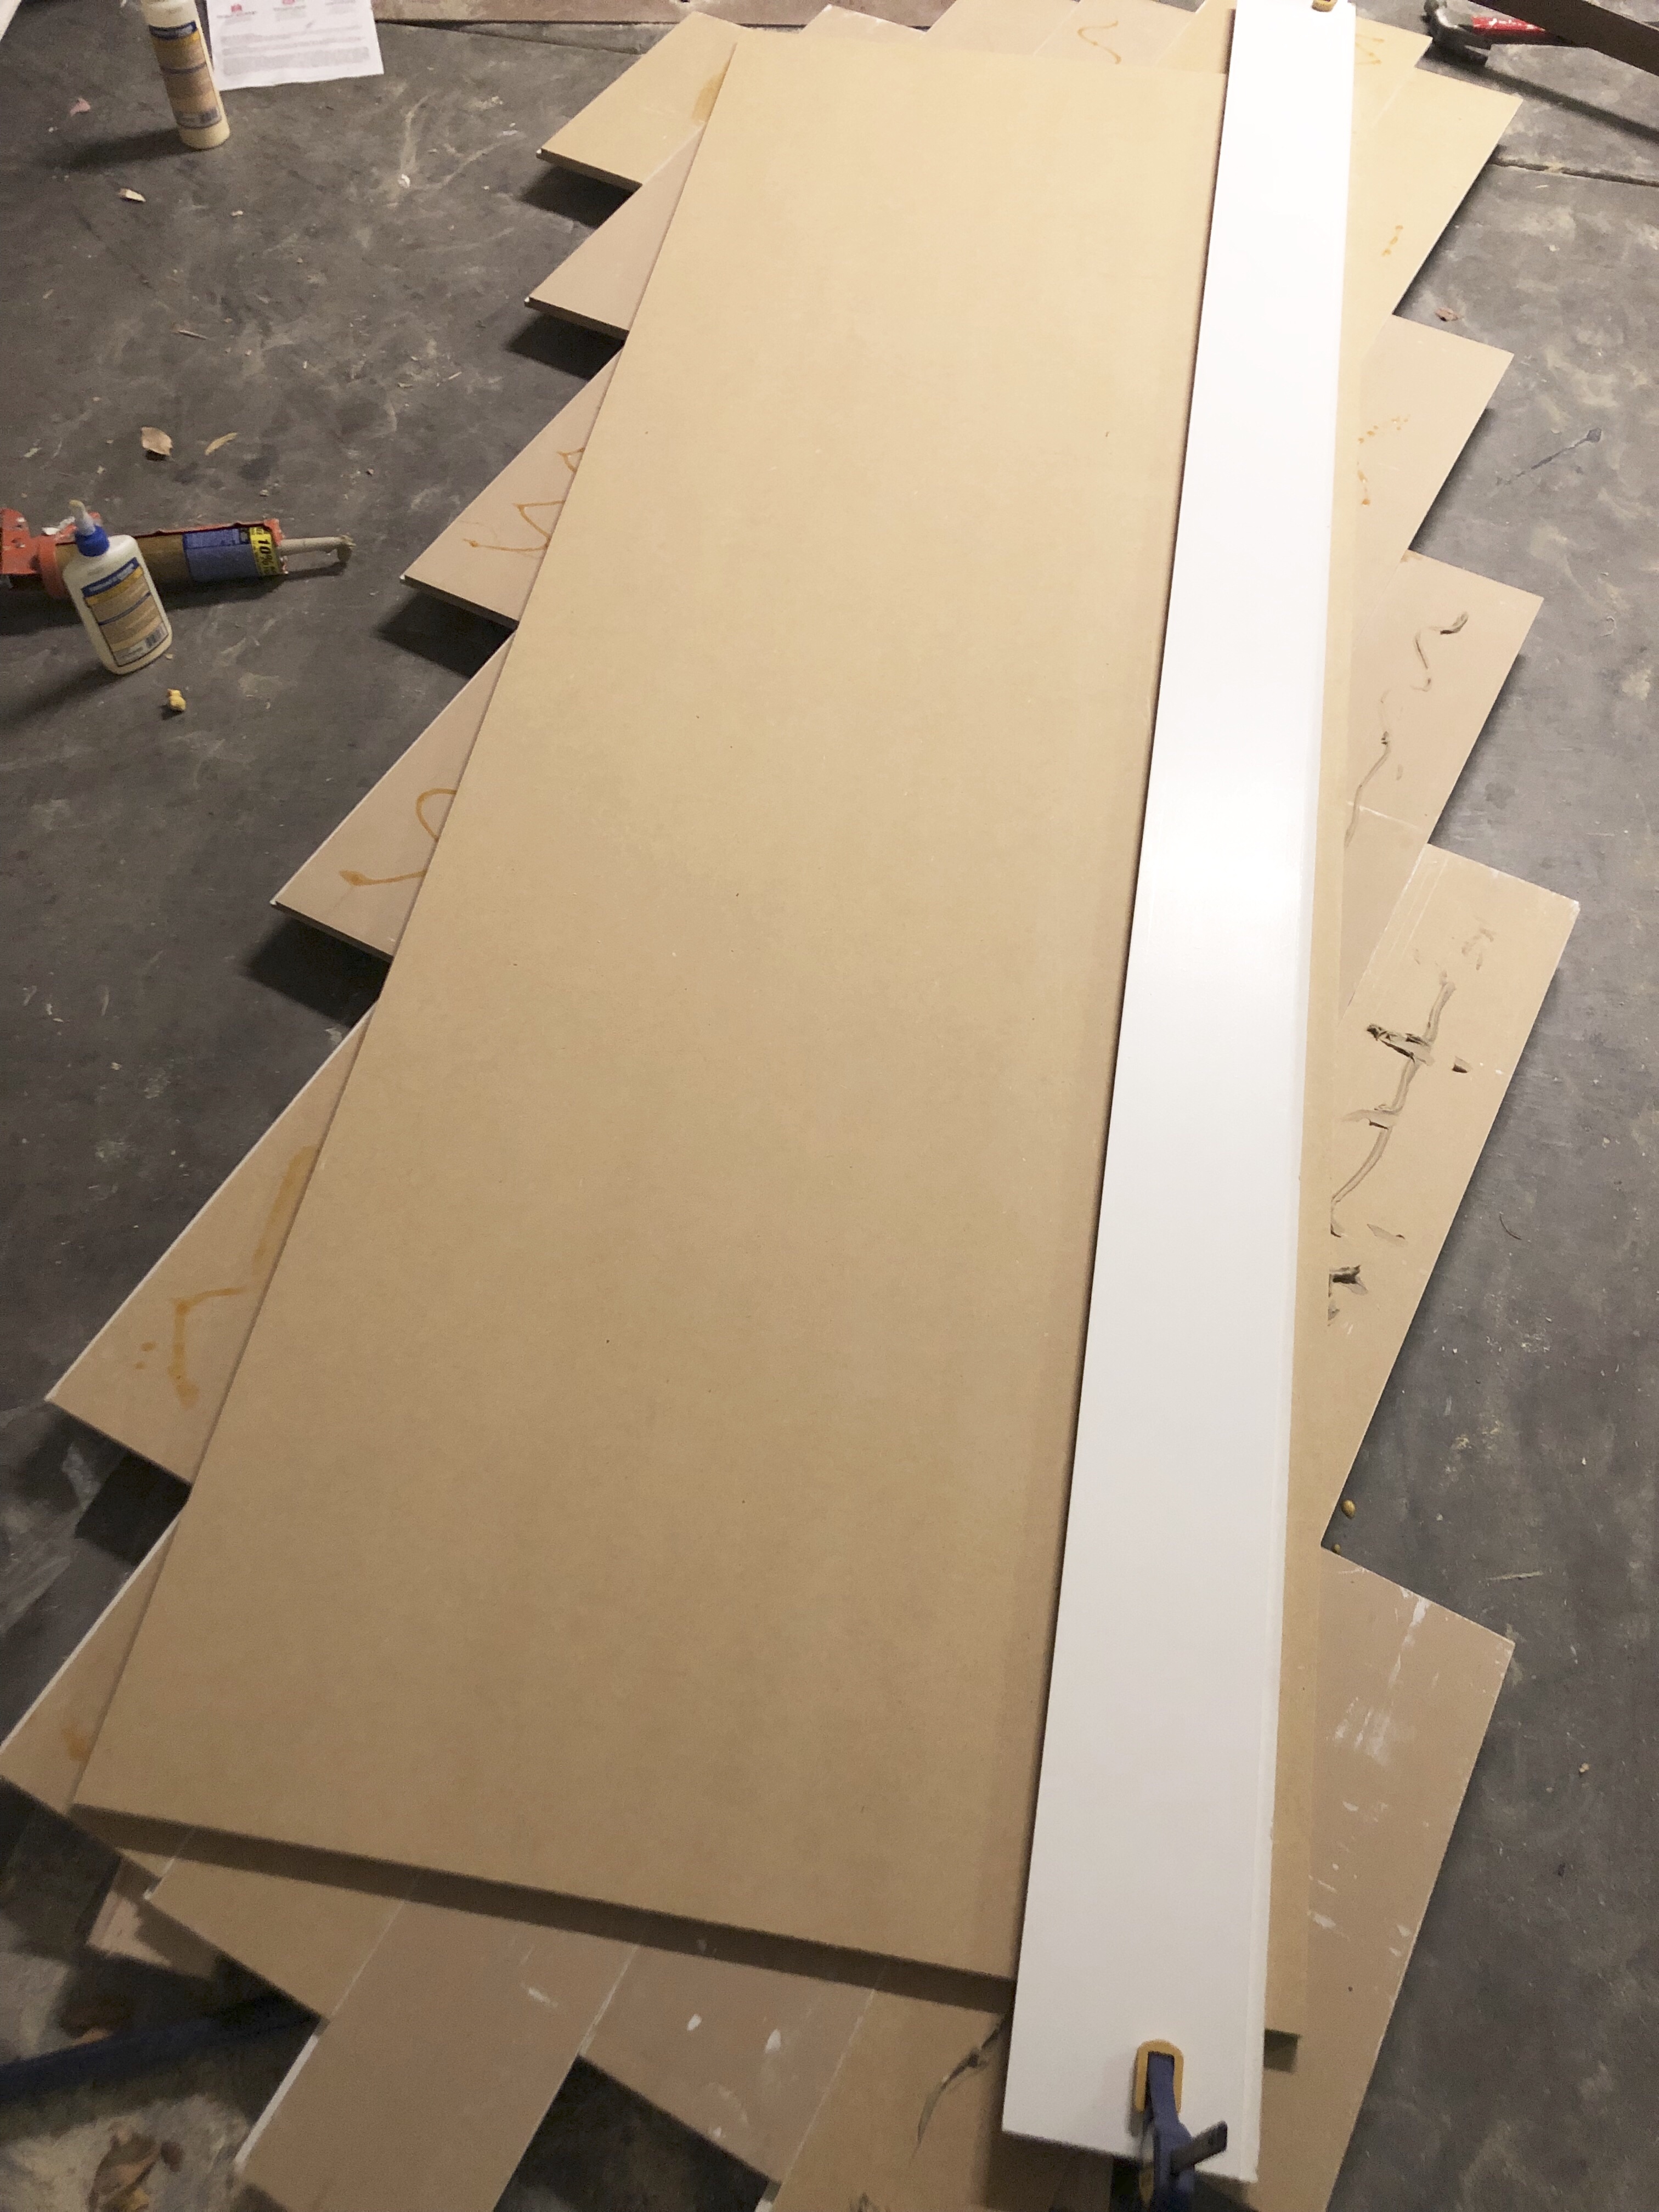
STEP 2: Lay out your shiplap boards for fit and placement.
You can lay out your boards to make sure you have all the right sizes. I even cut a few of mine down just so I could reuse the excess and save money.
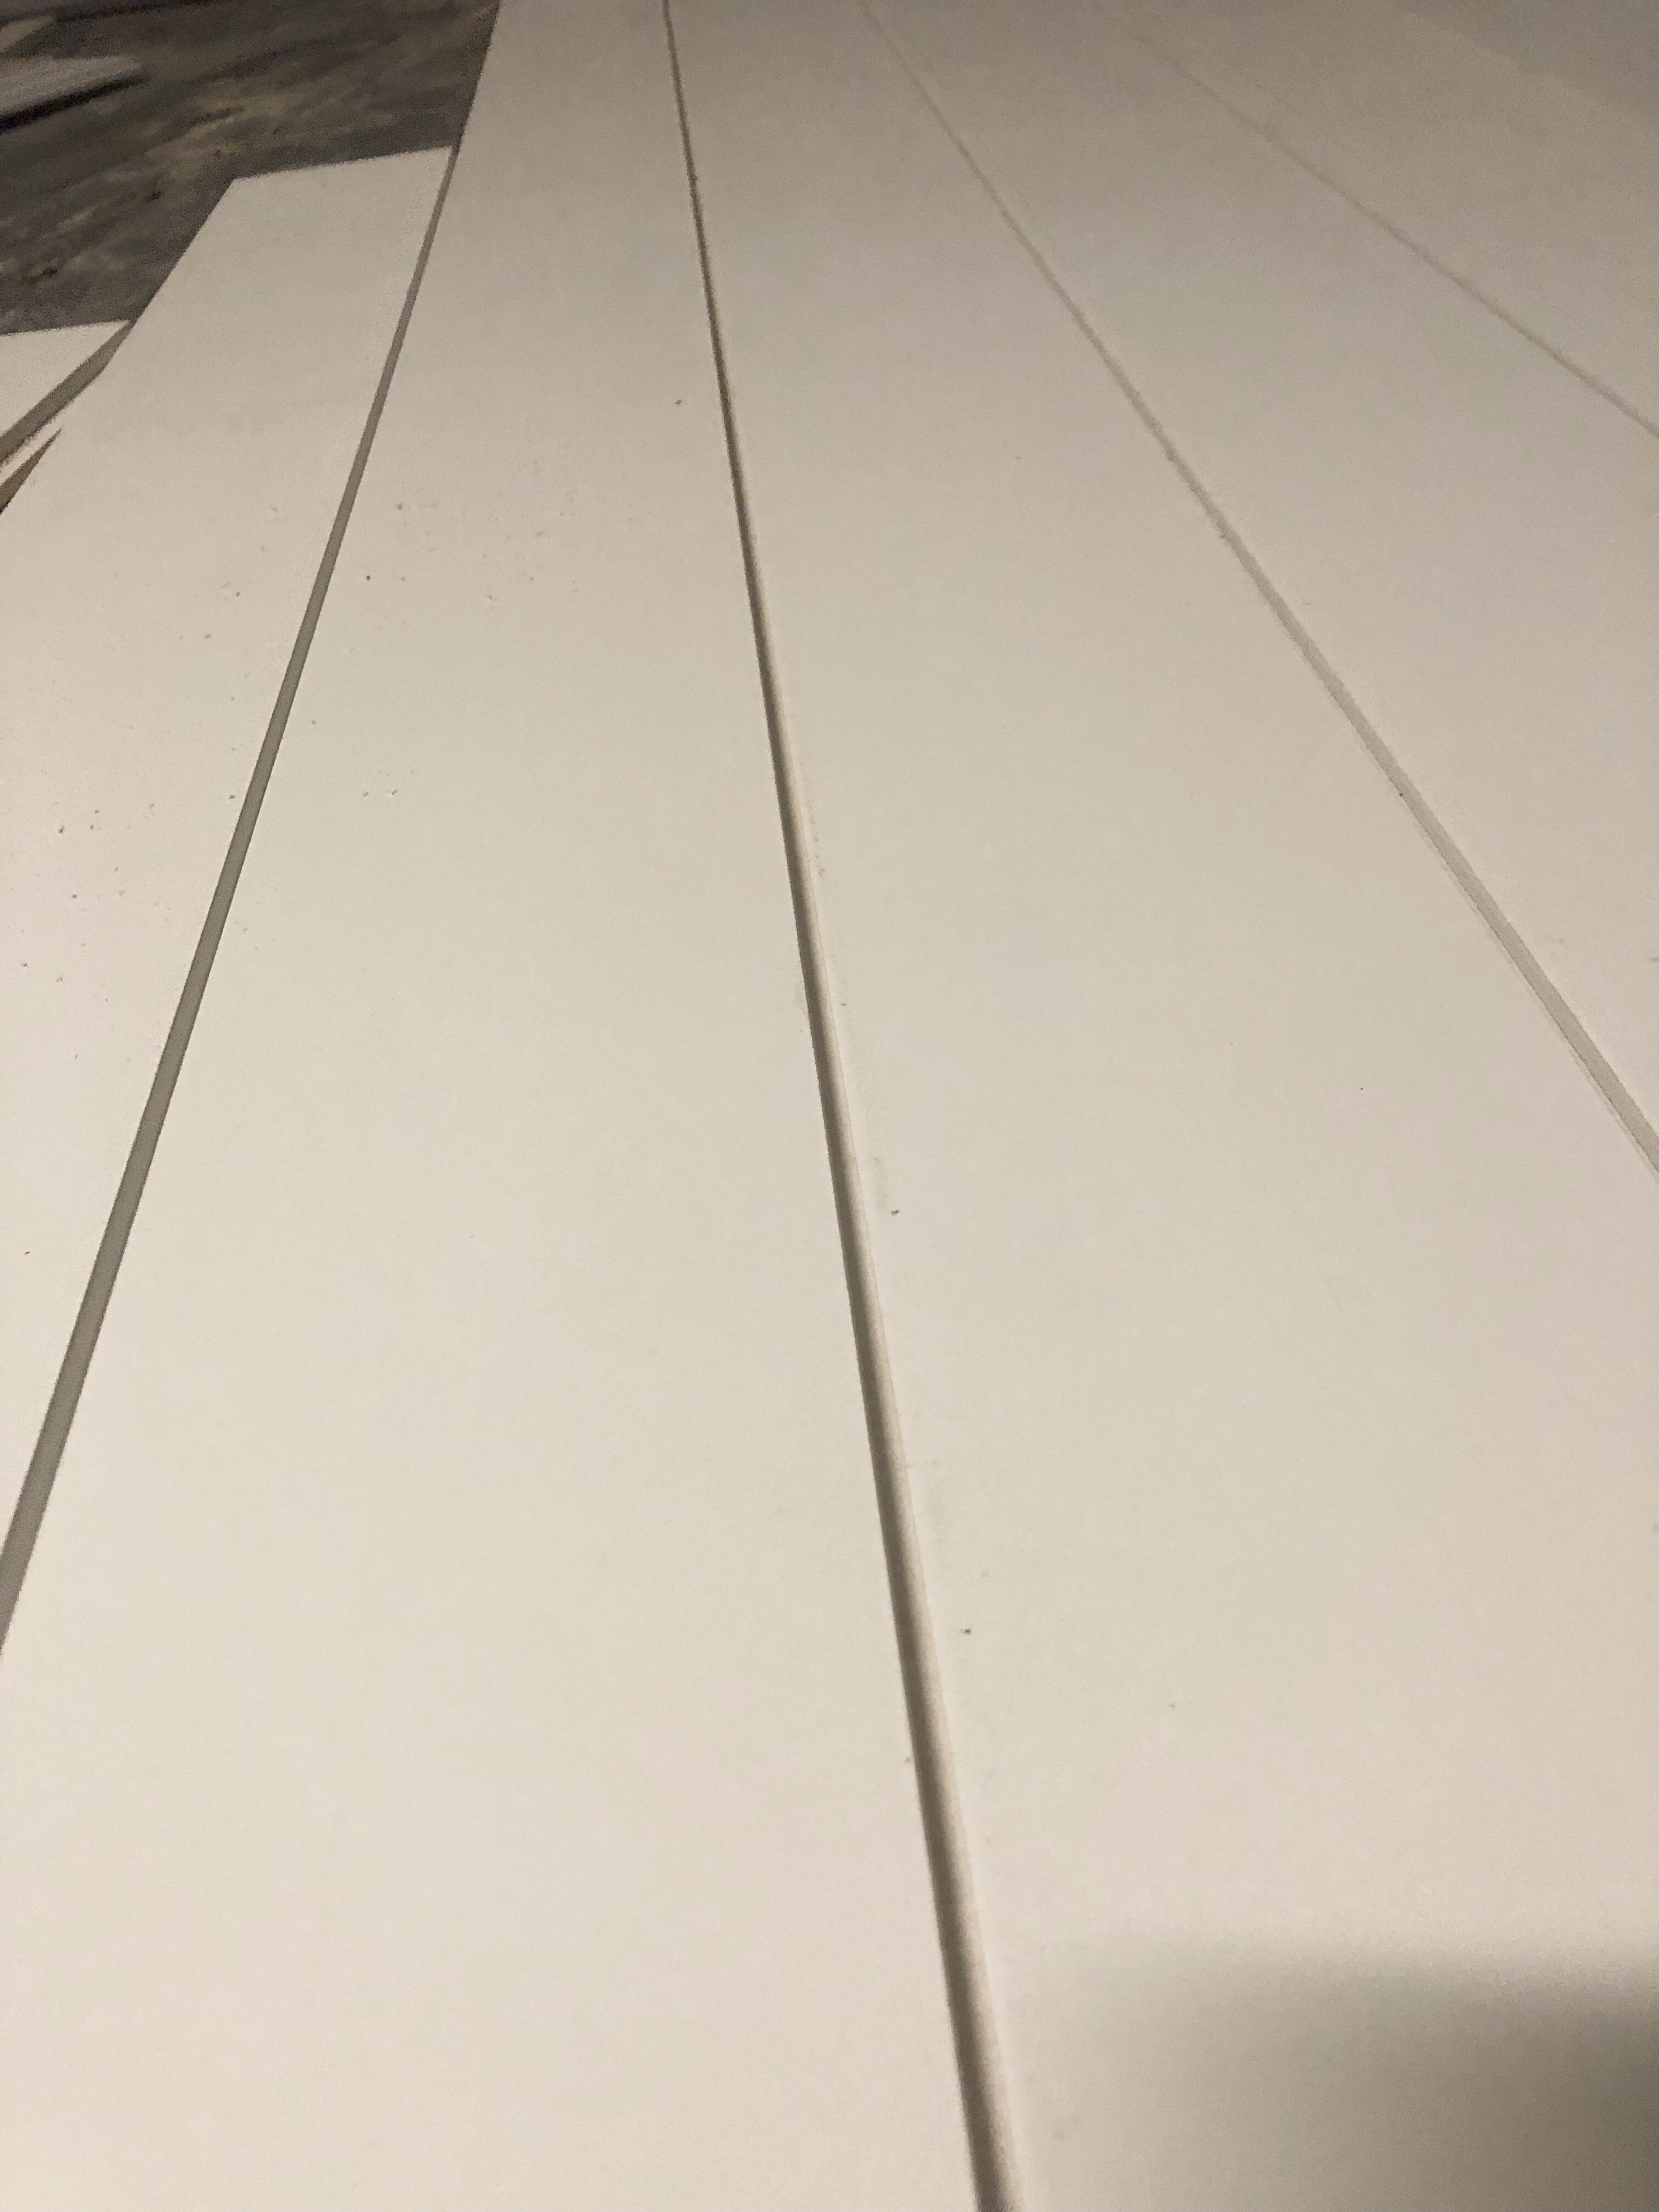
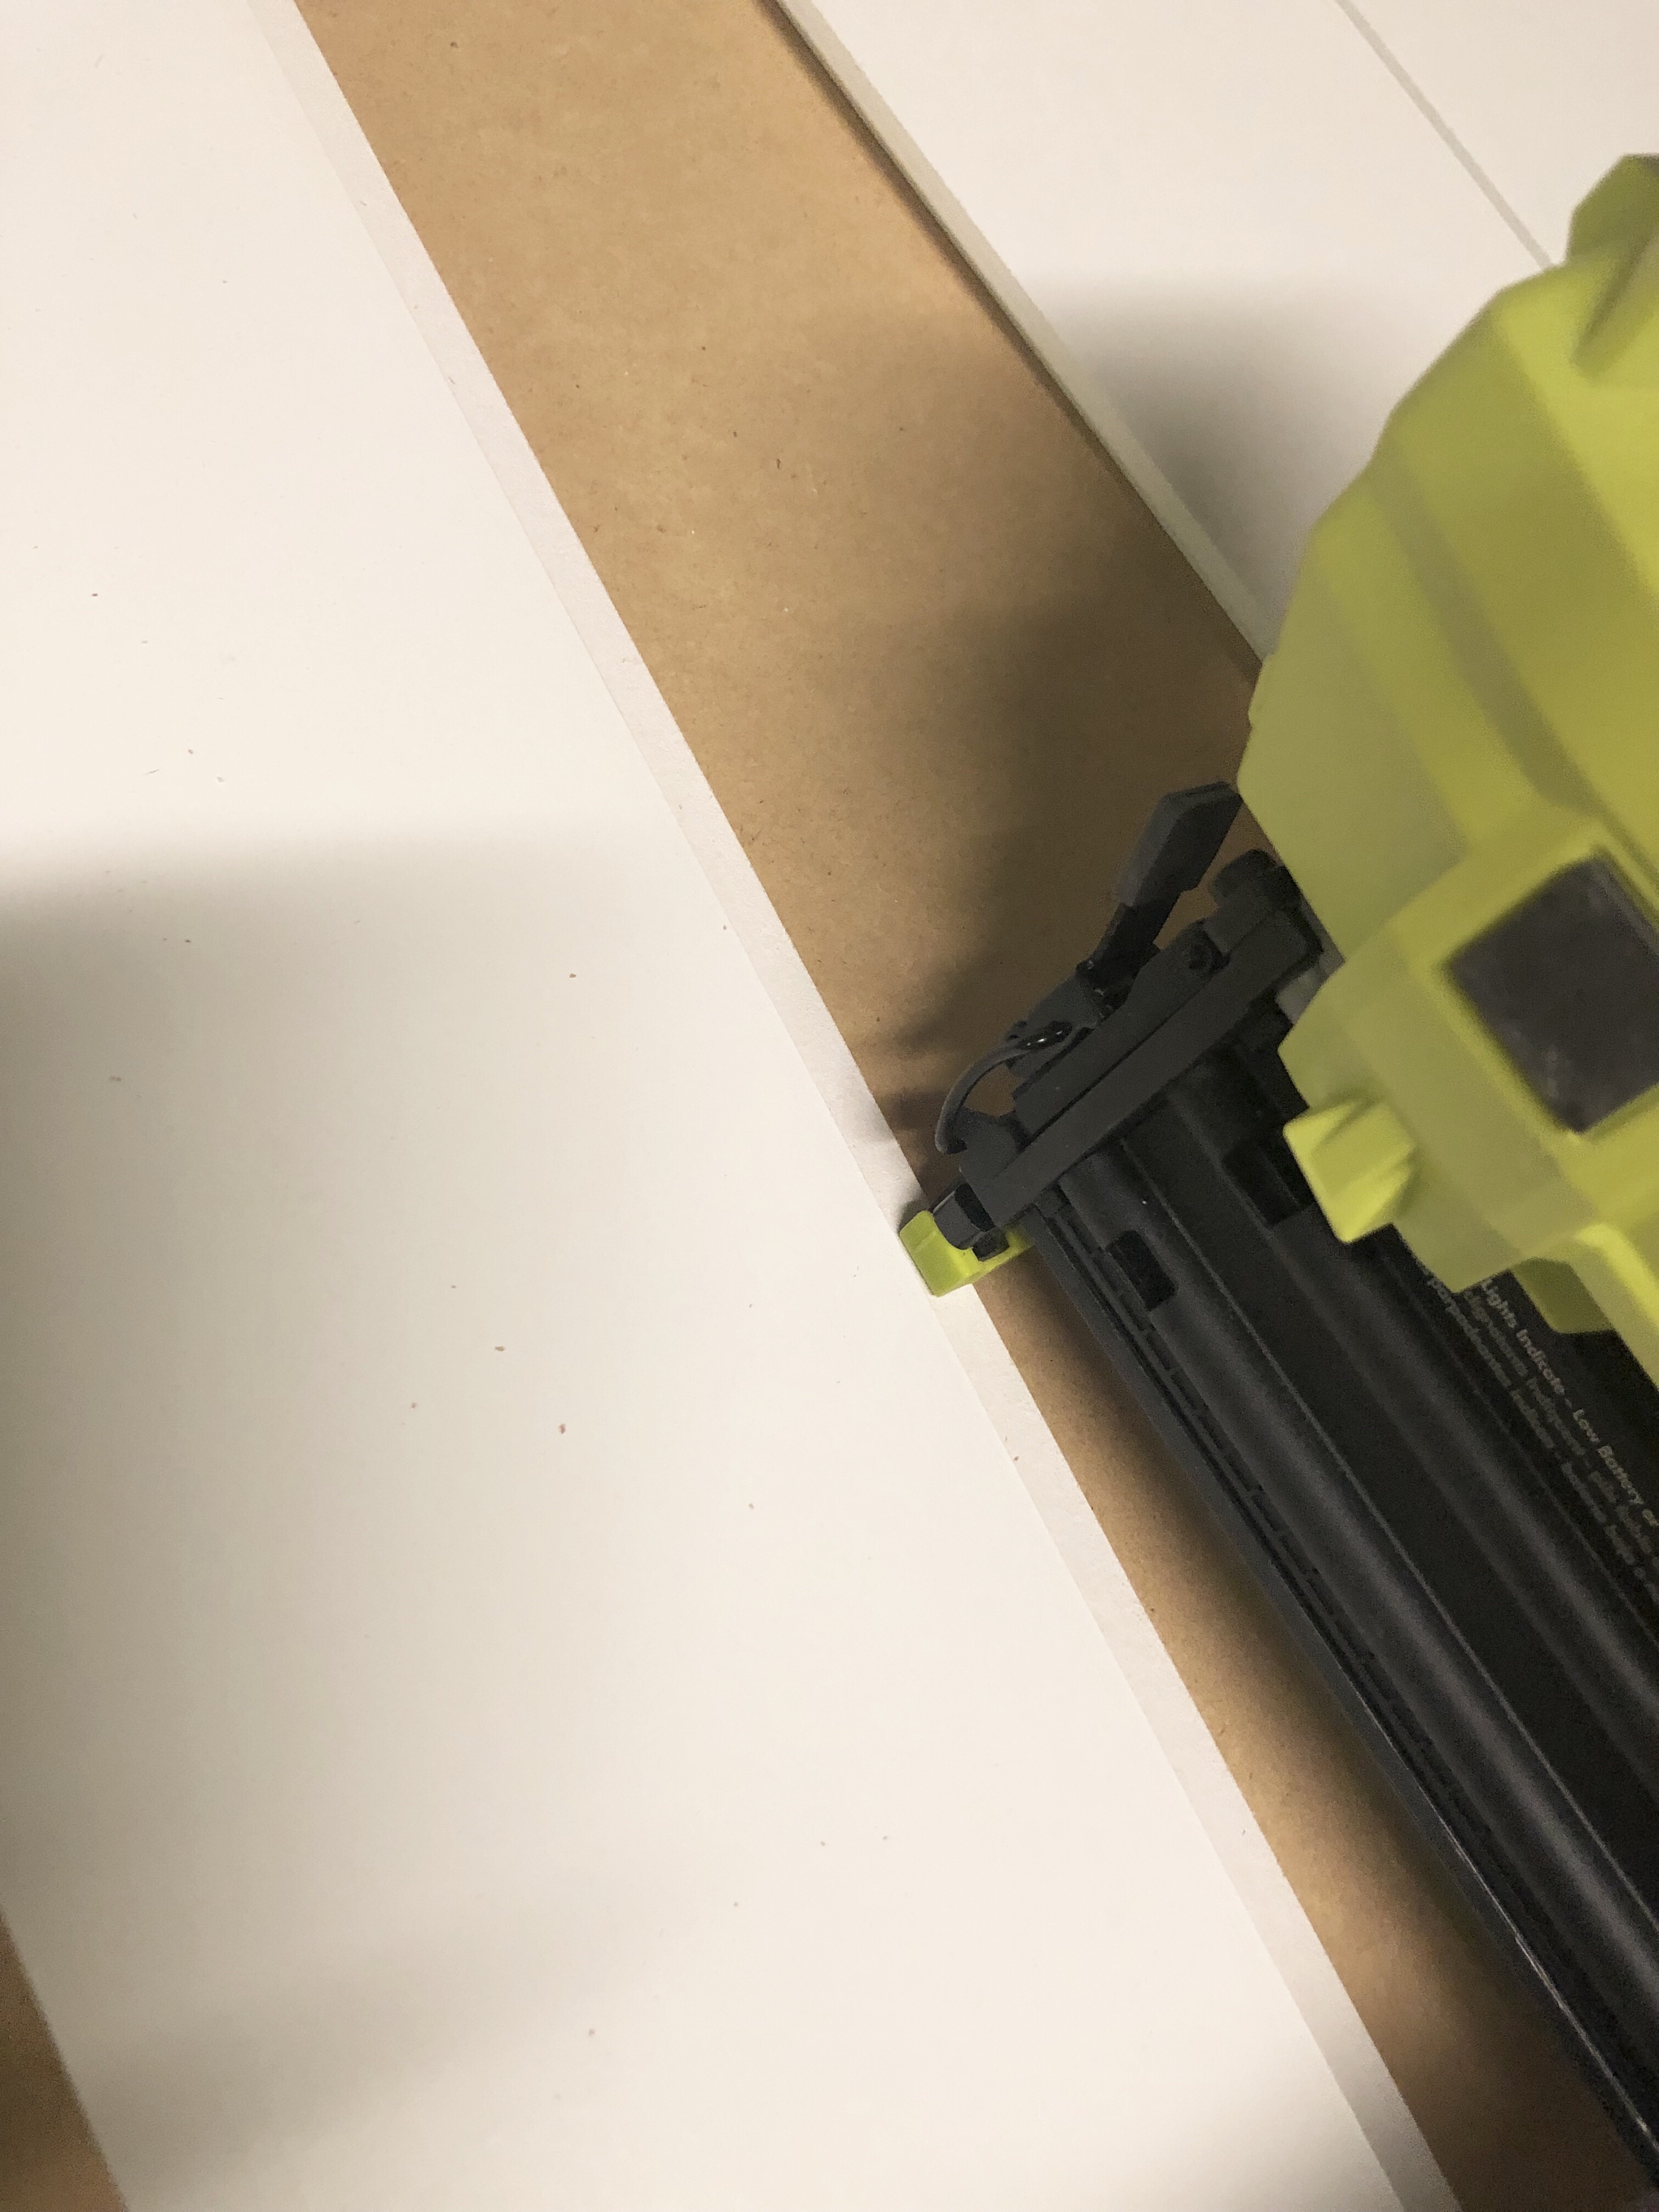
STEP 3: Glue and nail your shiplap boards down.
Using wood glue and 5/8 finish nails (which will go into the lip), start with the boards on the far left side (with the lip facing the right) and glue and nail your board down. Since you are just nailing into the lip, you won’t need to do any patch work! Now keep working from left to right gluing and nailing all your boards down.
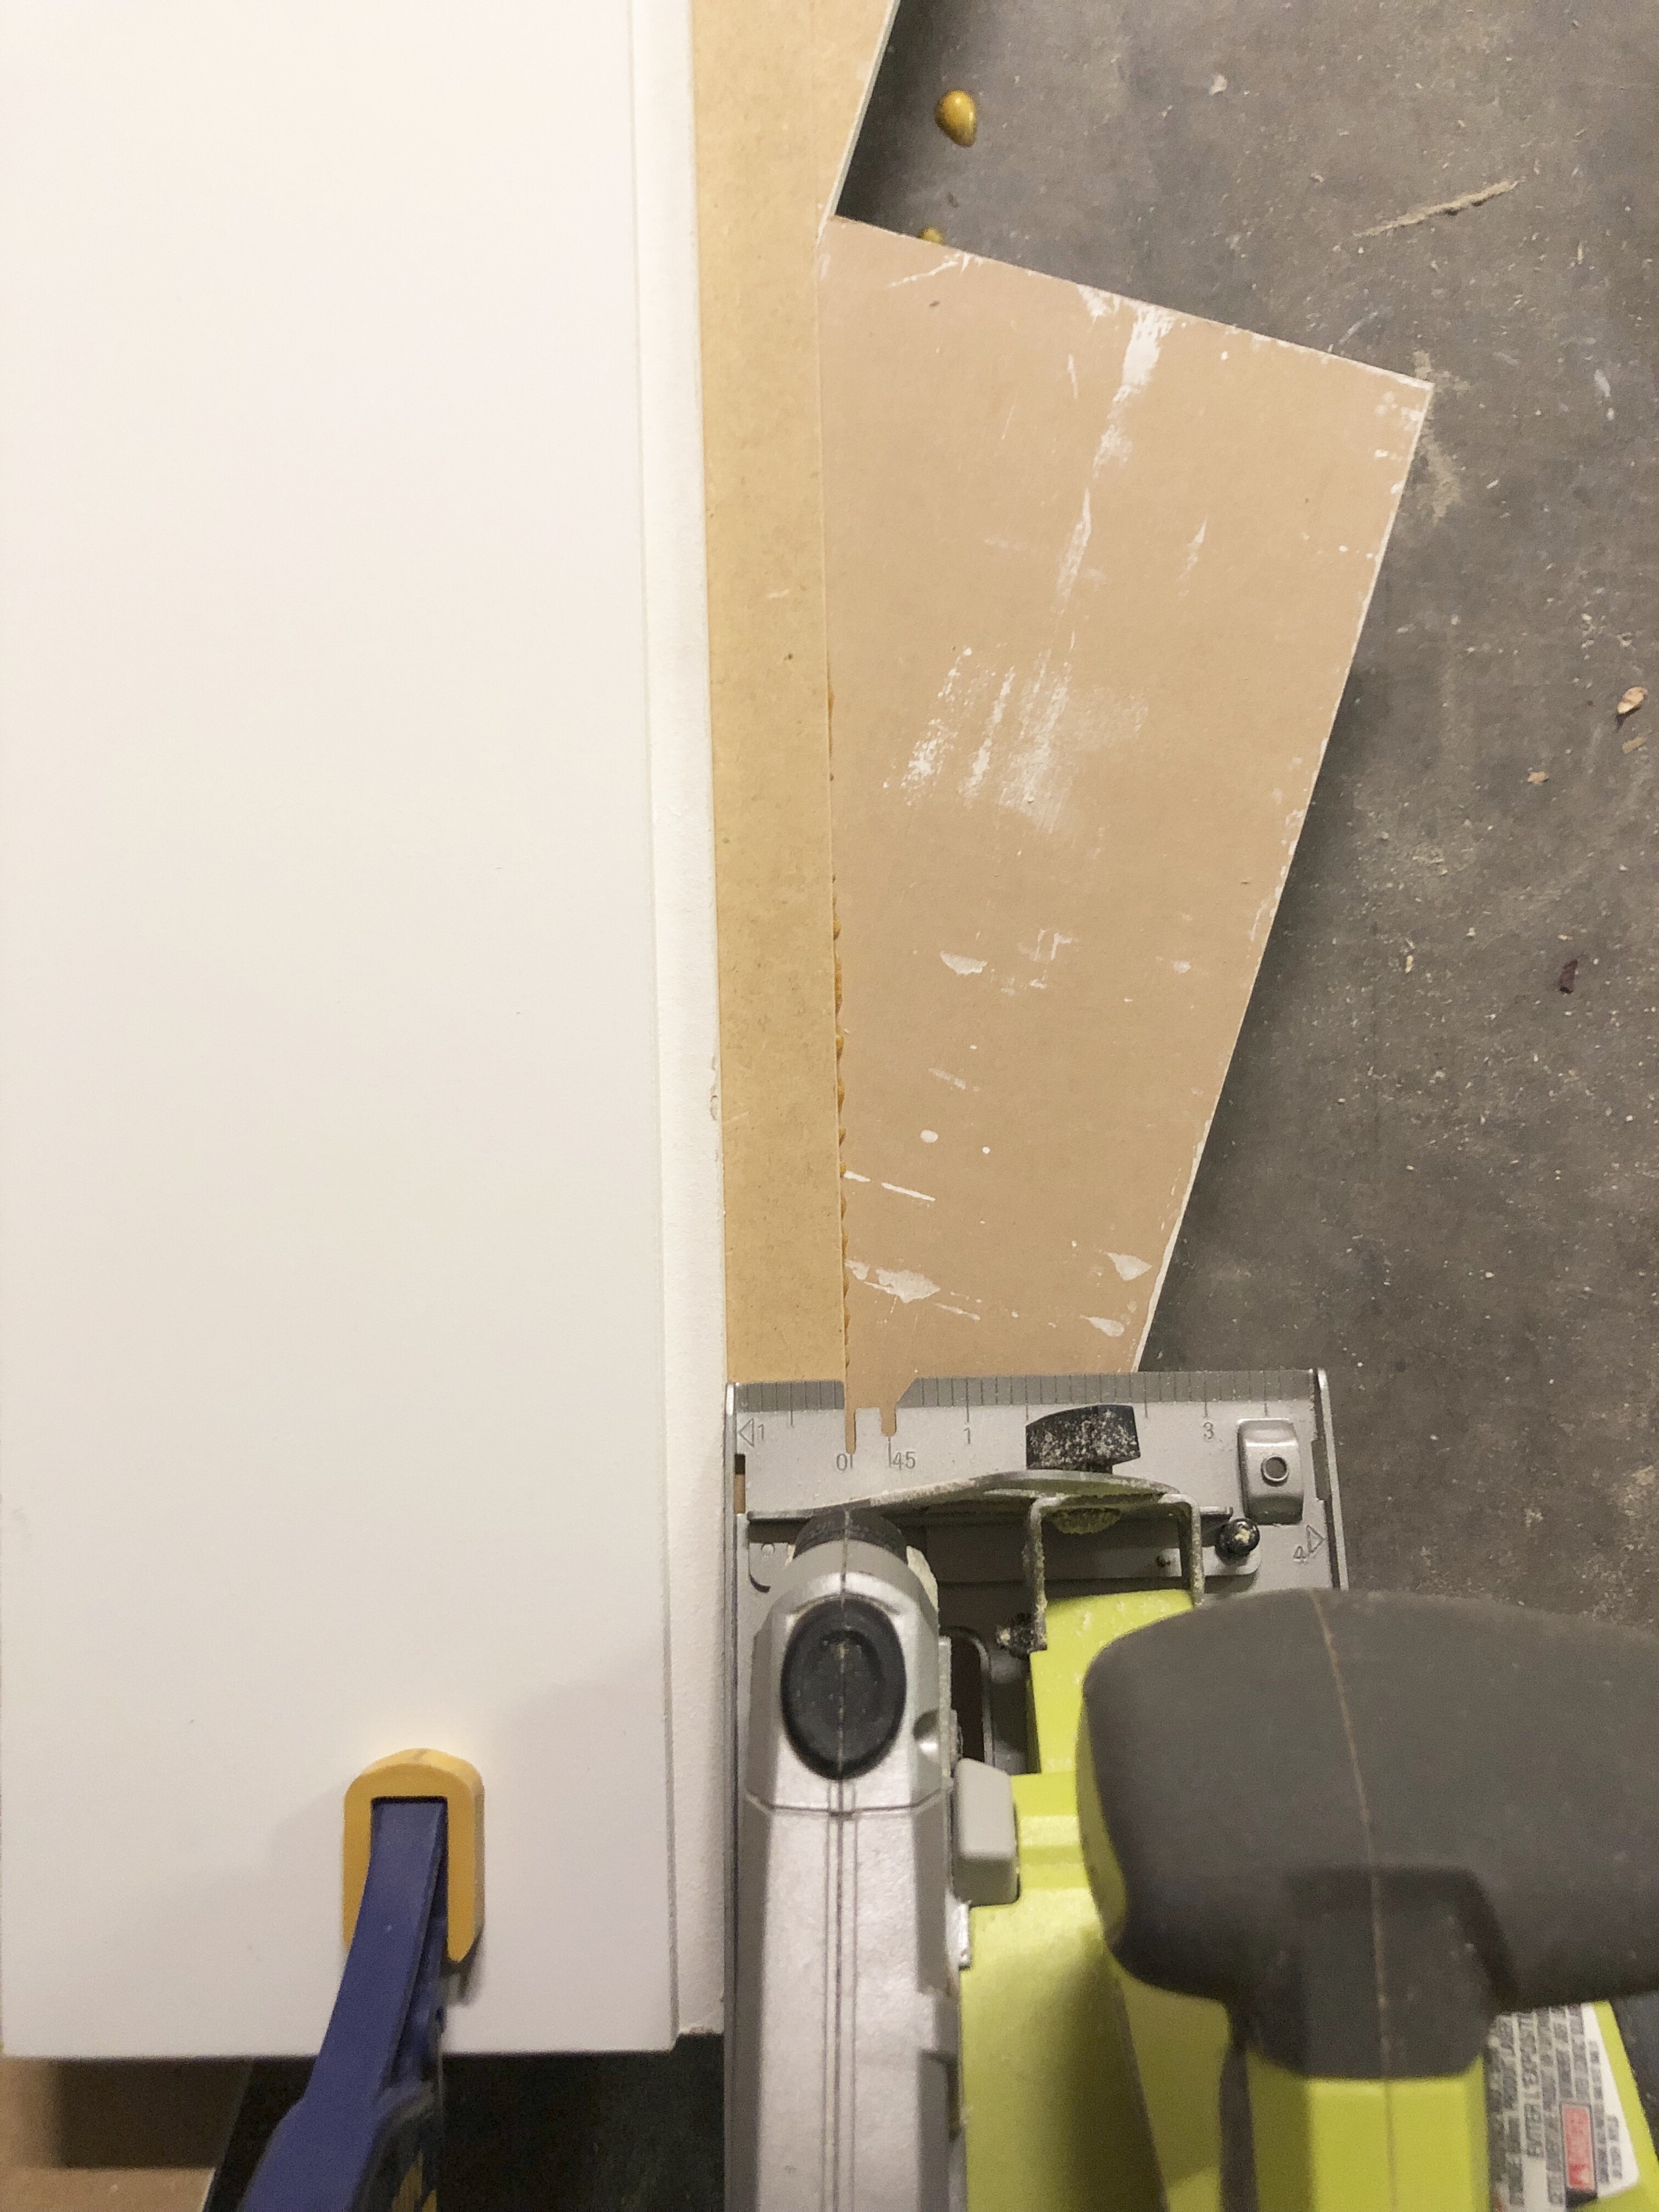
STEP 4: Clamp a straight edge and cut the excess wood.
Flip your door over so the backside is faced out. Clamp a straight edge board across one of the sides to be a guide for your circular saw. Make sure you clamp your board one inch over from where your cut will be made, since the blade sits once inch inside the saw (see photo). Also, it’s helpful to have a new sharp blade for clean cuts! Now, cut off all that excess wood and repeat on all the sides.
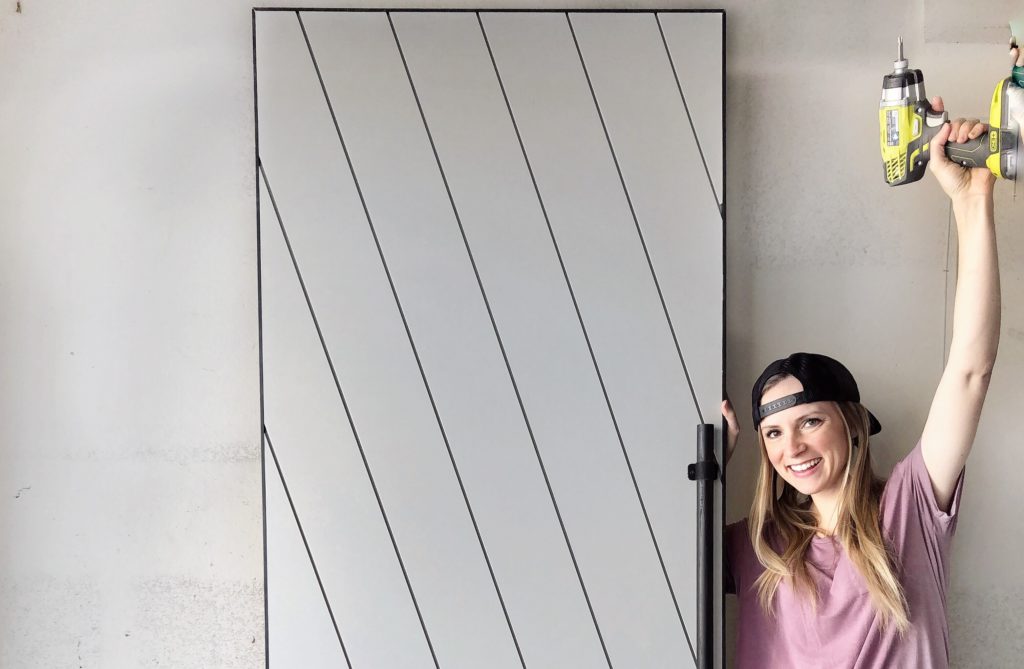
STEP 5: You’re done! Unless you want to add some trim.
If you want, you can add a 1 1/2 x 1/4 inch trim board around the edges. I will do a separate post with how to paint and finish your door.
I want to see your doors! Tag @angelarosehome and follow me on instagram for more tutorials and DIY inspo.