Cozy Modern Living Room
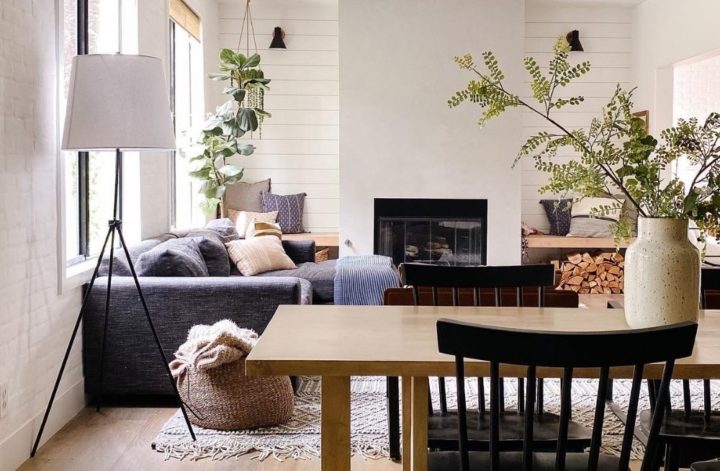
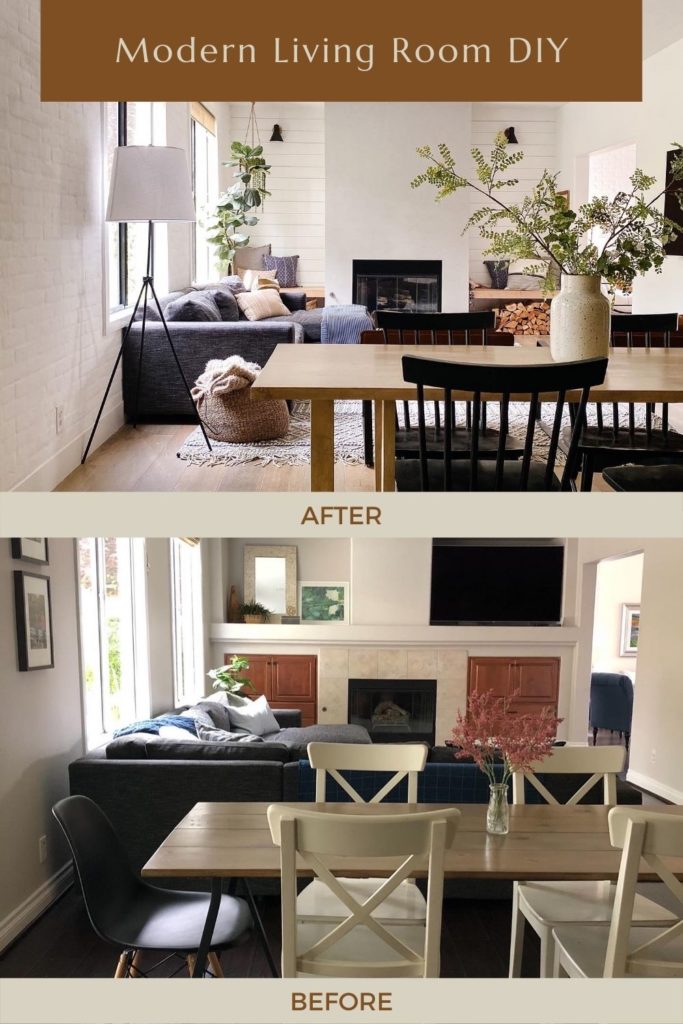
Wow, I finally finished all the projects on my list to create this cozy modern living room! It was two years in the making but it was definitely worth it. Do you love how it turned out? I’m sure loving the time spent with my family in this room. It’s just the best to create a space your whole family can enjoy. Now it’s time to share all the details on how I DIYed this dreamy living room so you can pull your favorite elements and recreate them in your own home. But first, let me help you really appreciate this transformation with a before and after picture.
Goodbye 90’s Wall, Hello Modern Fireplace
The first big project I tackled was DIYing the fireplace. Living in a 90’s style home but being someone who craves simple lines, everything had to go. So to start, I tore the whole fireplace wall down to the studs. Then with some help I rebuilt, reframed, hung drywall, and did some mudding and finishing work. I’m definitely simplifying this process but if you want to get more details, you can watch my story highlights here.
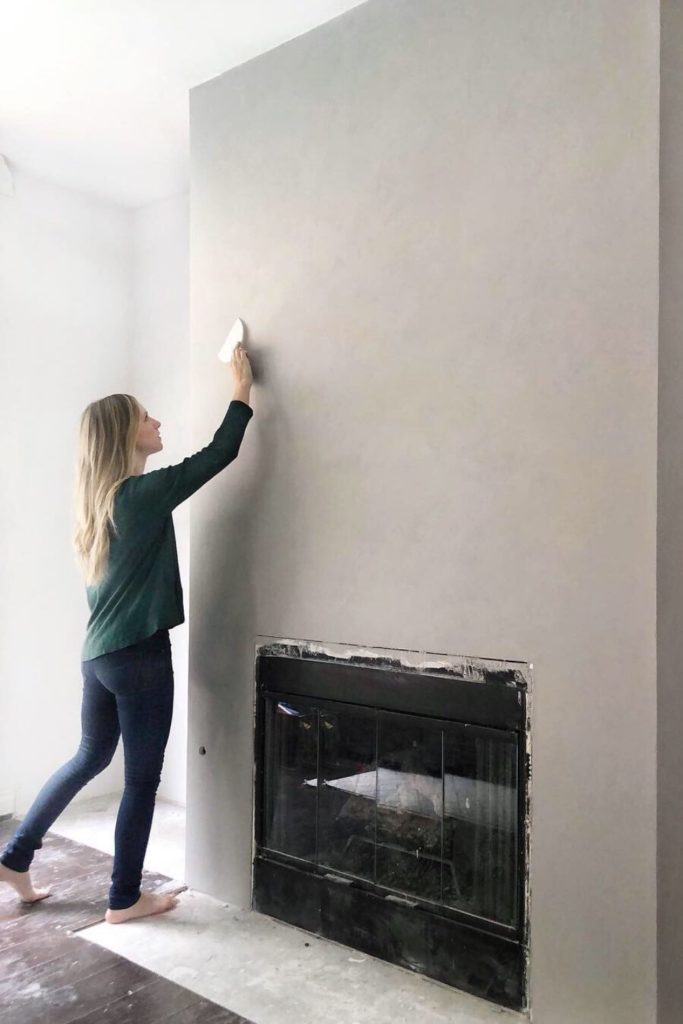
Now that the wall was finished, it was time to create the fireplace look I was going for. I really wanted to have a fireplace with a cement-looking finish, but I didn’t want to pay a lot of money for it. All the quotes I got for this project came in between $2,000 to $3,000. But guess what? I figured out how to get the cement look for under $100! Since I was going to be covering the rest of the wall with shiplap later, I decided to use that space to test the two options I was considering for the cement finish. The test was between lime wash and roman clay. I ended up going with roman clay for a smoother cloud-like look. To get the details on how I applied the clay, check out this post.
Shiplap, Shiplap, Then Shiplap Some More
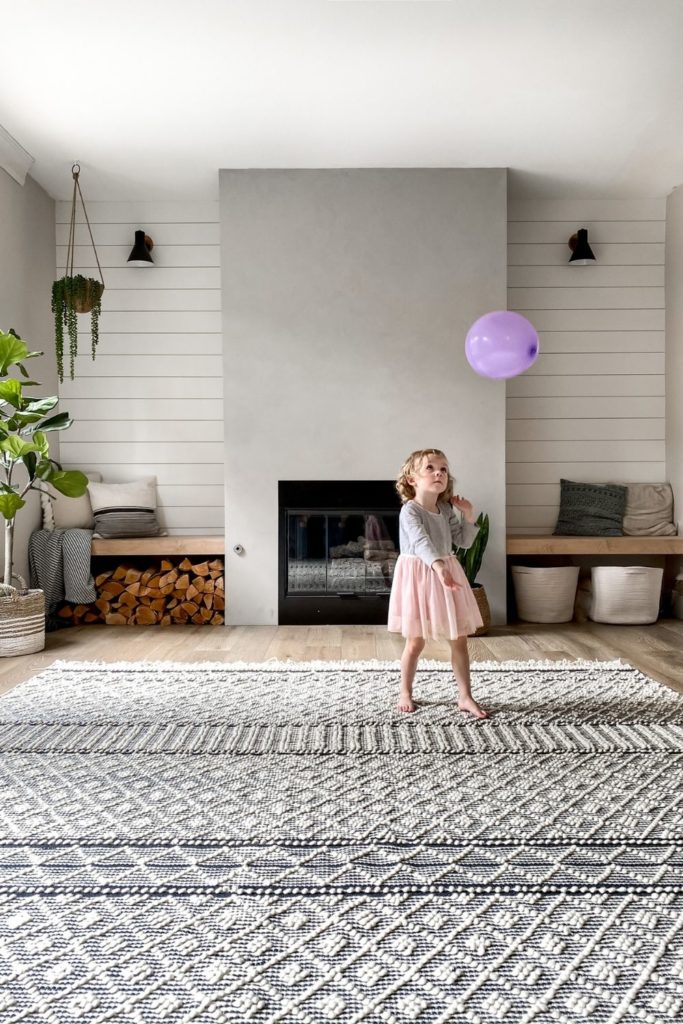
I loved how the cement-looking fireplace turned out, but now I wanted to soften the look by adding shiplap on either side of the surrounding wall. For this project, I used 5 inch pre-primed MDF boards from Home Depot. Shiplap honestly isn’t that expensive, but if you’re looking for a cheaper option I have one for you. You can get strips of plywood or MDF boards cut for you at Home Depot. I’m going with shiplap this time because it’s cleaner and I like that the boards have pre-spaced gaps. This makes it so you can nail into the lip of the board and not have to worry about filling in any nail holes, yay!
Since the corners of this wall are kind of rounded, I cut the shiplap at an angle. That way the boards could line up flush to the wall. To make this look even more seamless, I caulked the edges of the boards. Now the last thing to do was paint. I created a taped-off space so the paint dust didn’t travel to the rest of the living room. Then I grabbed my paint sprayer and added a nice white coat of paint. You can get more details on the shiplap on Instagram under this story highlight.
Floating Bench Turned Cozy Nook
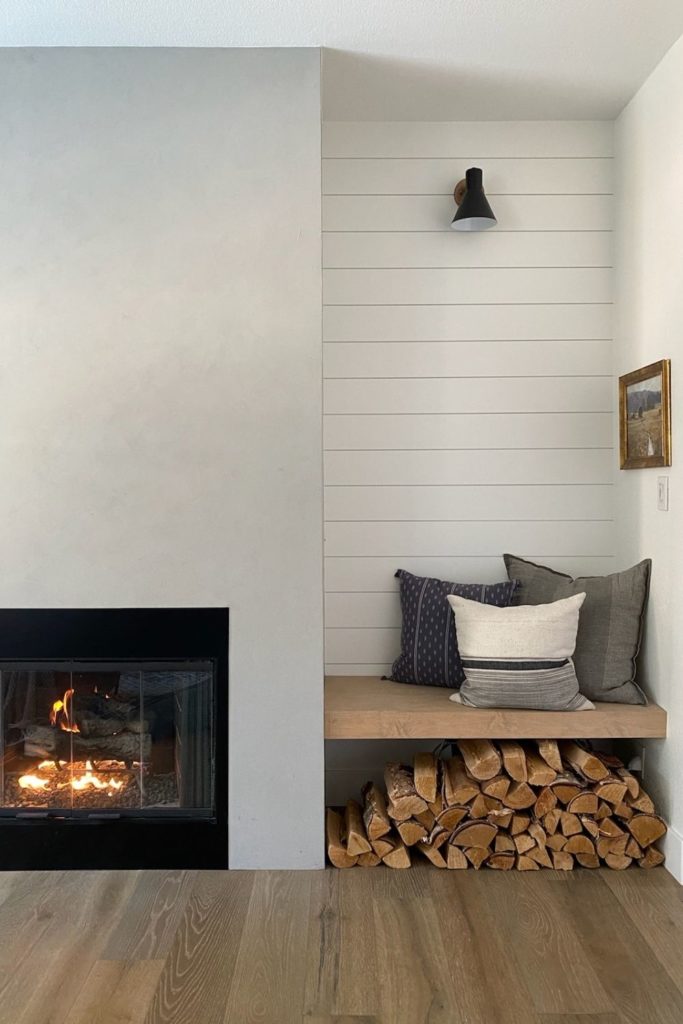
The next thing on my list was adding floating benches to either side of the fireplace. Doesn’t a little nook like that sound so cozy? I thought so. To get started, I marked where the studs were that I was going to drill into. I wanted each board attached to two studs for a strong hold. That would mean that each bench was connected to six studs total. Once I built and attached the frame for the benches, I worked on the seat and trim. I used plywood for this.
I really wanted this bench to have a natural light wood look. So I used Minwax weathered oak stain and immediately wiped it off as I went. That gave the bench the light-colored look I wanted. The trim was a different type of wood, so to get the color to match I used a combination of wood conditioner, weathered oak stain, and cherry stain. I have more details saved to my story highlights that you can watch here.
The Final Touches To Add Some Magic
In the midst of finishing up this living room project, I decided to take on a full kitchen renovation. In the renovation, I used brick webbing to create a white brick wall look. But once it was up, I loved it too much to keep the fluffy brick wall to just one room. So of course I had to carry it into the living room. Plus, the fireplace wall was showing off and needed some friendly competition to balance things out. So using the brick webbing, some paint, and limewash I put up the brick-looking wall. If you’d like more details on this process, head over to this blog post.
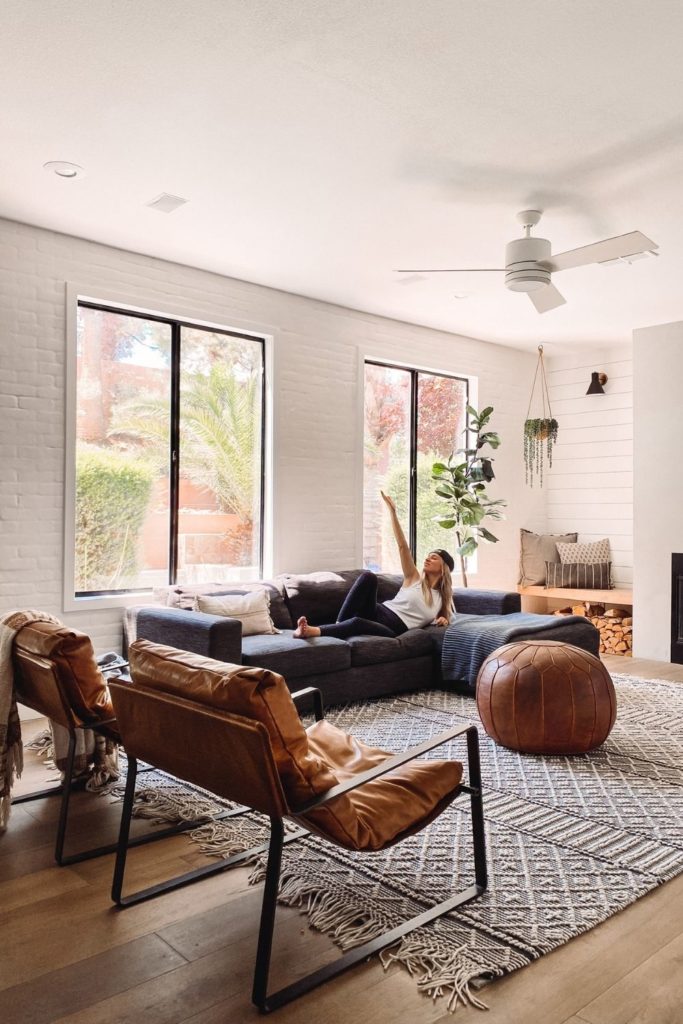
Now if you know me, you know no room is complete without some window refresh magic. I think black window frames just look so modern and fresh. So to update the windows in this room, I spray-painted them black. For details on how I did it, check out this blog post. Of course, this space wouldn’t be complete without some pretty home decor. You can see all the links for the decor I used below.
Cozy Modern Living Room Reveal
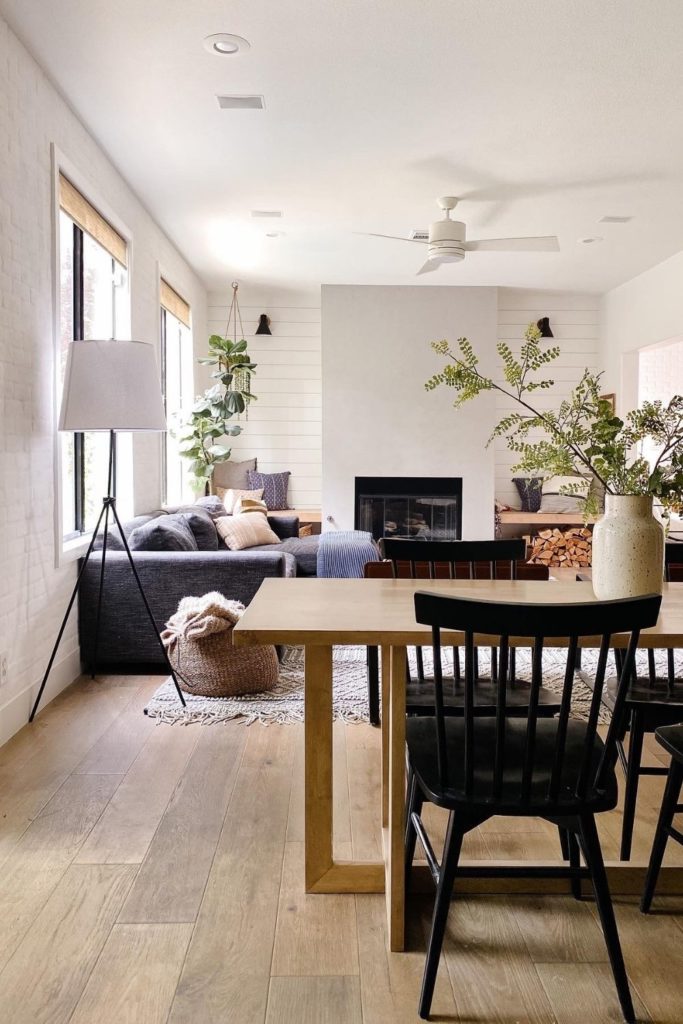
Finally after two years, this cozy modern living room project is complete! In all transparency, this project took a lot of work and a lot of problem-solving. But it was so worth it! I learned so much along the way and I’m really happy with how it turned out. So, if you’re feeling intimidated about tackling your next DIY project…just go for it. You’ve got this. Stop pinning. Start doing.
I’m always working on something new, so if you don’t already, come follow me on Instagram and Tiktok for some DIY fun!

