This post is sponsored by Rust-Oleum
Who else is like me and has an old piece of furniture in a forgotten corner of the garage? That is the story of my sad nightstand. I have been wanting to work on my daughter’s room, but haven’t had a budget for it. But right as I was just about to donate this nightstand, I thought of the cutest affordable idea to transform it for her room! You are going to love this chalk paint PLUS caning transformation. Ready to see?
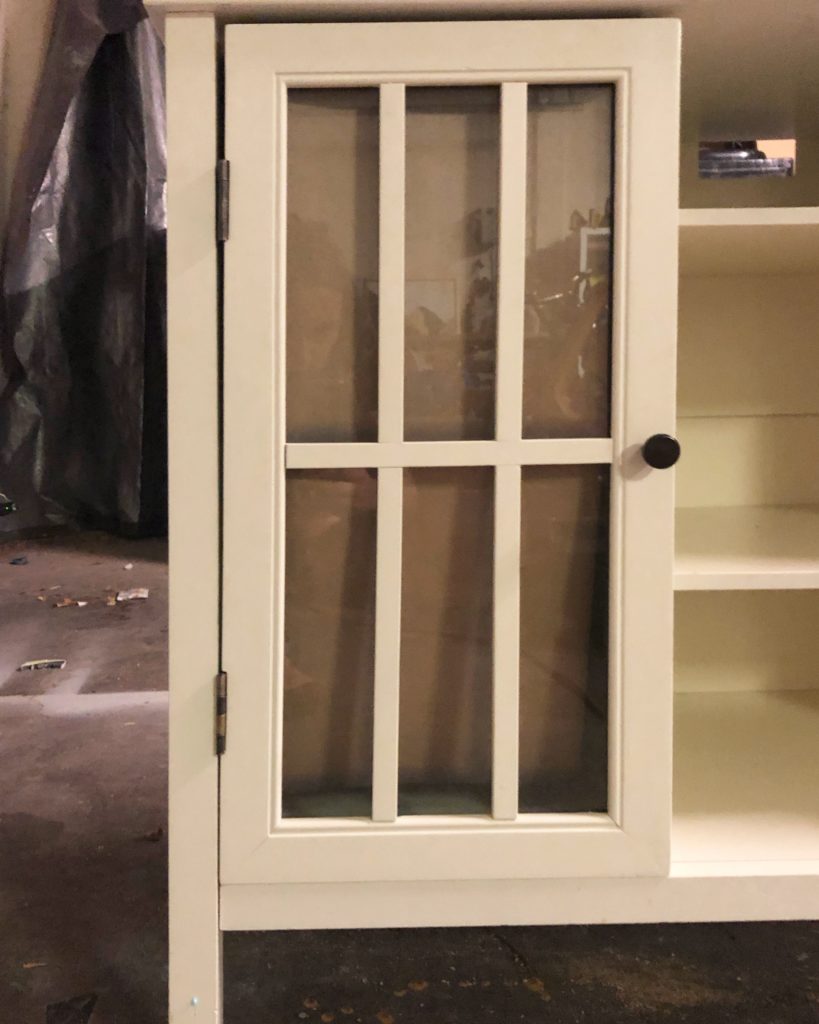
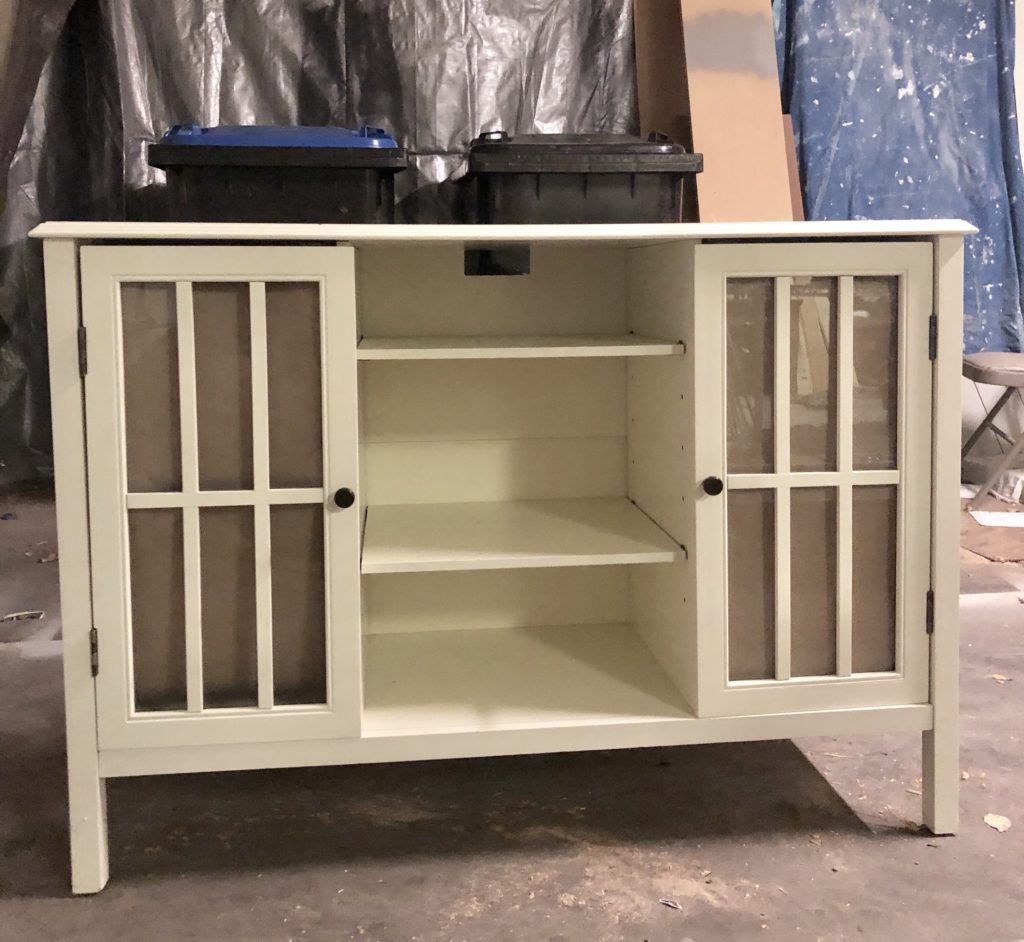
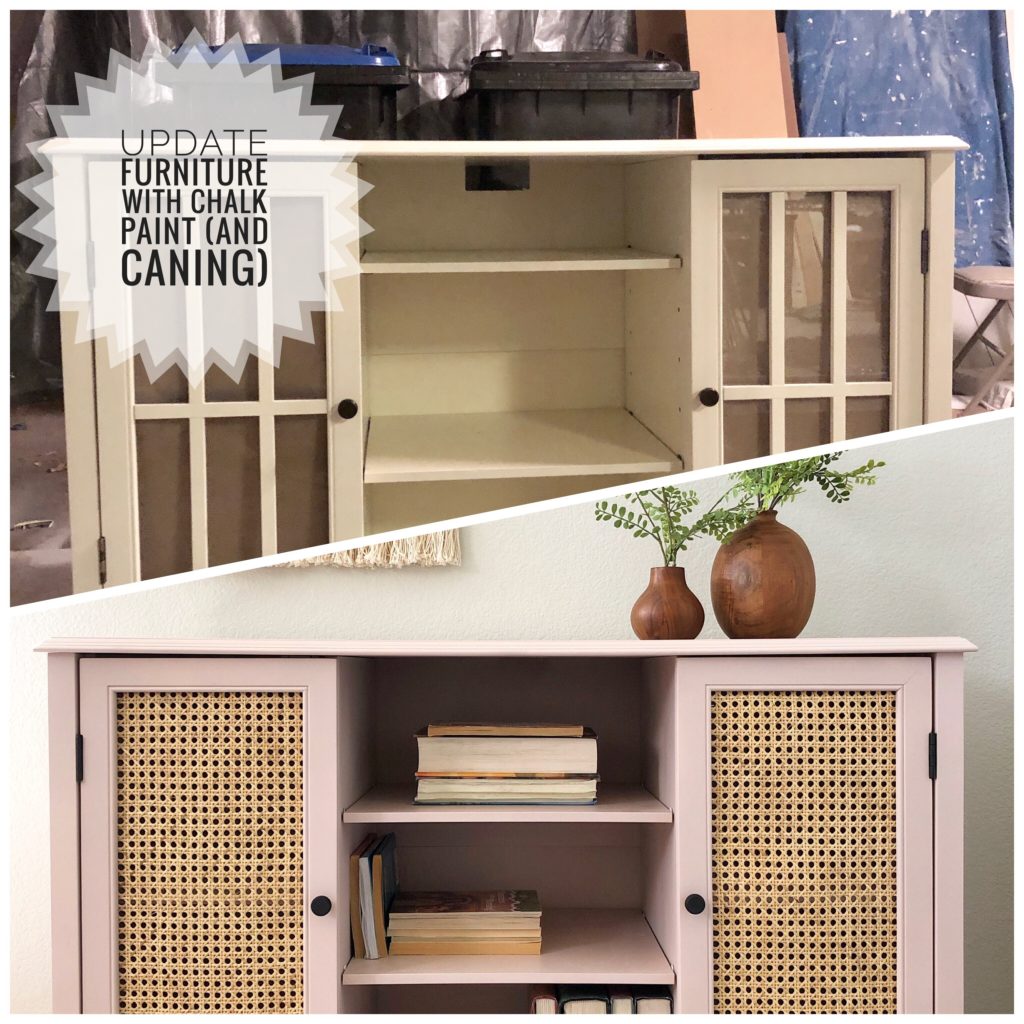
I updated THIS:
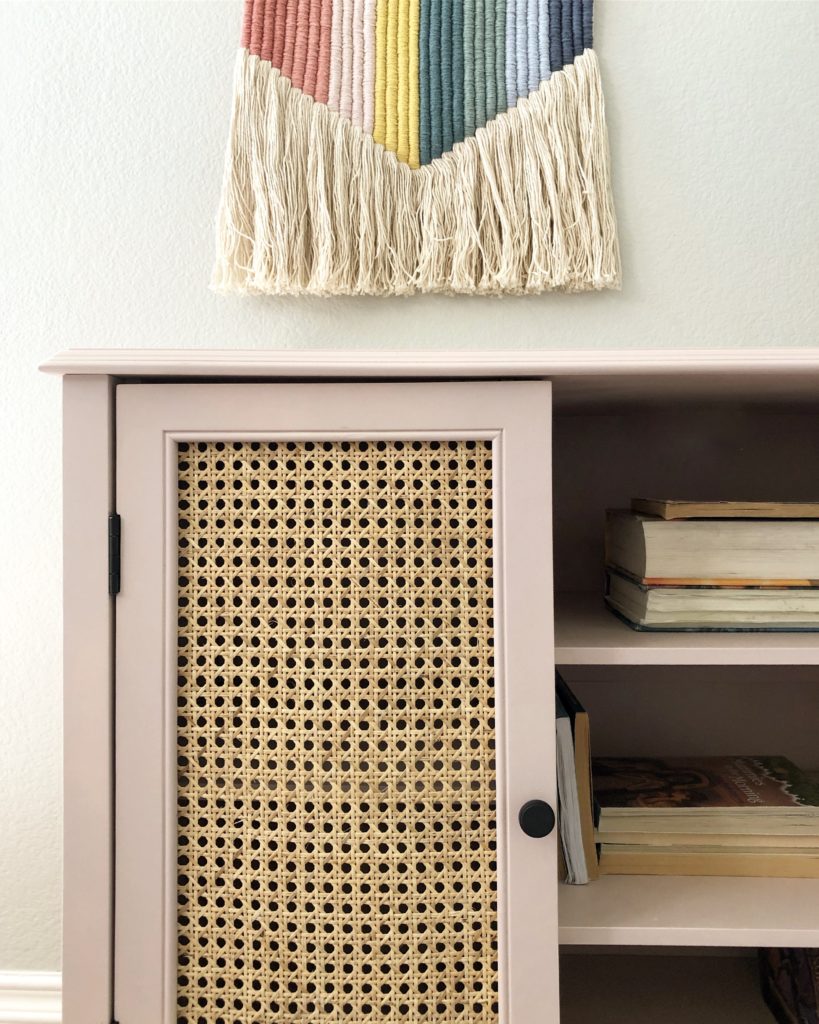
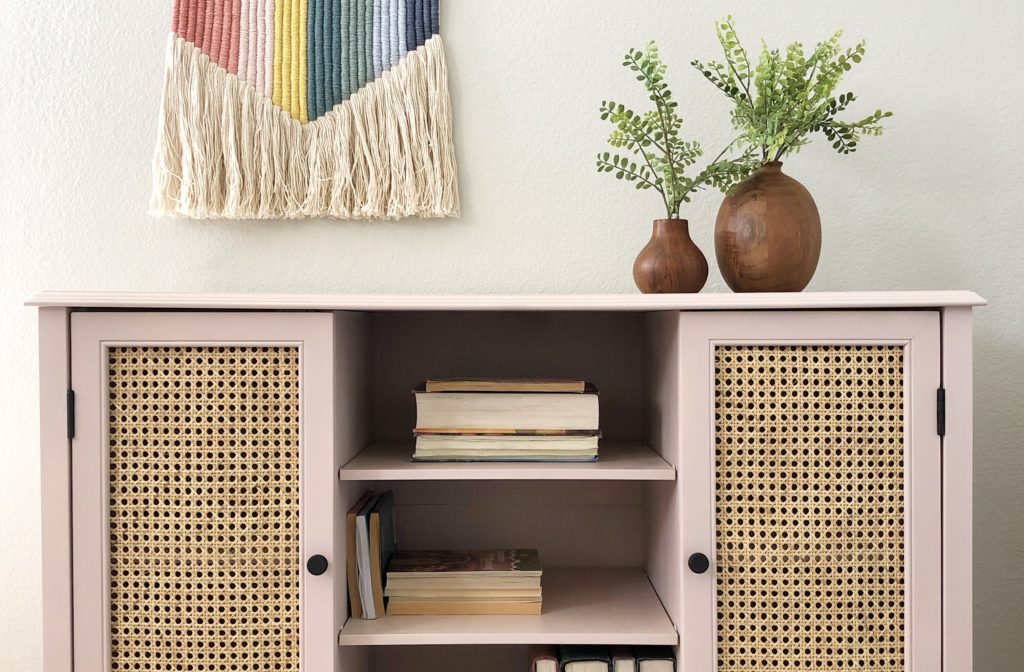
Into THIS!!!
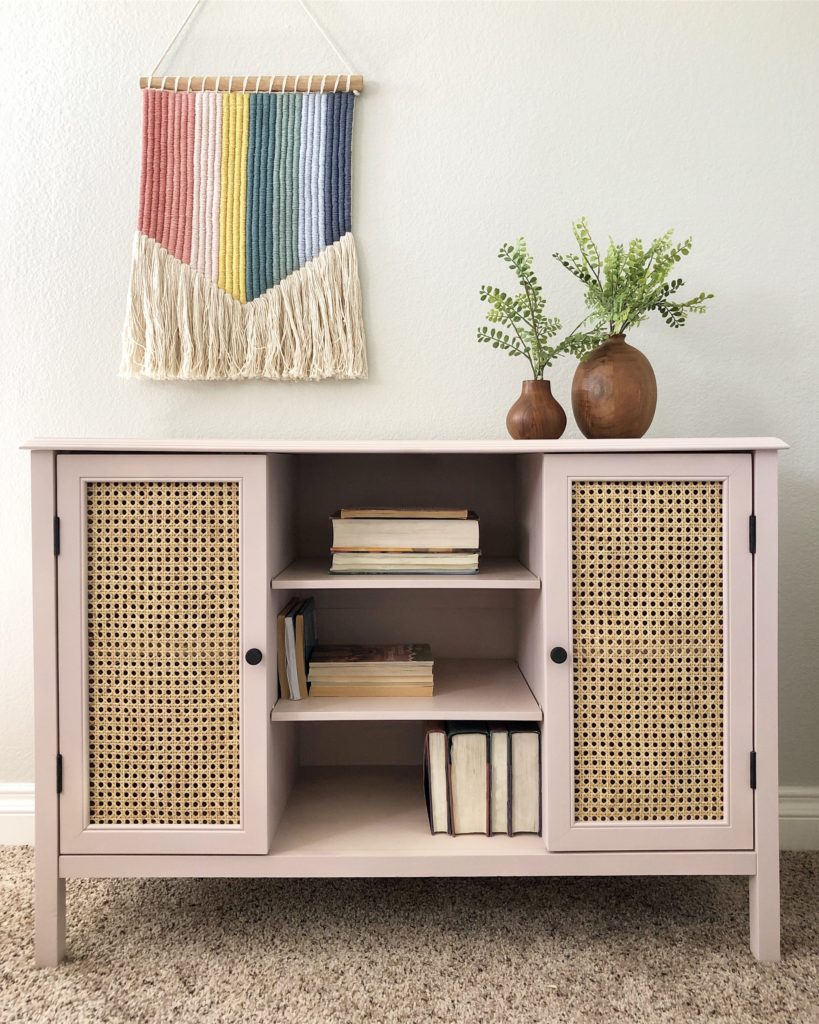
Okay, I need to show one more!
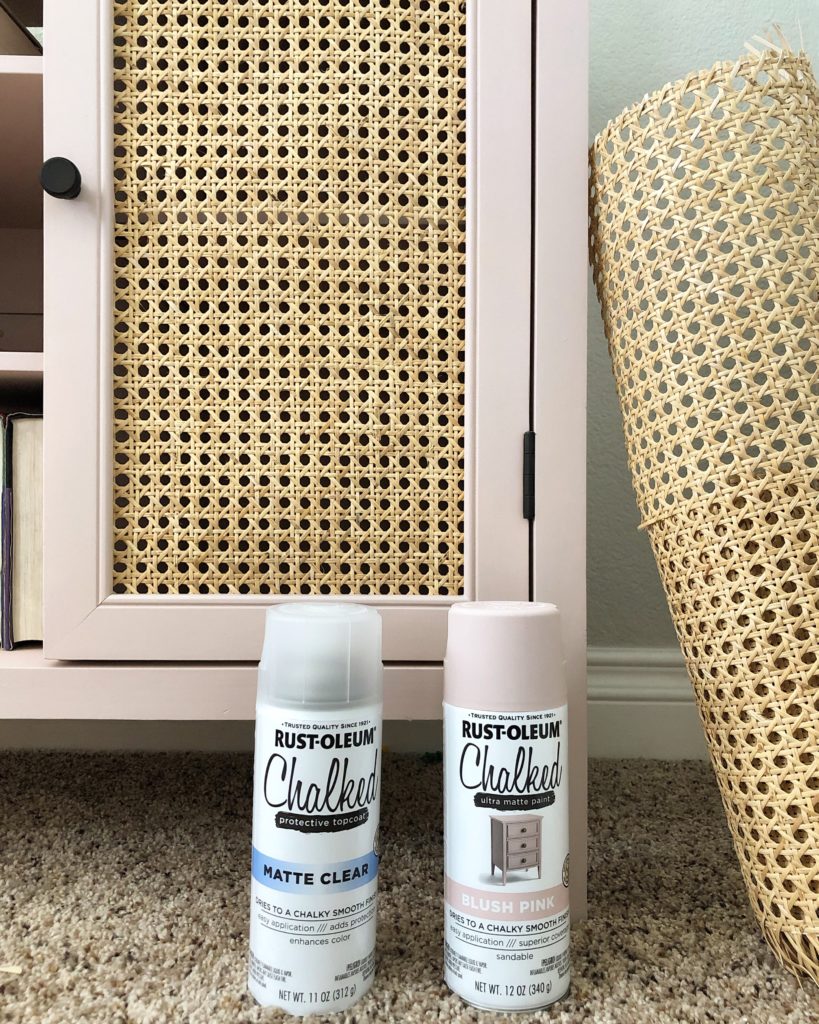
In my other post this week (with a cane round up), you read that caning is very trendy right now (but also timeless). To update this piece I knew I wanted a unique color, and didn’t want to spent a ton of time. I found this perfect Blush Pink color from Rust-Oleum Chalked Paint that is the perfect cool-toned pink (like the popular millennial pink, not like bubble gum or baby pink). I scored big time because I also realized I could just use the spray paint (you can also get it in brush on form).
Here’s what I used:
- Rust-Oleum Chalked Paint in Blush Pink (available in single cans at Home Depot stores)
- Rust-Oleum Matte Clear Top Coat
- Cane webbing (I ordered the W901U – Unbleached)
- Sand paper
- Liquid nails
Step 1: Prep your furniture
As always, just a few minutes of prep goes a long way. Wipe down your furniture and make sure it’s clean and remove your hardware. With Rust-Oleum Chalked Paint, there isn’t a lot of prep needed. I just quickly ran some 220 sand paper over it to rough up my super smooth surfaces (seriously, this took about 2 minutes total). Remember to wipe the furniture clean with a tack cloth to get off all the dust and dirt. TIP: prop up your shelves on plastic cups so they don’t stick to the ground. And always paint the back side first!
*I also removed the glass, and the wood detail pieces on my nightstand.

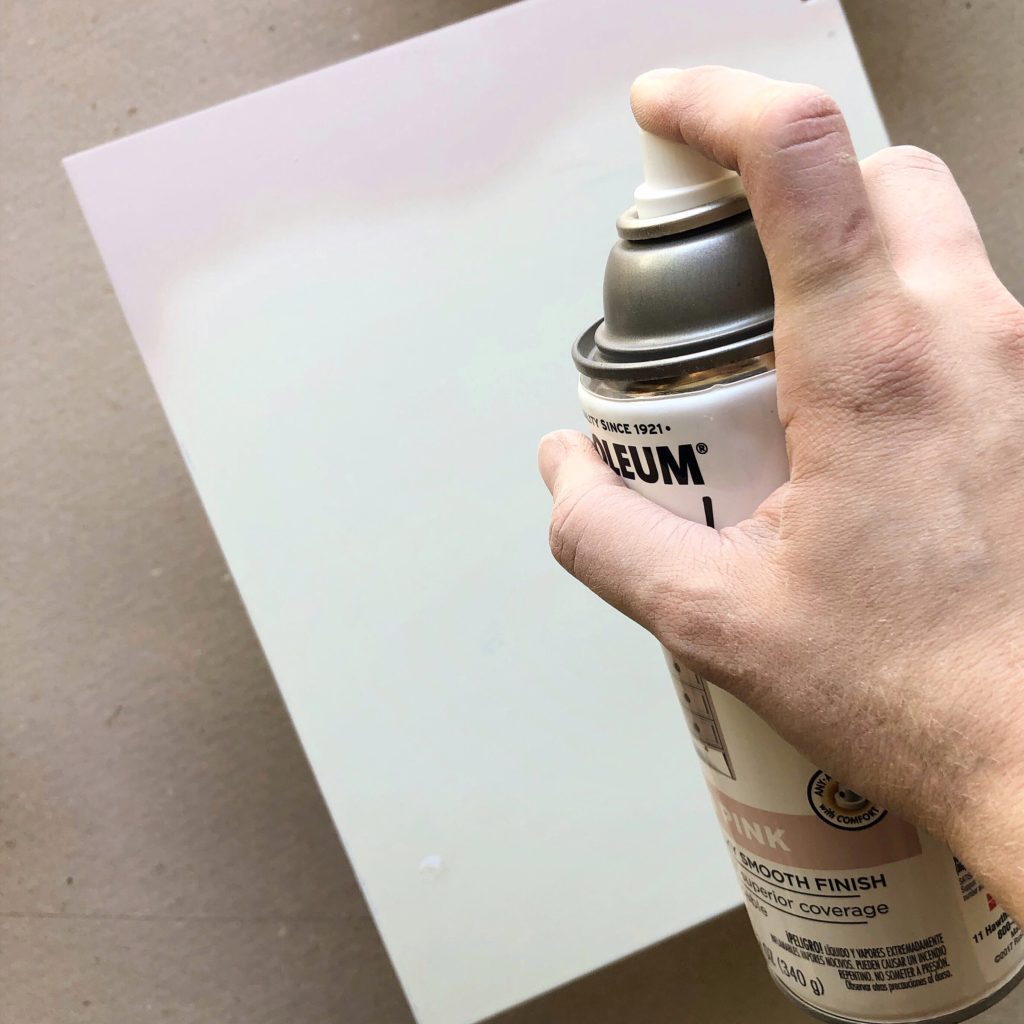
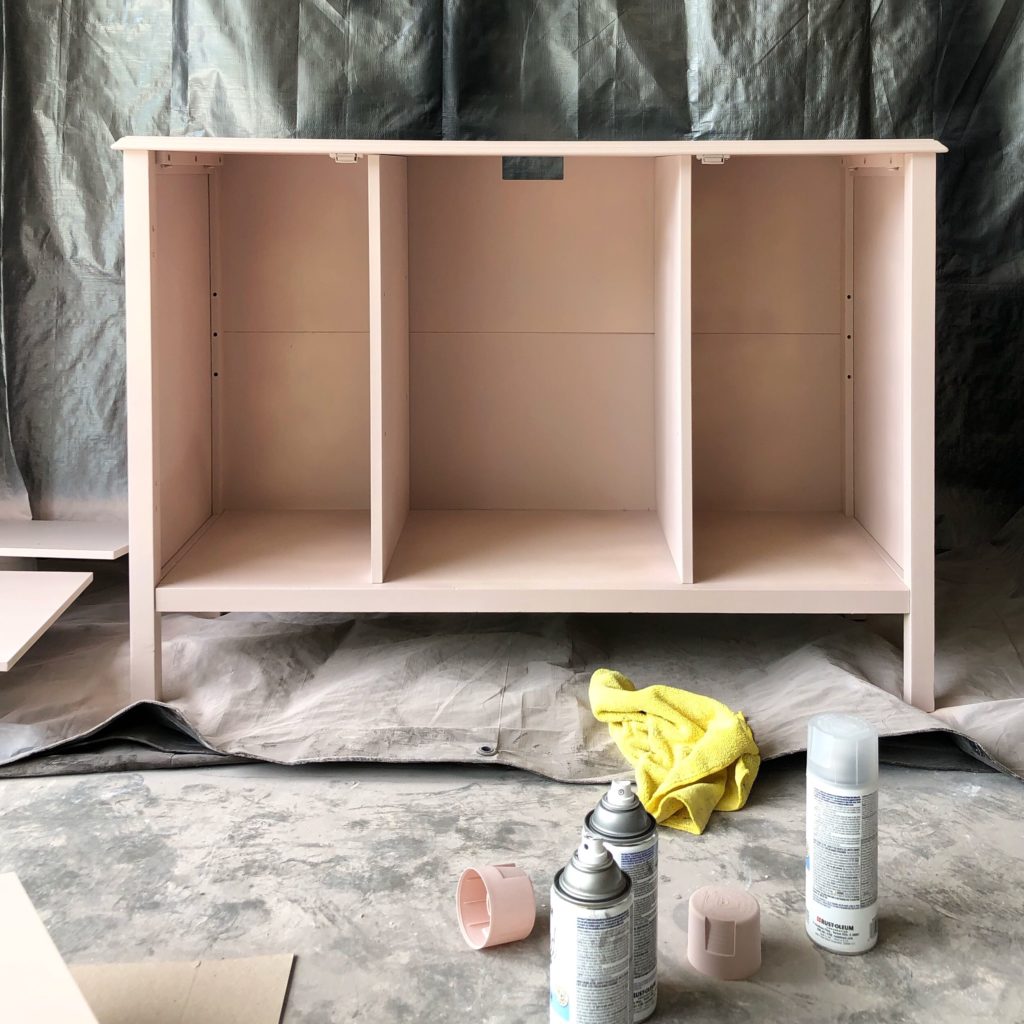
Step 2: Paint!
Here’s the fun part! When I spray paint, I make sure to move my hand quickly and continuously and err on the side of light coats. You don’t want drips! (but you can always sand those after they have dried). Every few minutes I add another coat until the coverage looks good.
*Make sure you spray in a well ventilated area, and wear a mask and safety equipment!
I love the velvety matte finish of chalked paint, but wanted to make sure my piece was protected…so I added on the Rust-Oleum Matte Clear Top Coat. That way it’s not shiny, and maintains the matte finish I really like.
3. Add the cane webbing
I ordered my cane webbing from here (I ordered W901U – Unbleached). To cut it to size, I used the glass that had been in the nightstand as a template and cut around it. Err on the larger side when cutting so the piece isn’t too small!
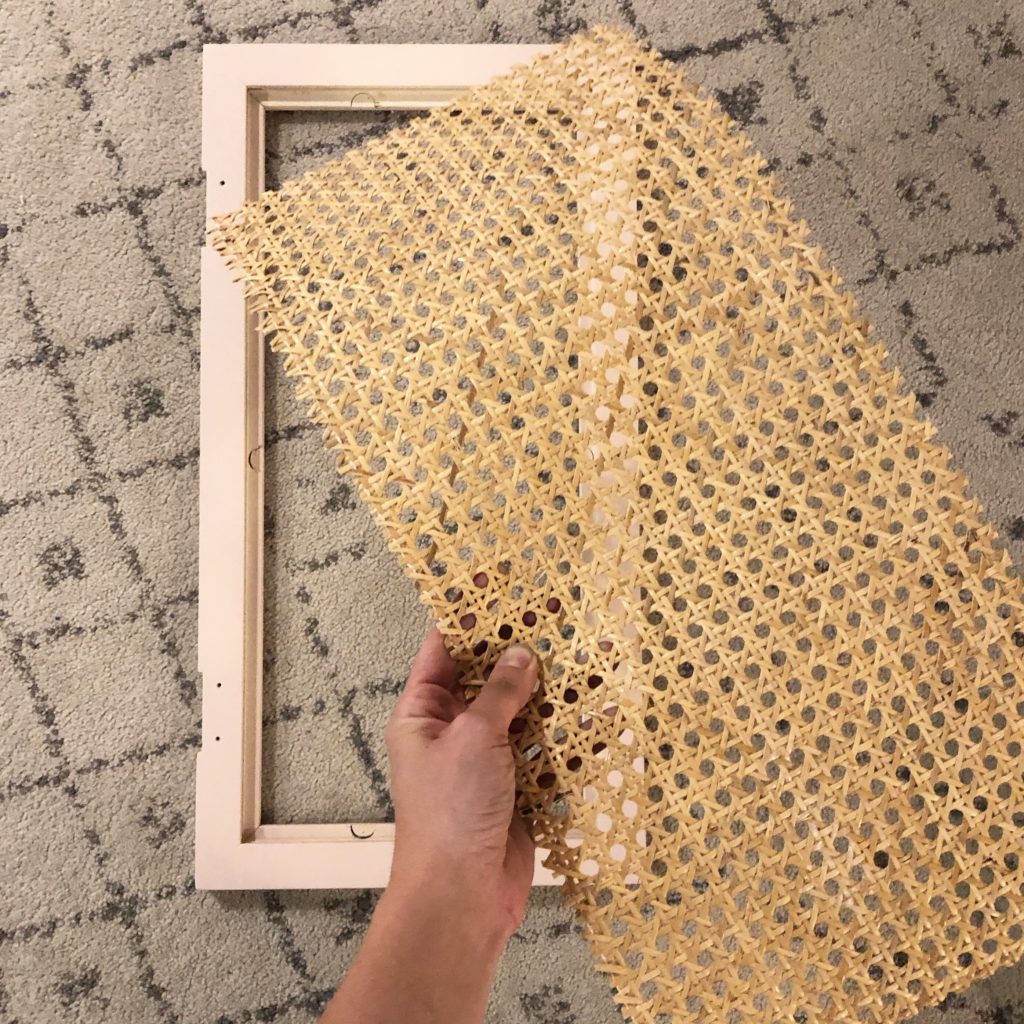
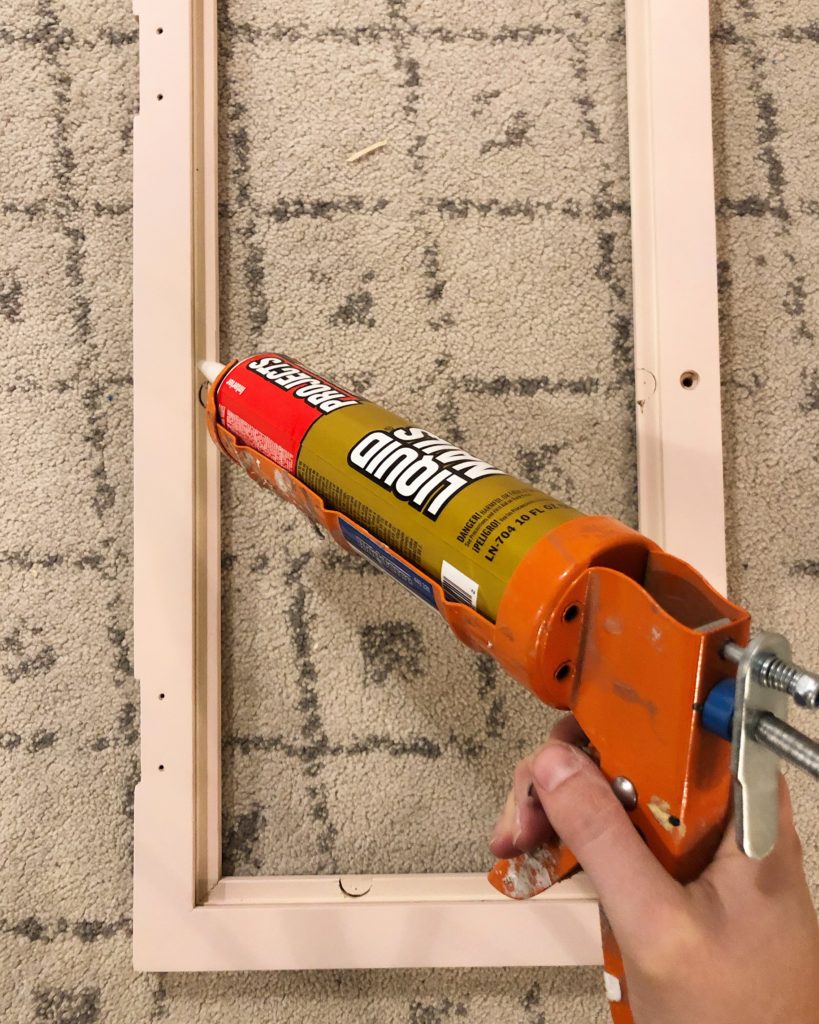
Then to attach it, I used liquid nails (this keeps it from fraying) and pushed caning into place with my fingers and placed the glass on it while it dried. Make sure you glue your cane webbing the right direction and that you pay attention to your lines being straight.
4. Put it all together!
Yes! You’ve done it. Now put it all together. Hopefully you kept your brackets and screws in a plastic baggie so they are not lost (speaking from experience here ha!). Now you’ve got a whole new updated piece of furniture for a fraction of the cost!
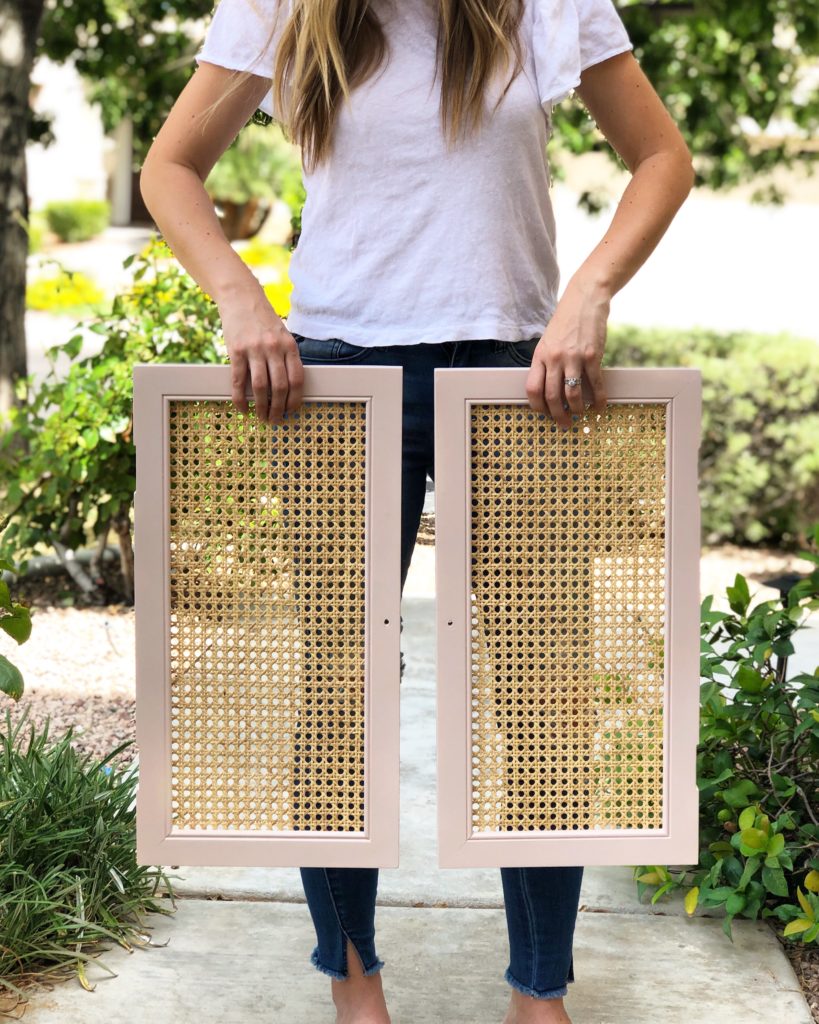
So much better right? Now go transform all your furniture!