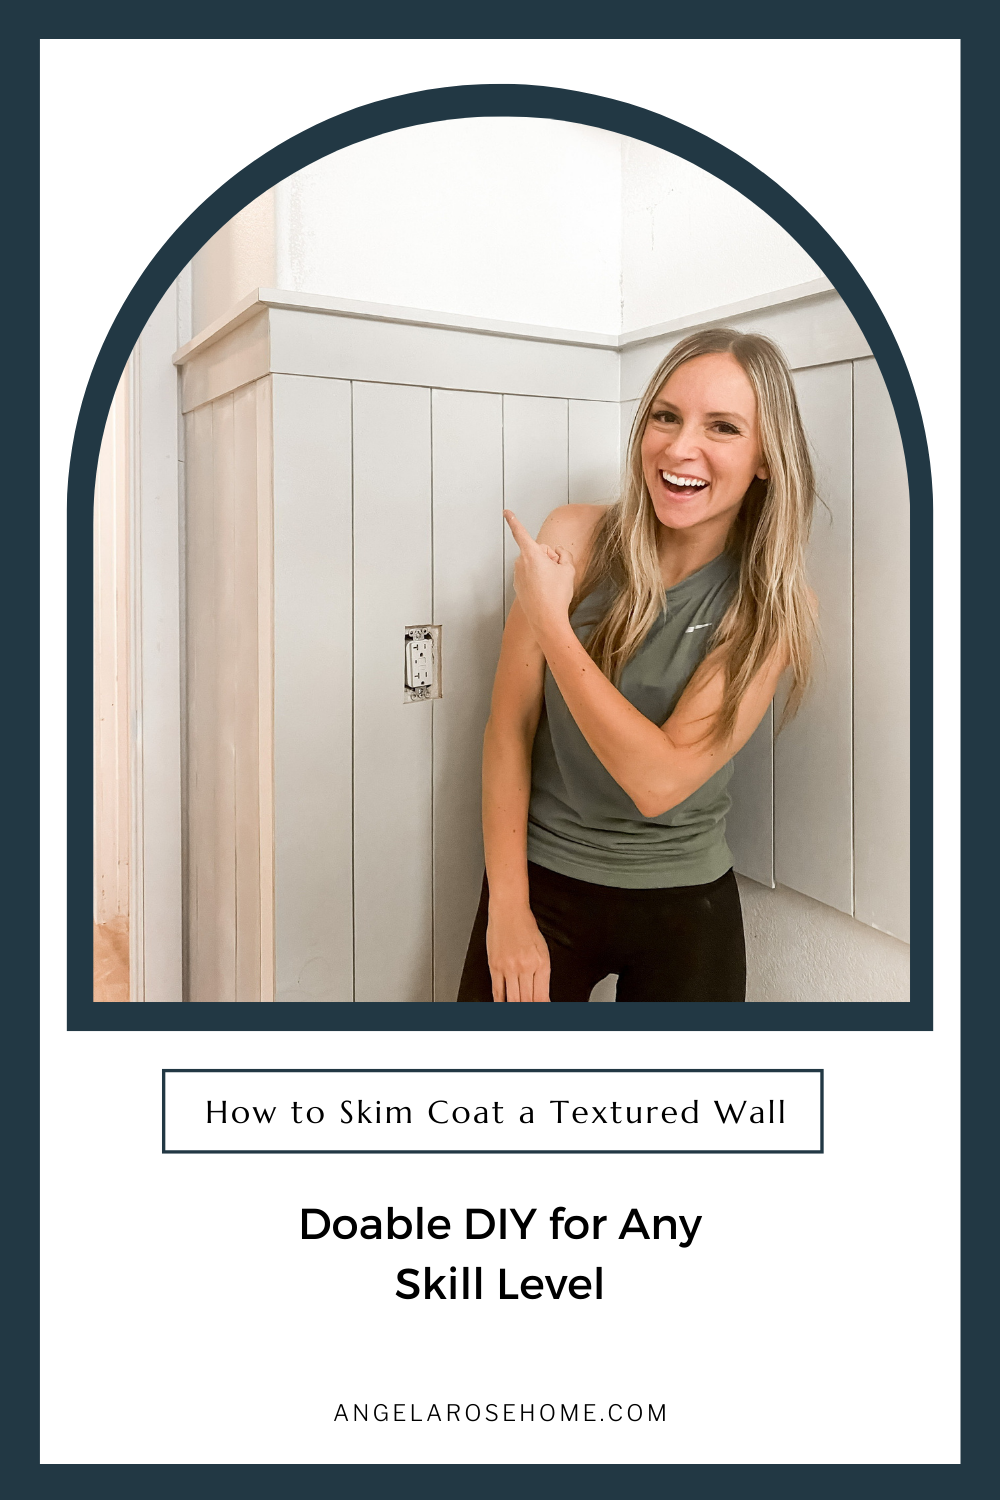
Do you ever look at your walls and think about the texture? No? Just me? There is a current trend going around to modernize a home by having smooth walls. But, paying someone to change the finish on your walls can be really expensive. Don’t you worry! I’ve always got you covered. Learning how to skim coat a textured wall is a very doable DIY project for any skill level.
What is Skim Coating?
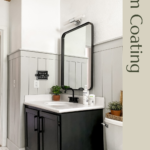
If we are getting really technical here, skim coating is the process of layering joint compound to create a smooth surface. This technique can be used to repair damaged walls, seal seams when installing drywall, or smooth out texture. We are going to be focusing on using skim coating to create a smooth sleek surface for a textured wall.
Materials You Will Need to Skim Coat a Textured Wall:
The first step in any project is gathering your materials. To skim coat your textured walls, you will need a few things. Before you head to the store, check out my list of what you will need. That way you won’t have to make too many trips. Trust me, I’ve done it.
- All-Purpose Joint Compound
- 10-12 inch Taping Knife (this larger size helps large areas get done fast)
- Mud Pan
Let’s Get Ready to…Texture
When doing your own DIY skim coating, you will want to use a premixed joint compound aka “ drywall mud”. You can get it in either a box or a bucket at your favorite home improvement store. Premixed joint compound has a much finer texture and takes longer to dry which is perfect for us DIYers because it gives us some wiggle room.
The premixed joint compound (drywall mud) can be used as-is. Or, if you are looking for a texture that is easier to spread, you can add water. If you are adding water, you will want to add water in small increments until your drywall mud has the consistency of creamy peanut butter. You won’t need to add much to get the drywall mud where you want it.
Before you start to skim coat, you will also need to get your area ready. Skim coating a wall can be pretty messy. Make sure you put down drop cloths or plastic to protect your floors. You could even use the really cool Scotch Blue Pre-taped painter’s plastic that I use for painting.
Now that you have your tools and have prepped everything ready, it’s time to start!
Let’s Go!
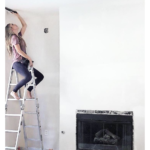
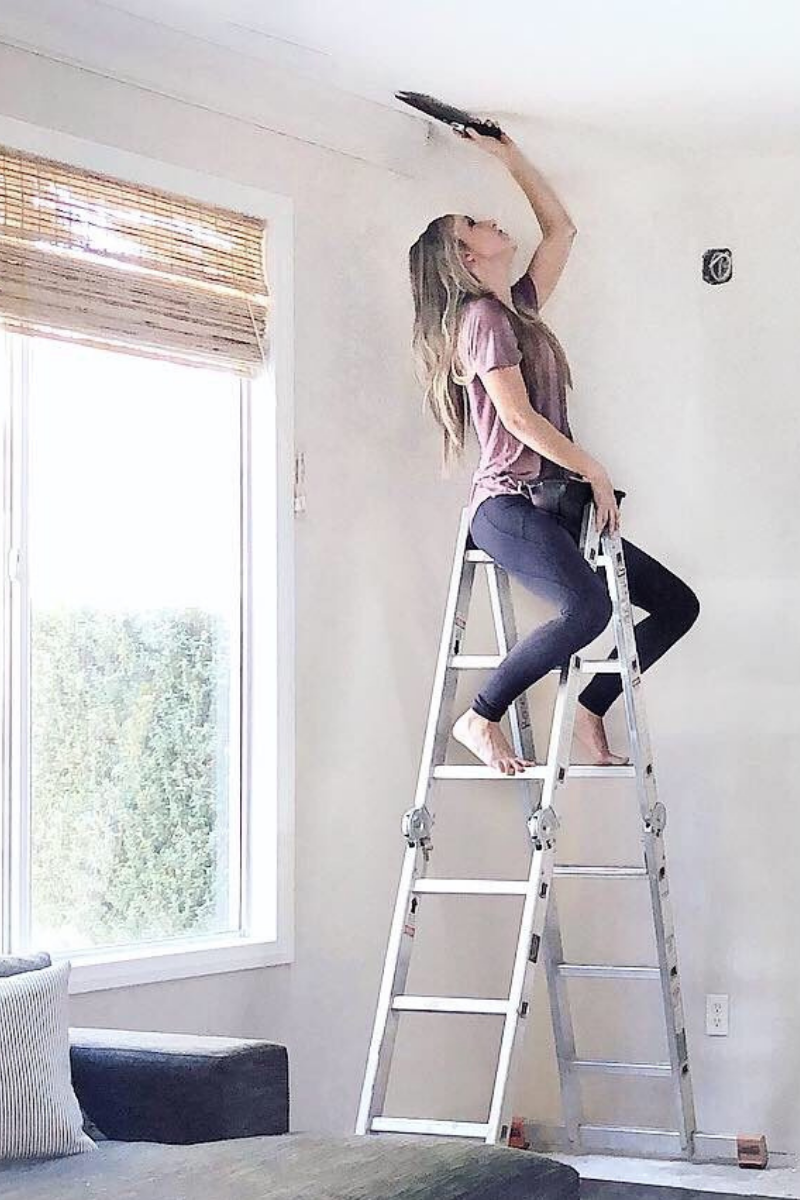
Get a big scoop of your joint compound (drywall mud) in your mud pan. Doing this makes it easy to keep supplies with you as you go. Hold your mud pan in one hand, your taping knife in the other, and refill your pan when needed. If you didn’t use your taping knife to scoop your joint compound into your pan then grab it. It’s go time. With some joint compound on your taping knife, spread the “mud” onto your wall. This process will feel a little like smoothing peanut butter onto a piece of bread. (Hopefully, I haven’t made you too hungry with all this peanut butter talk.) Your goal is to fill in the holes with your joint compound where the previous textured was on the wall.
Once you have your joint compound on the wall, angle your taping knife to 45° and scrape off the excess “mud”. When I am skim coating I go for one area at a time. You don’t want to joint compound (drywall mud) drying before skimming off the extra. Not too difficult, right? Skim coating is totally doable for any DIY skill level.
Spread, Scrape, Spread, Scrape, Repeat
Repeat the process of spreading joint compound and then scraping off the excess until you have finished your whole wall. Some walls have a ton of texture. If you have those types of walls, you will probably need to do more than one round of skim coating. Just be sure to let your joint compound dry before doing additional coats.
Still Too Much Texture?
If you find your walls aren’t quite as smooth as you would like, you can always hit them with a sander once the joint compound has dried. There are a few ways you can sand down the rougher texture. I really like the DEWALT Random Orbit Sander It isn’t too big and it sucks all the dust into a cool bag. Use it with 100 or 120 grit sandpaper to get a perfectly smooth wall. I will be honest, there is one downside to this sander. It has to be plugged in. Worth it if you have a lot of texture to work through, but if not, there is another way.
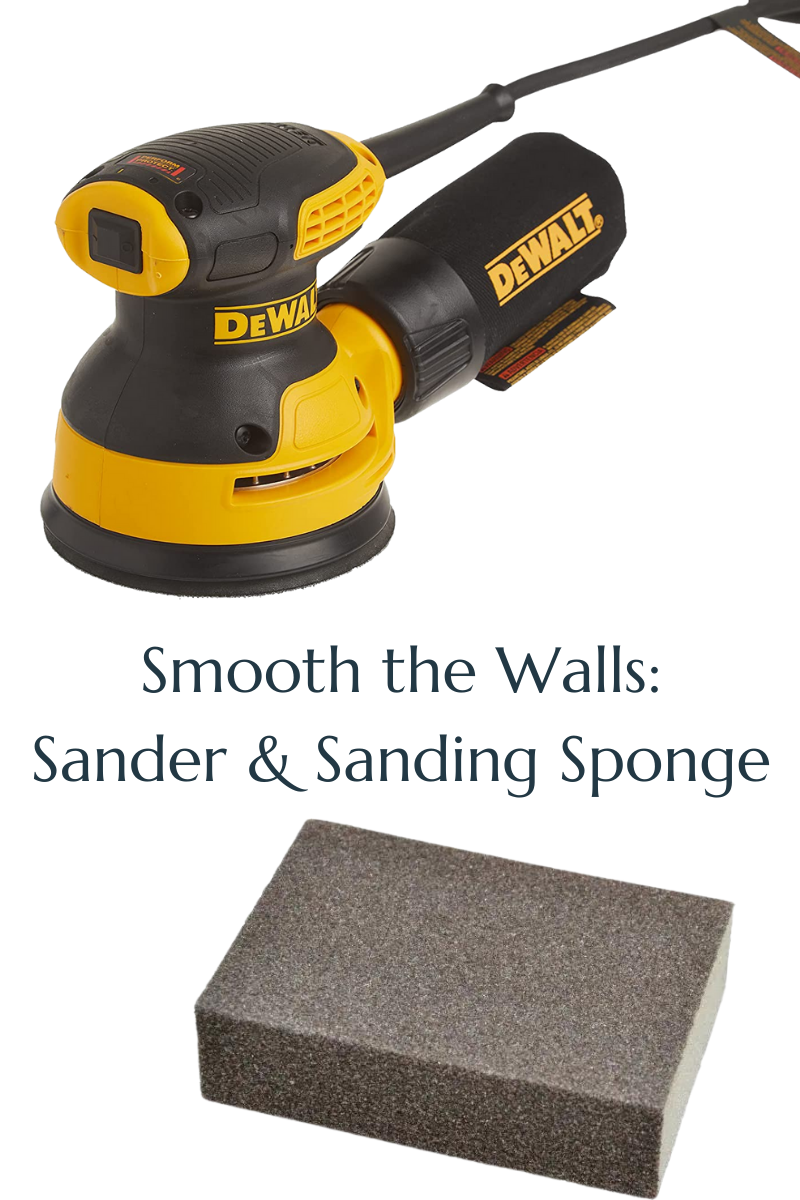
The other sanding option I really love is using a sanding sponge. When you are sanding down rough spots of joint compound, you will want a medium-grade sanding sponge. The sponge is light, doesn’t need to be plugged in, and is perfect for buffing out rough texture here and there.
Ready to Have Your Mind Blown?!?
If you are looking to skim coat a really large textured wall or possibly an entire house full of textured walls, there is an even easier (and faster way) to do it. What I am about to share with you is insider info that the professionals use. Are you ready?
To skim coat at a professional level, we are still using premixed joint compound. The difference is, this time you are going to water down the joint compound to the consistency of Go-Gurt. Can you tell I am a mom and DIYer?!? I am comparing consistencies to food. Haha! If you need to go grab a Go-Gurt from the fridge to visualize what I am talking about, do it! I’m not judging!
After the joint compound is thinned out, pour it into a paint tray and grab a high nap paint roller with an extension pole. Here’s the MIND-BLOWING professional hack…We are going to roll the joint compound onto the wall like paint and then scrape it down! This method isn’t as common, but it is seriously so fast! Since we are going big, get a 2ft. knock-down texture knife to scrape off the excess joint compound. This method is the best if you are looking to cover more areas quickly.
How to Skim Coat a Textured Wall – Doable DIY for Any Skill Level
I’ve given you a few options on how to skim coat a textured wall so that the DIY is doable for any skill level. You only need a few supplies for a big payout, so let’s get started! What wall are you going to skim coat first? Be sure to tag me on Instagram @angelarosehome when you post your project pictures. I want to be your biggest cheerleader! If you are looking for other DIY ideas check me out on Instagram and TikTok. I am always sharing about my current projects.