This post is sponsored by Lowe’s.
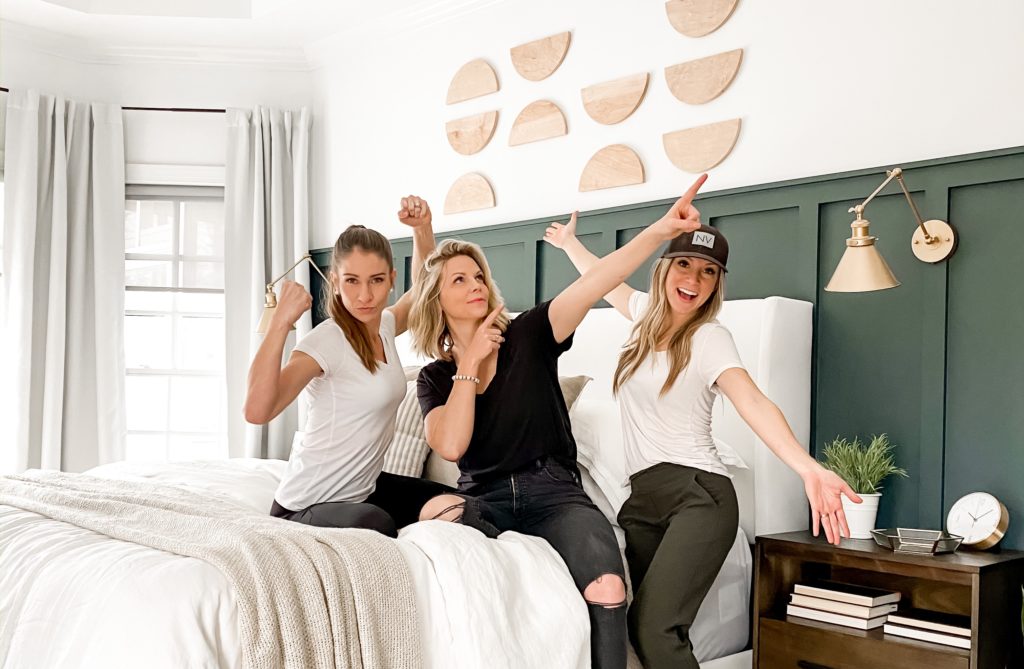
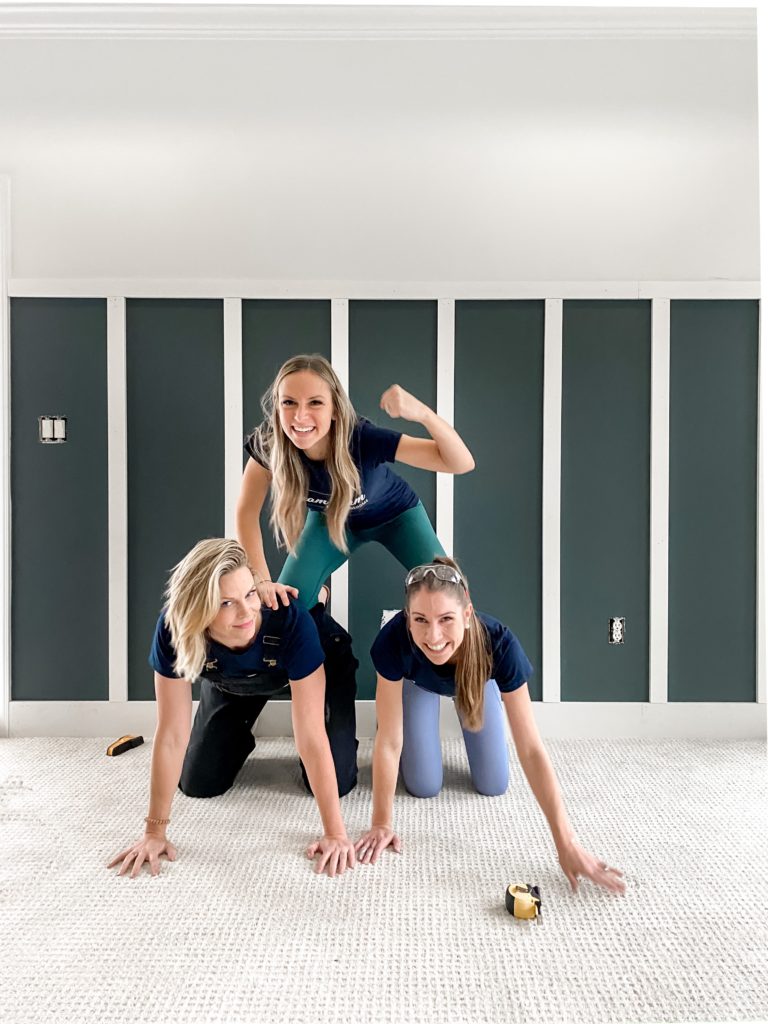
What a weekend that was! In 48 hours the DIY Dream Team completely transformed a bedroom. It was such an amazing experience working side by side with my friends and giving the homeowners a relaxing retreat. My favorite part of the whole experience was putting in the work with the personal touches to make the space come to life. And if you know me, you know I love accent walls…so of course, the wall was my favorite feature in this room.
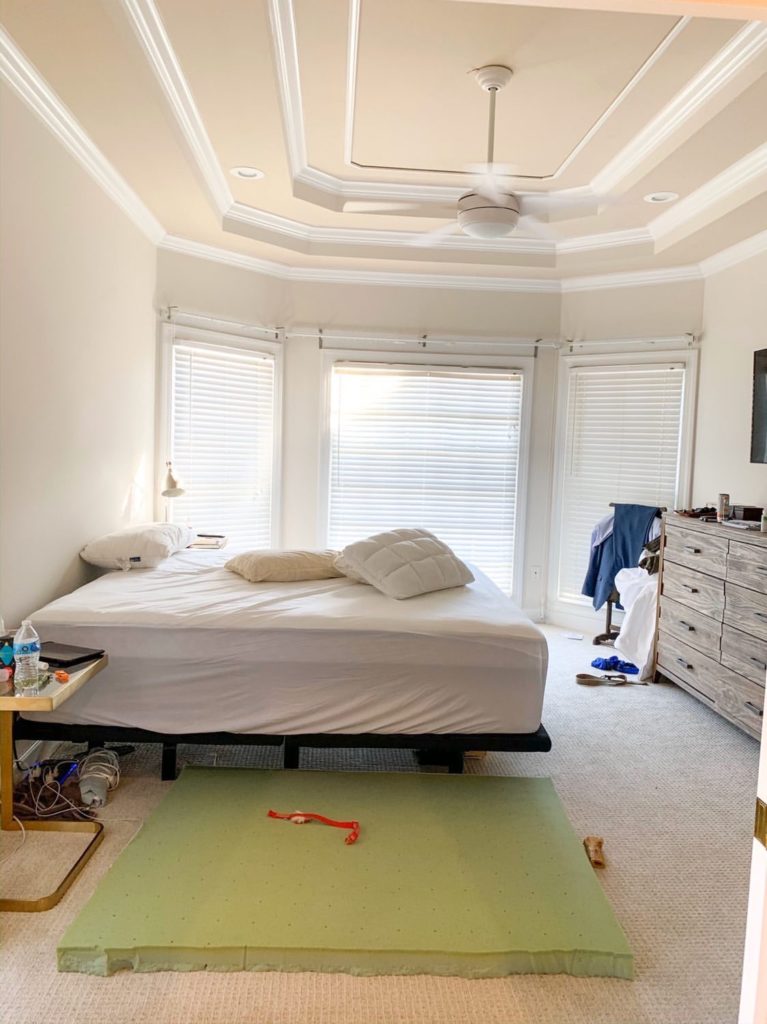
Nothing makes an affordable impact like a wall treatment! So, we knew that transforming the walls was going to be central to our entire plan. As a reminder, here is the BEFORE of the space.
And here is the AFTER of the wall treatment

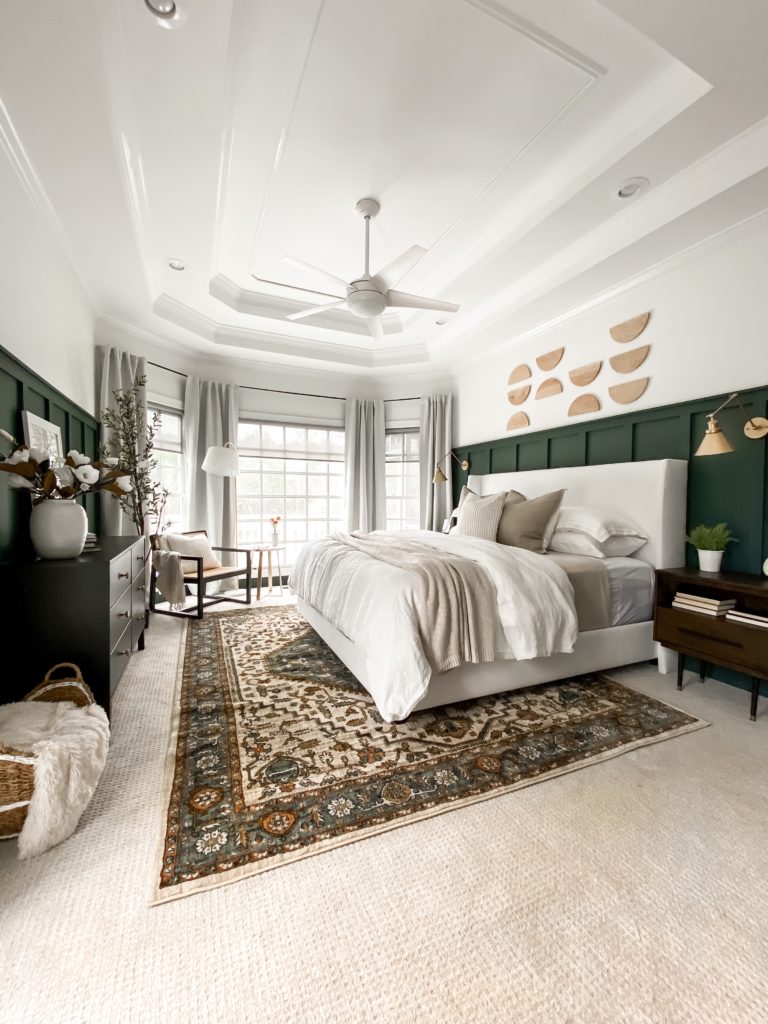
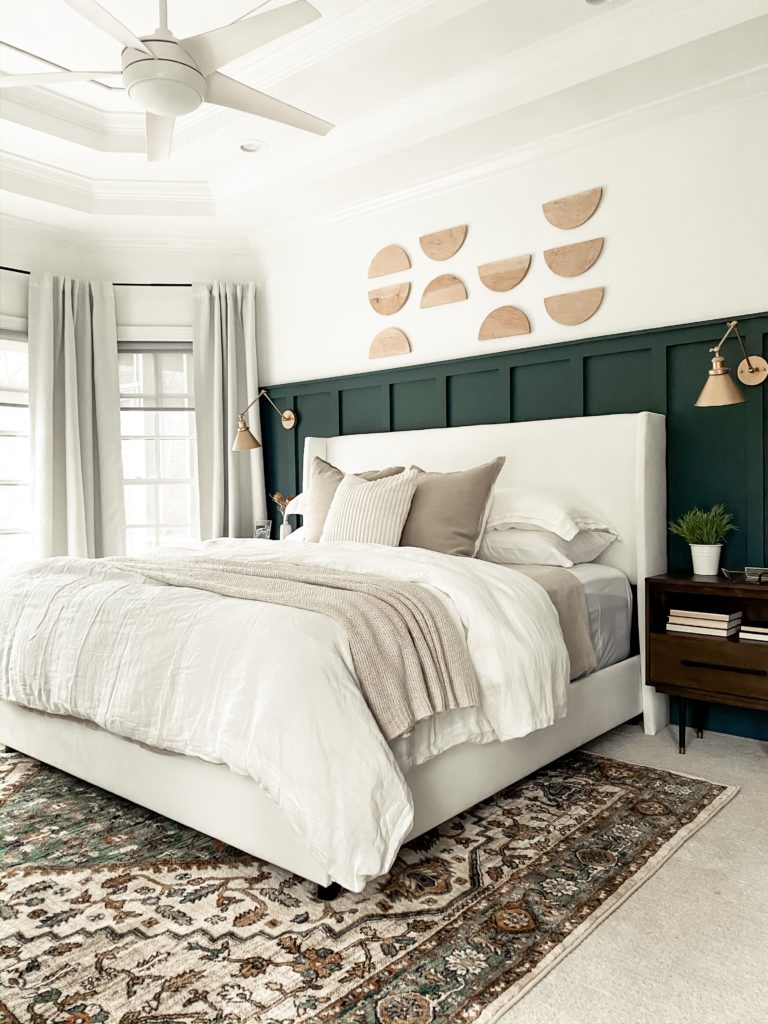
And here is the AFTER of the whole room styled!
I am going to go over the steps on how to create a wall like this so you can do it in your own home too!
Here are the supplies you will need!
- HGTV Home by Sherwin Williams in Slate Court
- Purdy brushes
- 3M Painters Tape
- 220 Grit Sand Paper
- Foam Roller
- Caulk
- 1×3 boards
- 1×2 boards
- Craftsman nailer
- Kobalt miter saw
Step 1: Planning
As always, this is the most important step! Planning involves picking your paint color, planning your pattern, and mapping it out so you see how it looks and what problems you may run into.
Picking your paint color. I always grab a few samples and paint them on my wall. Paint looks different in every space and in every light, so test first always! The paint color we ended up going with was PERFECT! We wanted a moody blue with green undertones and ended up going with Slate Court by HGTV Home by Sherwin Williams.
Planning your pattern. My 3M Blue tape is my best friend. We used ours to help us visualize how far up our board and batten should go. We did ours around 2/3 of the way up the way and the blue taped helped a ton in determining that.
Mapping it out to avoid problems. Walls have windows, and doors, and outlets, and all sorts of tricky things to work around. For us, we spaced our battens as to avoid as many of these as possible.
TIP: when planning it’s good to have an over idea of how wide you want your battens, but know that on a separate wall if you need to add an extra inch to work around some outlets, NO ONE will notice!
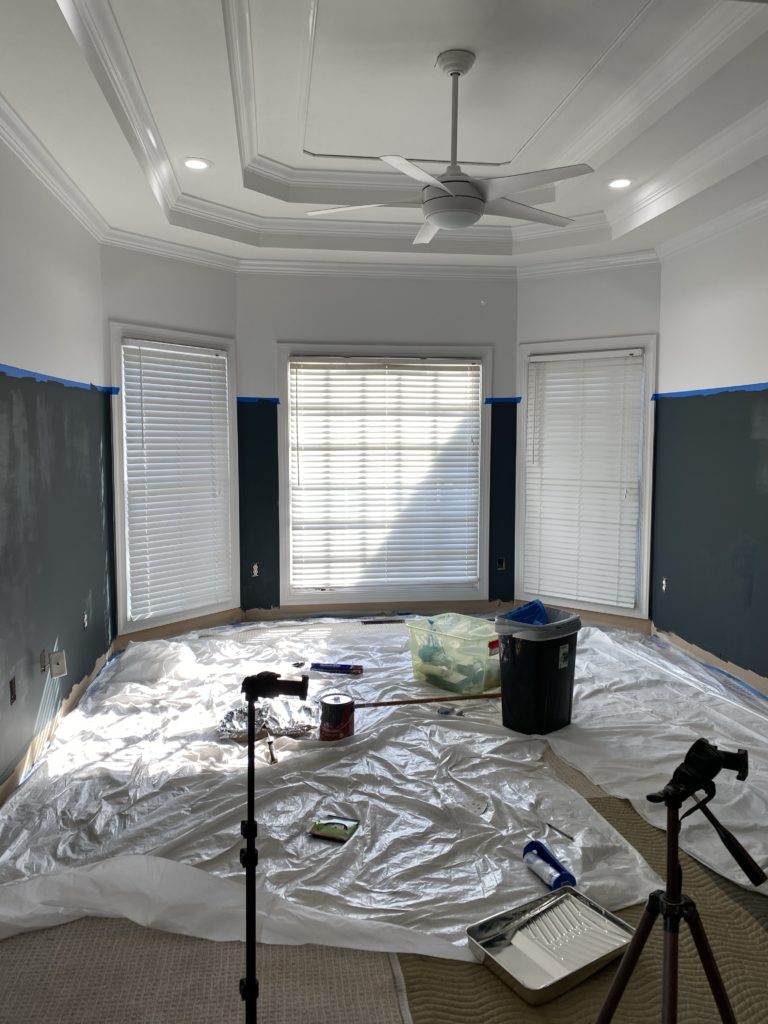
STEP 2: Paint your walls first.
This is optional, but we decided to paint our walls first to save time on the back end. With the 3 of us it probably only took an hour to do 2 coats.
STEP 3: It’s time for the boards!
We started by doing our baseboards and the top trim piece. The baseboard we just follow the line of the floor, but for the top trim piece, we made sure it was level.
TIP: When you have to put two boards together to go the length of the room, bevel it at a 45 degree angle. It’ll disguise the seem better!
Now it’s time to add the battens! We marked and measured for each one to get the closest fit.
TIP: When nailing on your battens, if one is sitting too deep, you can put a shim behind to push it out and make it flush.

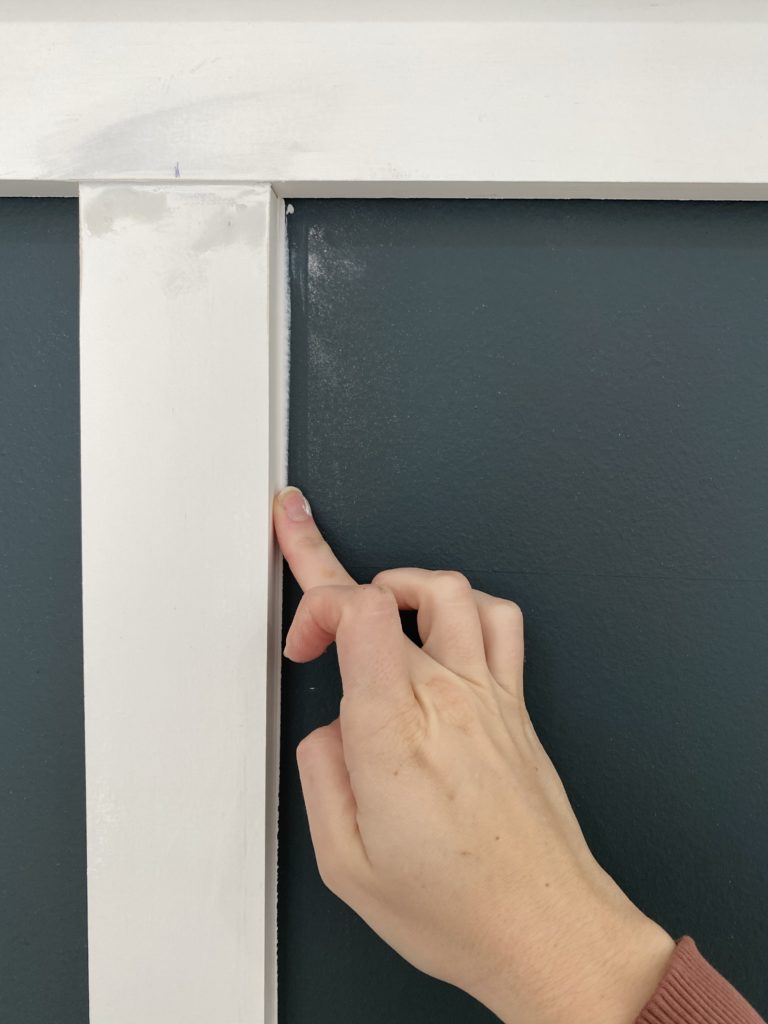
STEP 4: Finish work!
This is where the magic happens! I always use wood filler on the flat parts like a nail hole or a seem, and then use caulk on the joints.
TIP: When caulking, keep a wet towel on your pants to wipe your finger between each swipe.
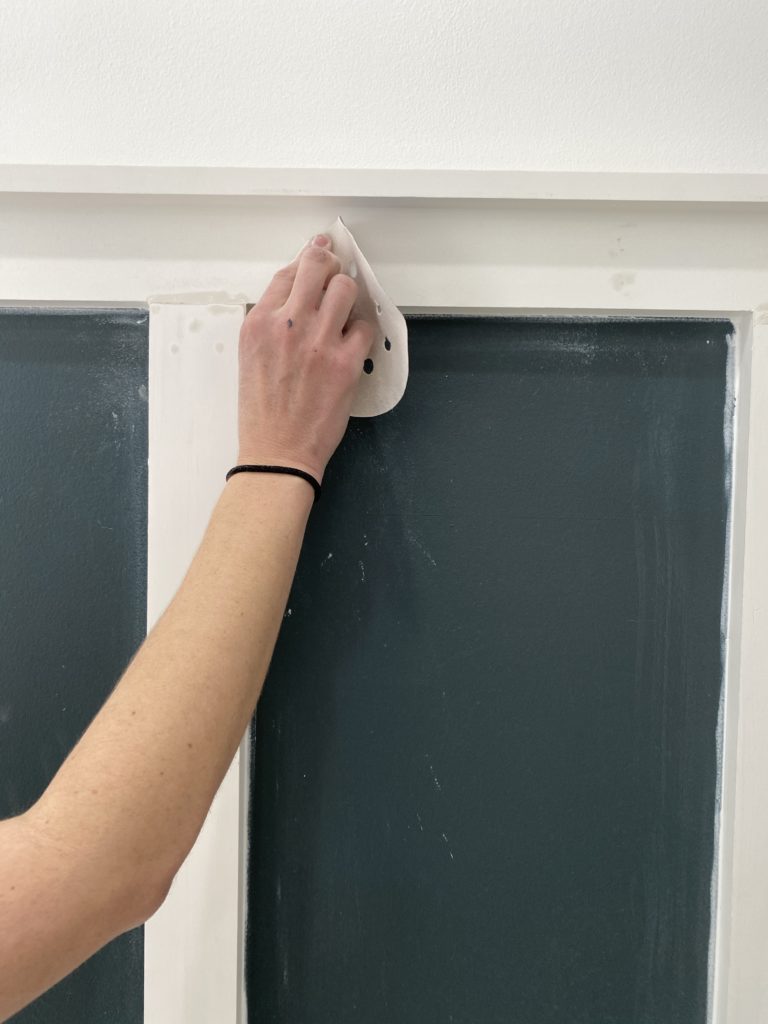
Sand your wood filler before painting!
And finally, PAINT! We used a Purdy brush to cut in and a roller on the board and battens and center to touch it up.
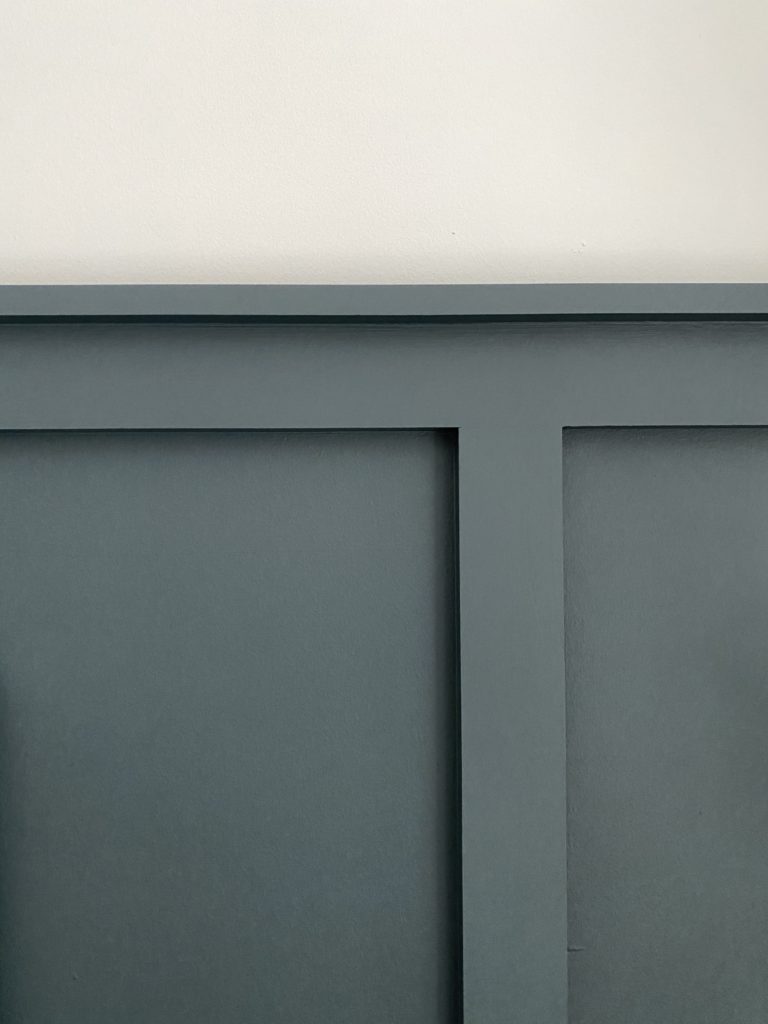
Can you believe this wall treatment? It was all of our favorite part of the room!
Here’s a list of our favorite items from the Room!


