This post is sponsored by Lowe’s.
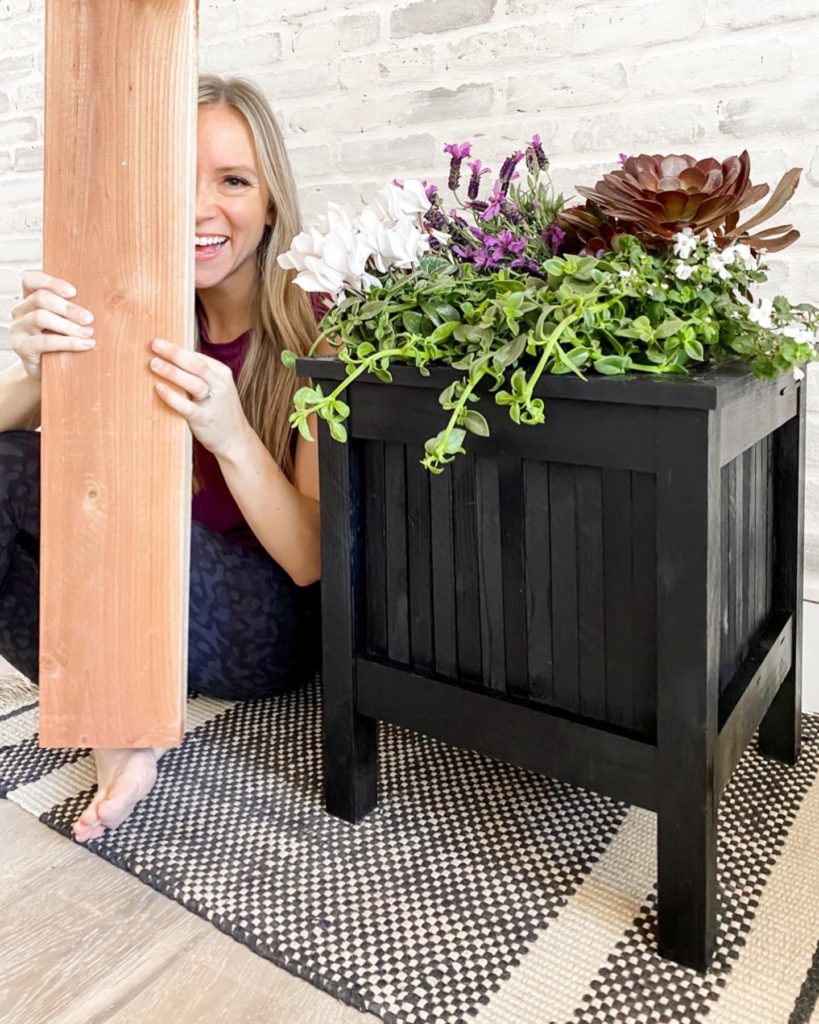
I am so excited about the first ever DIY Buildoff that is happening right now with my friend Philip. Last weekend we both took you all step by step in our stories on building a planter out of 2 boards. We love to inspire you all, but what we love even more is when you actually take action and BUILD. So that’s what we are encouraging you to do. Grab a friend, spouse, parent and build this planter (or get creative) and we will pick our 4 favorites to give $100 Lowe’s gift cards to.
Entries need to be in on Instagram (see our planter posts for details) by 1:00 PM EST on Sunday March 22nd.
Now let’s get building!
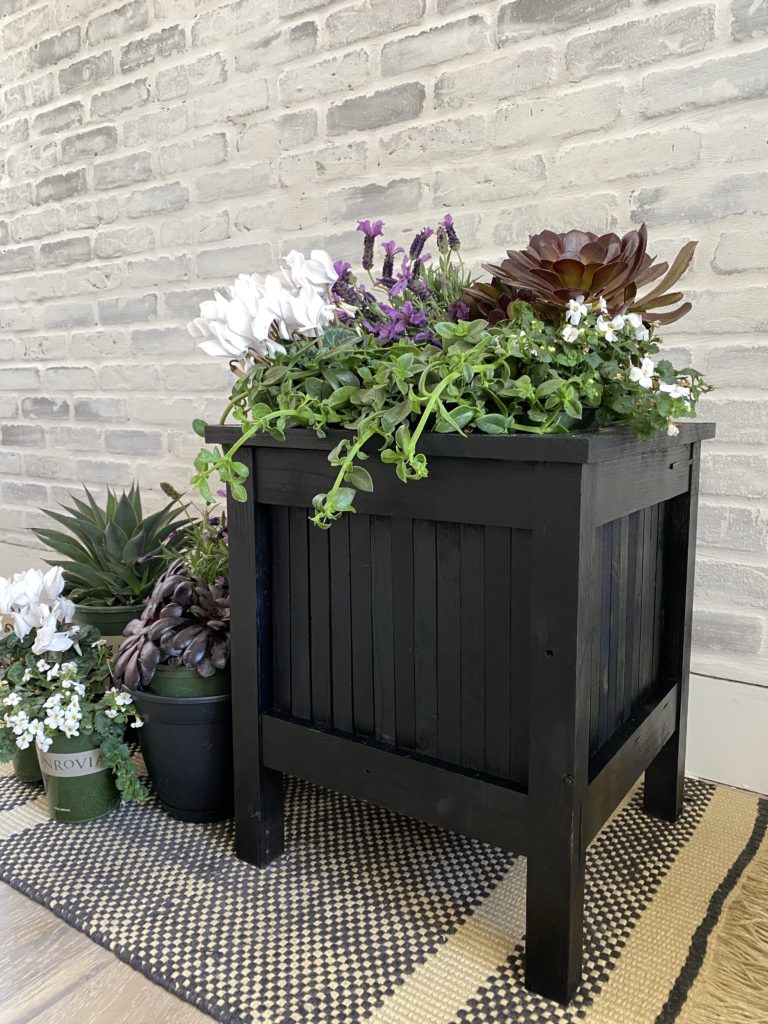
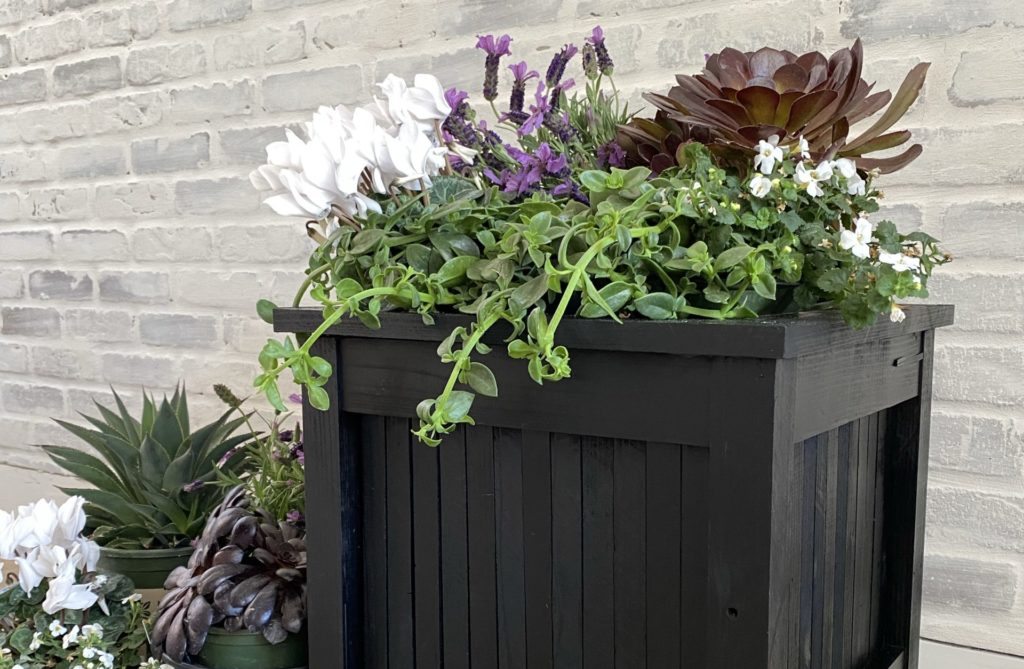
Here’s the planter:
Here are the supplies you’ll need:
- 2 2×6 by 8 feet redwood boards
- Kobalt tablesaw
- Kobalt miter saw
- Craftsman nail gun
- Kobalt drill
- Kreg jig
- Wood glue
- Sandpaper
- 1 1/4 finish nails
- 1 1/4 pocket hole screws
- paint sticks
- For finishing mine, I used this Spray Paint
I used two 2×6 by 8 feet redwood boards. Isn’t it so cool to create a completely custom piece of furniture with just a couple boards? I love it.
STEP 1: Legs
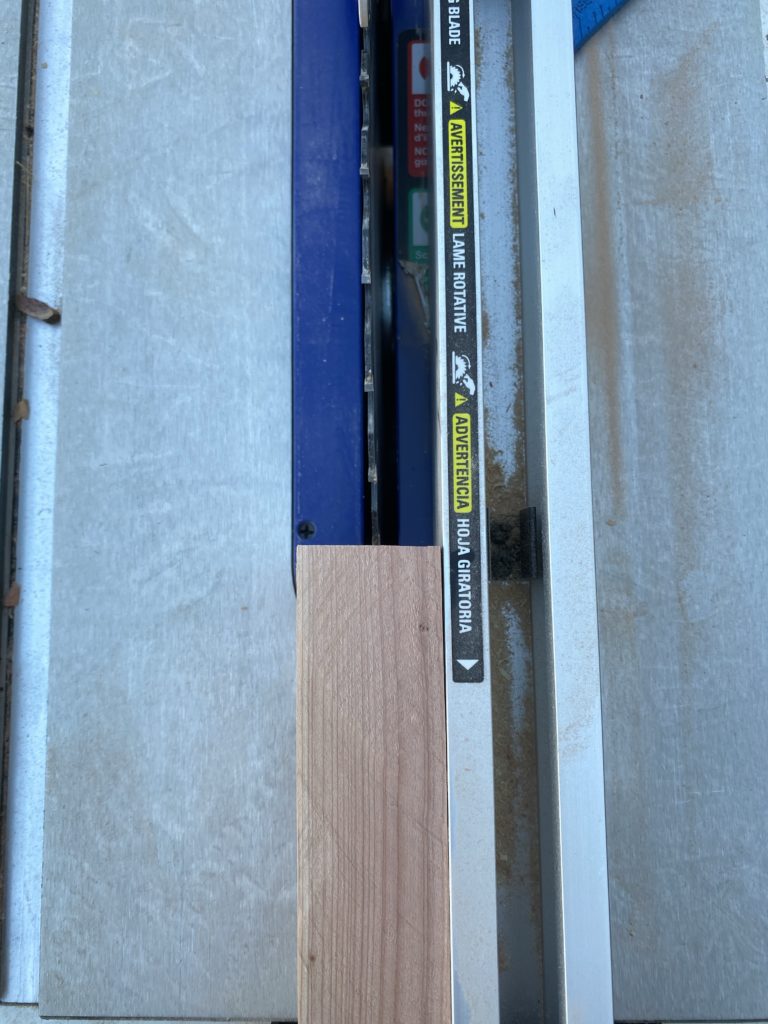
First you are going to cut 2 18″ pieces from your board with your miter saw. Since boards come with slightly rounded edges, use your tablesaw to remove 1/8 in on each side to remove the rounded edge.
*Repeat this step on all future pieces so that the rounded edge is always removed.
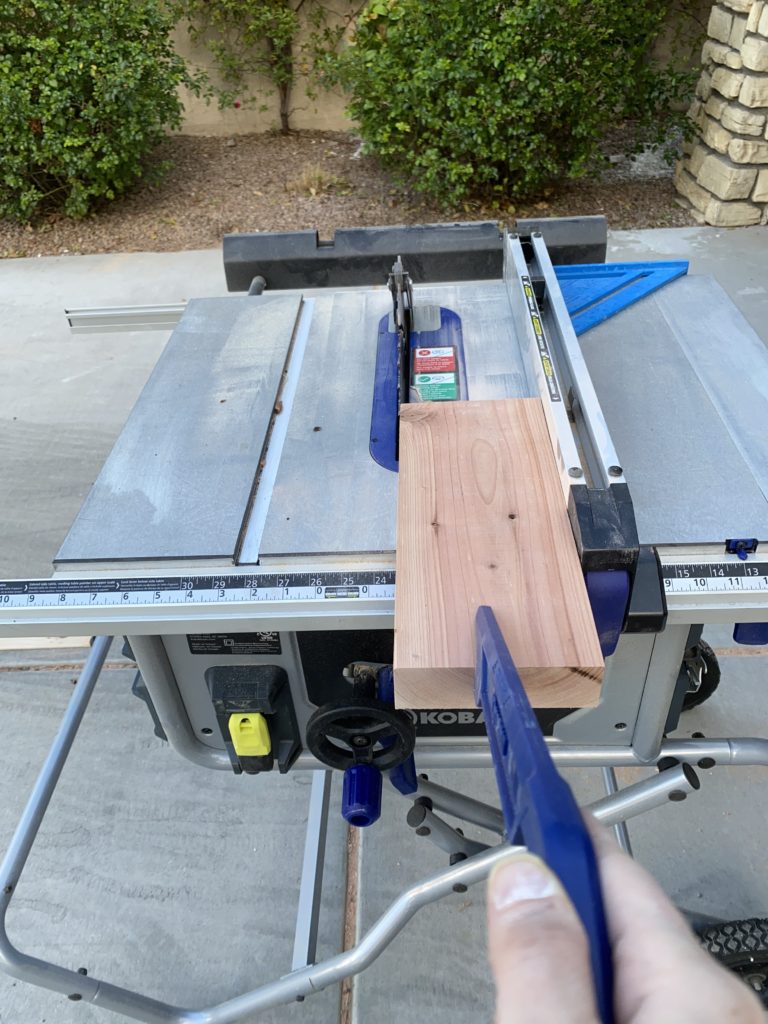
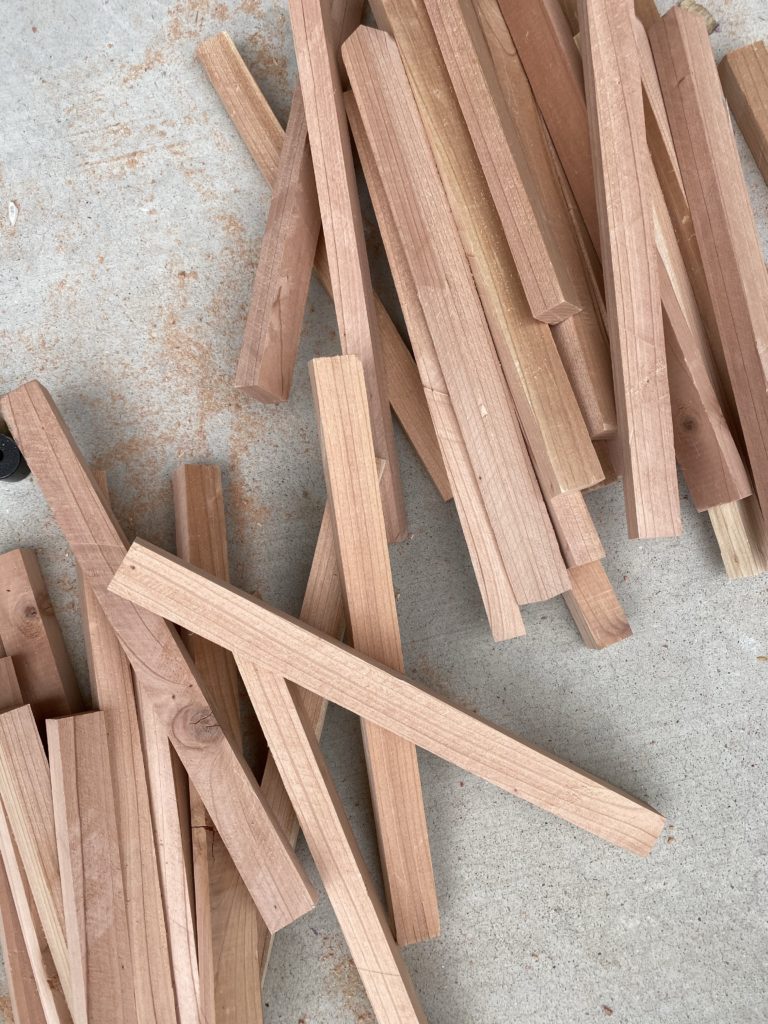
Next, rip 1.5” wide pieces from the boards. You will use four of these 1.5” x 1.5” x 18” pieces as the legs for your planter!
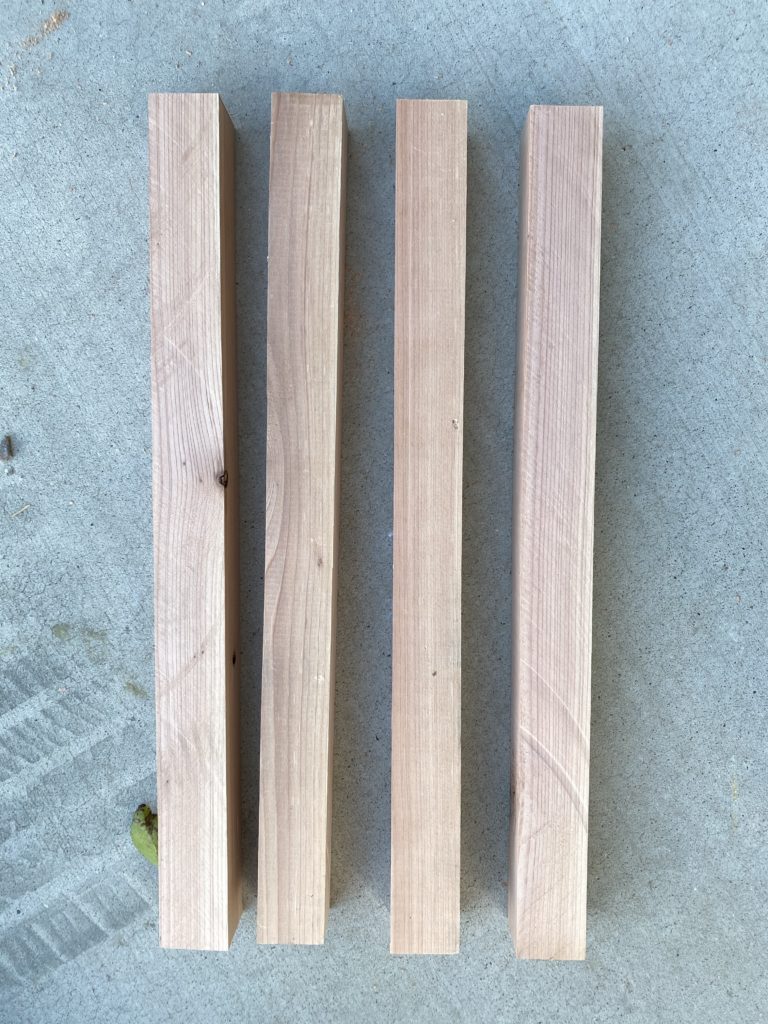
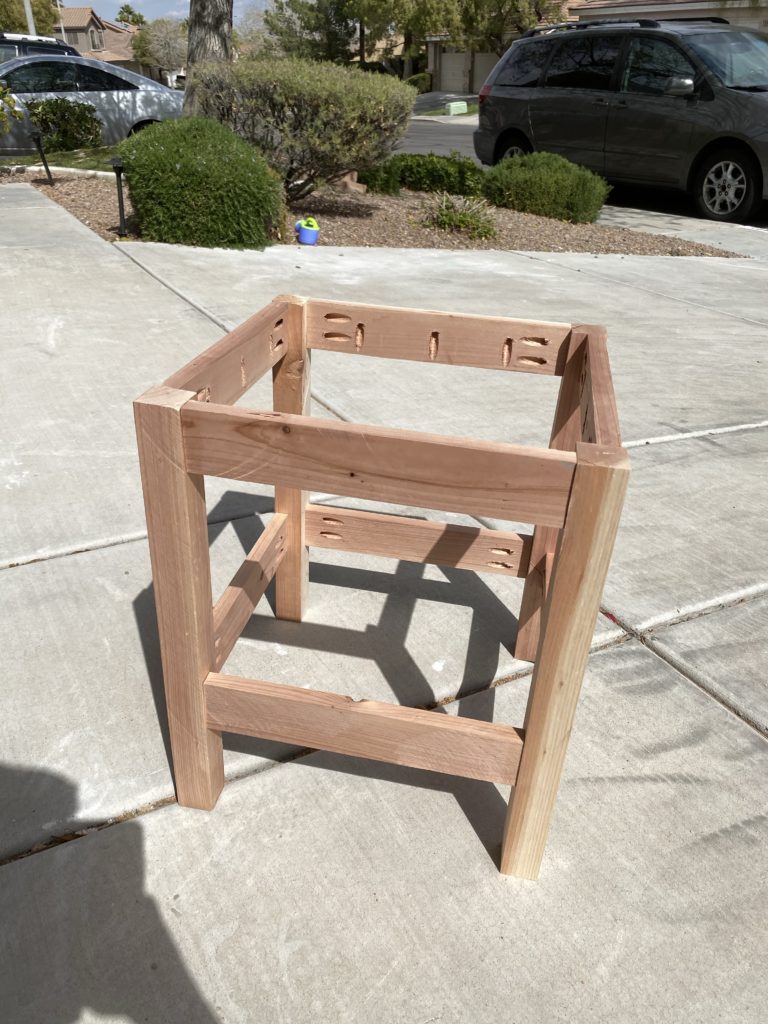
Hooray, you have legs!
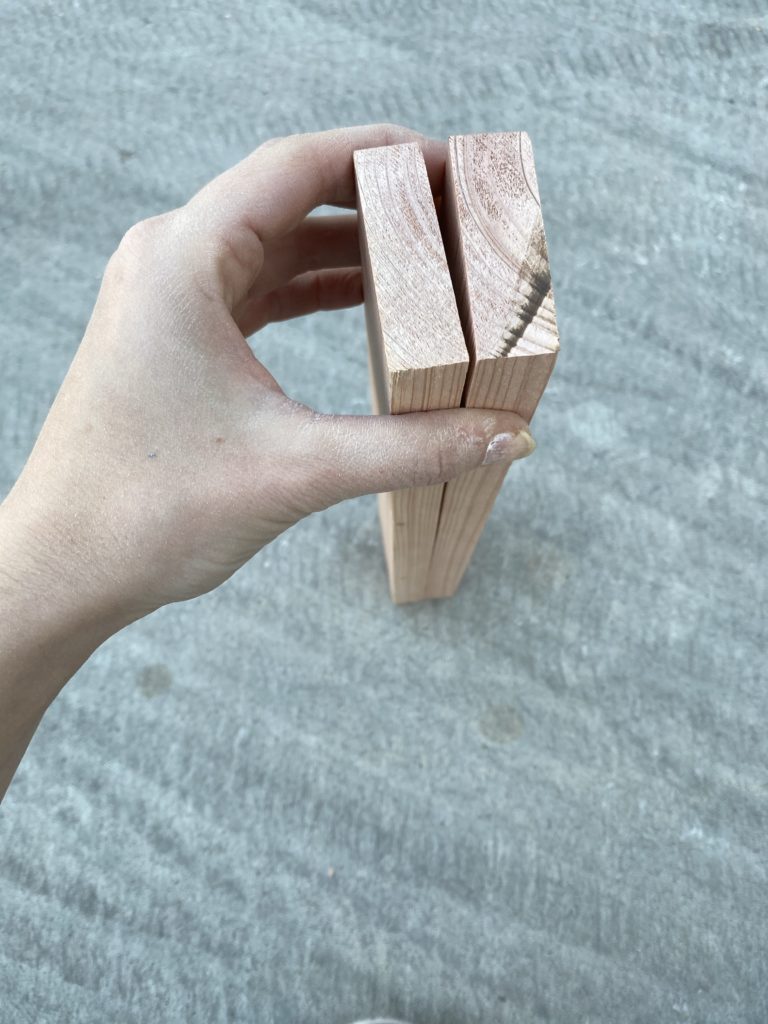
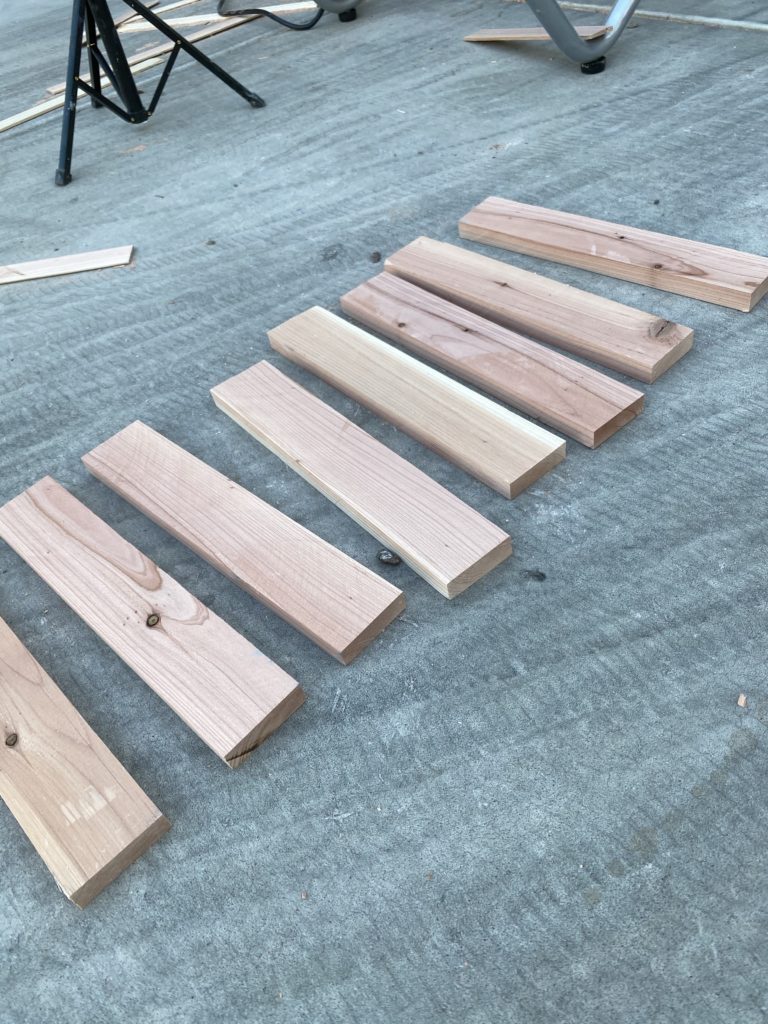
STEP 2: Side supports
Next are the side supports that will with the legs create the basic planter structure. Cut two 12” long pieces from your 2×6 with your miter saw (remember to square up the edges on the table saw). Then cut four 2.25” wide pieces from the boards. Next rip these four boards on the table saw through the thickness (originally 1.5”). So basically you are chopping them in half and it’ll to create eight boards that are 2.25” x 0.75” x 12” (see picture below).
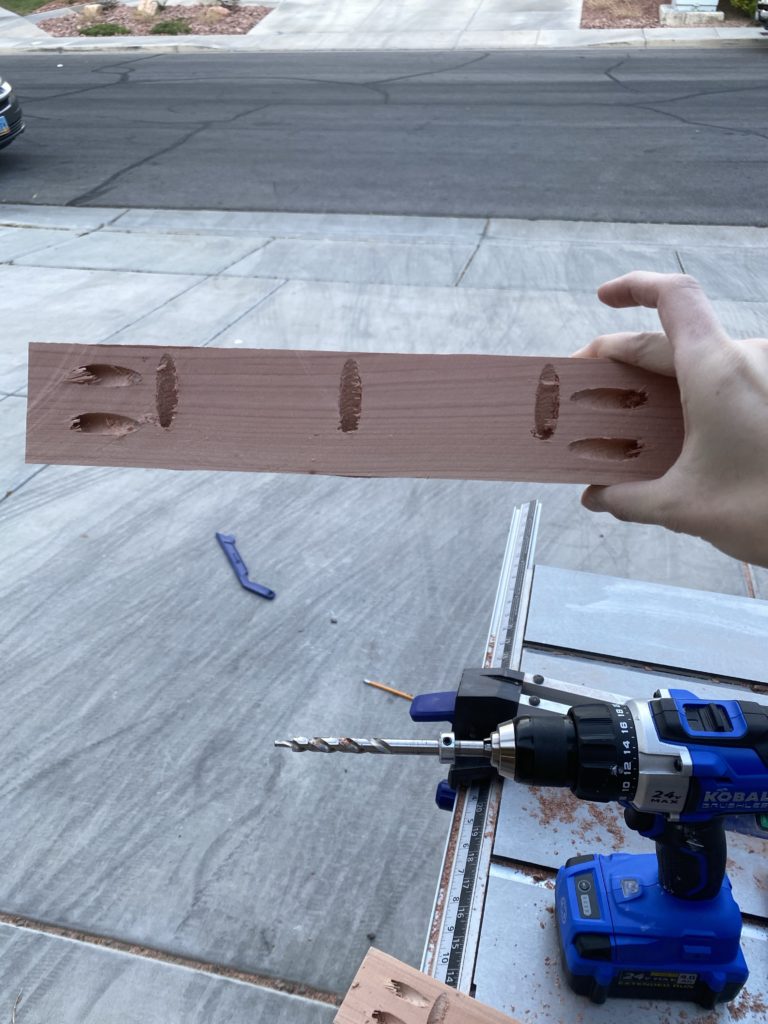
Next you will make pocket holes in the side supports. Set the jig and drill bit to the ¾” setting and drill two pocket holes at each end.
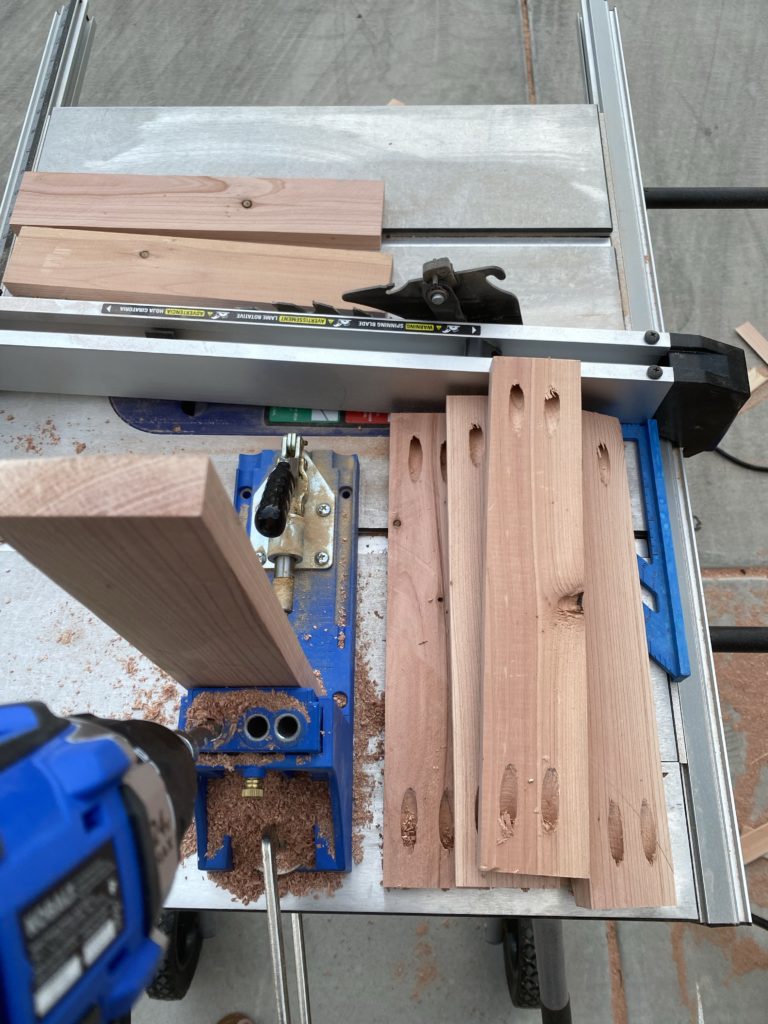
After you’ve drilled those pocket holes, you are going to drill 3 more pocket holes on the long edge of the board in 4 of the boards (see picture). These will attach the top trim eventually.
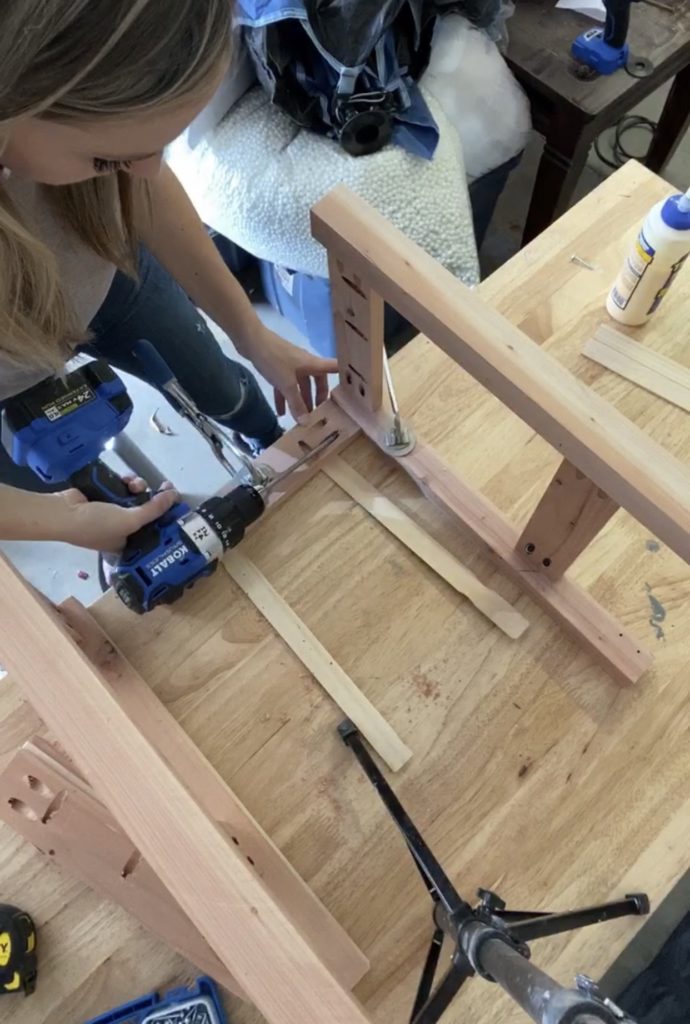
Now it’s FRAME ASSEMBLY TIME!
TIP: using 2 clamps will make this much easier.

First before attaching the legs and the side support, you are going to grab a couple of paint sticks. We wanted the side supports to be recessed a little, and these sticks are going to help with that. Place 2 of them under your side supports to bump them up a little before doing any assembling. Clamp the leg and the side support flush to a table. The top of the bottom side support should be 11” from the top of the leg. Assemble two sides individually first with the 1 1/4″ pocket hole screws and then those two sides can be joined together using the remaining side supports to make a complete frame! Boom!
STEP 3: Top Trim
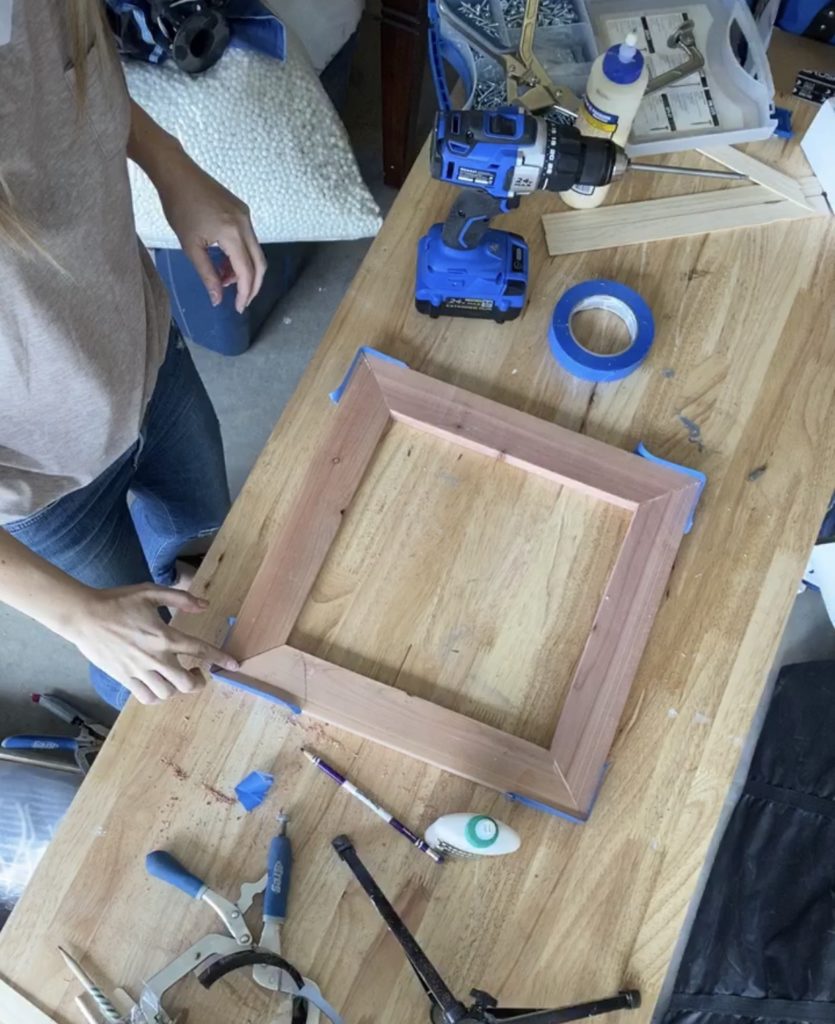
Cut 17 inch board from the 2×6 (square up edges) and make 4 more 2.25” x 0.75” x 17” pieces for the top trim (using same technique as earlier). Go back to the miter saw and make miter cuts at 45 degrees (opposing angles on each side) with the longest edge being 16”.
TIP: For tight joints, make sure all pieces are exactly the same length!
Next, attach these together but using wood glue and painters tape to hold them together while the glue dries.
Once this dries, you can attach the top to the frame. Using your wood glue, place top on with 1/2 in overhang on all sides. Let this sit for about 30 min while the wood glue dries. Then flip the frame over and screw in the 12 pocket hole screws through the top side supports into the top!

This is a good time to sand your frame!
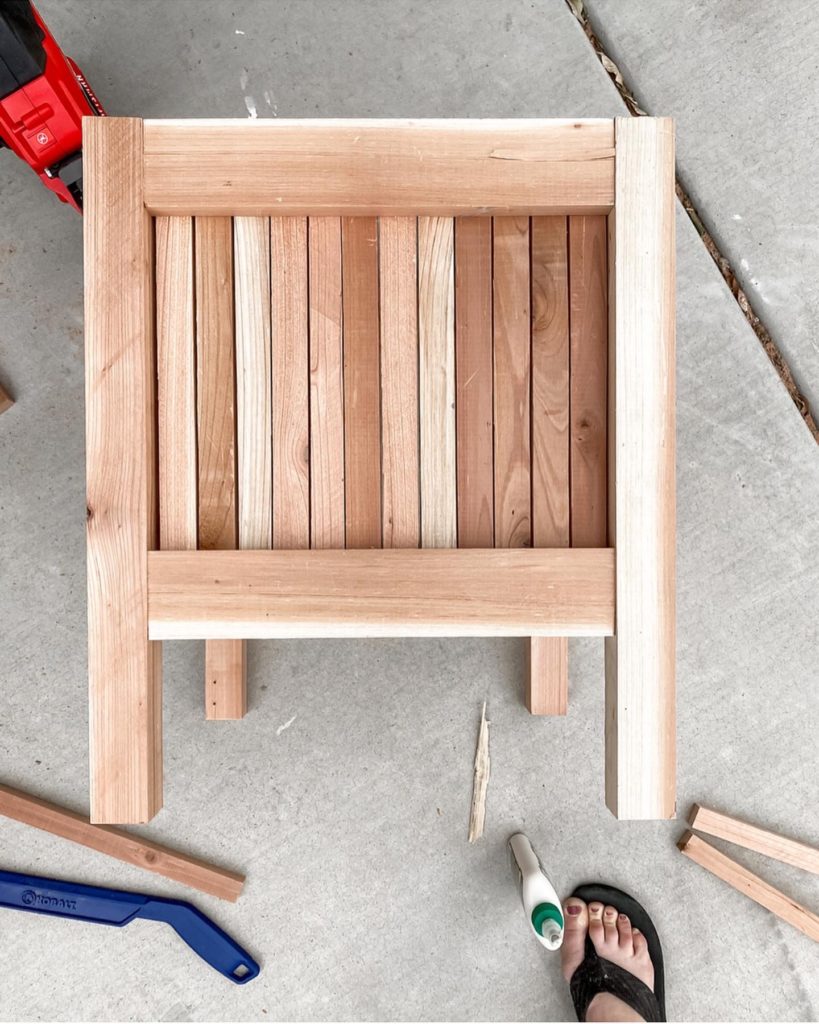
STEP 5: Side Slats
Here is the final step to building your planter! The side slats go on the inside of the frame between the legs. The top of each side slat should hit the bottom side of the top. You can make these side slats any width that you want (mine were slightly less than 1 inch wide.) The slats will be 12” long, so you will need to cut five 12” long pieces from the 2×6 with your miter saw. I ripped the 1” wide pieces from the 12” long 2x6s (you will need 24 total) with the table saw.
Now you are going to trip the side slats down in half (half the thickness) to that the final dimensions are about 1”x0.75”. Ripping the 24 slats in half gives 48 total (12 will be for each side)! Attach the side slats using wood glue and 1.25” nails into the side supports.
TIP: Don’t use longer nails or they could poke out the other side! Philip used playing cards to get a uniform spacing between slats.
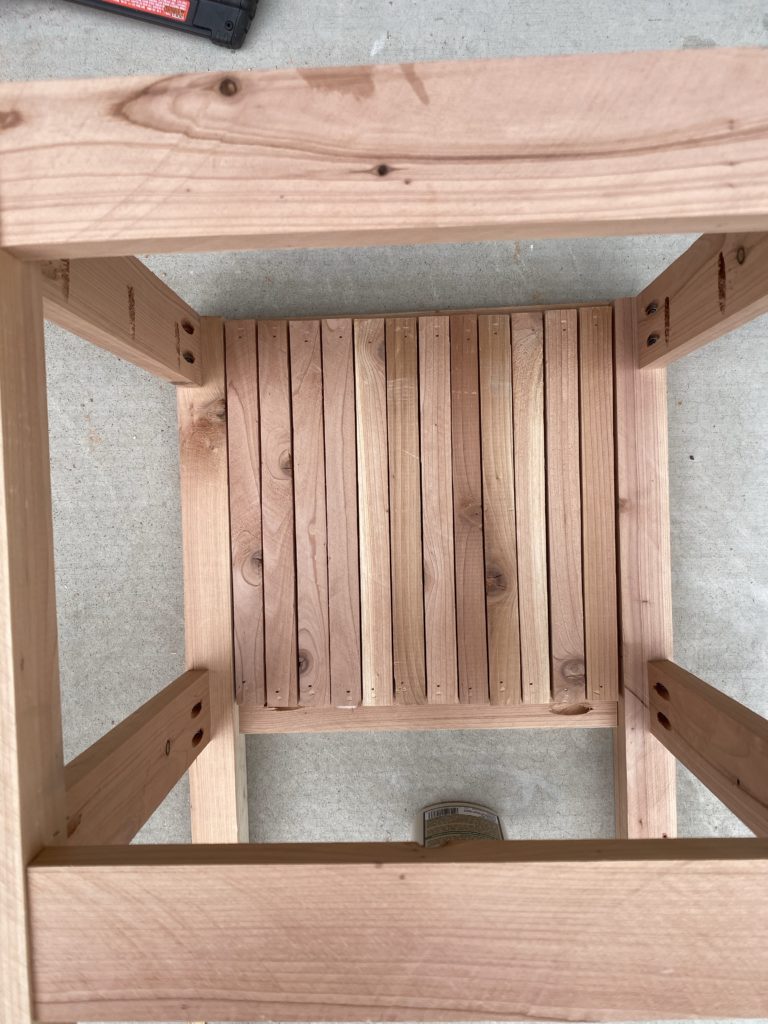
STEP 6: Bottom Slats
You can use any 1 by material or rip your board to .75 by 13.5 inches. According to how much drainage or support you want, can be how much support you put on the bottom. I did 3 pieces, Philip filled the whole bottom. These will be attached with pocket holes so drill two pocket holes on each side of the six bottom slats. Install the slats by screwing the pocket hole screws into the side supports.
STEP 7: Finishing Your Planter

Redwood is naturally meant for the outdoors, and has a beautiful finish. However, I decided to use an indoor/outdoor spray paint to finish mine. Here is what I used in Matte Farmhouse Black.
TIP: When spray painting continuously move your hand and do light coats to prevent drips.

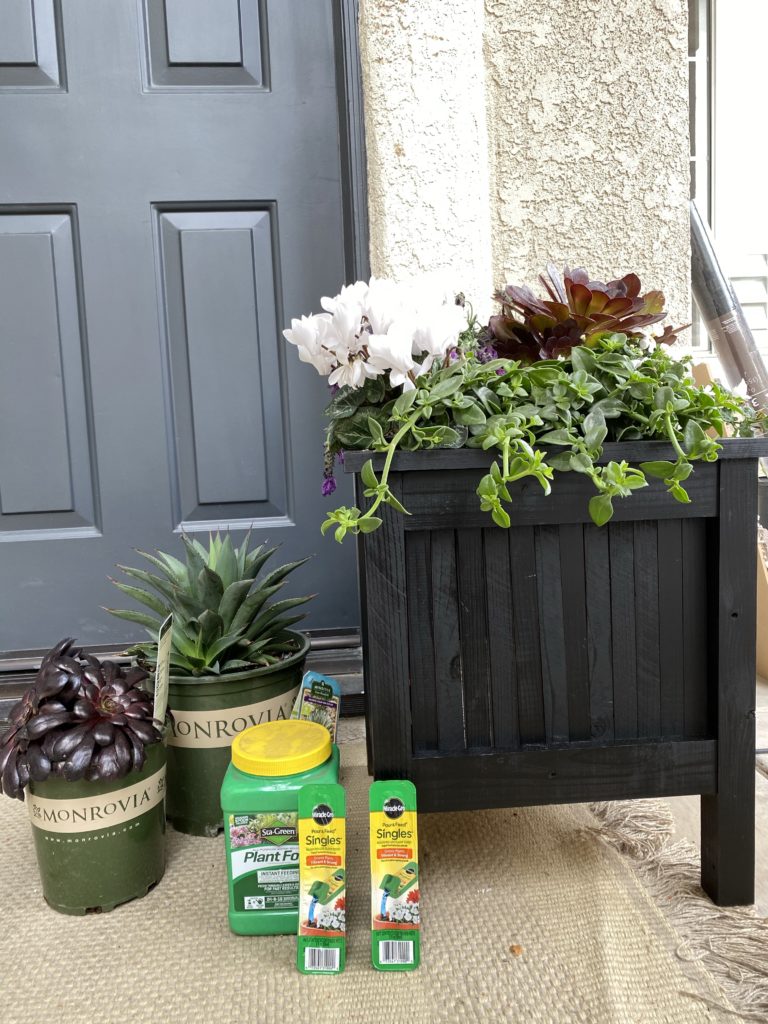
STEP 8: Plants and Plant Food
I found the most gorgeous selection of plants at Lowe’s Lawn and Garden center. The staff were so helpful in helping me find what I was looking for since I always ask a million questions. I decided to go with an assortment of Monrovia plants.
TIP: When buying plants, think about textures, colors, and differing heights. Mixing these all together gives a visual interest and beauty!
This planter was designed to fit a basic 2 to 3.5 gallon planter container, so you can also just buy one of those and plop it in there! Easy.
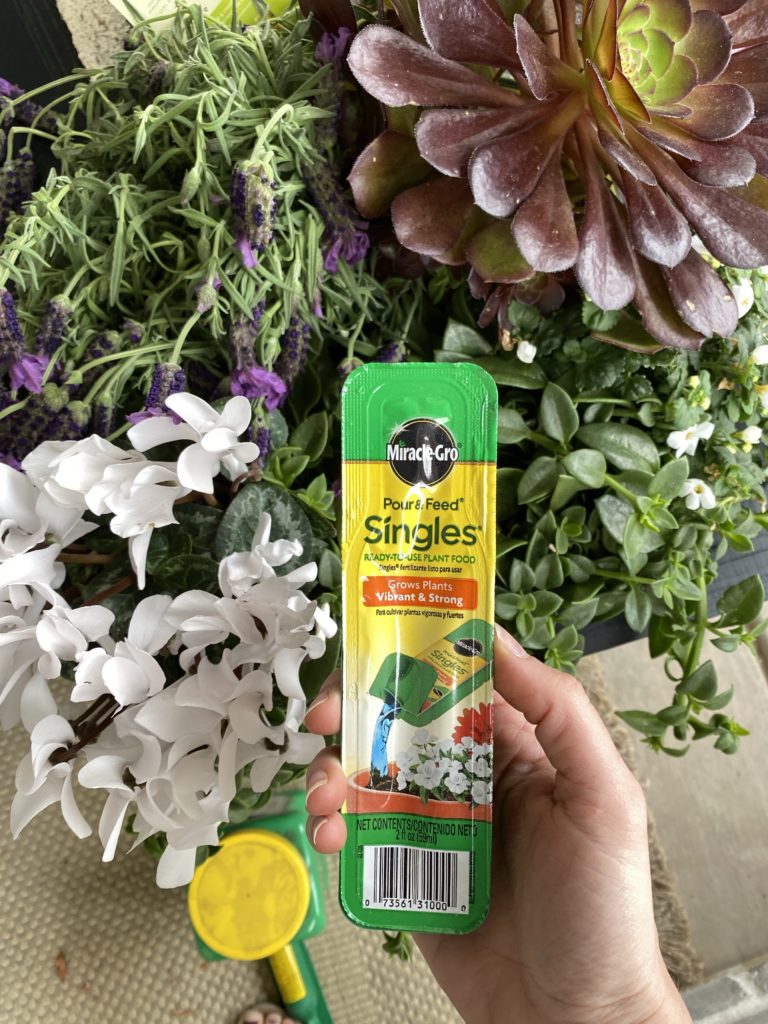
To make sure my plants get the nutrients they need, I got a liquid feeding product from Miracle grow . To use it you just rip off the top and pour the it into the planter.
I also got some slow release pellets from Sta-green. They are super easy to use. Just shake some on the top of the container.
STEP 8: You’re done!
Hooray! Now you can sit back and look at all your hard work. You built a totally custom planter out of TWO baords, how cool is that? Super cool. Y To see another way to finish off this planter check out the #DIYBuildOff tutorial done by my friend Philip. If you want to see videos of this build, follow me on Instagram and find the story highlight “#DIYBuildOff”.