Search results
93 results found.
STOP PINNING. START DOING.
93 results found.
This post is sponsored by Lowe’s.
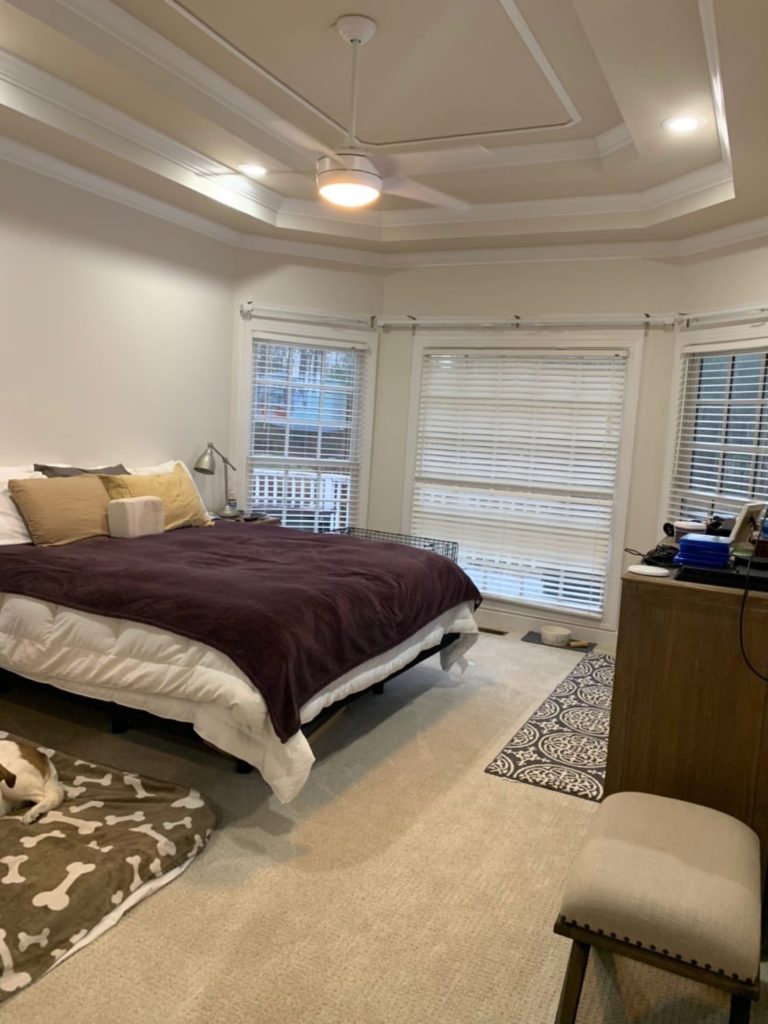
We are one week out from the DIY Dream Team flying to Georgia and making over Nicole’s master bedroom! It’s been a lot of preparation and planning, but we are ready. Think we can handle finishing it in the 3 days? I sure hope so! haha. I am excited for the projects we have planned for the space, so let me go into detail about what they are!
Before picture of her room:
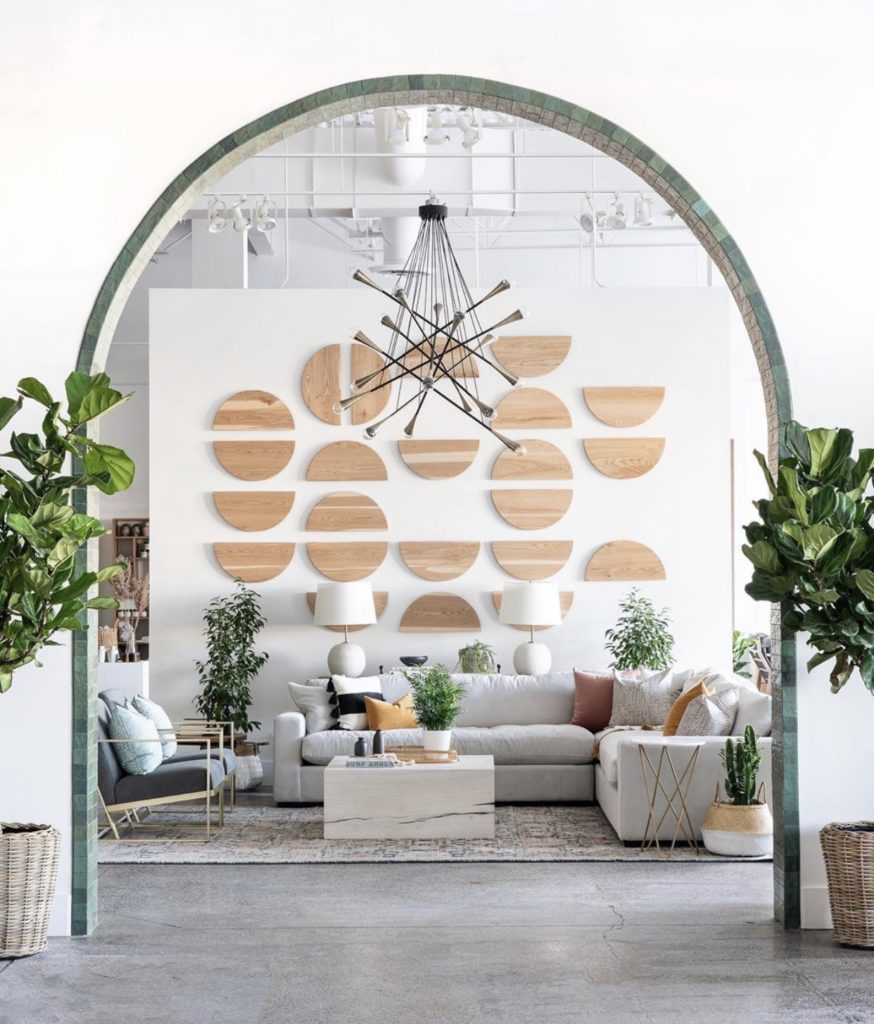
Nothing makes a bigger impact in a space than a wall treatment, and with a small budget. You know it’s my go to for every space, and we plan to do the same for Nicole’s bedroom. Here are a few of my favorite wall treatments I have done.

We are planning on doing something on all four walls since her room is an odd shape and we want to create balance. We also are planning on using a moody blue on the walls in the HGTV Home by Sherwin Williams paint. Here is our inspiration image.

Here are the wall and paint supplies we will use:
Another way I love to make a big impact with a budget is through a large scale art piece. Here are a few of my favorites that I have made.
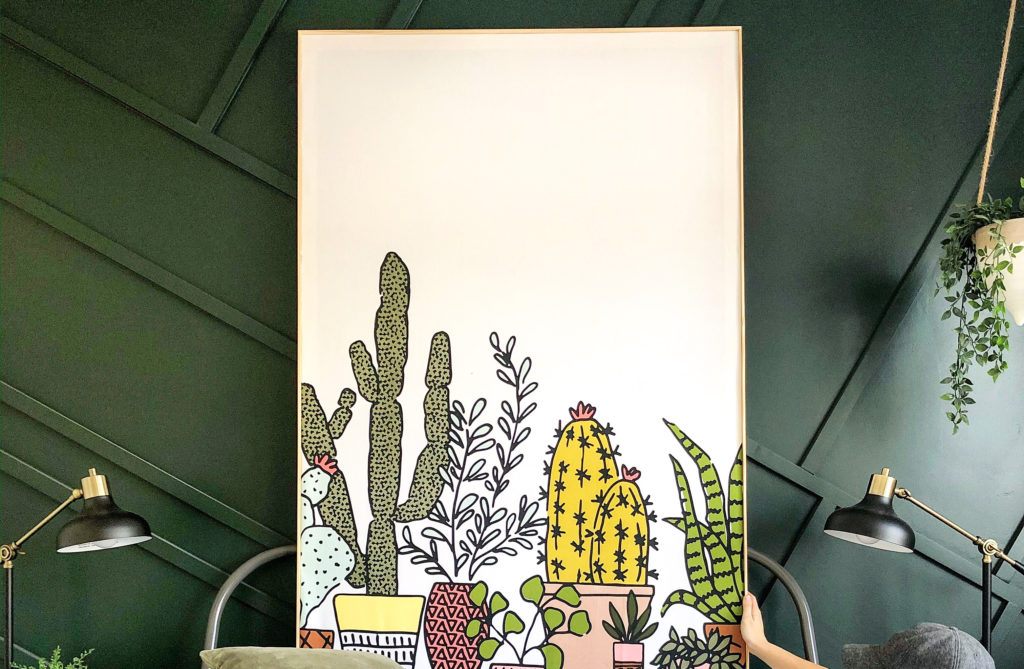
Here is our inspiration image for the wall art we are planning.
Here are the supplies we will use for the wall art:
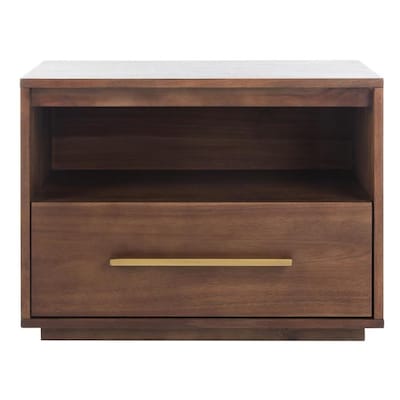
We love the look of THIS nightstand, but it is too short for her space. Ideally, beds and the nightstands should be within 4 inches of the same height. To solve this problem, we are going to add these legs to add to the height! Problem solved!
And the best DIY tool ever…PAINT! Nicole has a tray ceiling with a ton of detail. To update that area and disguise all that trim, we are going to paint the ceiling with HGTV Home by Sherwin Williams in a flat white Pure White.

We are also going to paint the walls in the same color to freshen up the space
Additionally, we will assemble some new furniture from Lowe’s the whole space is going to all come together!
I can’t wait! Stay tuned…

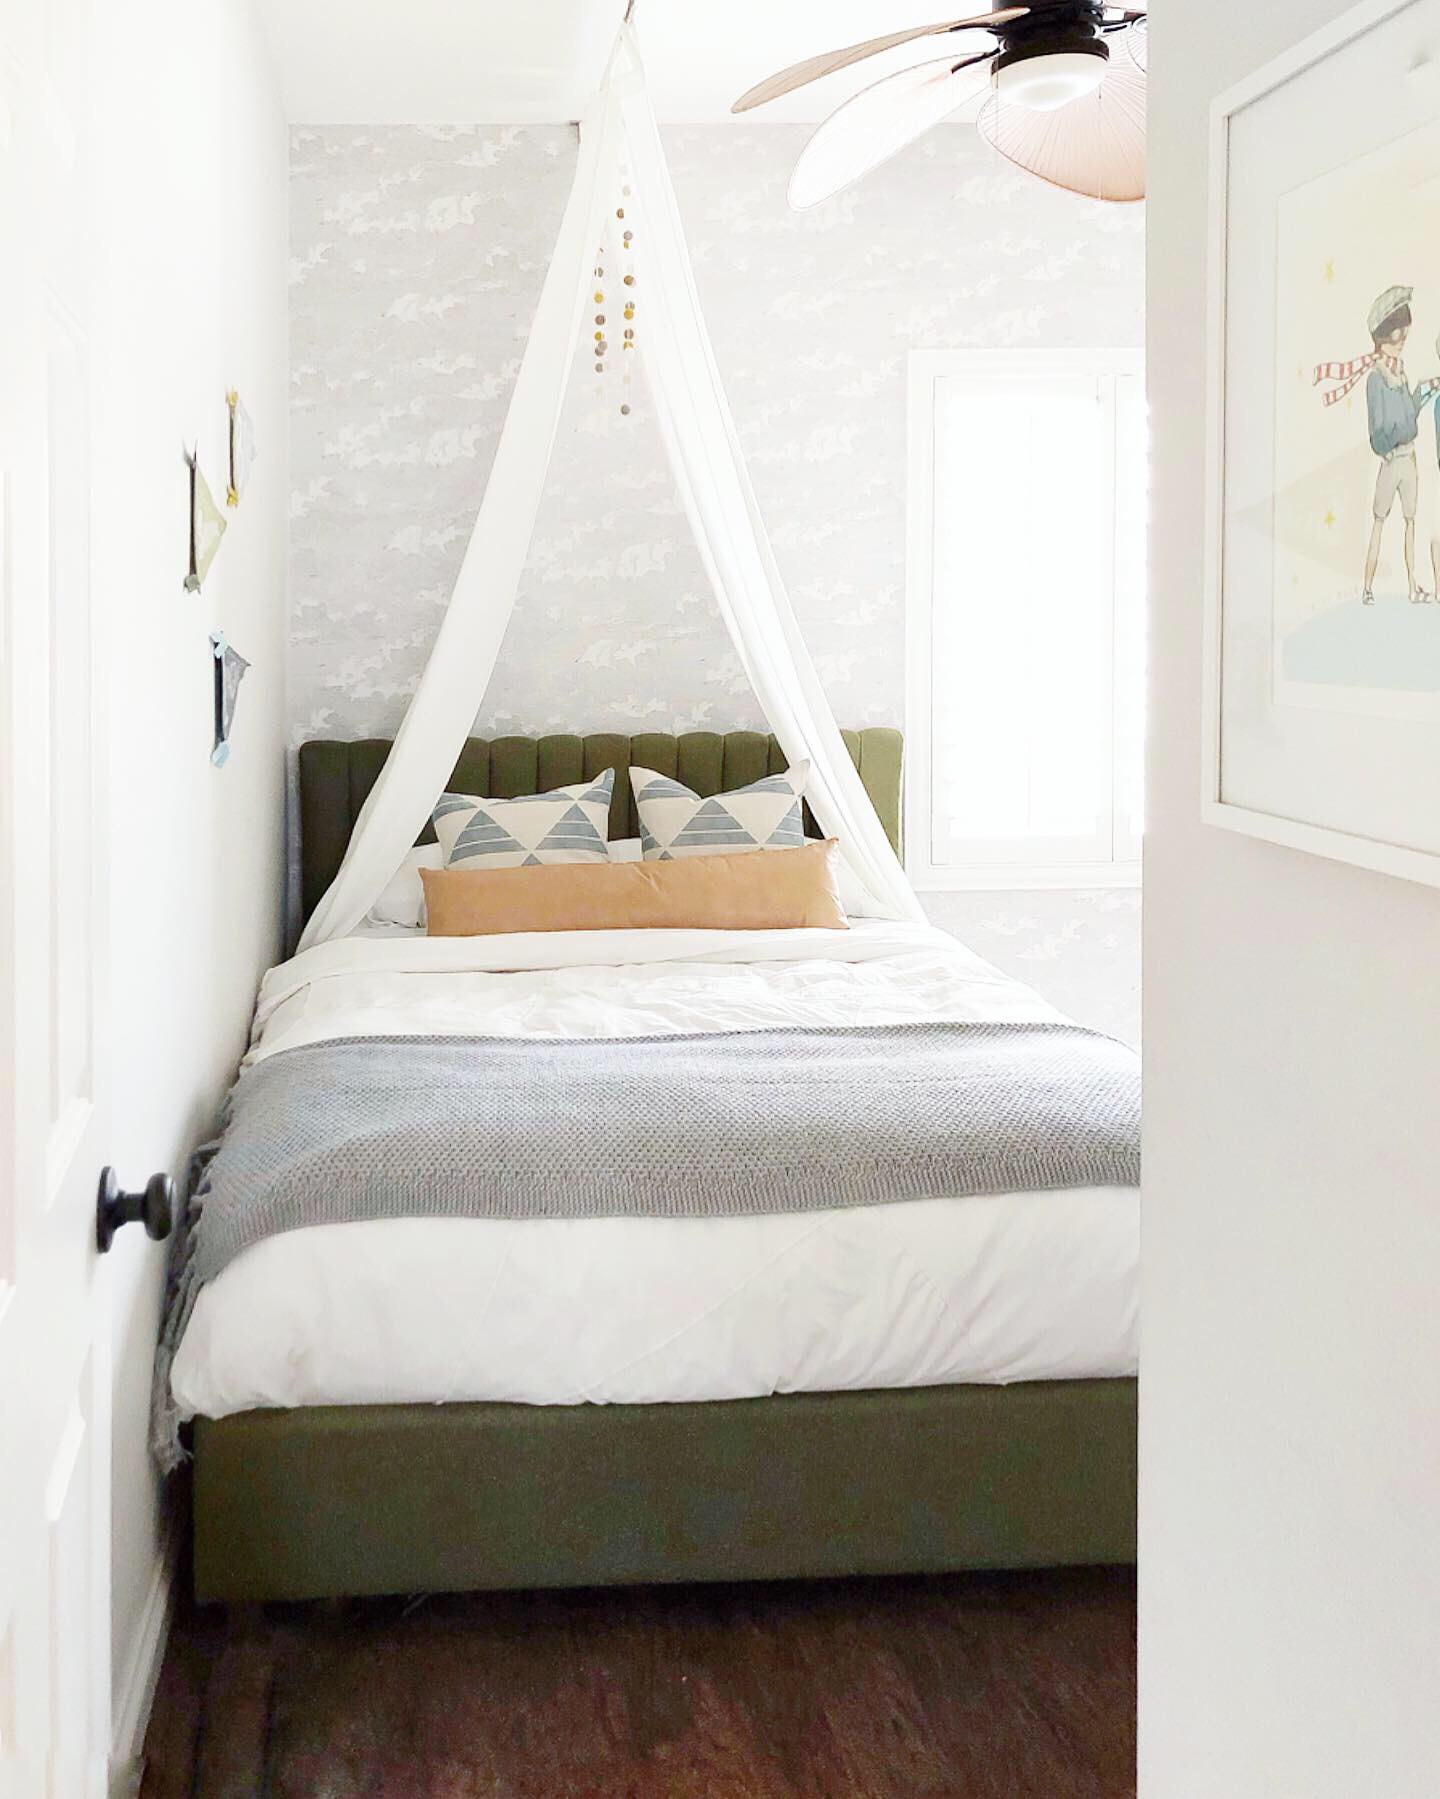
My poor middle child has pretty much been without a real bedroom since he was born. For the past 2 years, he has been sleeping in the undecorated guest bedroom and I decided it was time to give him a legit space! The only requirements he gave me were that it had GREEN and that it had a TENT. I am thrilled with how the room is coming together. Below are the details on the space and tutorial for the DIY Curtain Rod Tent! (follow along @angelarosehome for more DIY and video tutorials)

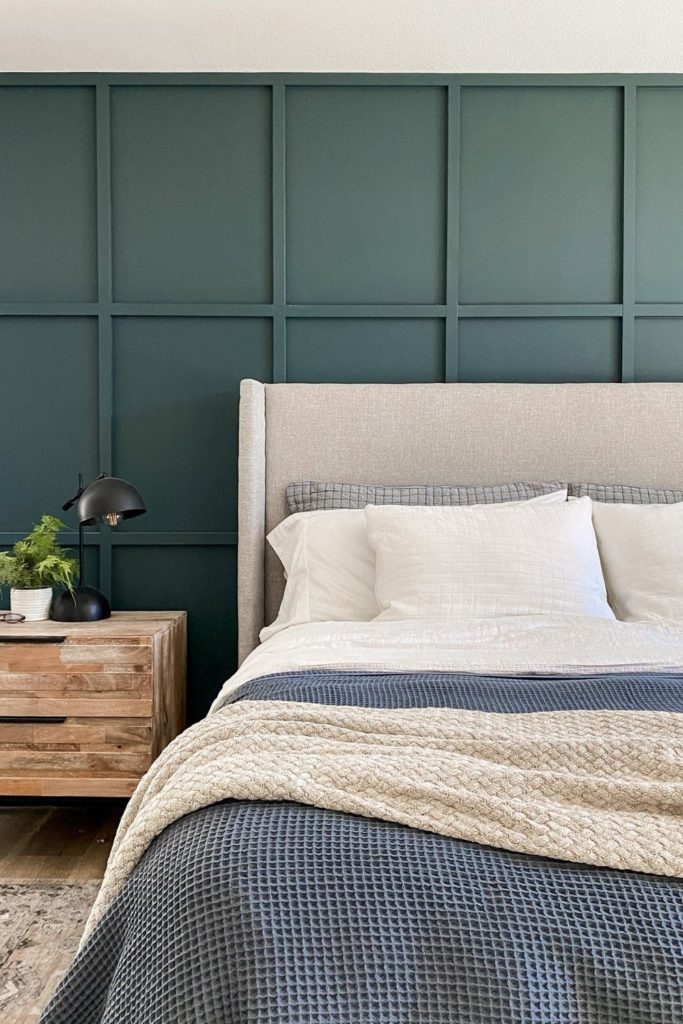
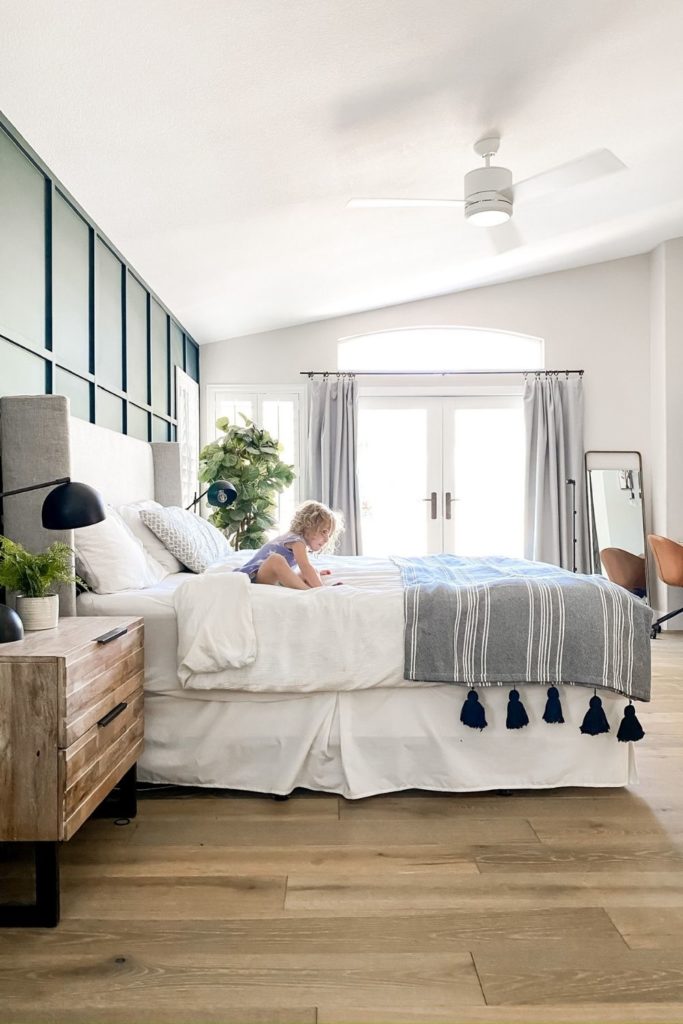
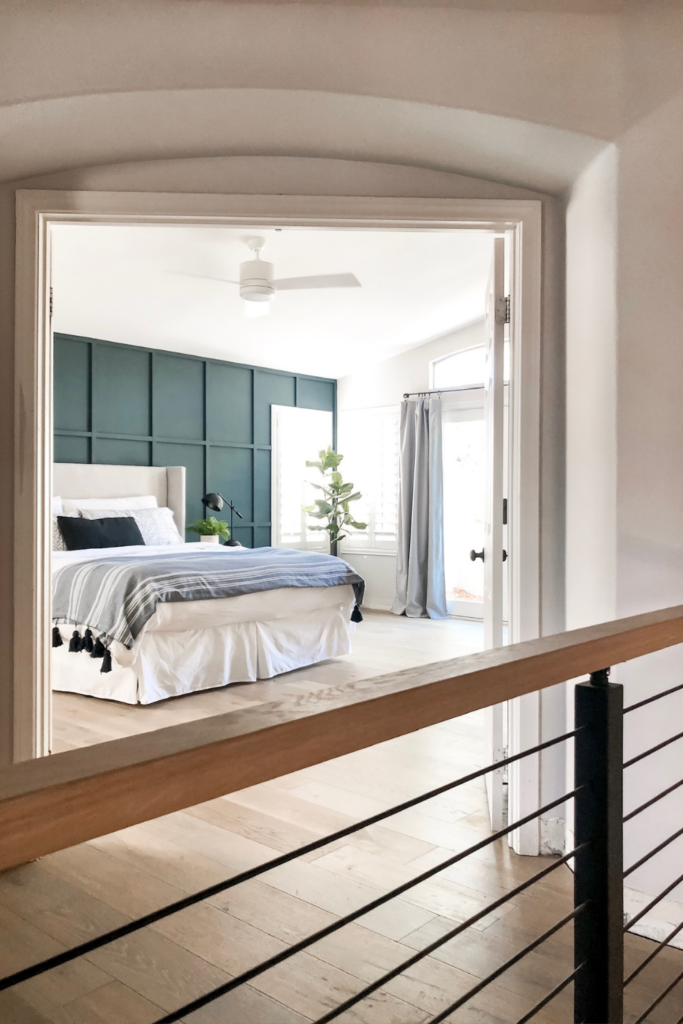
Below are links to items in my MASTER BEDROOM. The accent wall color is Newburg Green by Benjamin Moore.
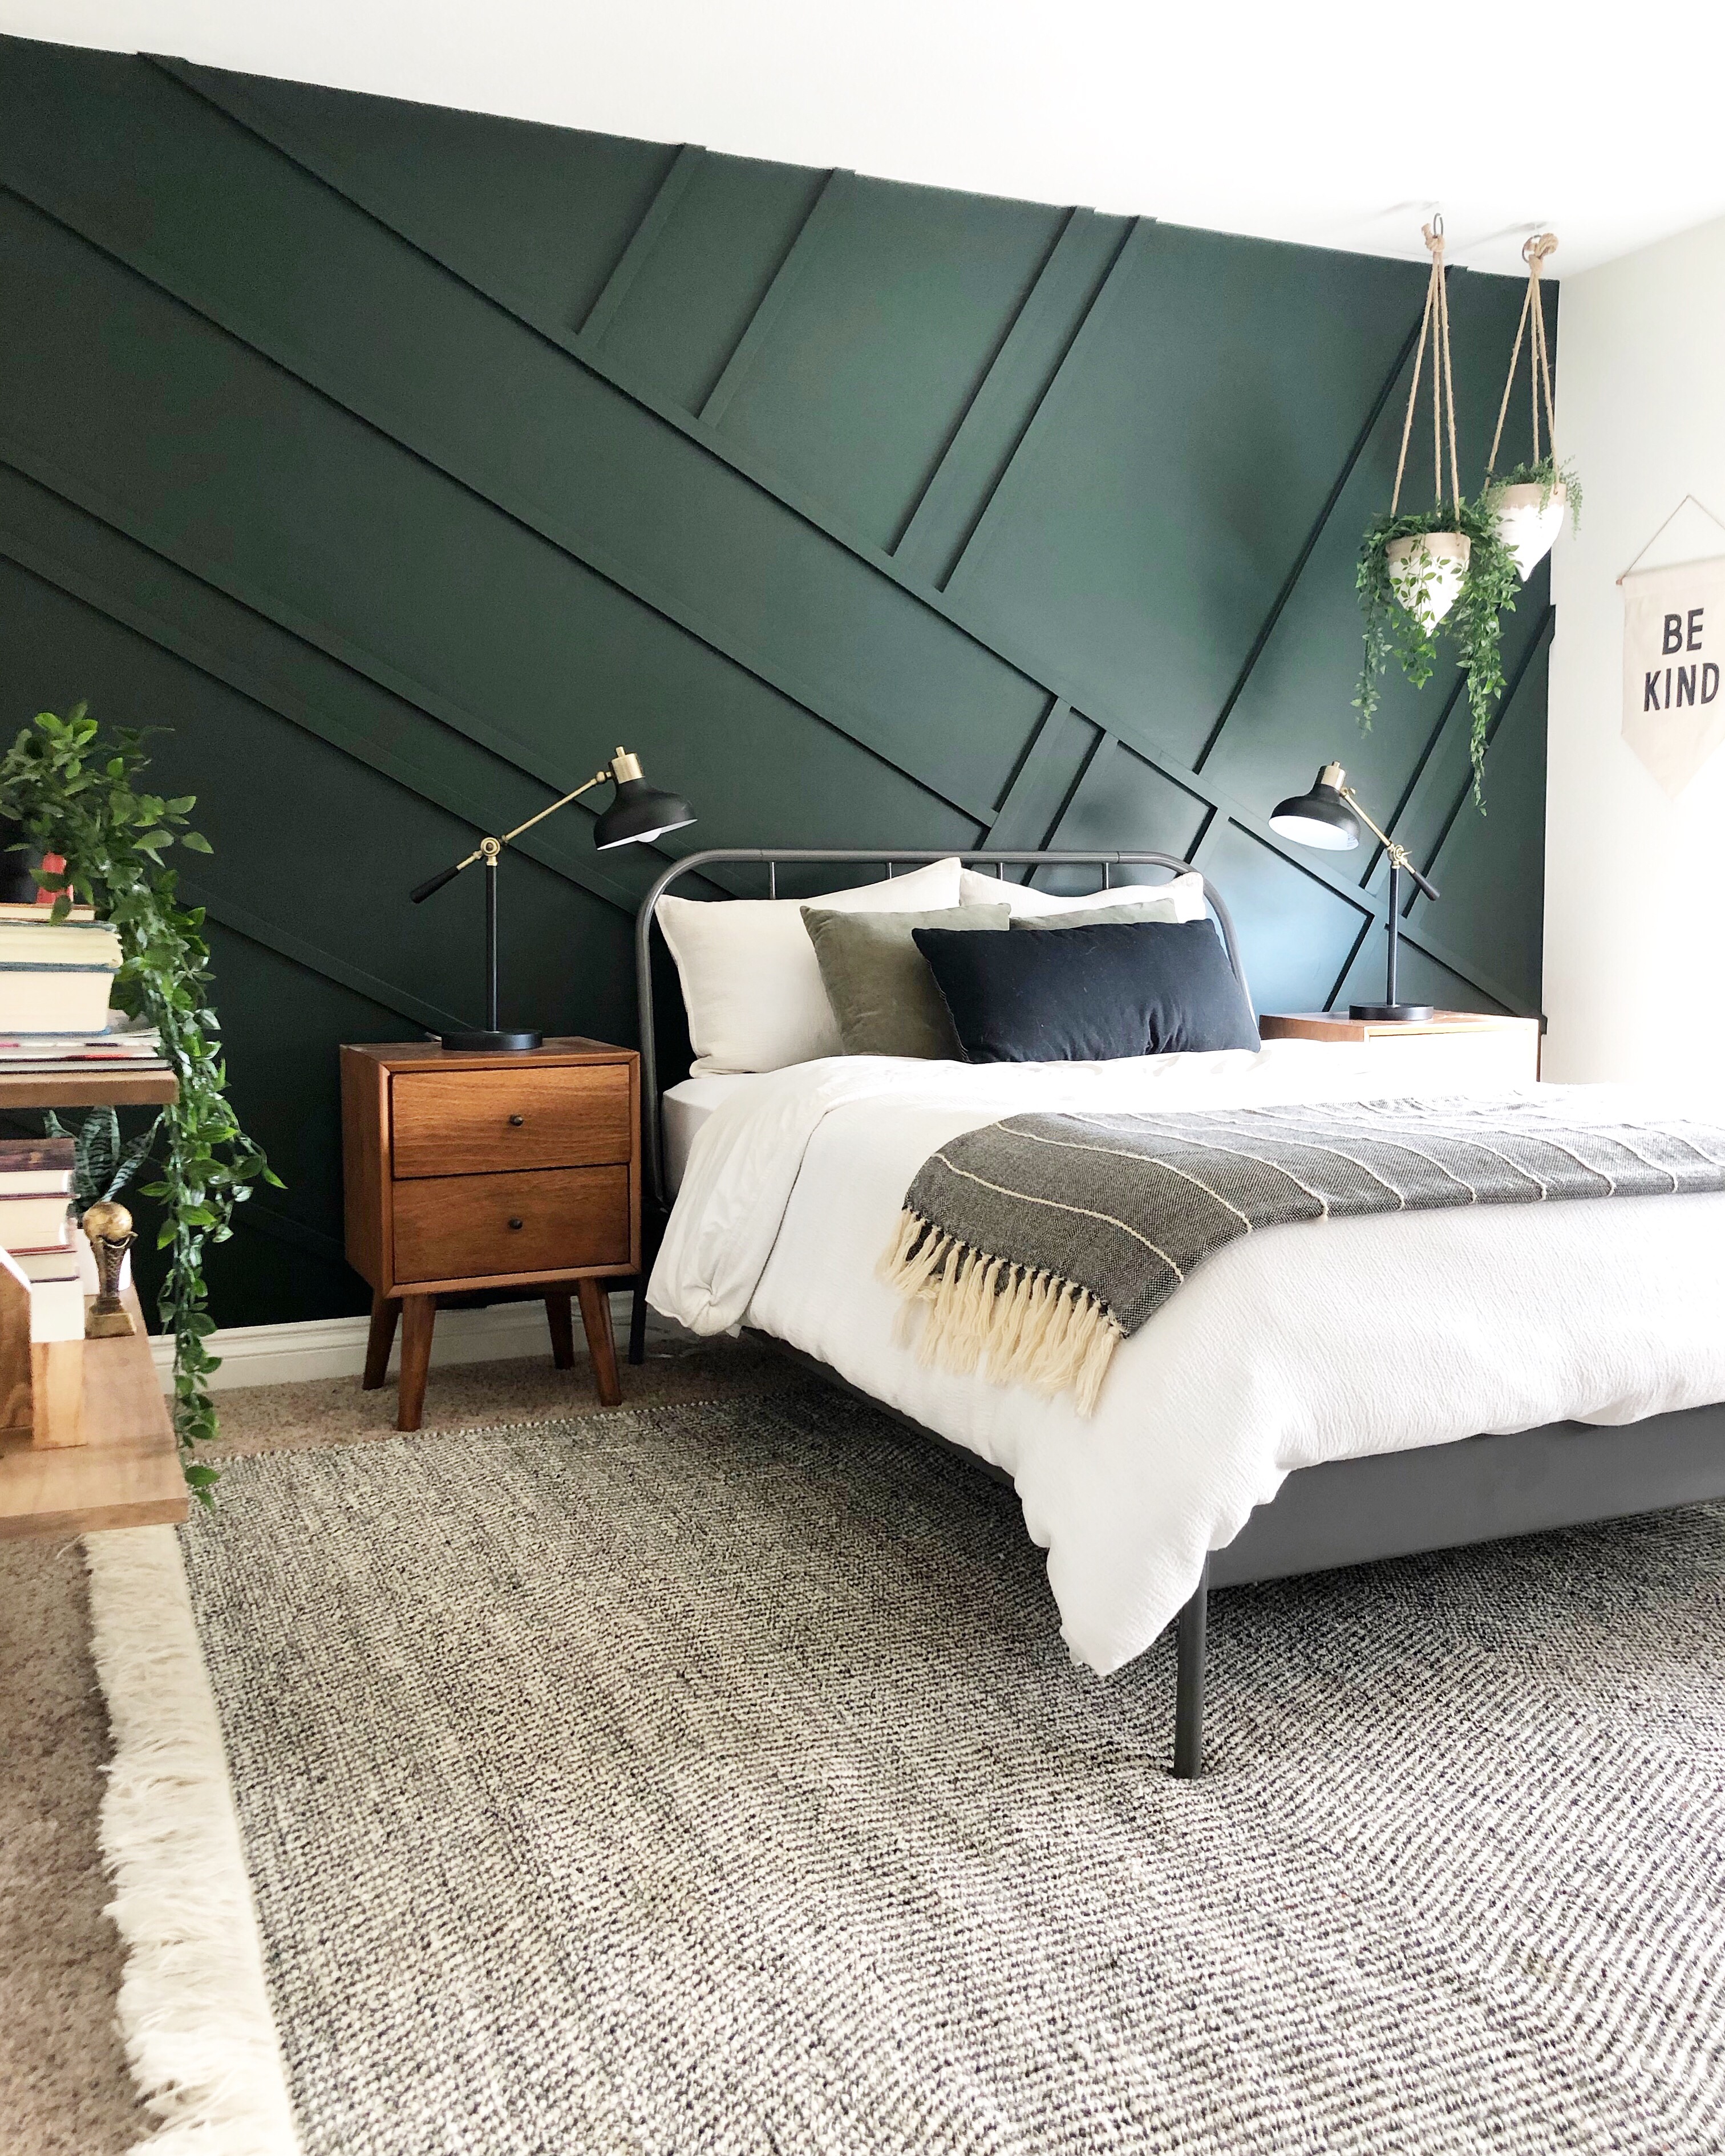
Here are the links to everything in my boy bedroom. Accent wall color is Essex Green Benjamin Moore.

Alright! It’s happening. I am entering the One Room Challenge! For the next 6 weeks, I will be doing a complete makeover of my son’s bedroom…and I am so excited to share this transformation with you. Like always, I will be doing all the DIYs myself…and with all my power tools. I have big plans for a modern accent wall, new beds, closet redo etc. I would love for you to follow along. Now let’s start this thing (and follow along @angelarosehome)

The Loloi Rug Class of 2025 is officially in session—and yes, they’re part of my own collection (and on sale!).
Okay, you’ve seen these rugs in my home. You’ve watched me roll them out, layer them in, and build full spaces around them. I designed this collection with Loloi to bring you rugs that are beautiful, durable, and actually work for real-life homes.
And since we’re kicking off early Prime Day deals, I figured—what better time to do a round-up of the all-stars? These are the standouts. The fan favorites. The ones that get the most questions in my DMs. So I’m giving them all the high school yearbook treatment—superlatives and all.
These rugs are already on sale, and I don’t want you to miss out before they’re gone.
They’re that good.
Let’s meet the Class of 2025.

If you’ve been following me on Instagram at any point during the last two years, you’ve probably seen a bunch of posts and stories about my beautiful ‘69 Bronco! Restoring this car is a project that is close to my heart and I’m so happy with how she turned out. This process has taken a long time (690 days to be exact!) and with the help of some truly amazing people we were able to finish my 1969 Bronco Makeover!
We’re already a few months into 2025 and you guys this year I’m focusing on CELEBRATING PROGRESS! I decided to focus on progress because even though it’s super fun to swipe through after photos, it takes a lot of time and effort to create a home and I really want to slow down and enjoy the process!
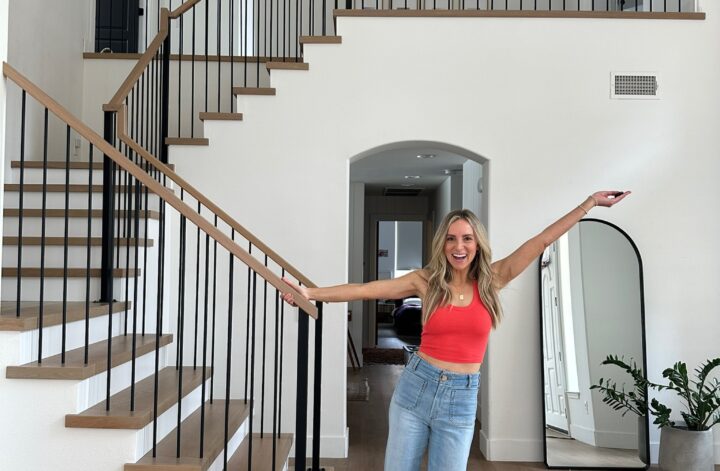
My first project of the year (and one I’ve wanted to do for 2 ½ years!!) was renovating my staircase! I’ve been dreaming about a modern staircase design since the kids and I moved in a couple of years ago and I finally got around to it. Better late than never, right?
Black Friday and the holiday season snuck up on us, but at least we didn’t miss these deals! Shop your favorites or find some awesome gifts for your friends and family. I gathered my absolute favorite products I’m using right now and put together this ultimate Black Friday Gift Guide! I hope you find some new things to love.