I am so excited to share this DIY large wall art tutorial with you! I love art, and large art…but I don’t love the price tag. I came up with a way to make custom DIY large wall art and all for $40 and in a couple hours. I used a wall tapestry from society6, mounted it on a frame, and then built a floating frame around it. Now it’s your turn to build one (make sure you tag me @angelarosehome so I can see your projects and share some of my favorites!) Also, I keep helpful video tutorials saved to my story highlights on my instagram @angelarosehome.

STEP 1:
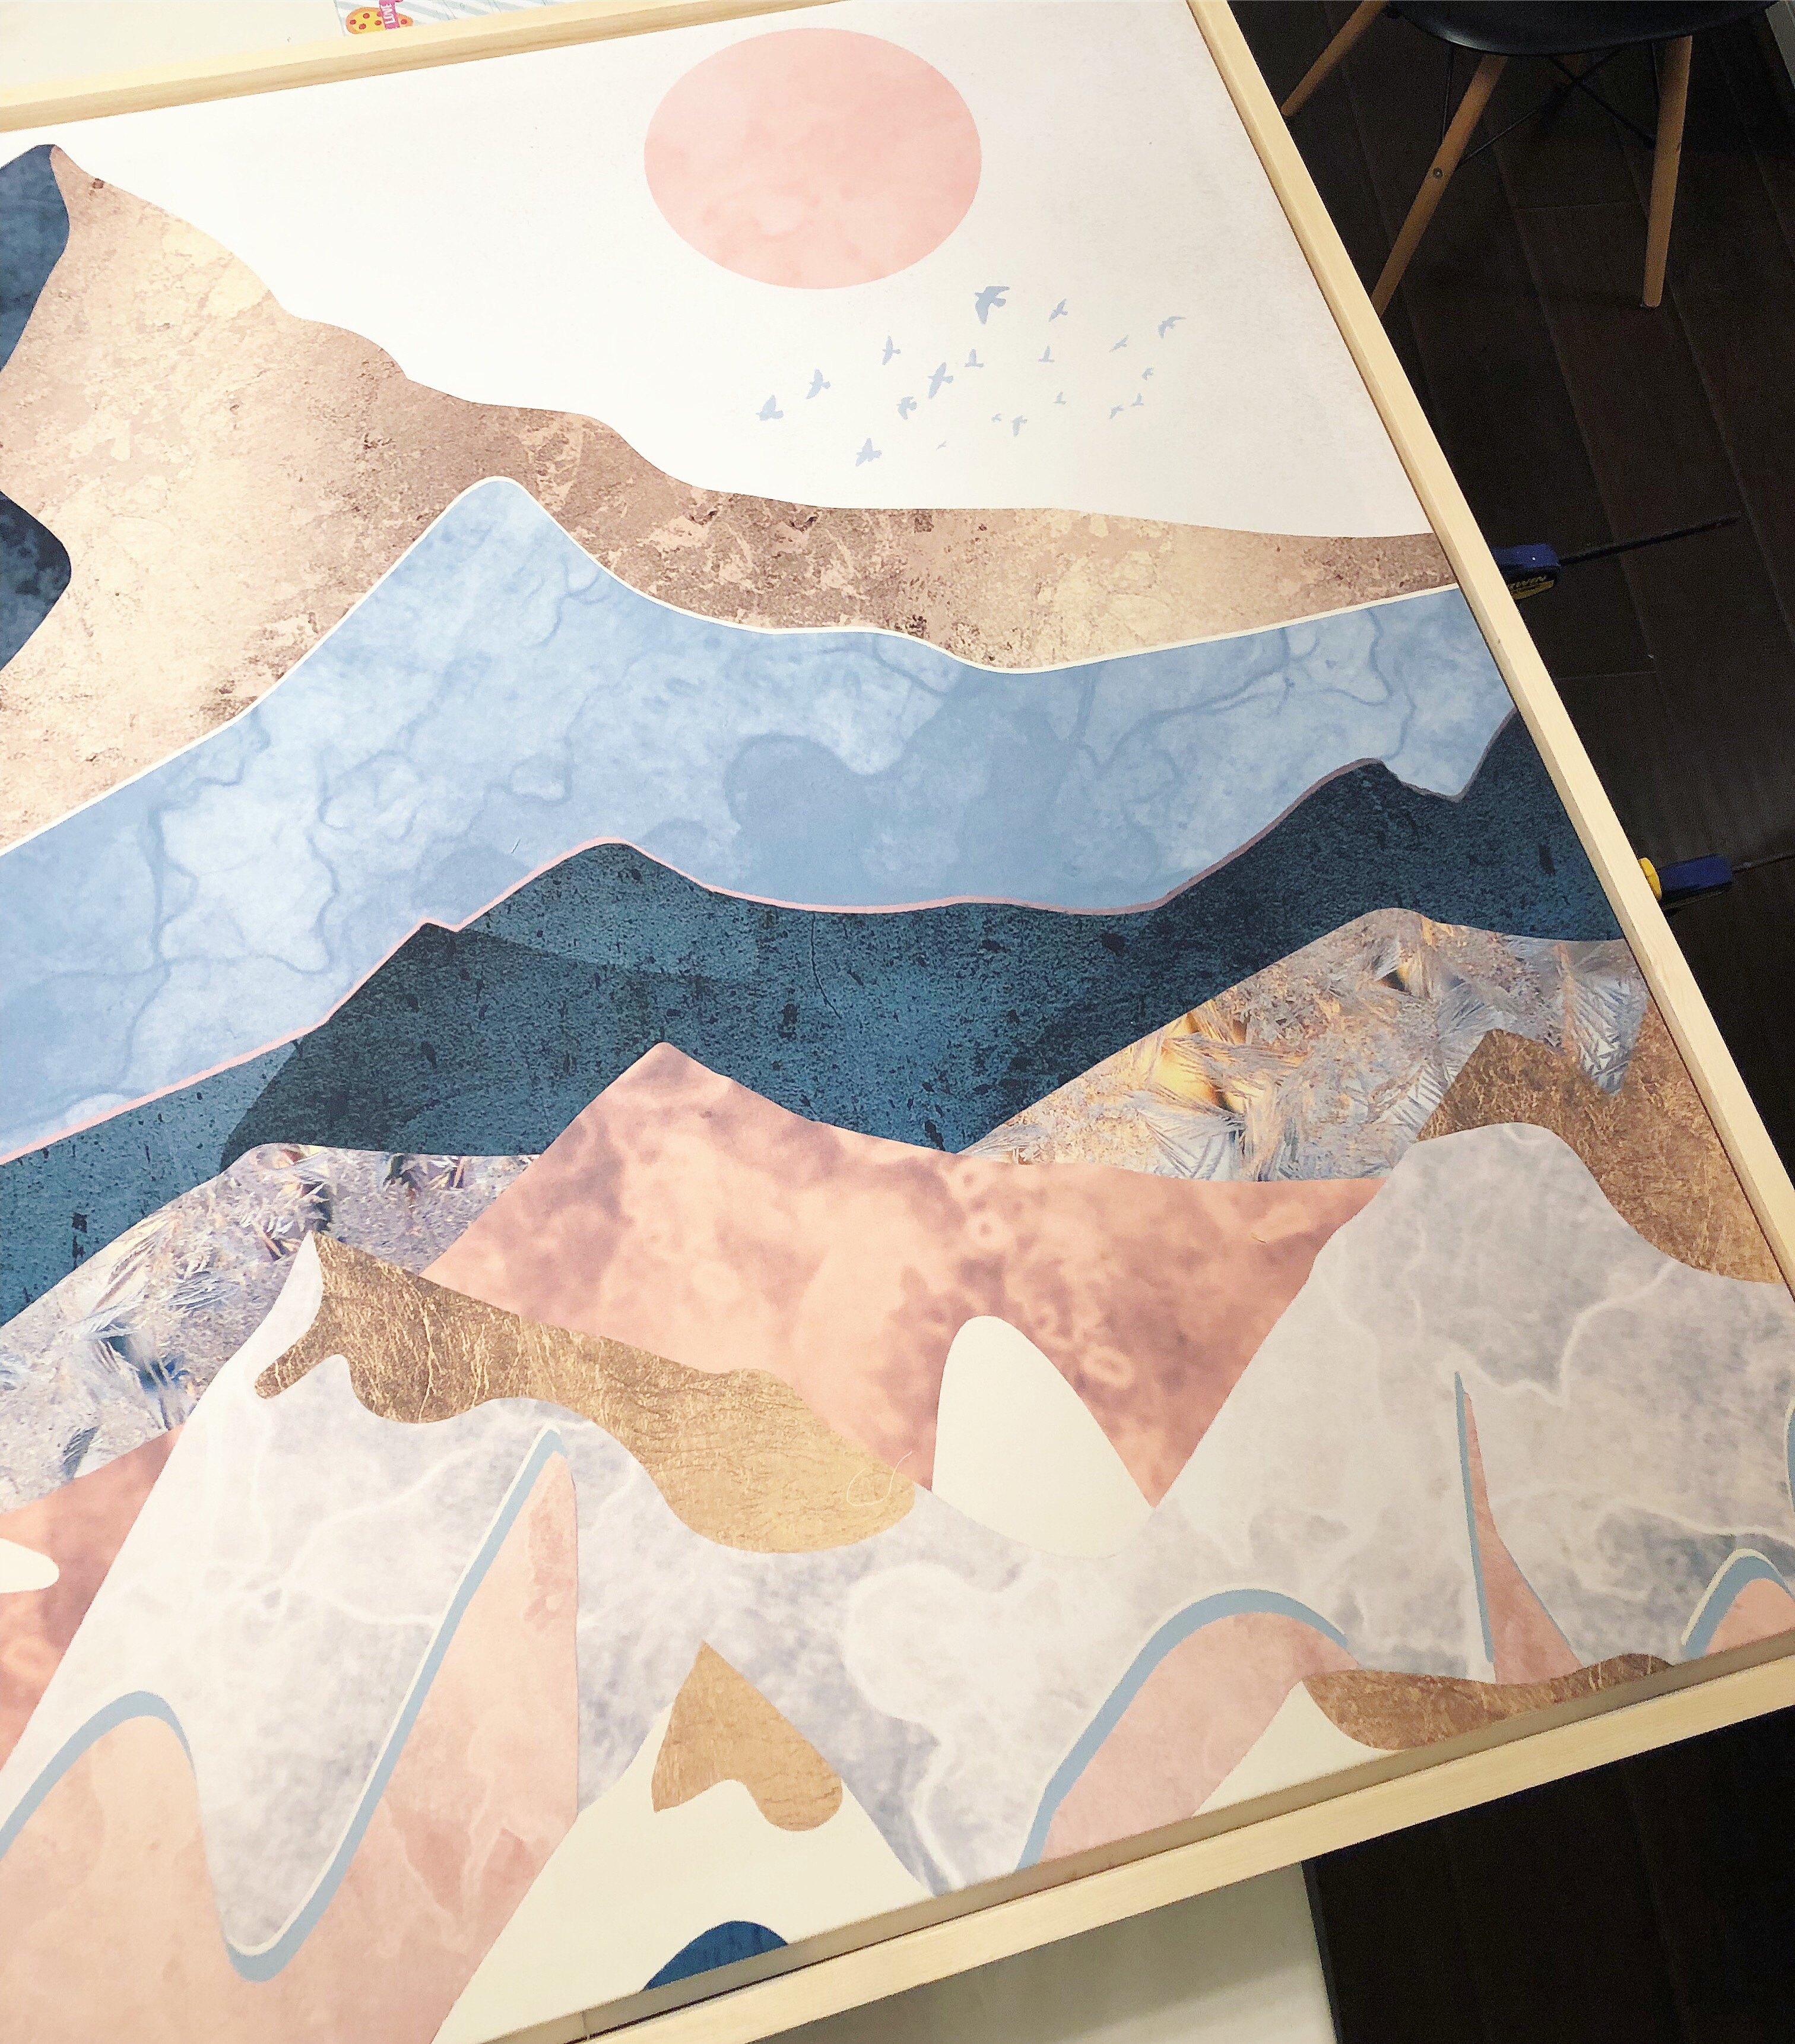
Order your wall tapestry. I ordered mine from society6 because they have thousands of options in 3 different sizes. I ordered the smallest 51 x 60 in size. Here are a few of my favorites (TAP photo image for link. 40% today with code GIFTNOW).

(TAP photo image for link. 40% today with code GIFTNOW)
STEP 2:
Now head over to How Does She to catch the rest of my tutorial for mounting your wall tapestry!
HOW TO BUILD A FLOATING FRAME
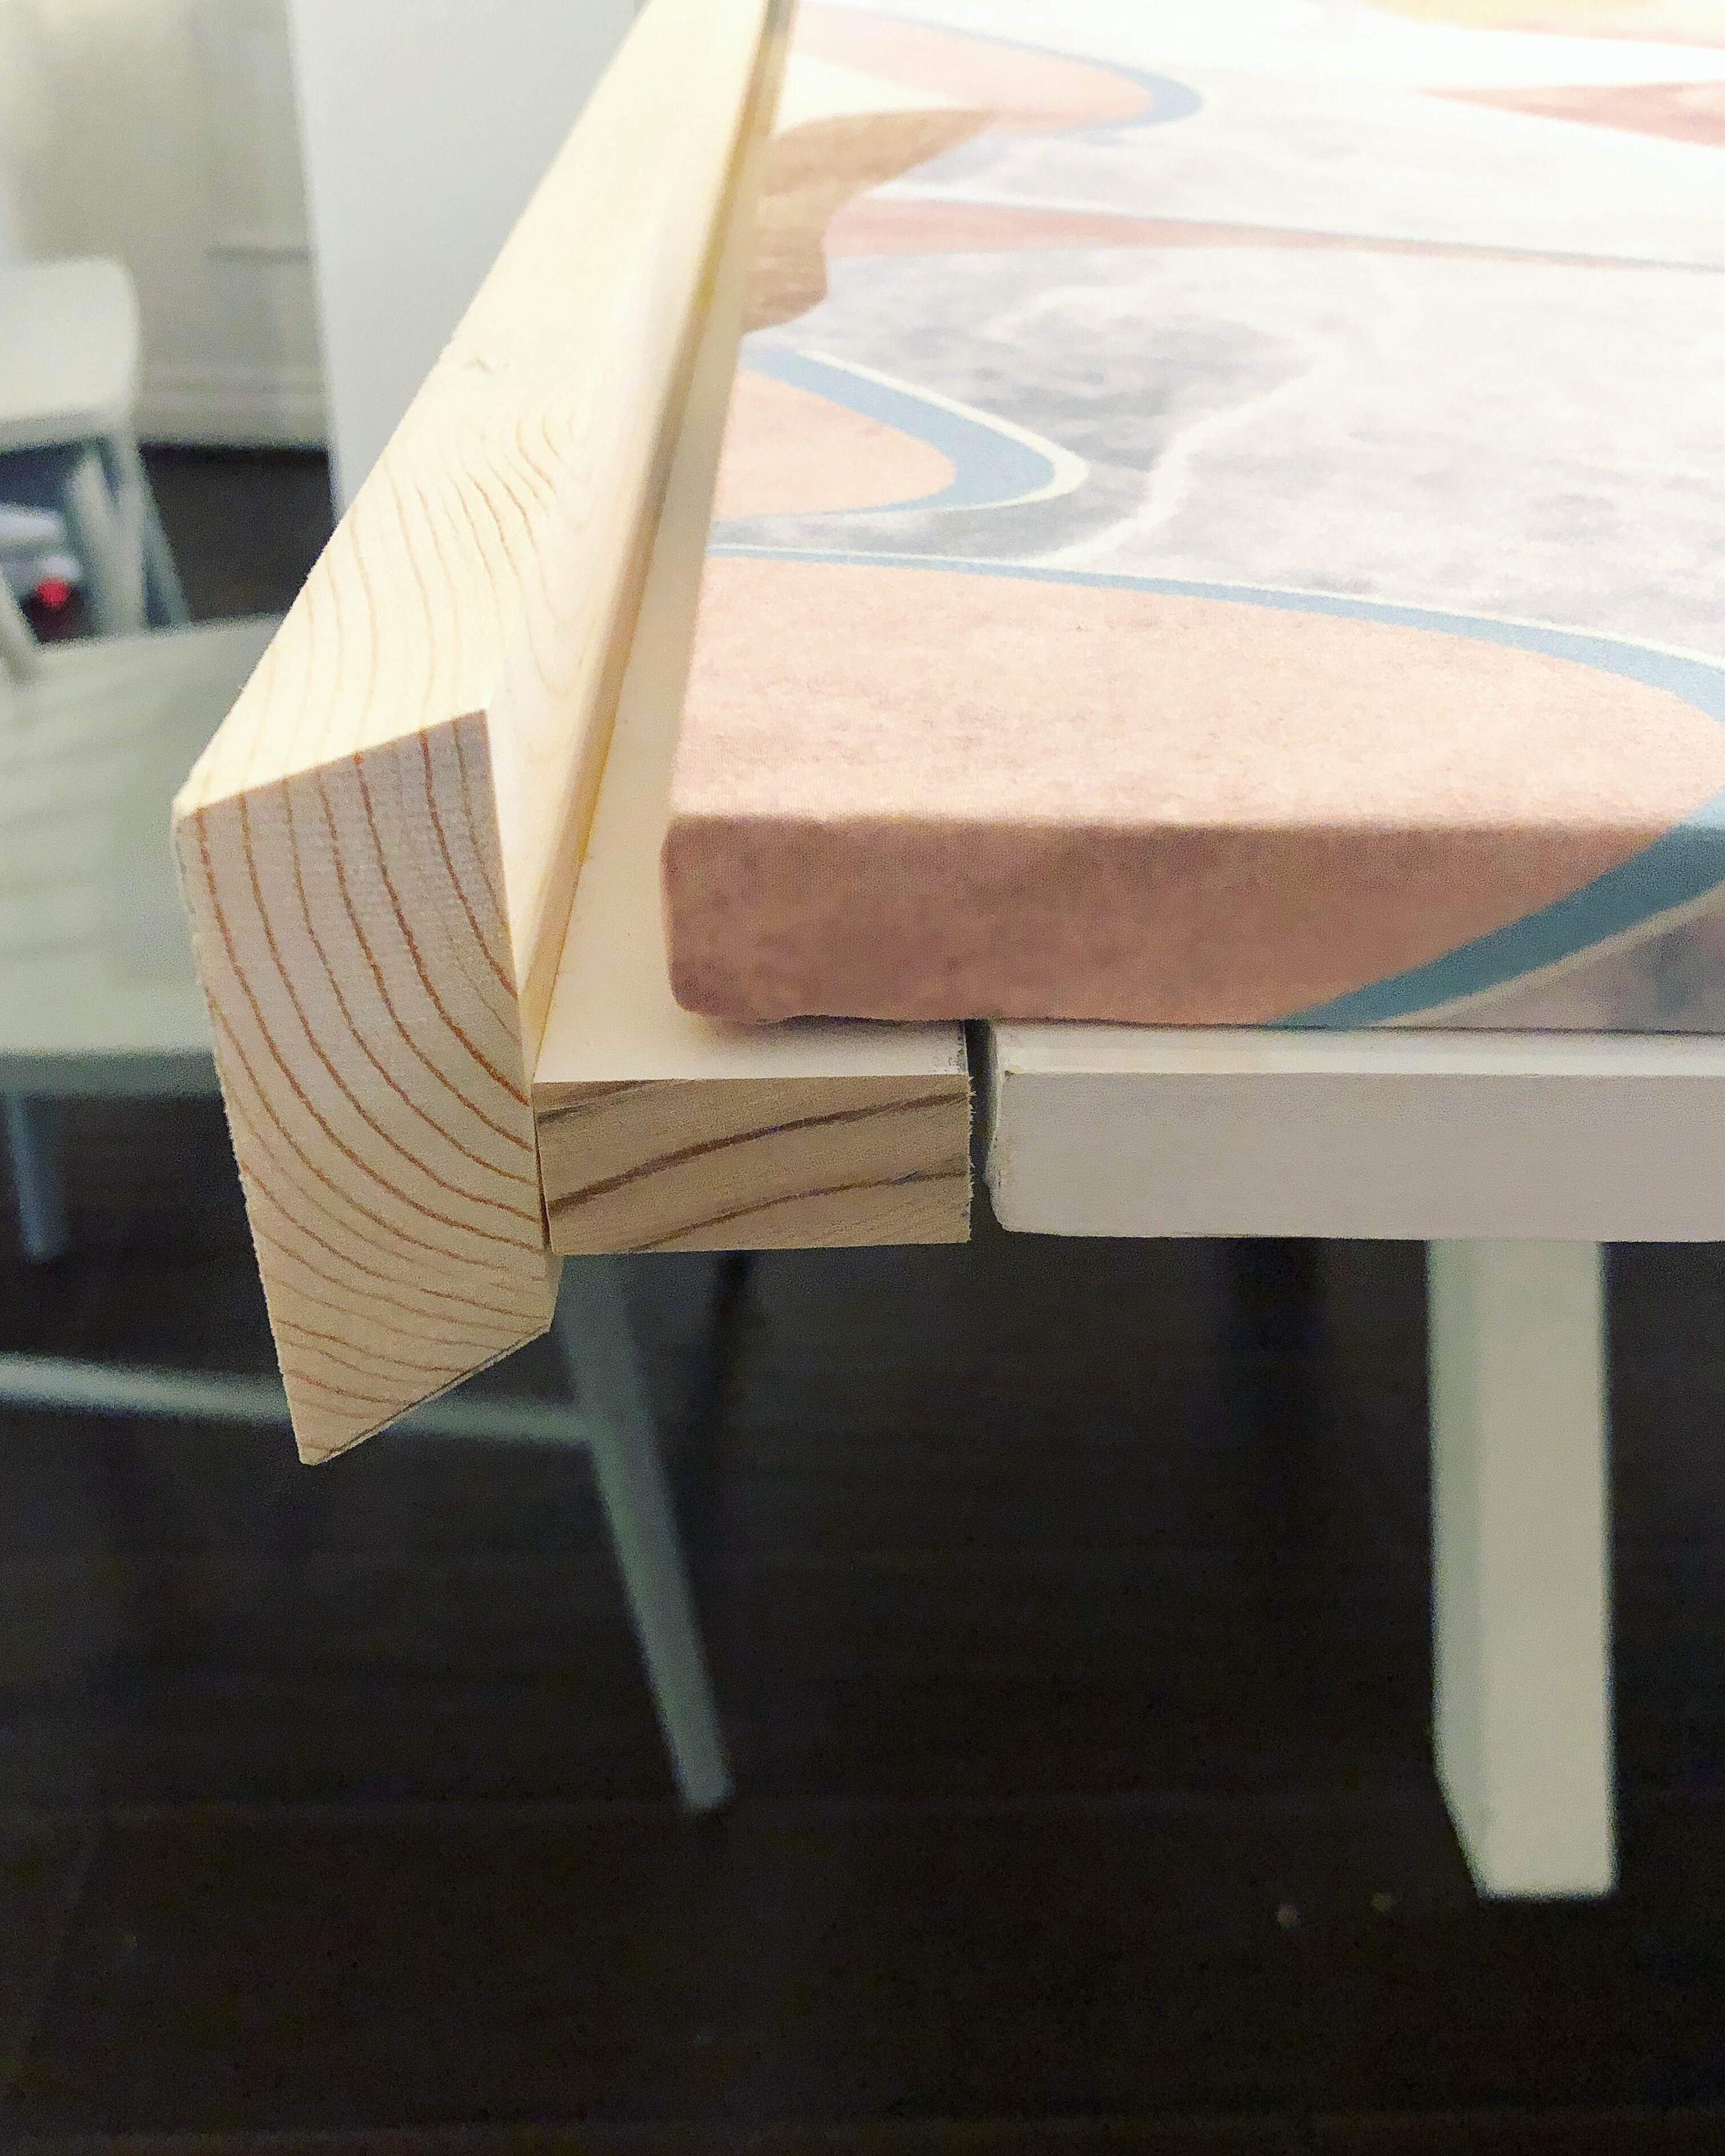
Here’s what you have after following the above instructions. Read below to build the floating frame.

STEP 1:
Now that you’ve mounted your wall tapestry, you can build a floating frame around it (I got some ideas for this from @makingprettyspaces). For this, I first built a second layer rectangle around my current wood mount frame. I make sure to cut my wood .5 inches longer for the top, bottom and side boards (this 1/2 inch extra makes it so there is a 1/4 inch overhang on all the sides). I wanted this overhang so that the frame would appear slightly floating.
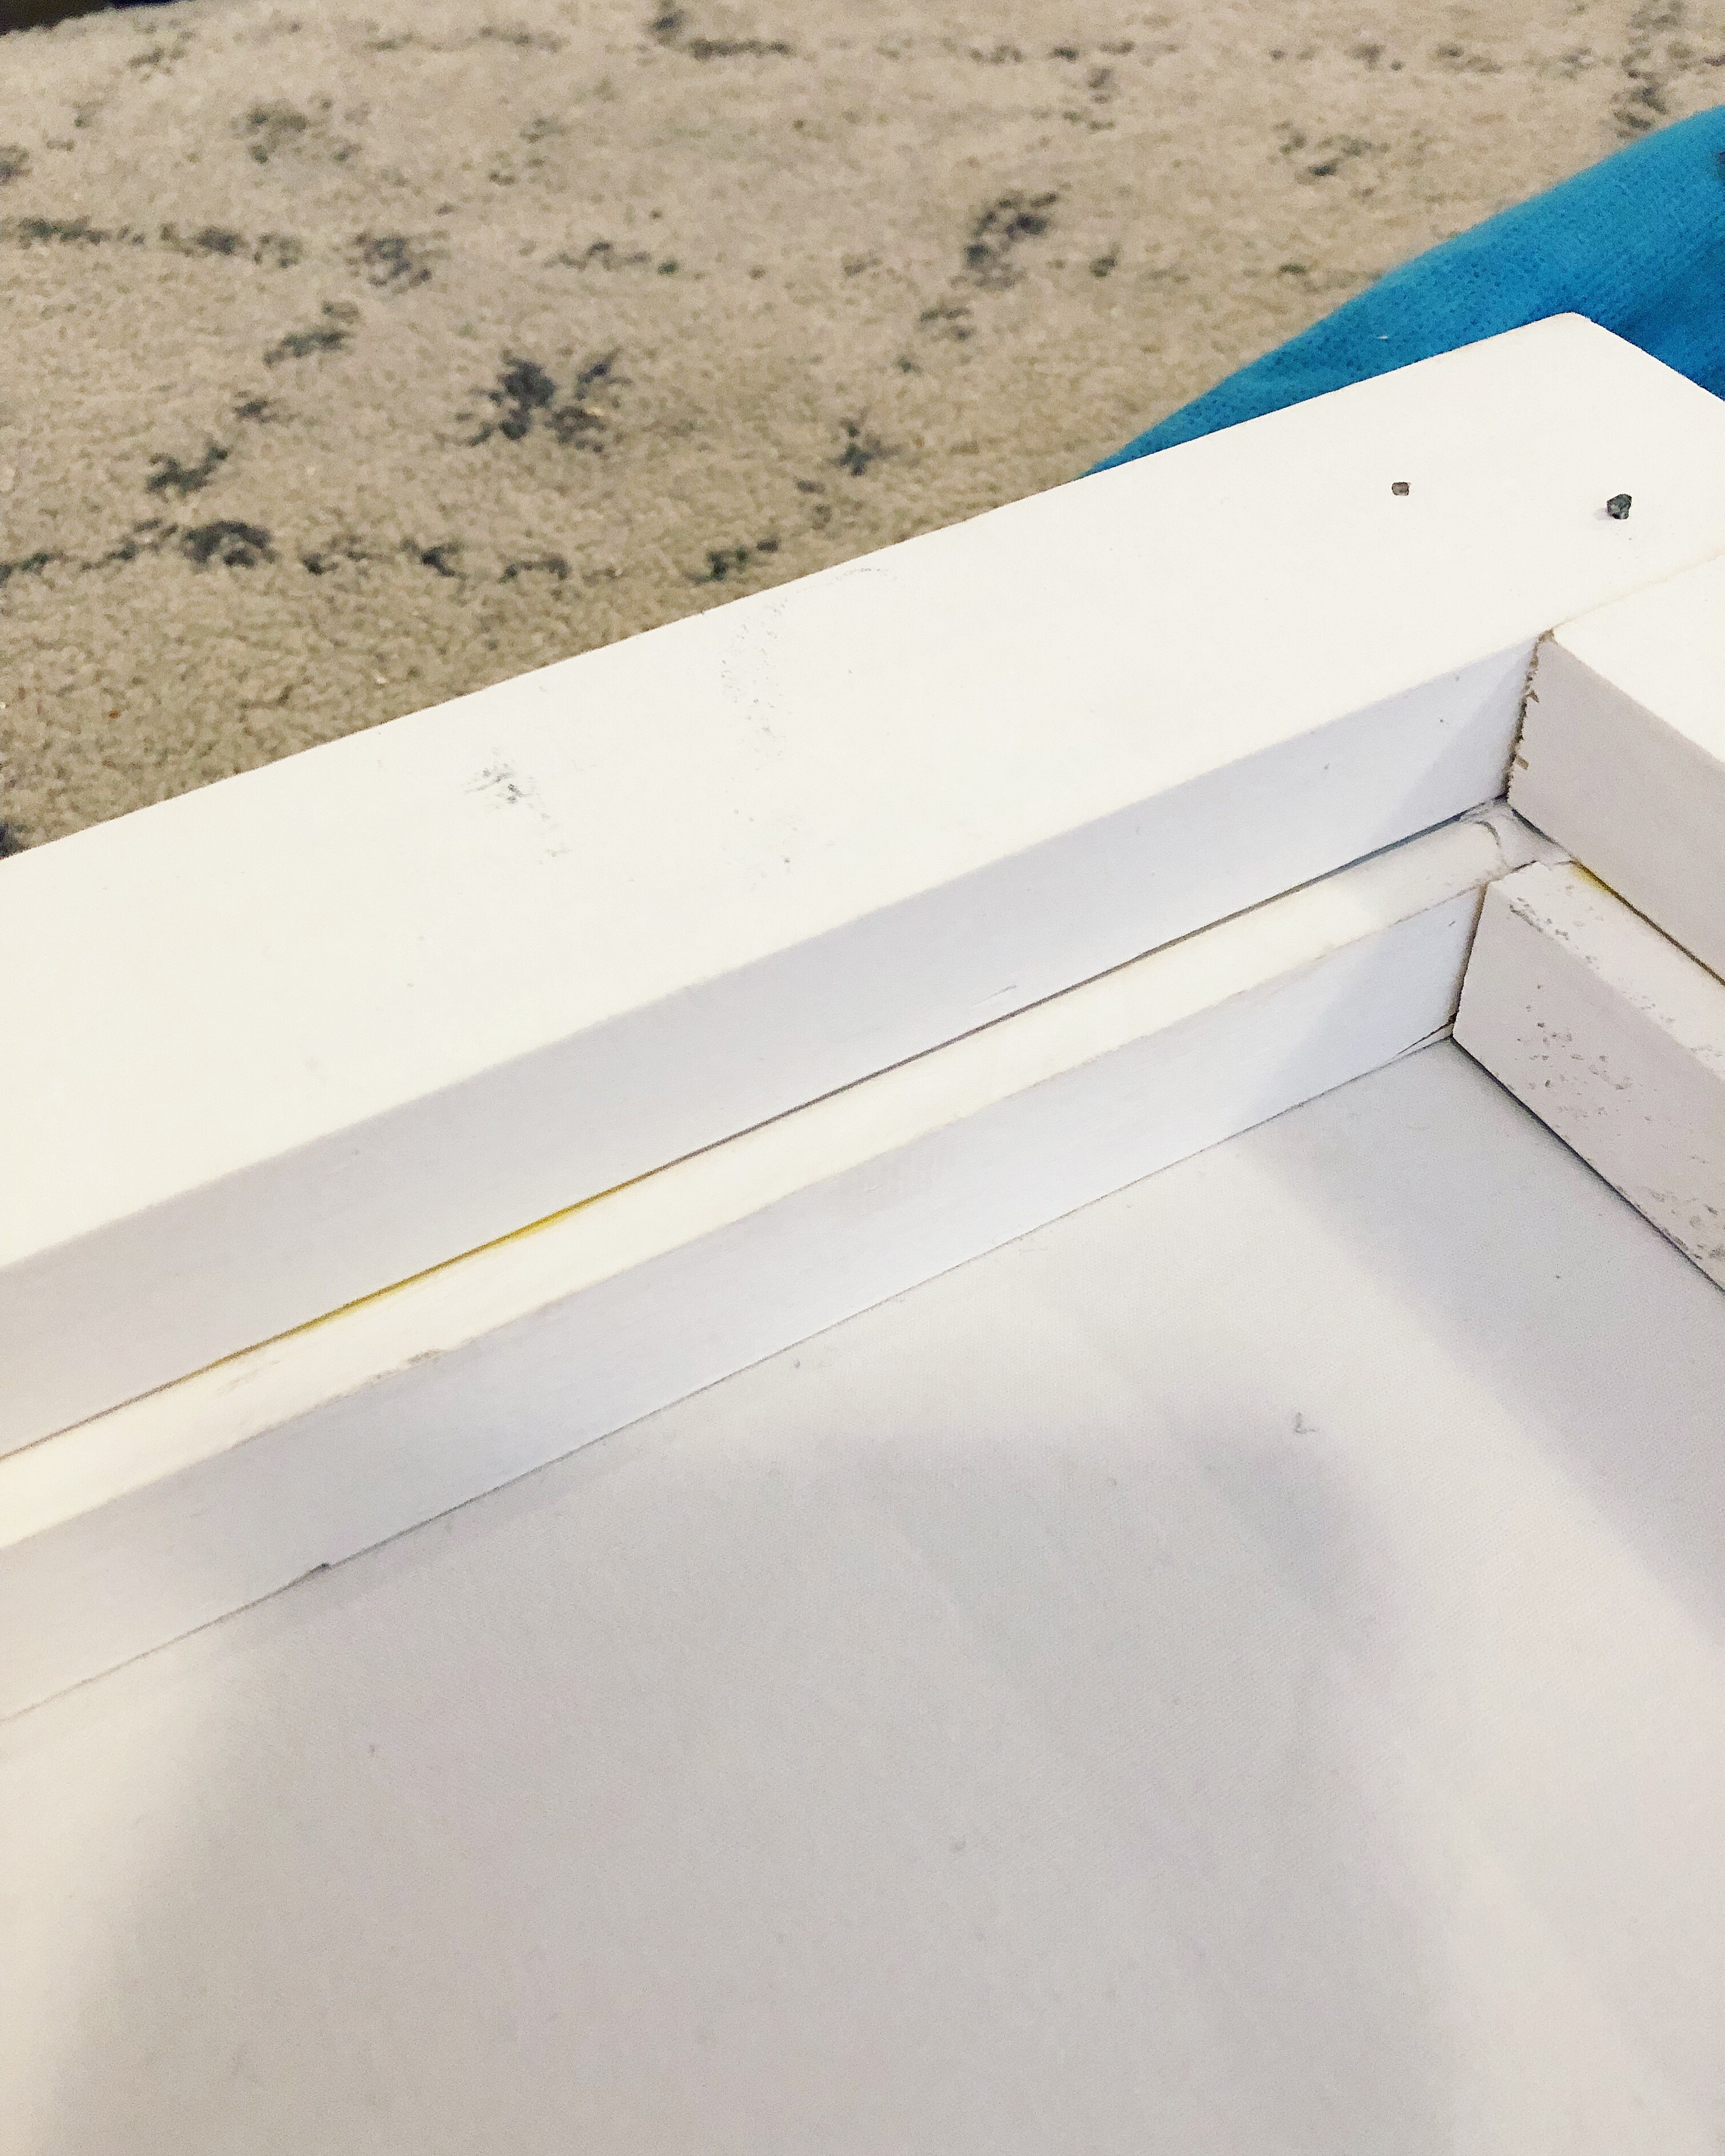
STEP 2:
Once your boards are cut, place them on your mount to make sure overhang is what you want. Also make sure your staples are all hammered down so board is flat, and that fabric has been trimmed so there is some bare wood for wood glue. For each side I used wood glue and 1 1/4 inch finishing nails (here’s the nailer I use) to secure the boards. Let it dry, and you could even clamp the two frames together while drying if you’d like.

STEP 3:
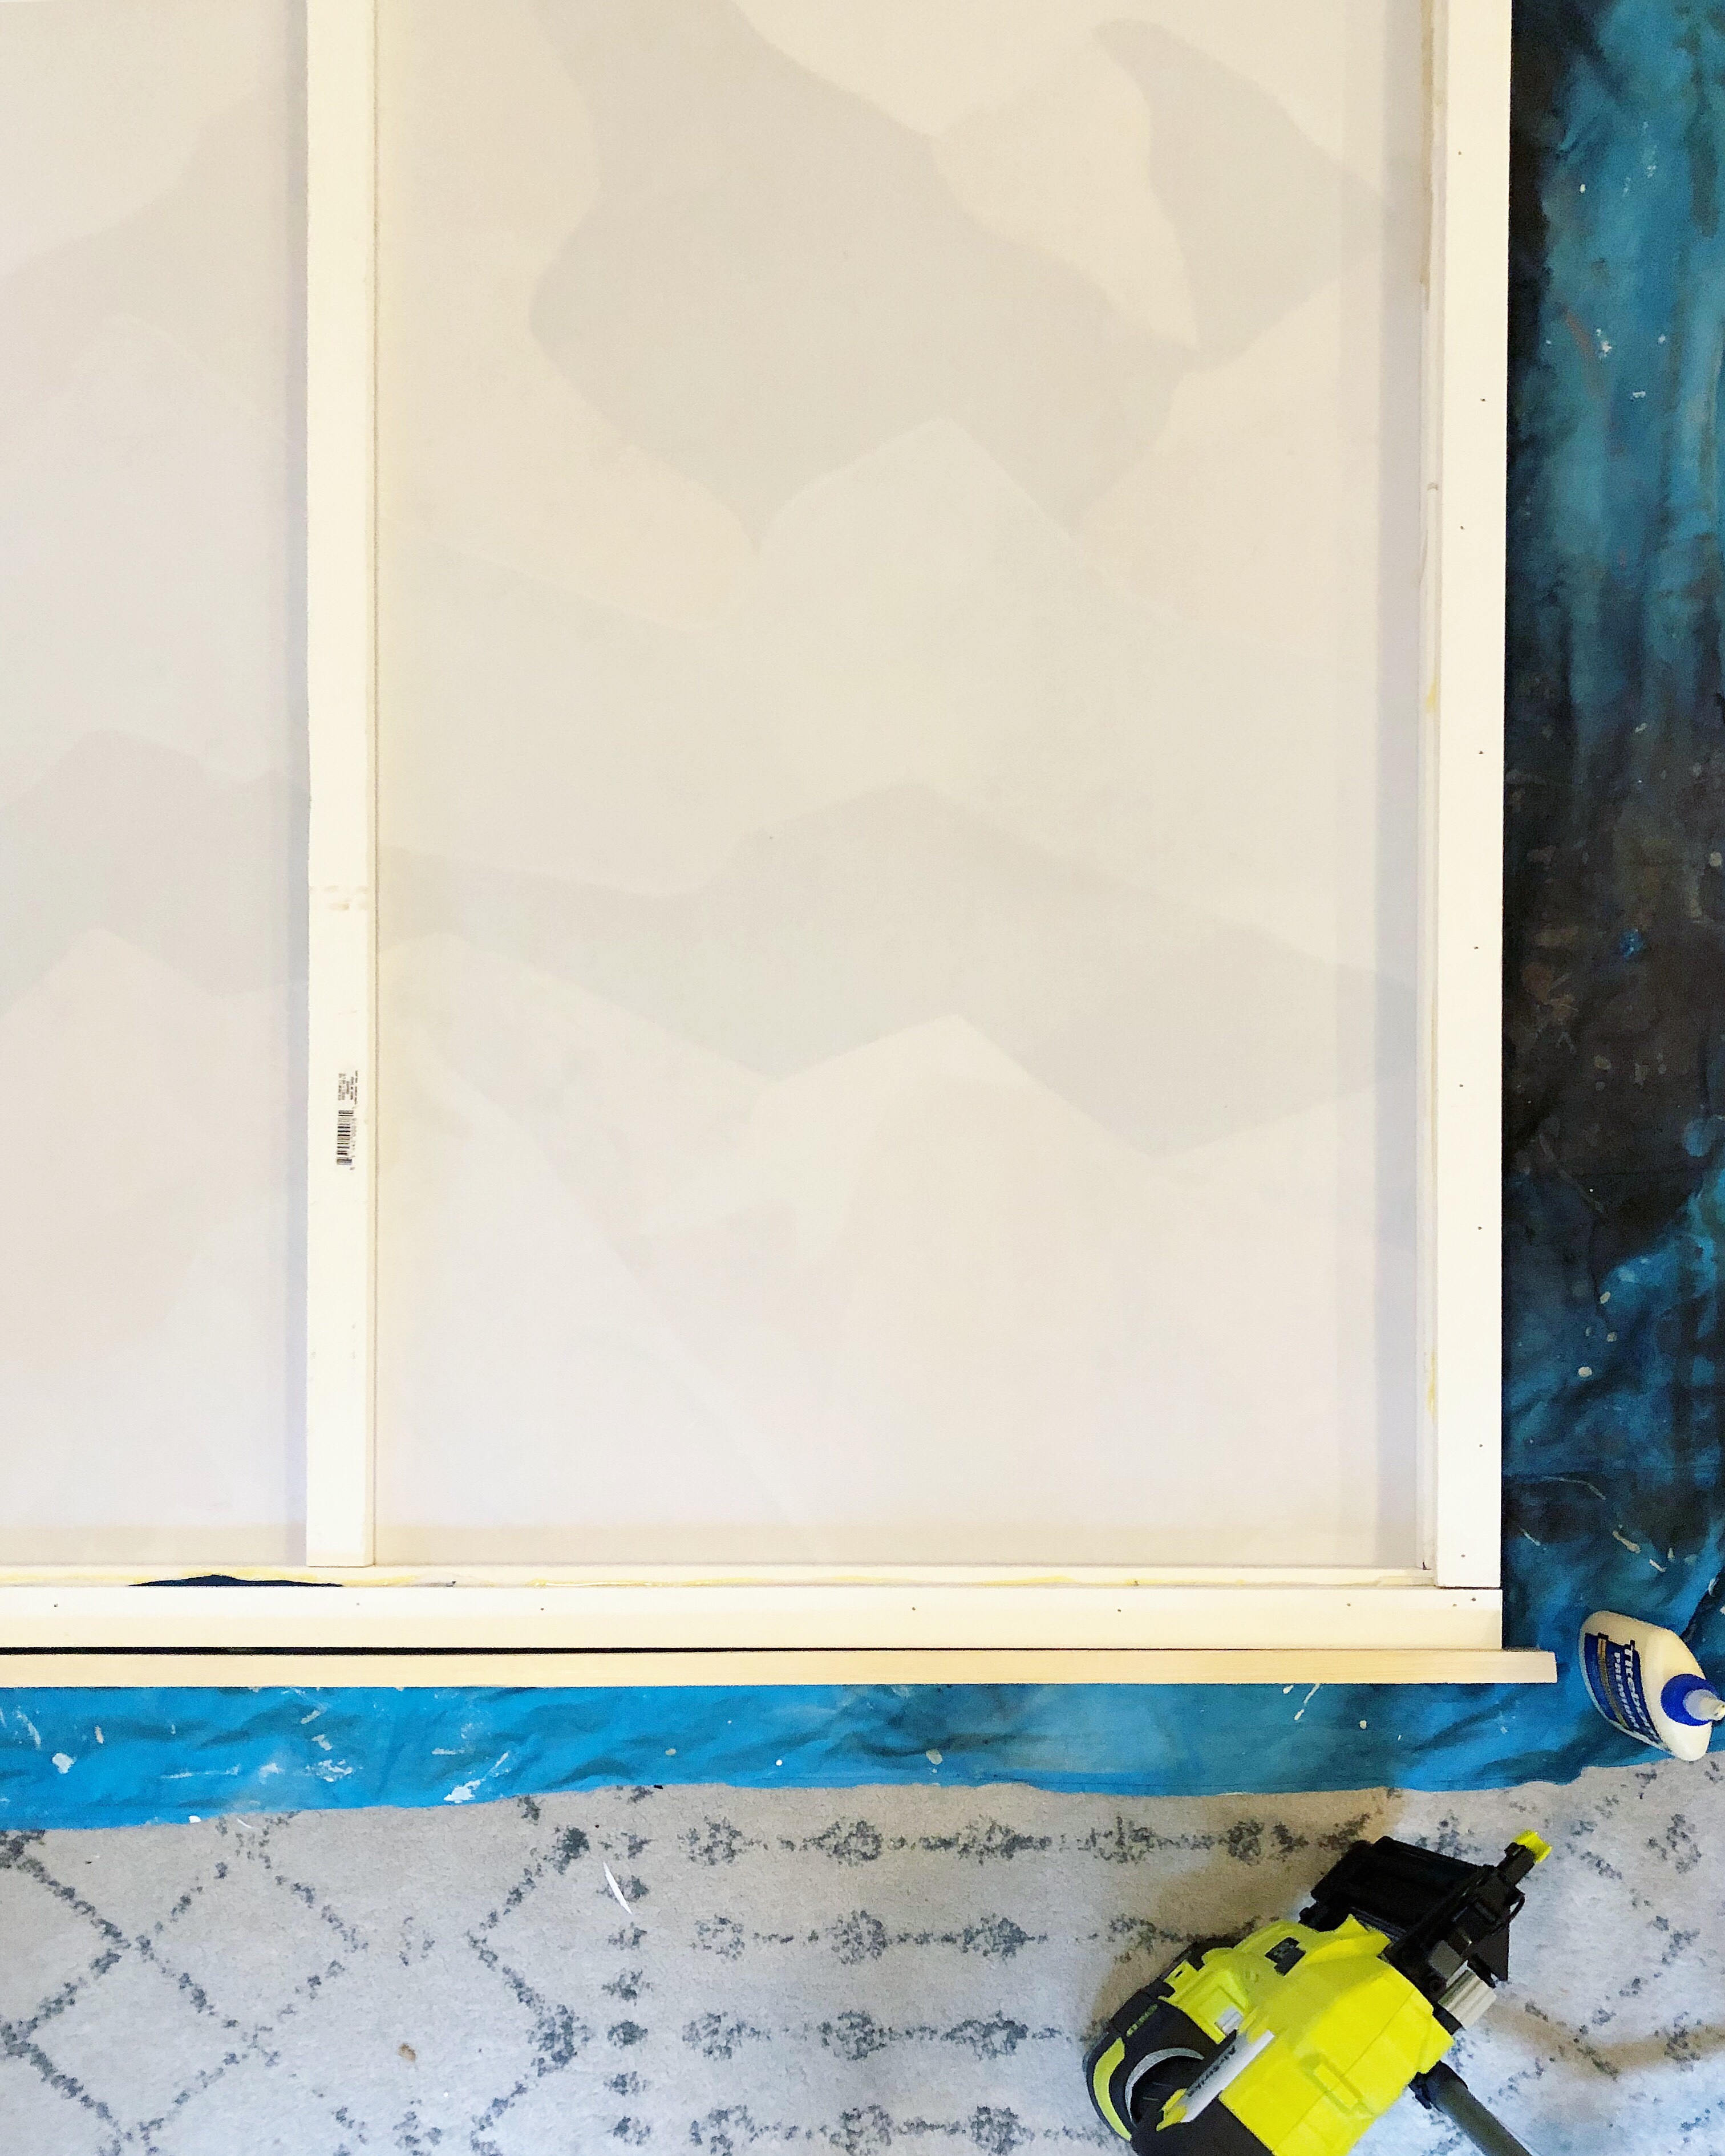
For my outside floating frame, I used 1×3 pine boards. Before you assemble your frame, sand and finish your boards as desired. I measured each piece one by one and mitered the corners (cut at 45 degrees) for a tight fit. Helpful tip: when measuring, mark the inside corners and draw with a pencil which direction your miter should go (see more video tutorials on @angelarosehome). I used wood glue to attach my outside frame, and then nailed a couple nails in each corner. Use clamps to secure the outside frame to the rectangle mount while drying.

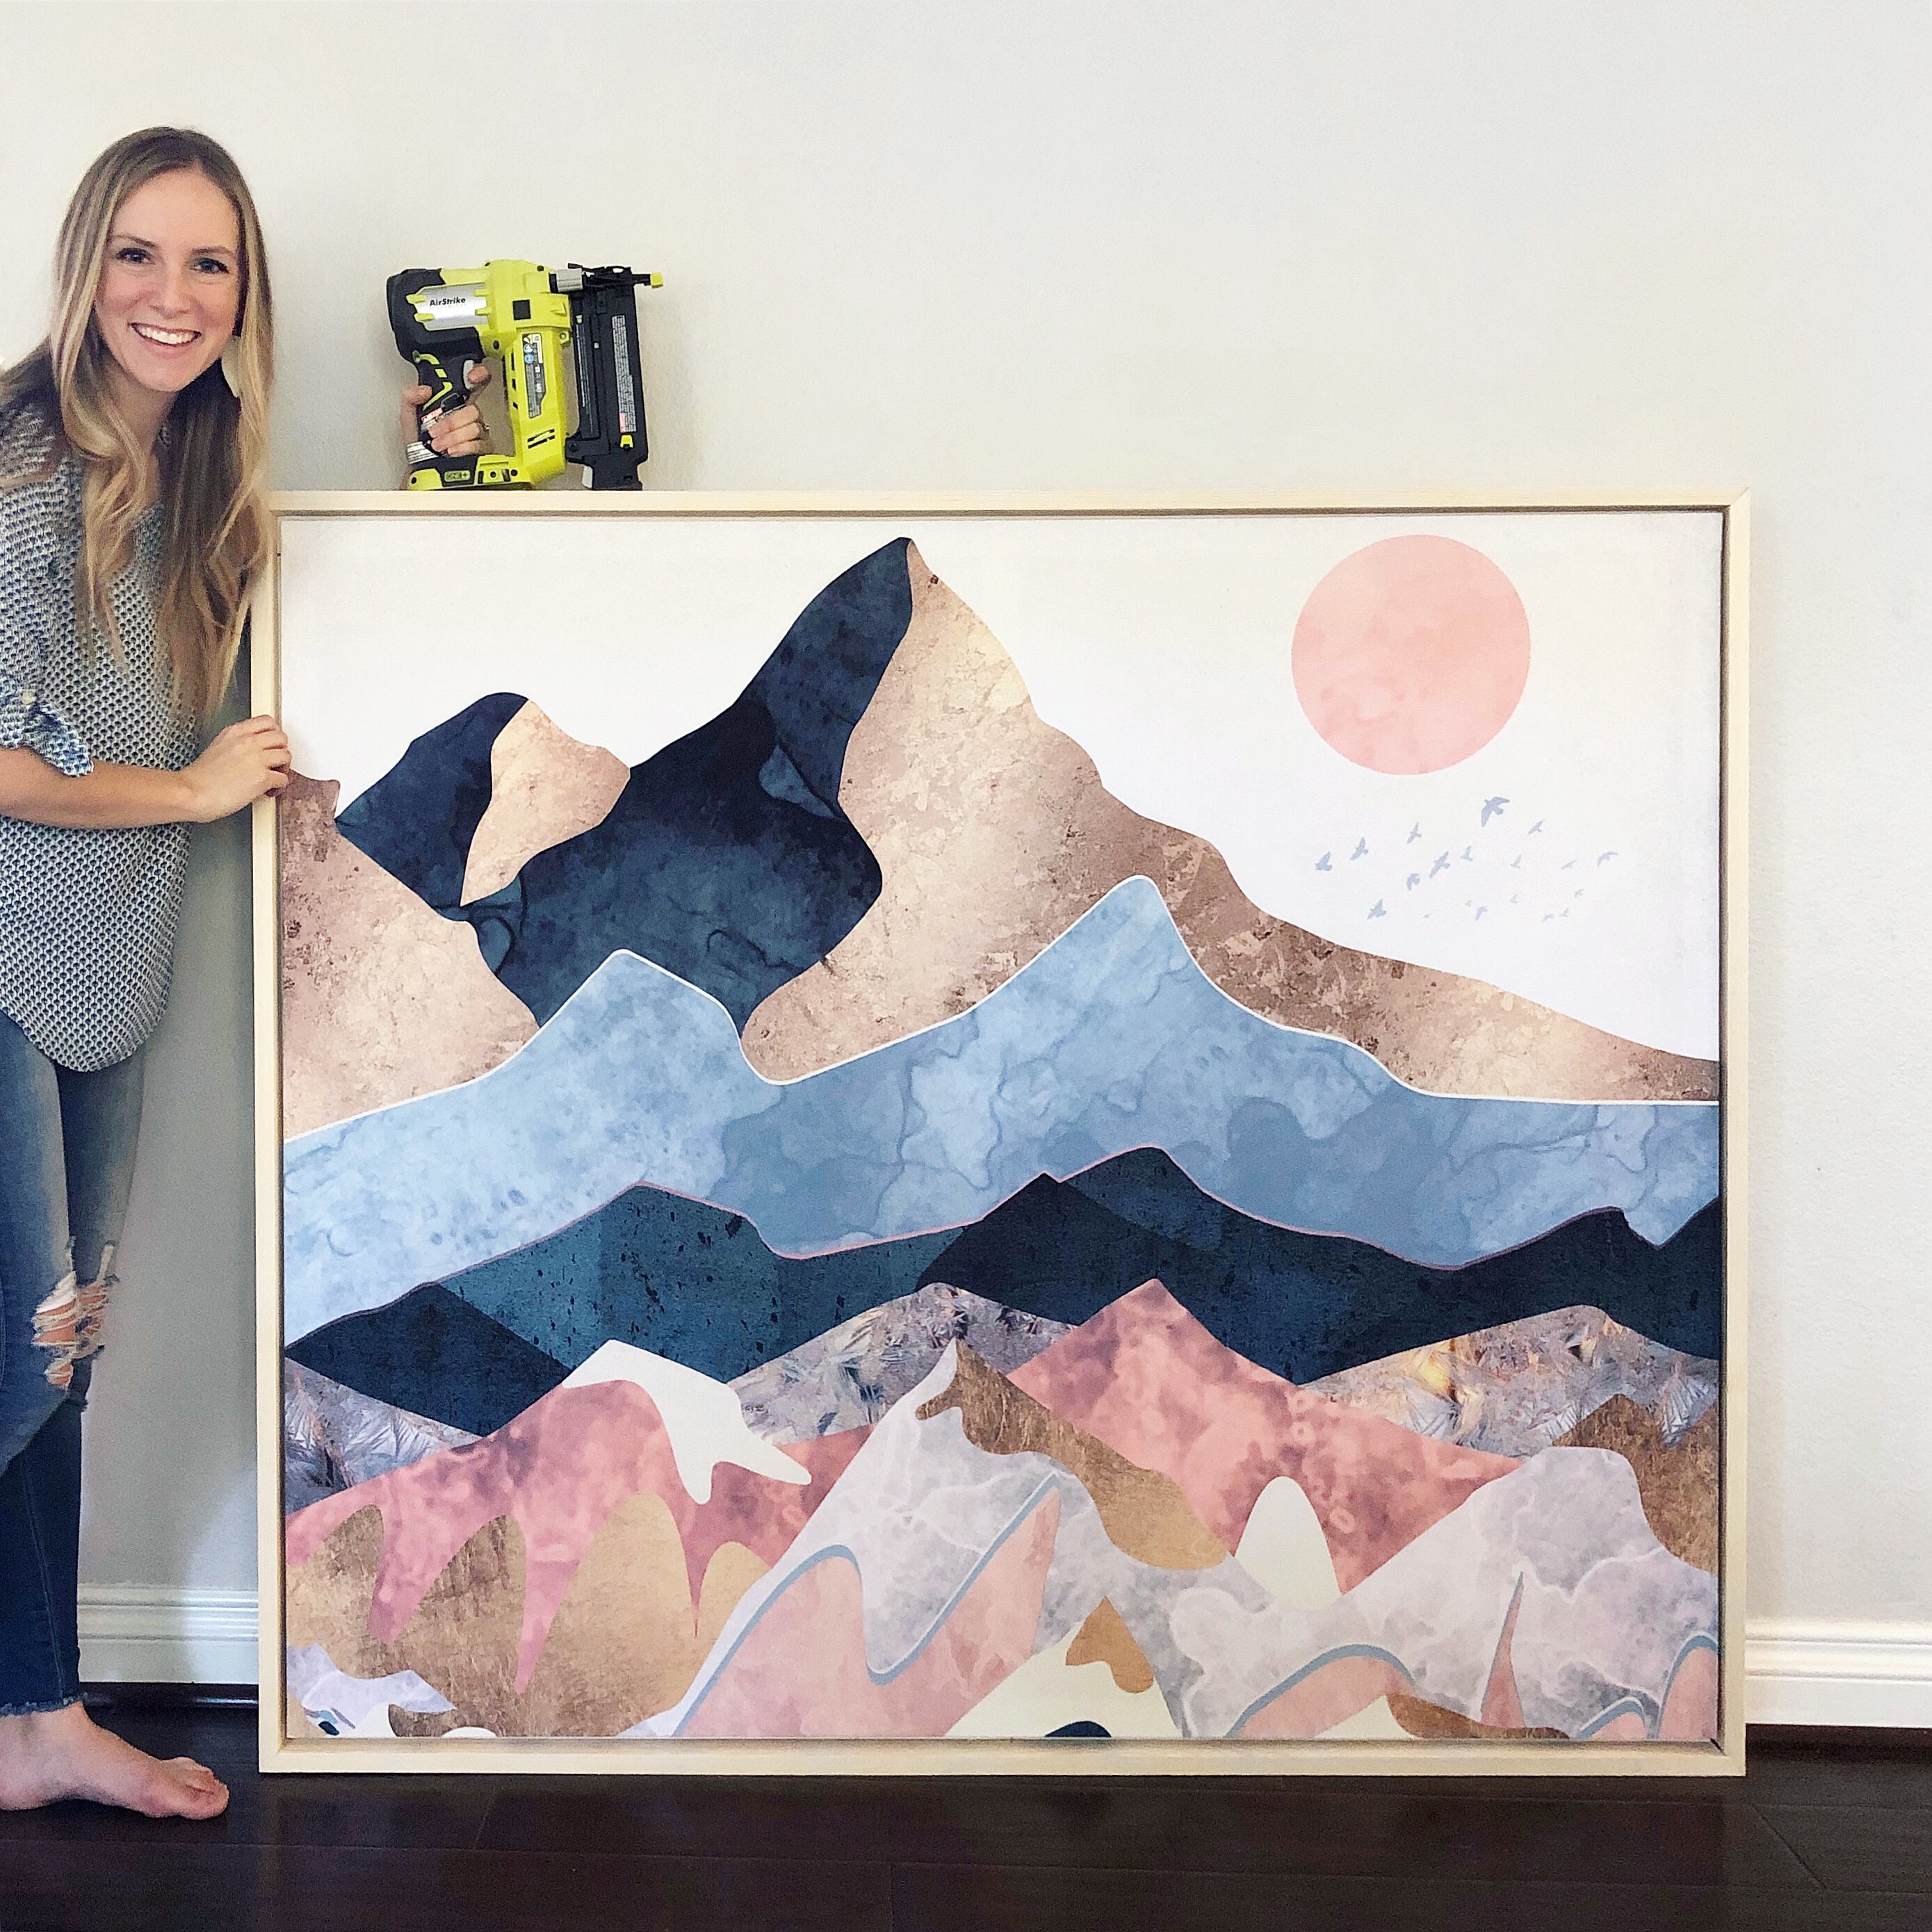
You did it! Now every wall needs giant DIY large wall art with a floating frame! I can’t wait to see your wall art, so remember to tag me.